Backdrop reboot. Long story short: don’t be afraid of starting over.
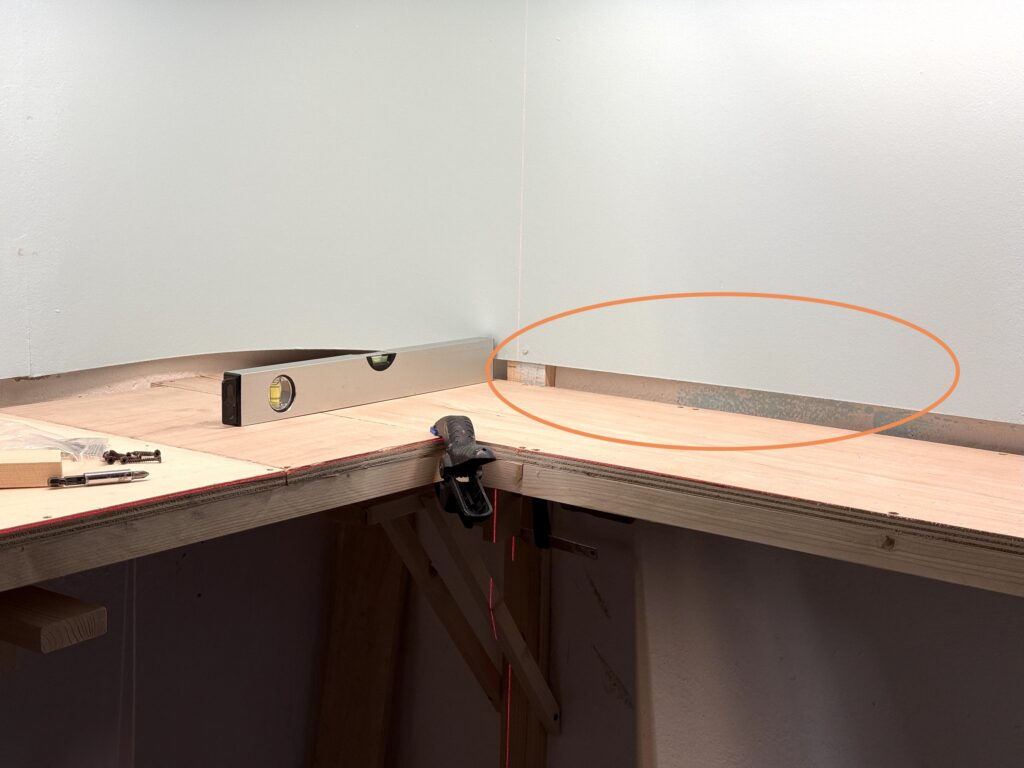
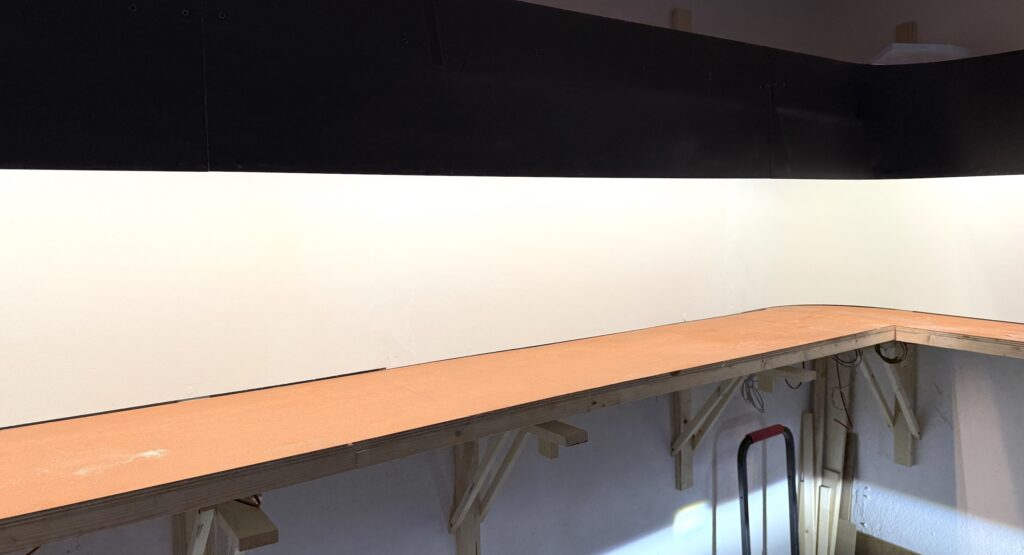
It’s time for a backdrop reboot! I installed the valance and backdrop based on wall measurements, then installed the plywood subroadbed using a laser level. That’s when I realized the valance wasn’t level – and the culprit was the walls, not being square.
Free tip: Always use a laser level. They’re inexpensive and extremely useful – I wish I had bought one before installing the benchwork supports.
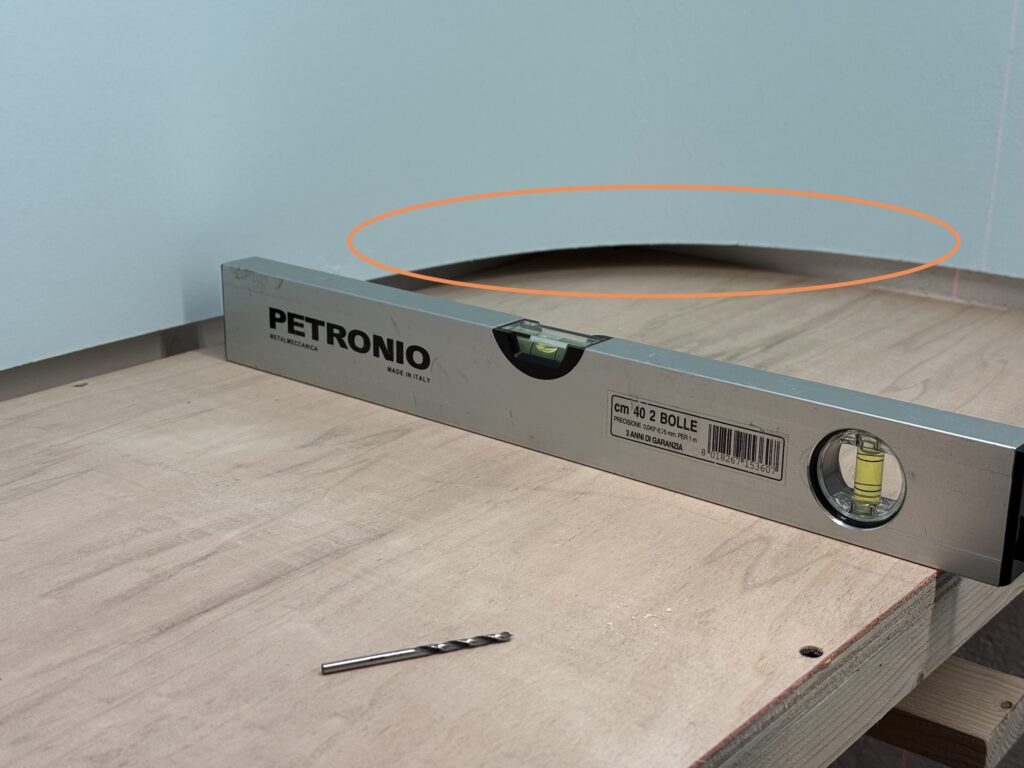
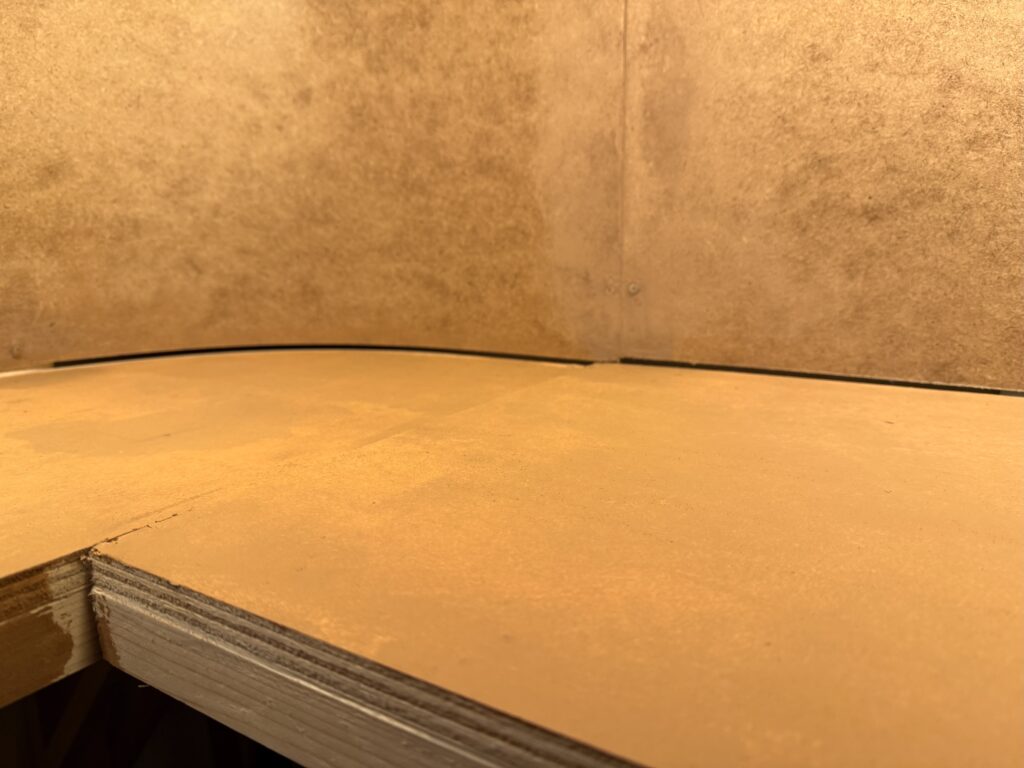
The backdrop is mostly fine, with only a small gap on the west end of the layout. However, the gap increases toward the east, as shown in the photo above. While the plywood base is level, the backdrop has a slight but steady incline.
At first, I thought I could fix it since the scenery isn’t done yet. But I quickly realized that the area I’m modeling is flat, with little vegetation – no hills or dense forests to hide the gap.
I tried thinking of a solution, but the more I considered it, the more I realized the backdrop needs to be scrapped and redone from scratch. So I did.
Starting over
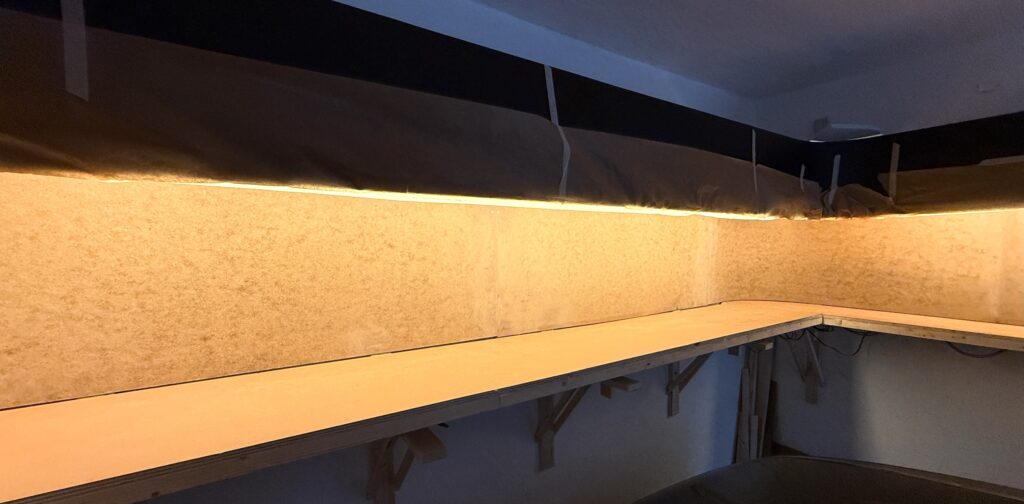
Backdrop reboot! I carefully unscrewed and removed the old backdrop, taking care not to damage the LED strip lights or valance. Then, I installed new Faesite (Masonite) panels, aligning the backdrop with the subroadbed plywood base.
After installing the backdrop, I filled the gap with putty and smoothed it out. Now it’s ready for a coat of blue paint.
Using acrylic colors, I painted the plywood base tan. That serves as a basic color for the scenery.
Starting over can be frustrating, but fixing mistakes early prevents bigger issues later.
Fixing backdrop issues early builds confidence and prevents bigger layout problems down the line. A properly aligned backdrop sets the stage for convincing scenery.
Transfer the trackplan on plywood and start wiring the DCC and DC buses
Trackplan
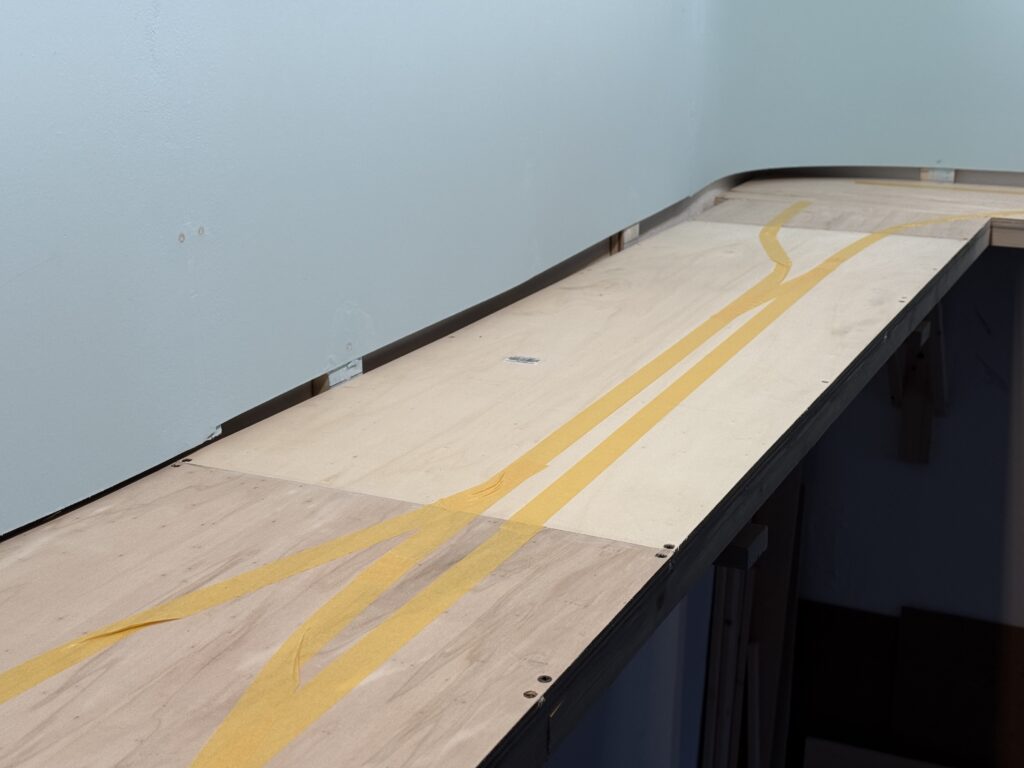
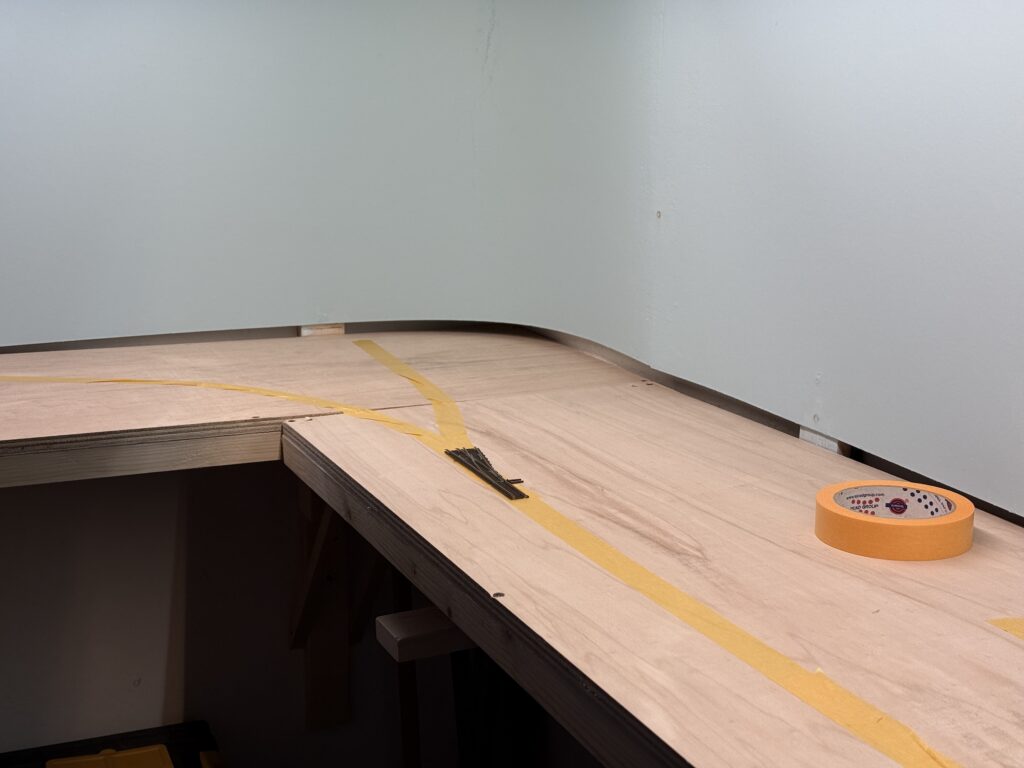
I used masking tape to transfer the trackplan onto the plywood base, then started wiring the DCC and accessory DC buses.
What works on paper doesn’t necessarily translate well to the layout. I like to use masking tape to sketch a rough version of the trackplan directly on the plywood subroadbed, allowing me to test-fit curves, sidings and spurs.
Wiring
There are three main buses running under the layout:
12VC DC bus for lighting, including streetlights and structure lights, using 0.75mm² wires (18 AWG)
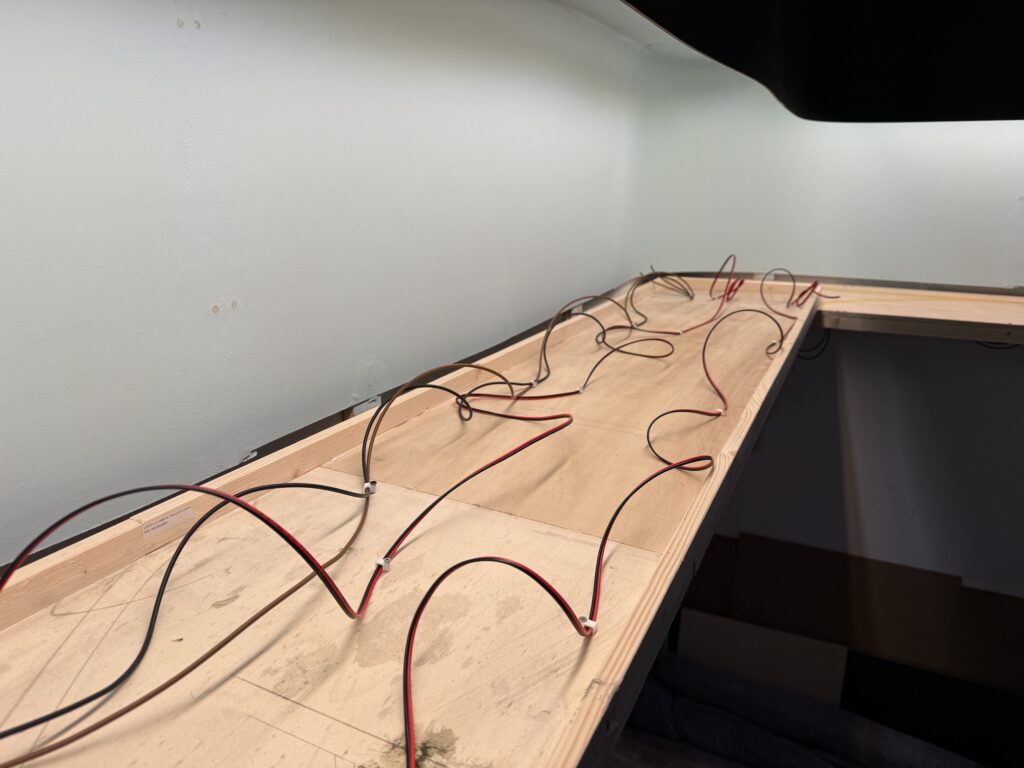
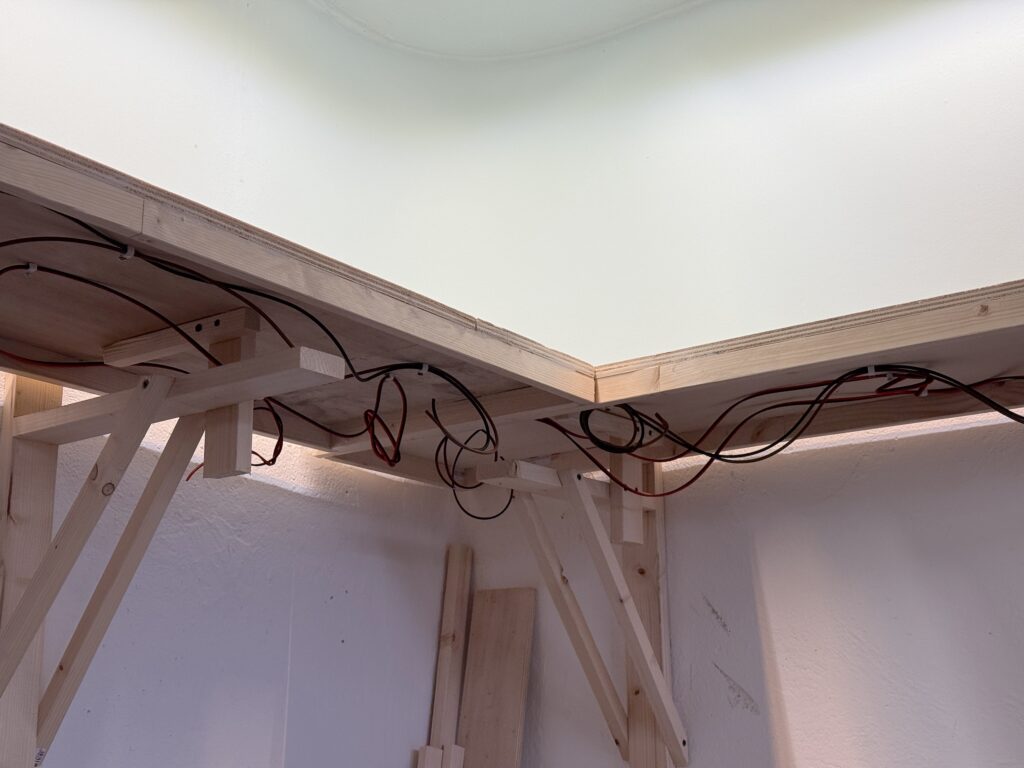
I flipped the plywood base and started fixing the bus wires in a temporary, untidy manner. I will clean up the wiring once all the track feeders and Tortoise switch machines are installed, so that I can determine the correct length for each wire.
To tap power without cutting or stripping main wires, I used suitcase connectors – quick, reliable, and ideal for temporary setups. They let me add feeders or accessories on the fly, which is perfect while I’m still fine-tuning the layout.
This approach saves time now and prevents headaches later when the layout is more complete.
Wiring the layout with DCC and accessory power requires both solid planning and a bit of foresight. I installed a robust DCC bus using heavy-gauge wire for consistent power delivery, with feeders soldered in regularly to avoid voltage drops.
Accessory wiring, like 12V DC lines for Tortoise machines and lighting, runs separately for clarity and ease of troubleshooting.
While the system is built to be dependable, I’ve allowed for future adjustments – leaving a bit of slack, labeling connections, and routing wires with accessibility in mind. Layouts evolve, and the wiring can too.
Step-by-step guide on repainting a locomotive. GP40-2 from CSX to Southern Pacific.
Repainting a locomotive can be a fun and rewarding project. I got a couple of N scale Atlas GP40-2 locomotives painted and lettered for CSX off eBay. They were reasonably priced, and I wanted to repaint and letter them in Southern Pacific Railroad’s “Bloody Nose” paint scheme, so I bought both to use them on my N scale layout.
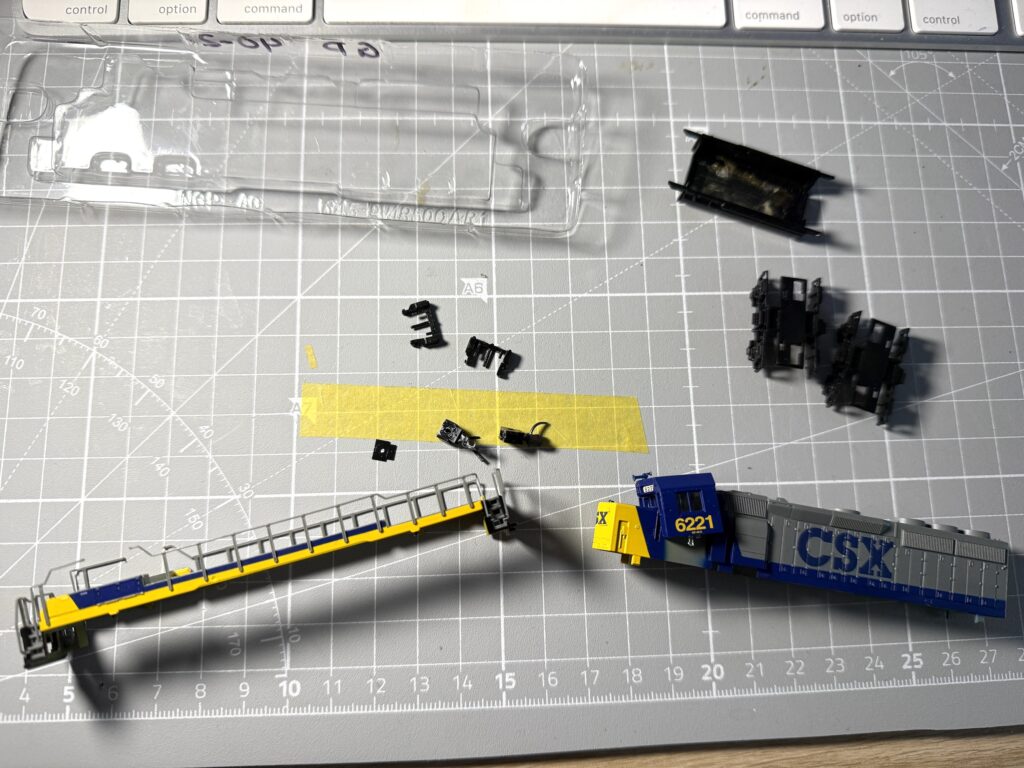
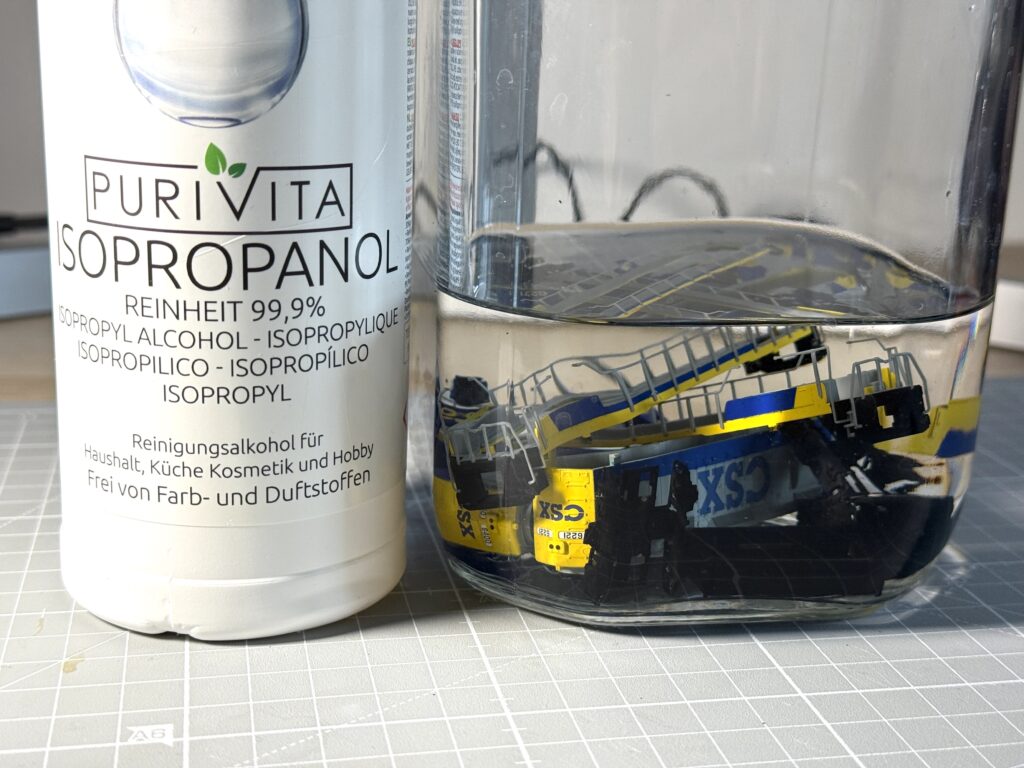
Before repainting a locomotive, it’s best to remove the old paint completely. I began by detaching the shell from the chassis and disassembling all its parts before soaking them in 99% isopropyl alcohol.
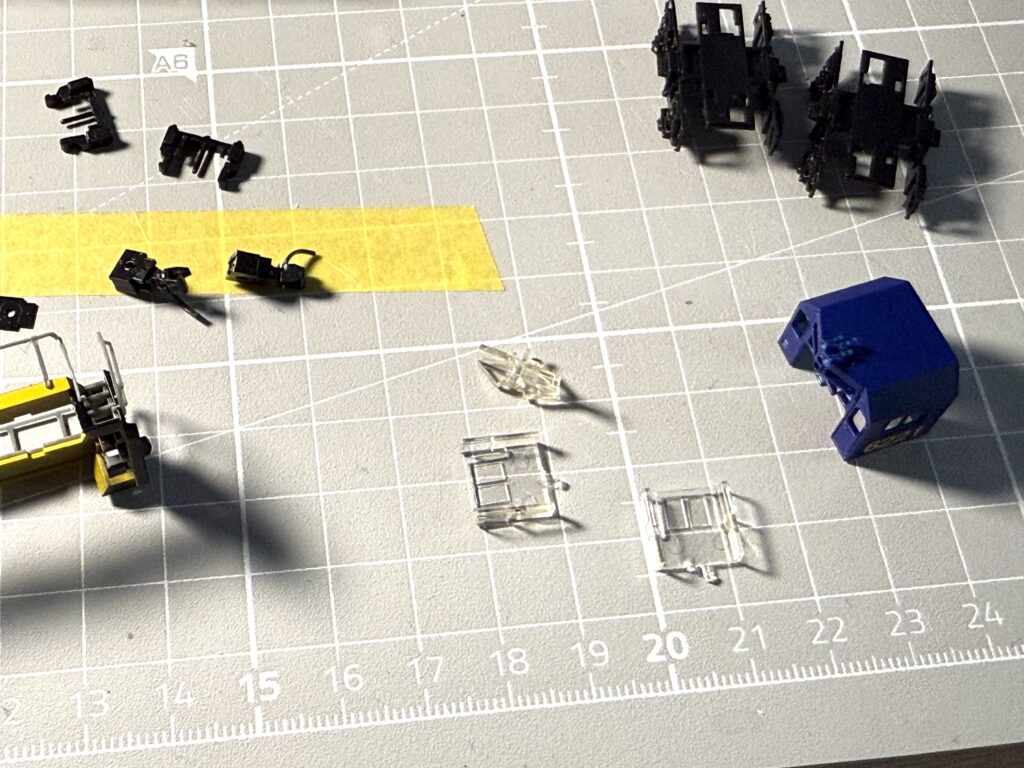
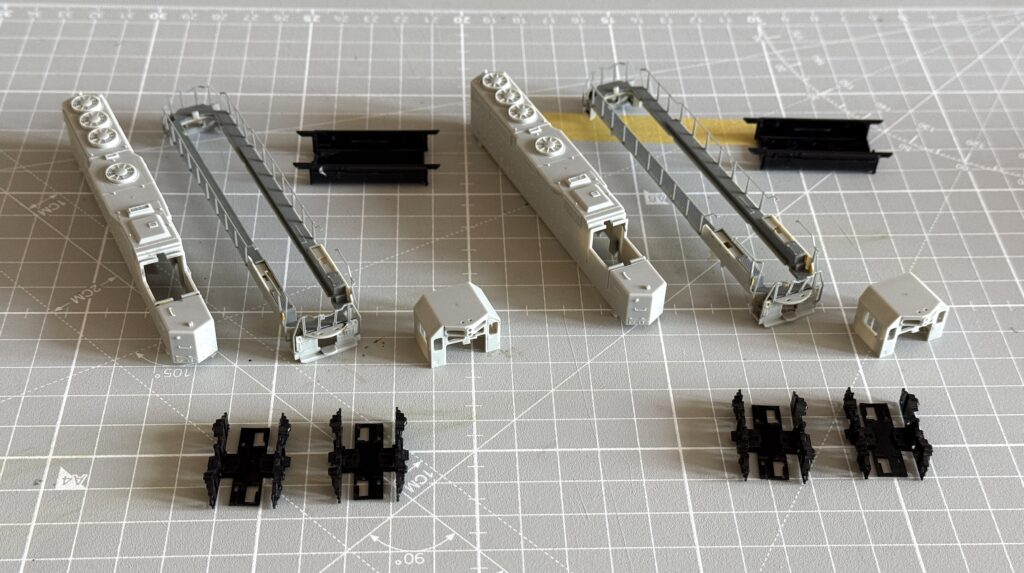
I carefully removed all clear plastic components, such as the headlights and windows. Additionally, I disassembled the trucks, as I plan to repaint them SP Gray.
Now, all the parts are fully disassembled and ready for paint stripping.
Paint stripping
I submerged all the disassembled parts in 99% isopropyl alcohol, using a glass jar with a sealing lid to prevent evaporation
After 24 hours, I used a soft toothbrush to carefully remove all the softened paint. I paid particular attention to the delicate handrails to avoid damaging them while ensuring the paint was completely removed.
Repainting the locomotive parts
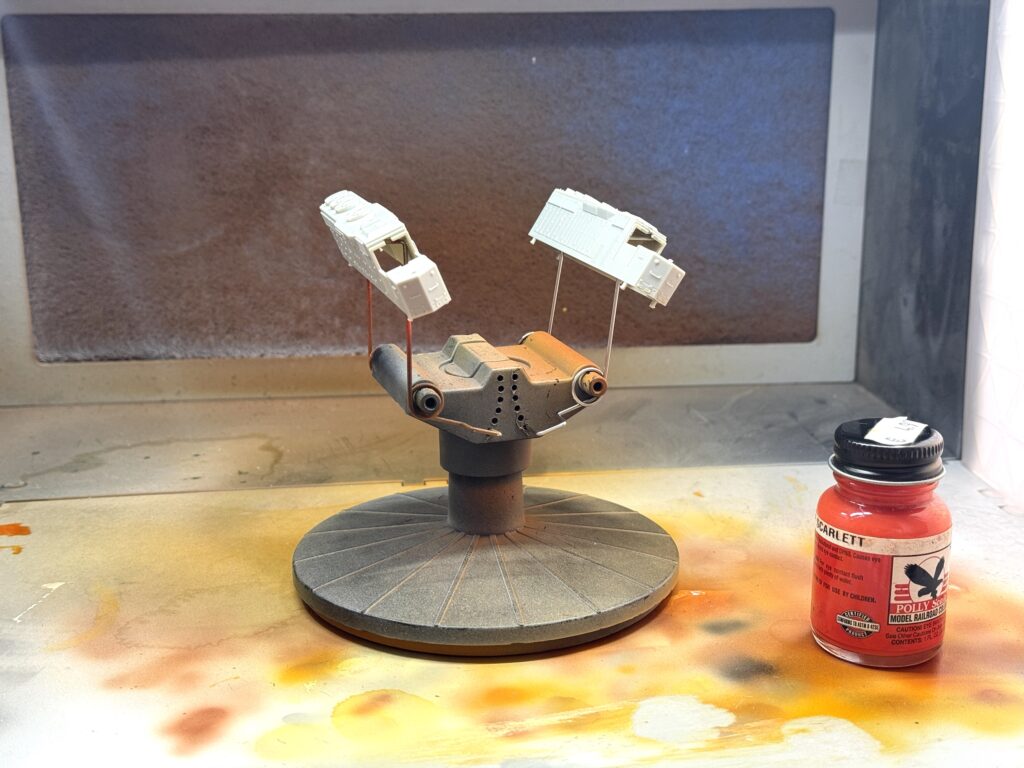
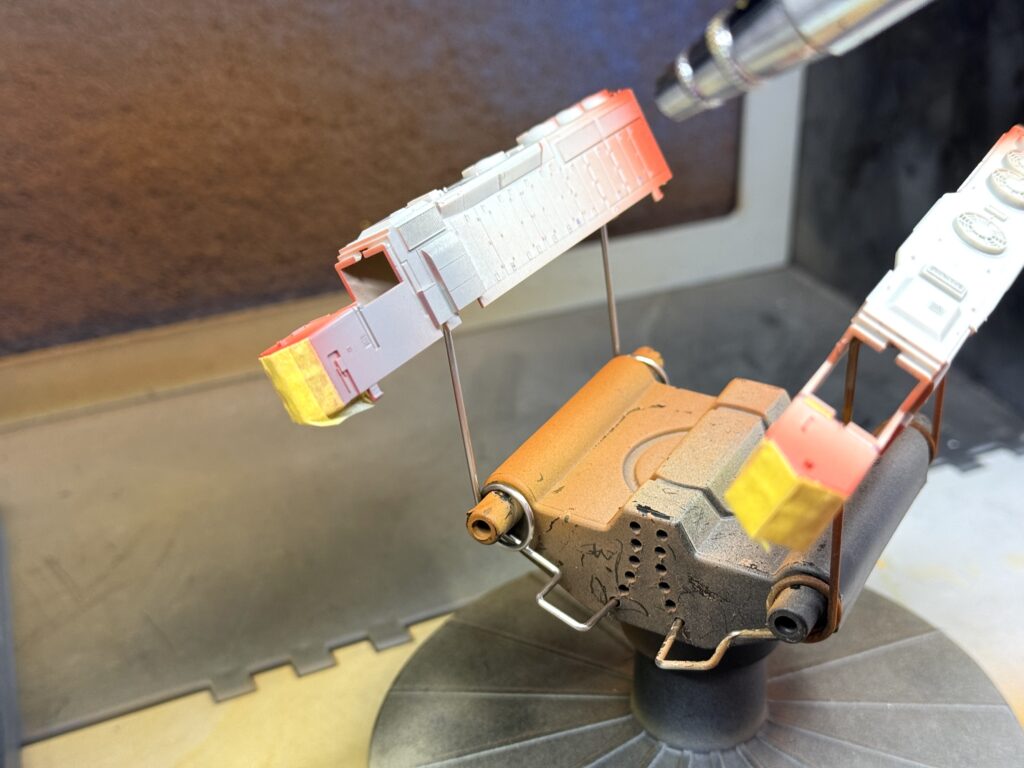
I then painted the nose and tail with SP Scarlet with an unopened bottle of Polly Scale paint that has lasted through the years – I purchased it in 2006! A a backup bottle of Vallejo Red RLM23 (71.003) was available, which can be used as a substitute for the discontinued Polly Scale color.
I prefer SP Scarlet from Polly Scale over Vallejo Red, as it should match the red “wings” on the Microscale decals.
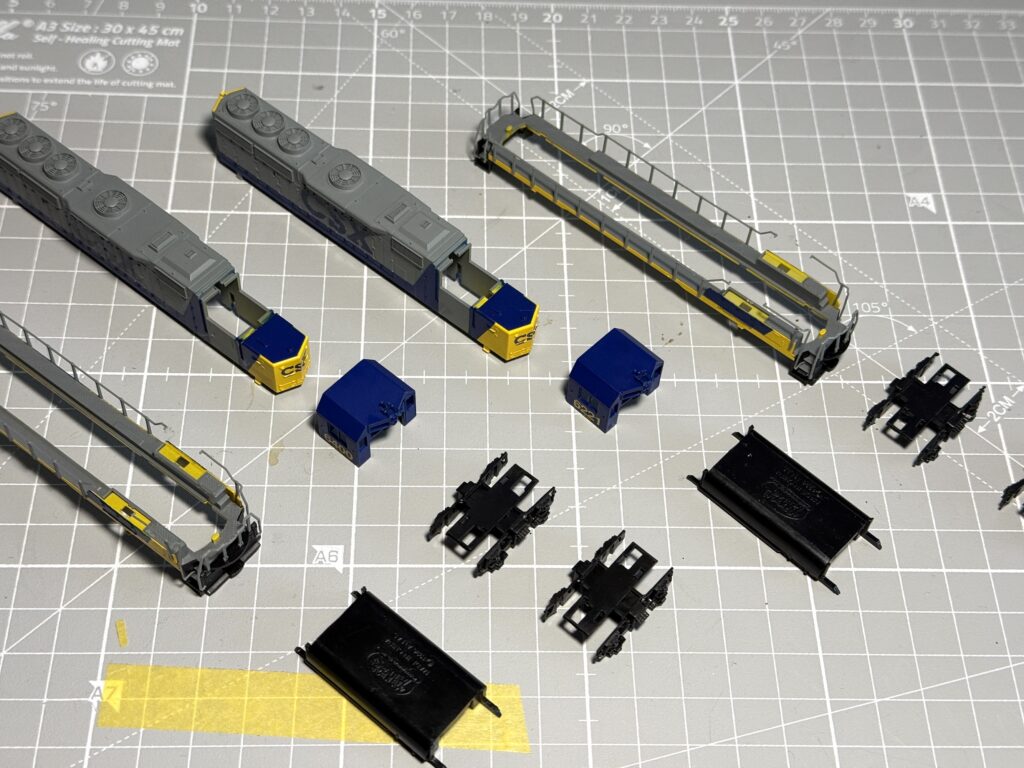
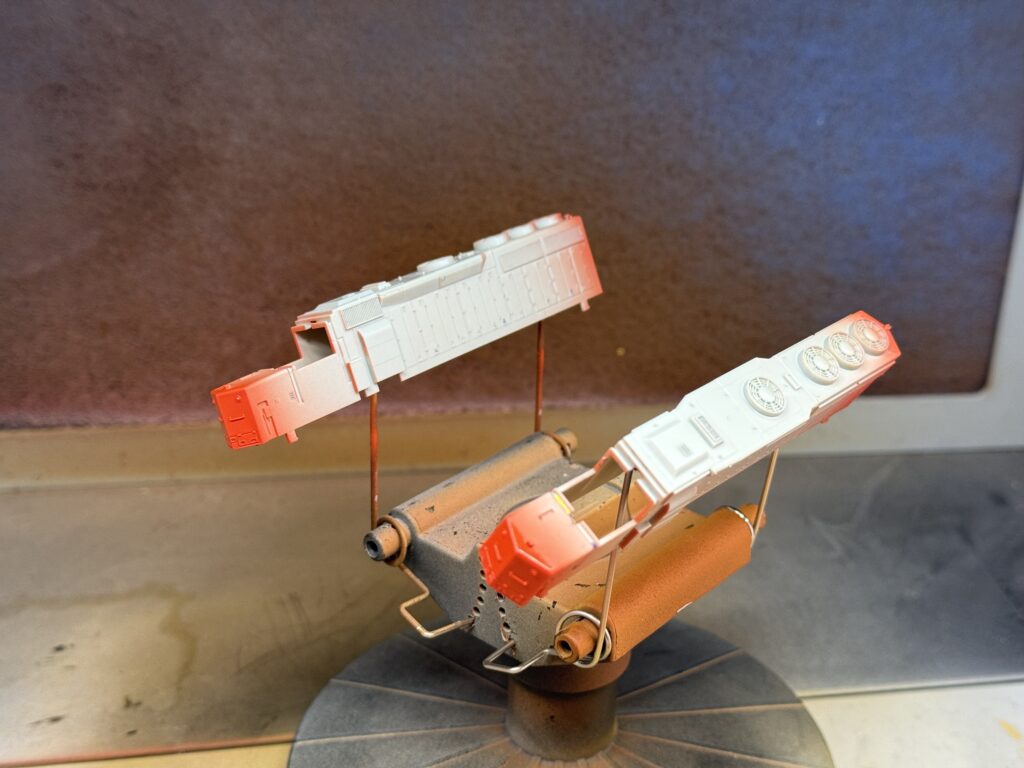
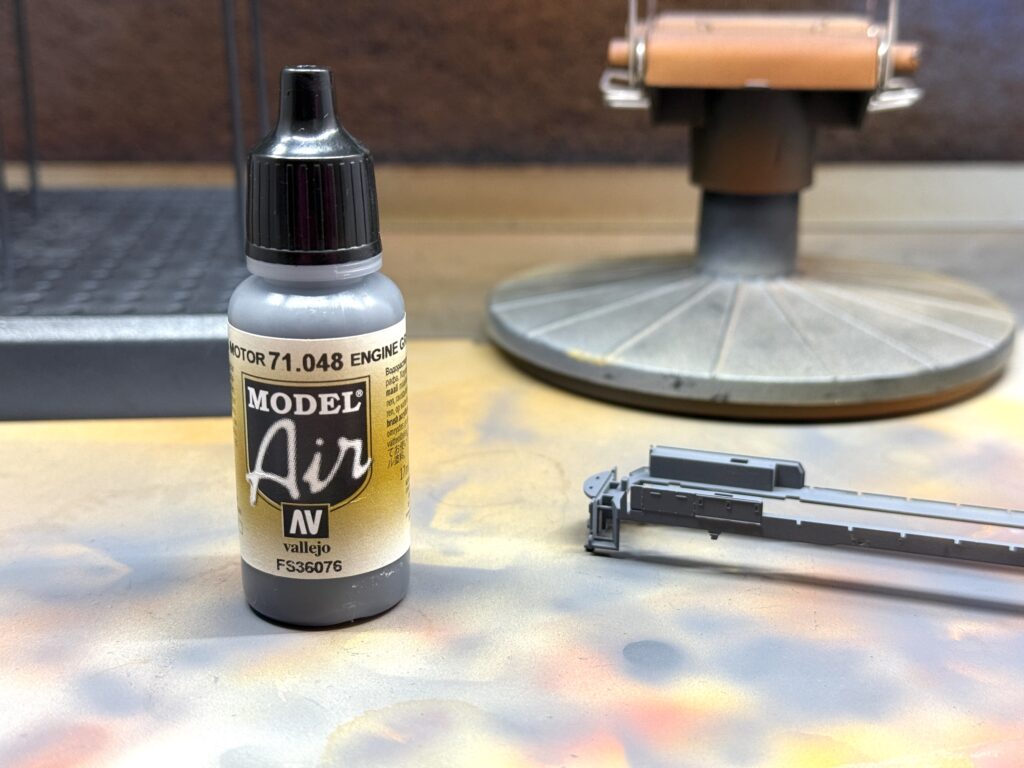
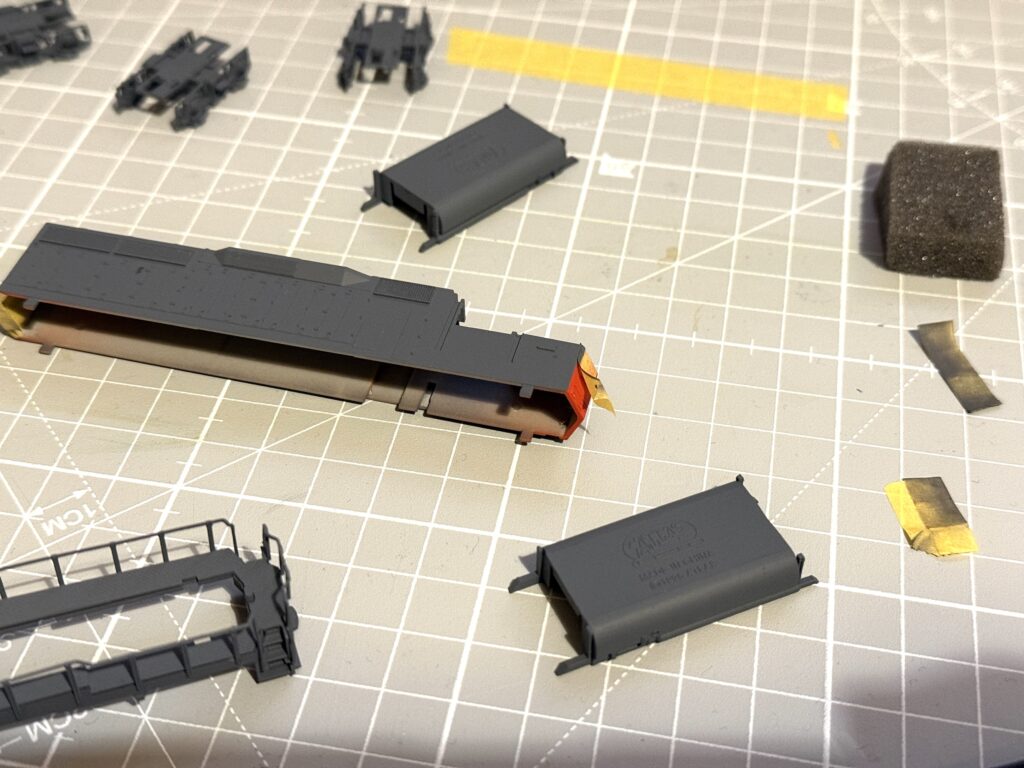
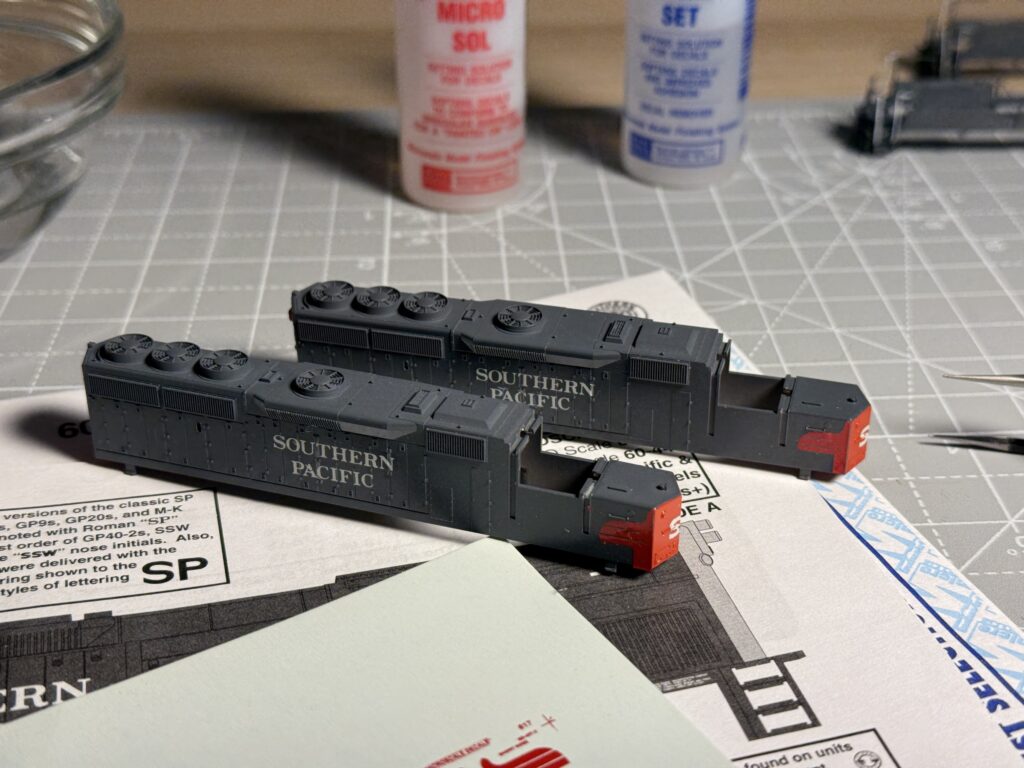
After masking the nose and tail, I painted the rest of the locomotive in SP Lark Dark Gray. I had a couple of Polly Scale SP Lark Dark Gray bottles from mid 2000s, but neither aged well. So I opted for Vallejo Engine Gray (71.048), which is a very close match.
I also painted the disassembled trucks and fuel tanks. After letting everything dry, I removed the Tamiya 6mm masking tape.
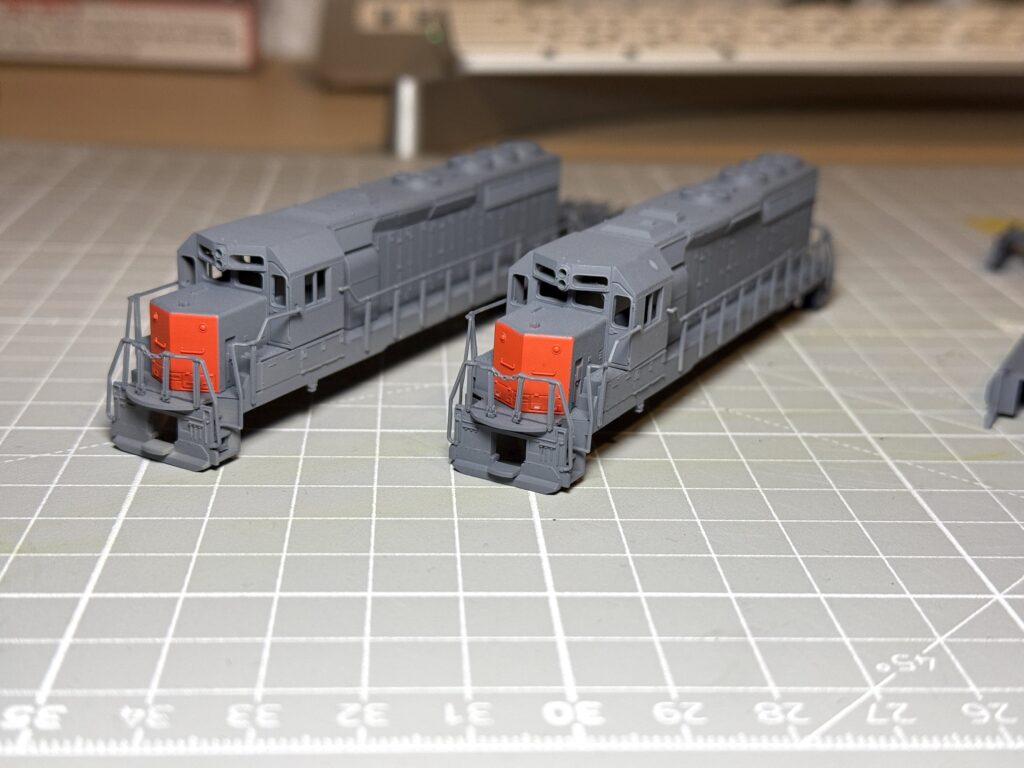
And here are the two GP40-2 locomotives, ready for a coat of clear gloss varnish before applying the lettering.
Detailing
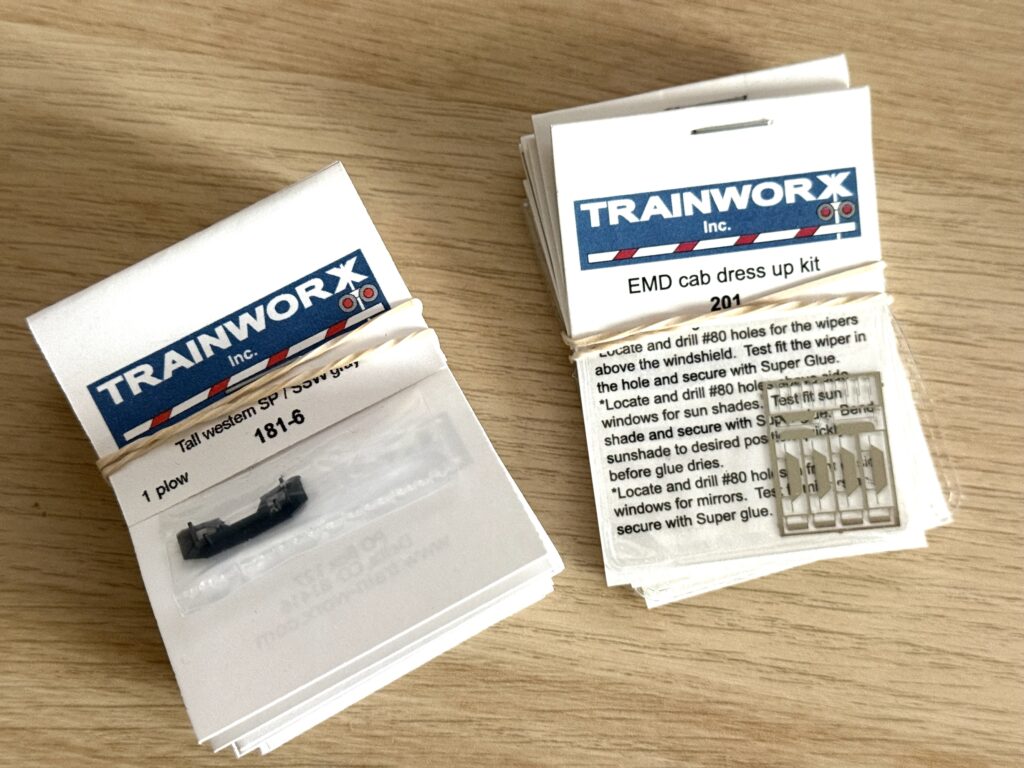
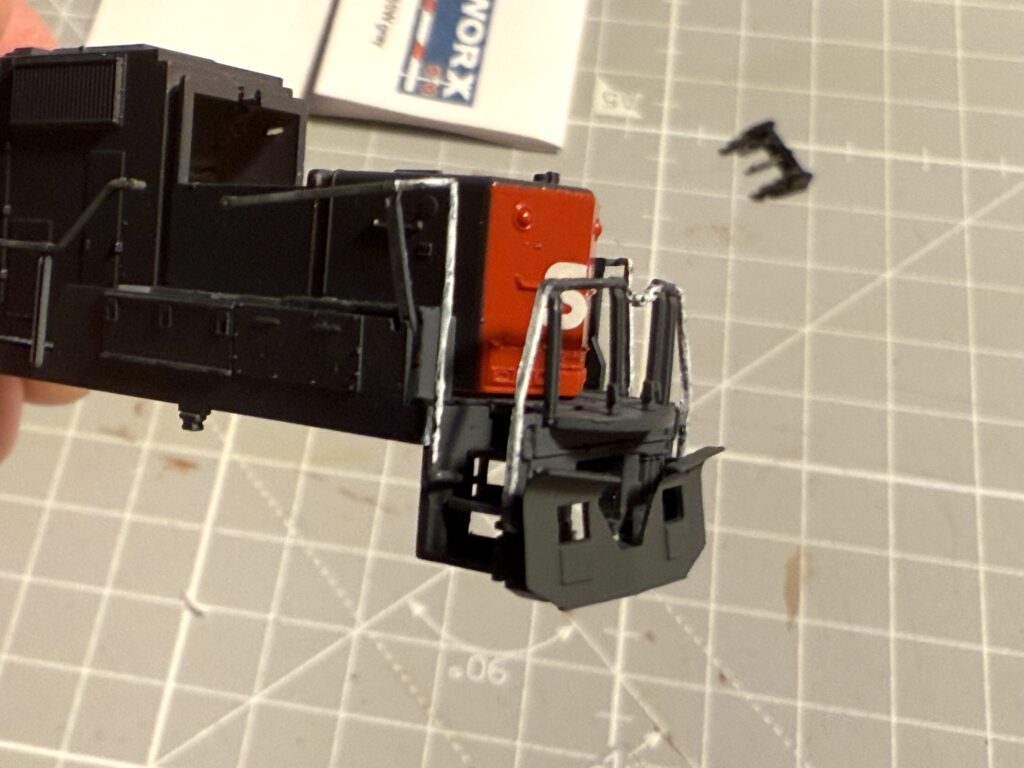
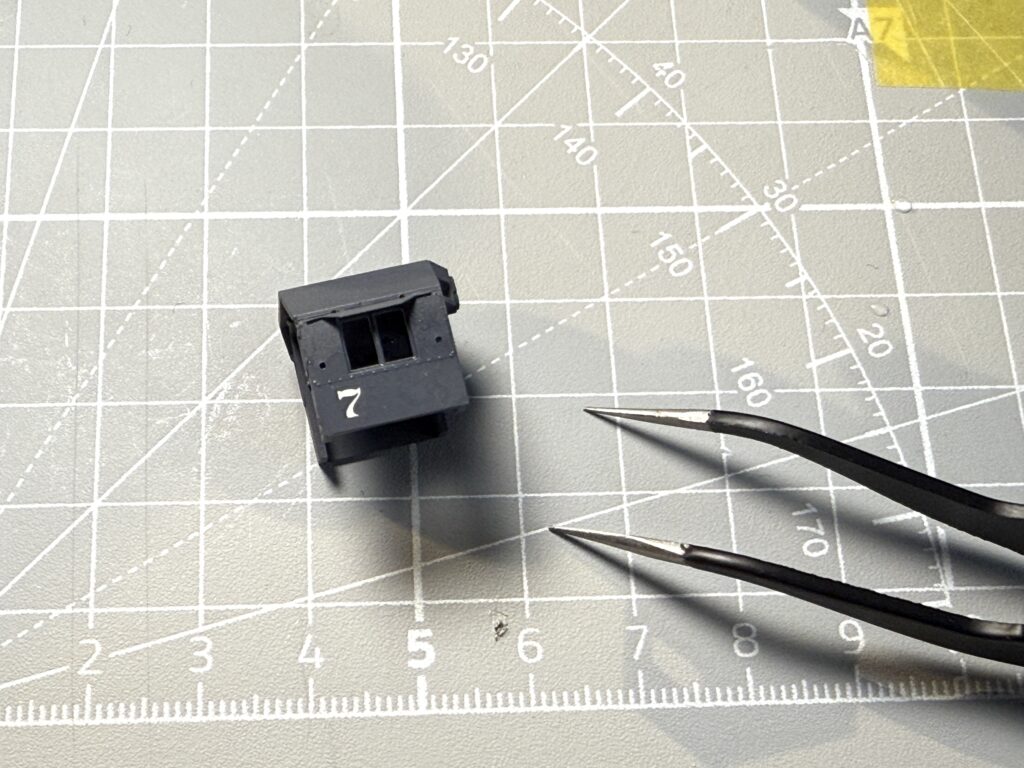
Before finalizing the painting, I added a few details to the locomotives: cab sunshades and snow plows. I purchased them from Trainworx.
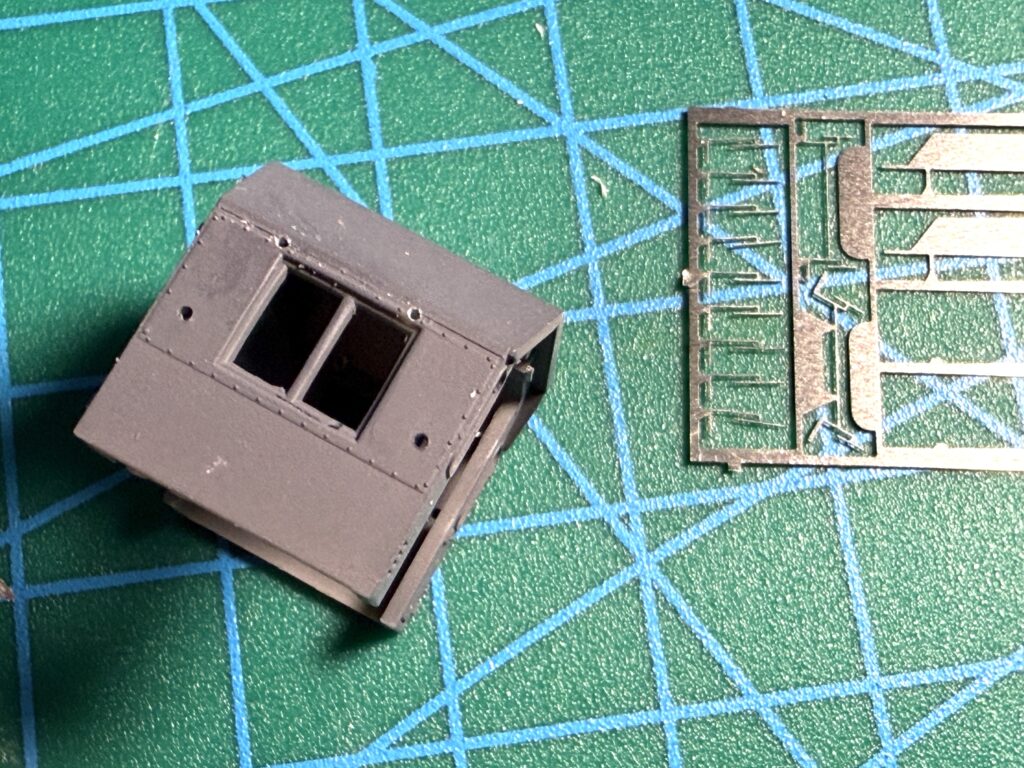
I used a hand drill with micro drill bits to carefully make holes in the cab for the sunshades.
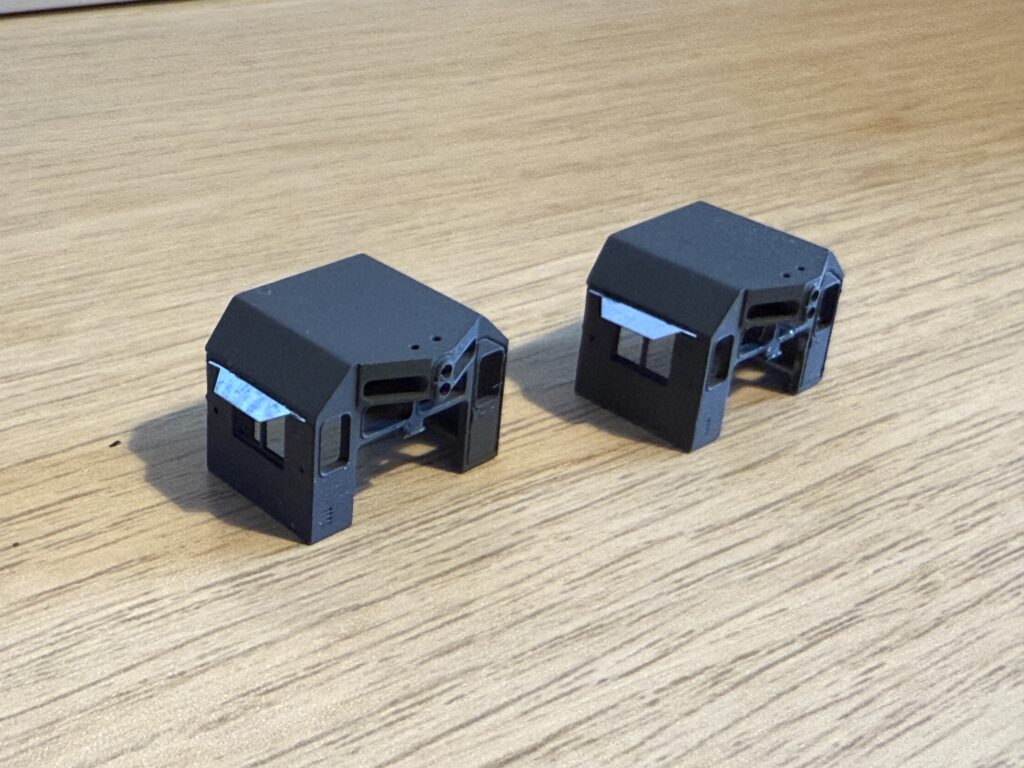
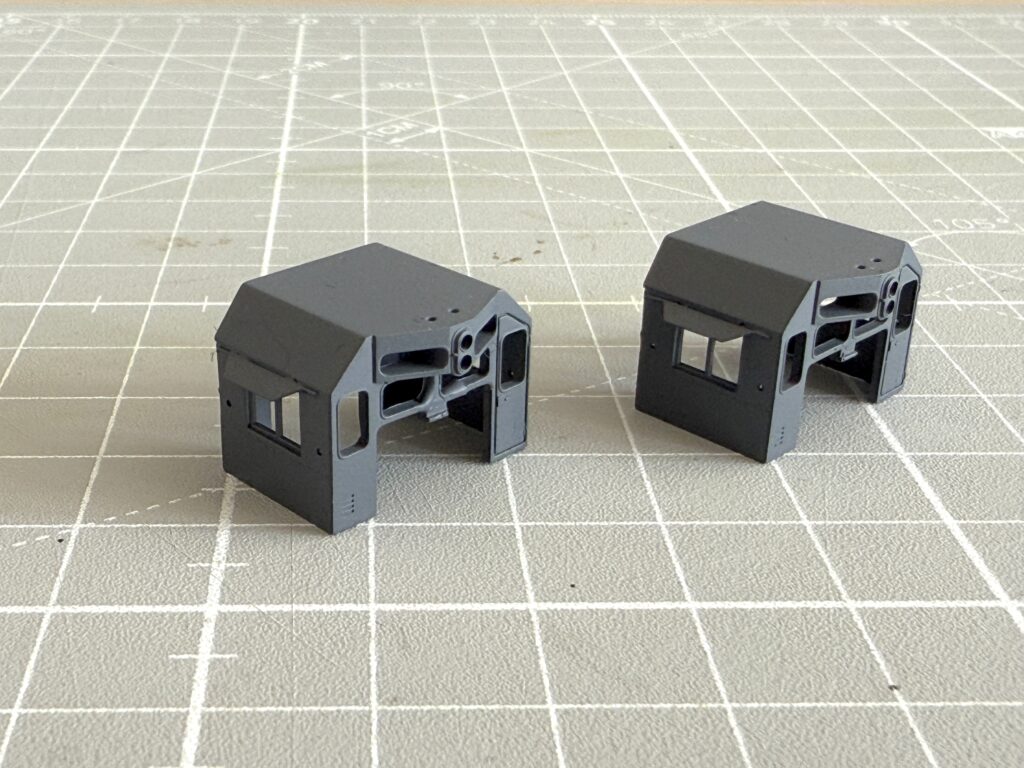
After the glue has dried, I painted the sunshades with the same Vallejo Engine Gray color.
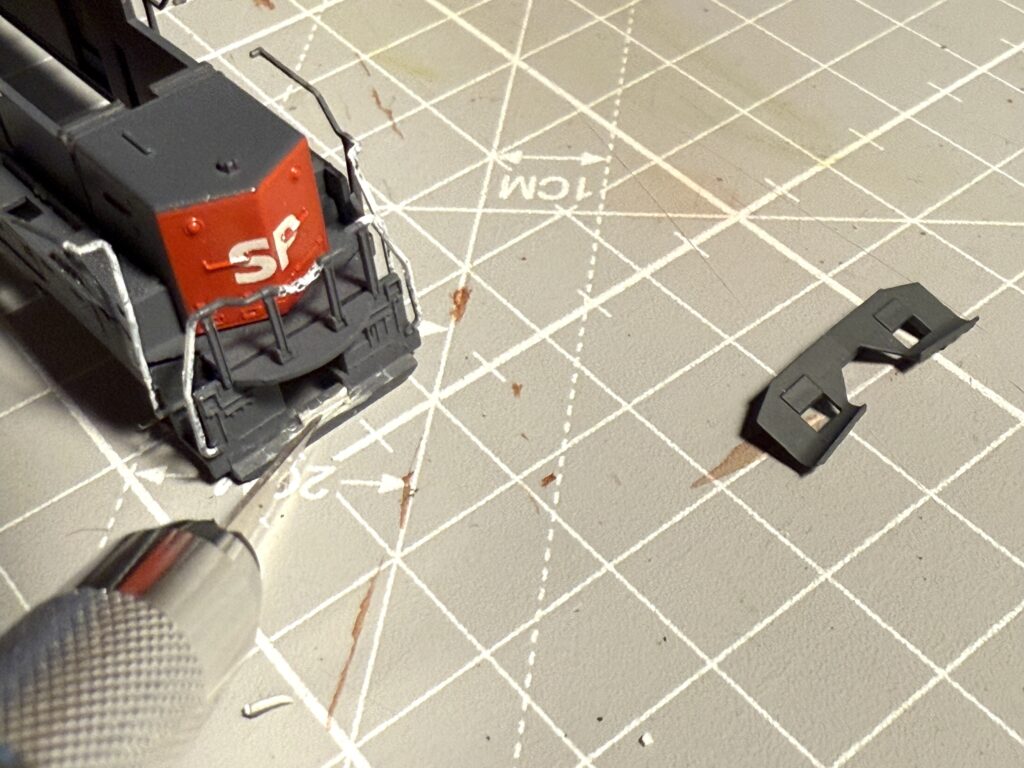
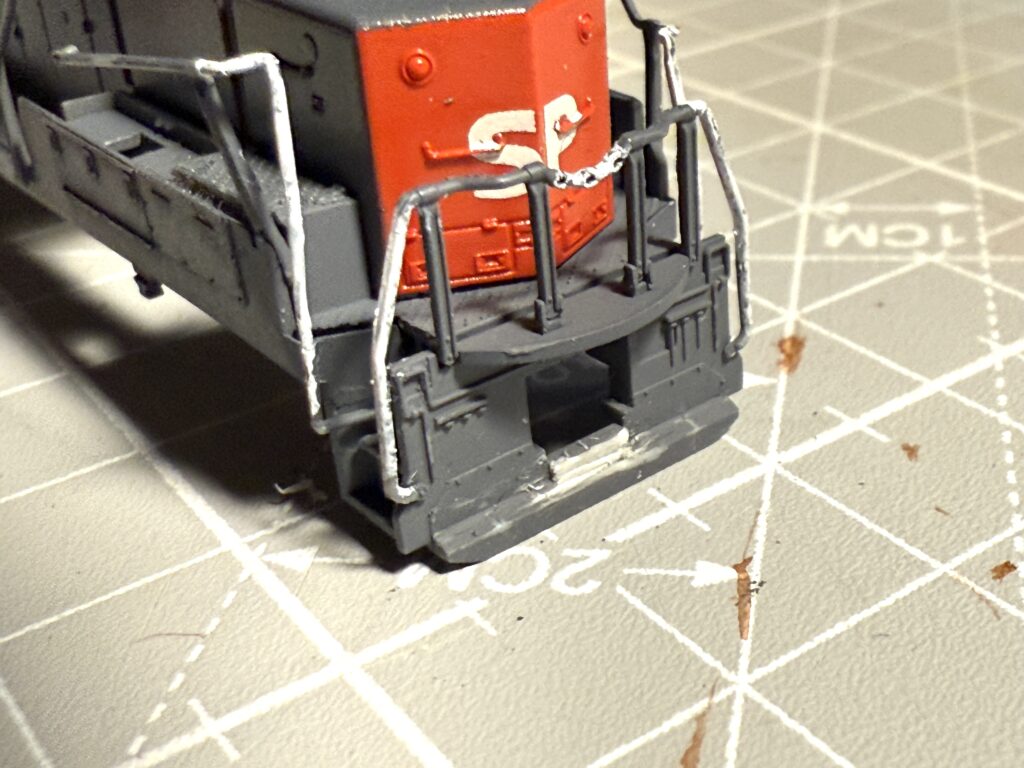
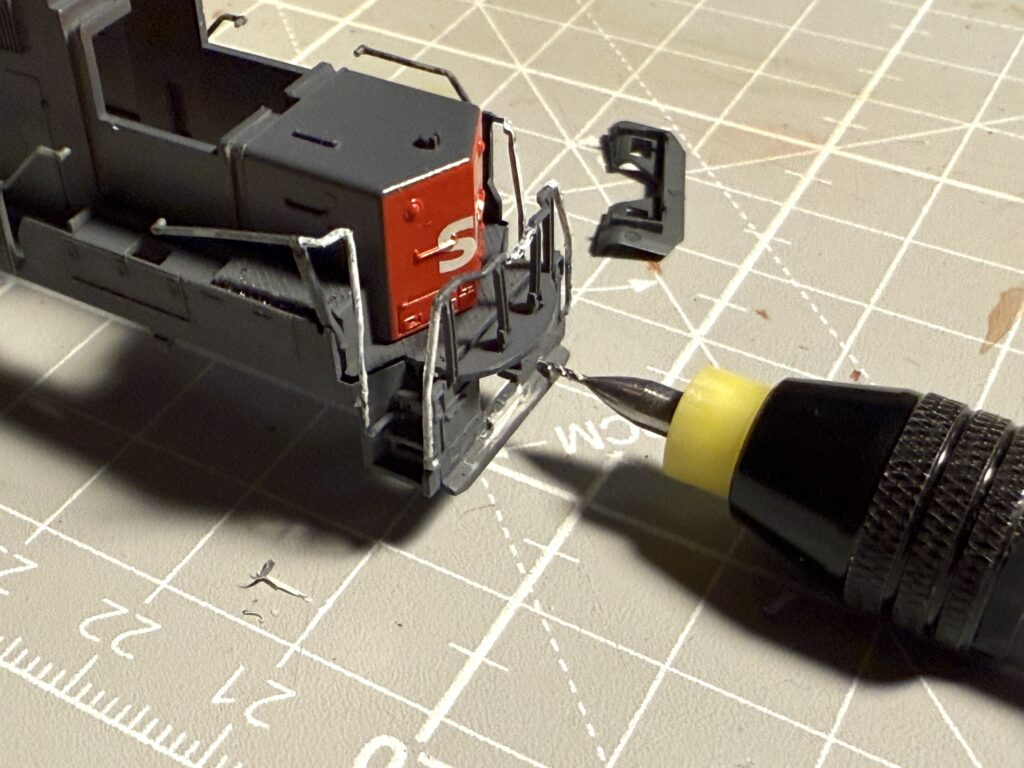
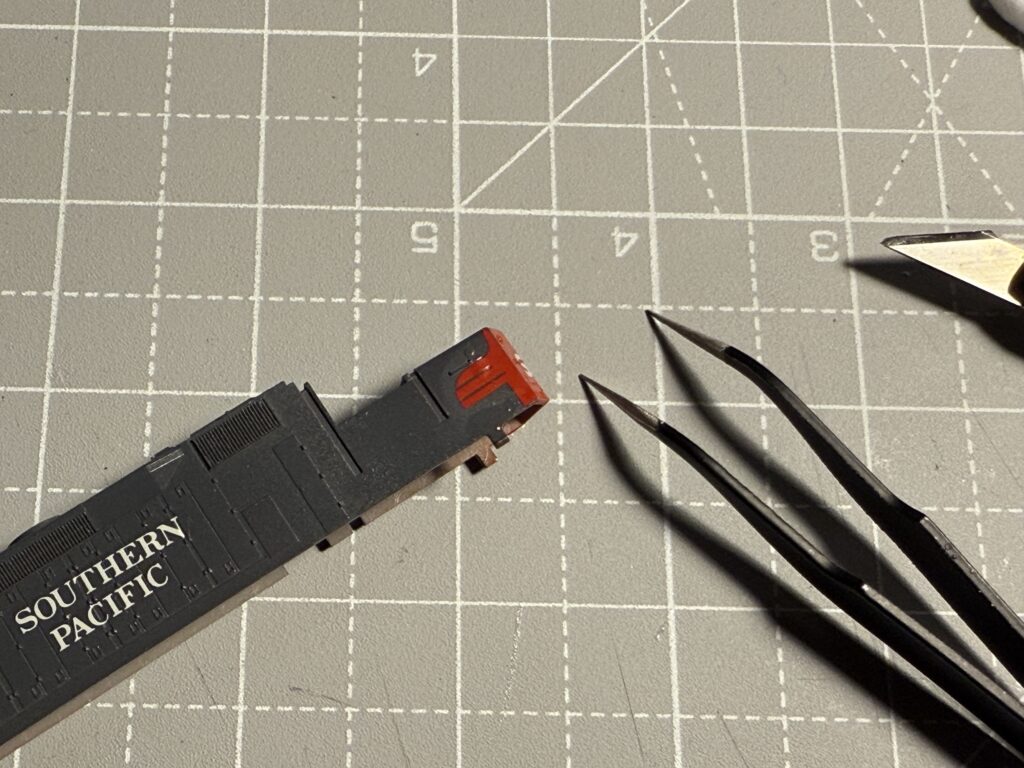
I then added a Trainworx snow plow. Using a sharp hobby knife, I trimmed a small piece of plastic from the locomotive’s front to fit the plow.
Then, using a hand drill and a fine drill bit, I drilled two small holes.
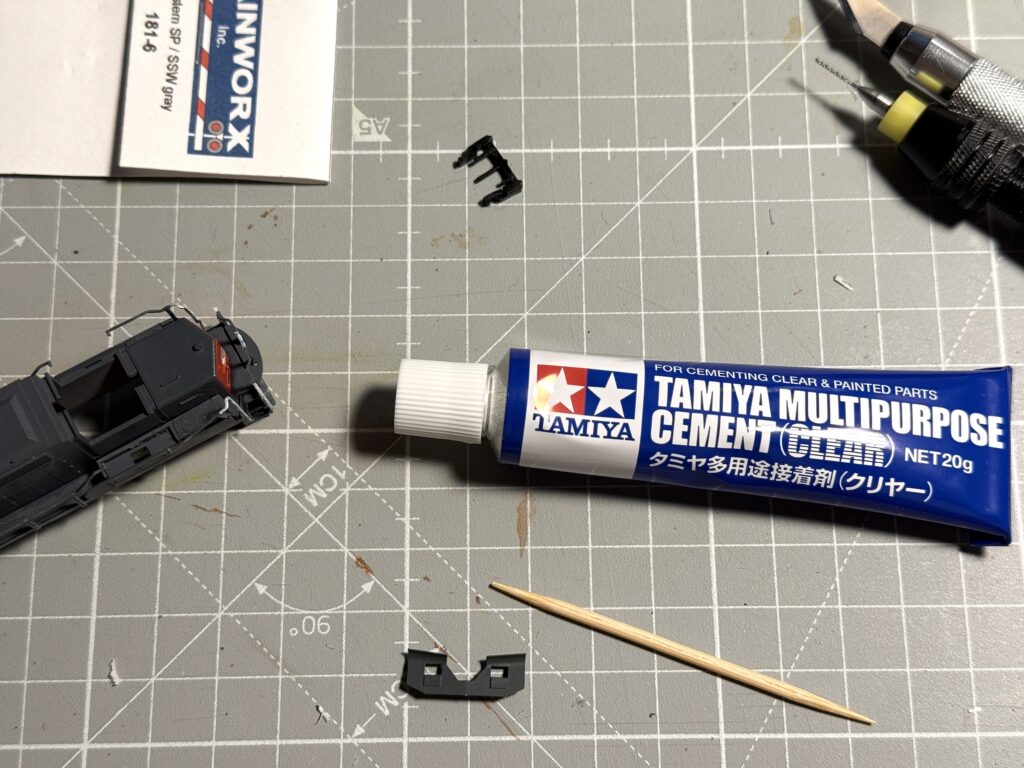
I used Tamiya Multipurpose Cement (Clear) glue to secure the snow plow in place.
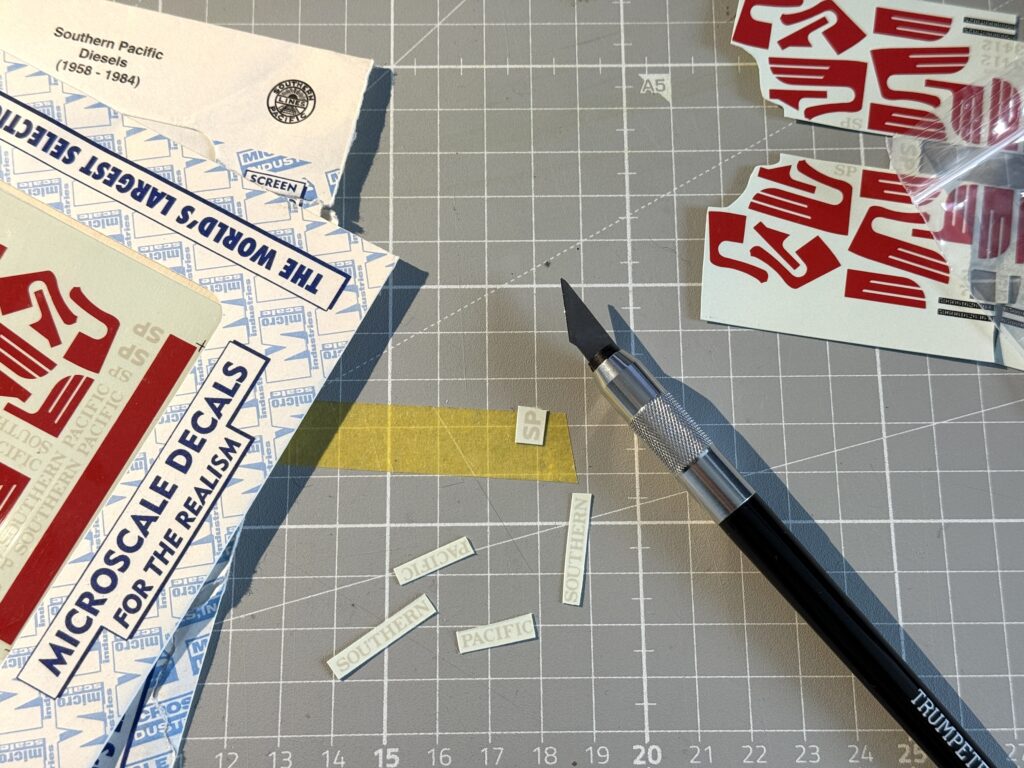
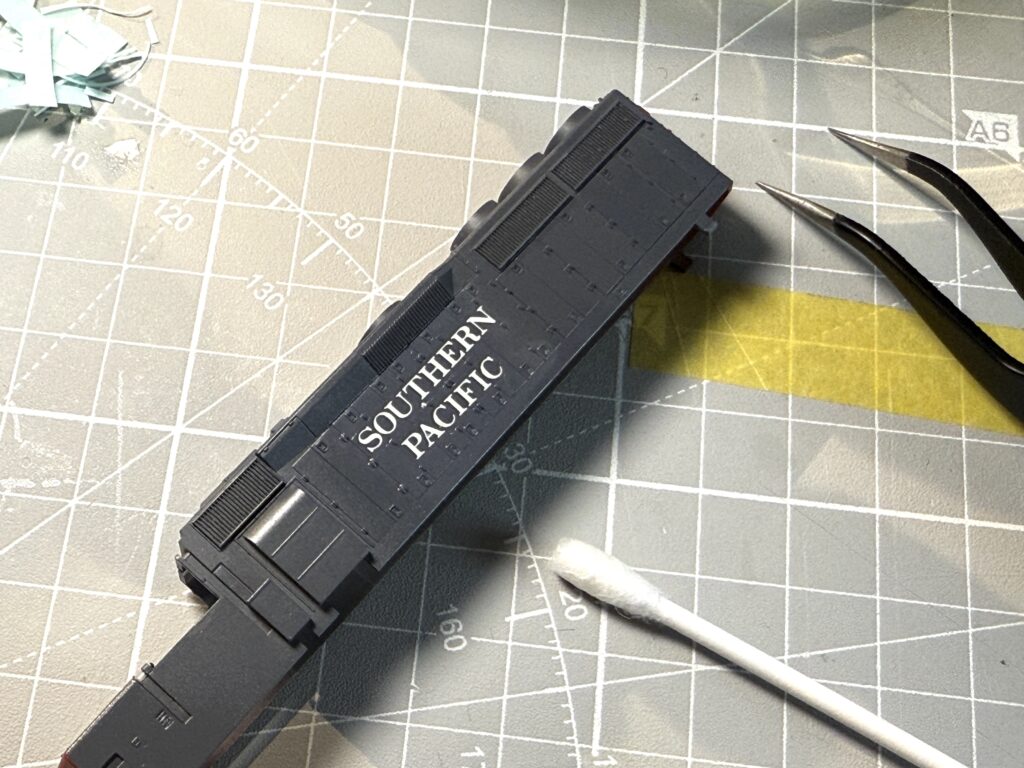
Lettering
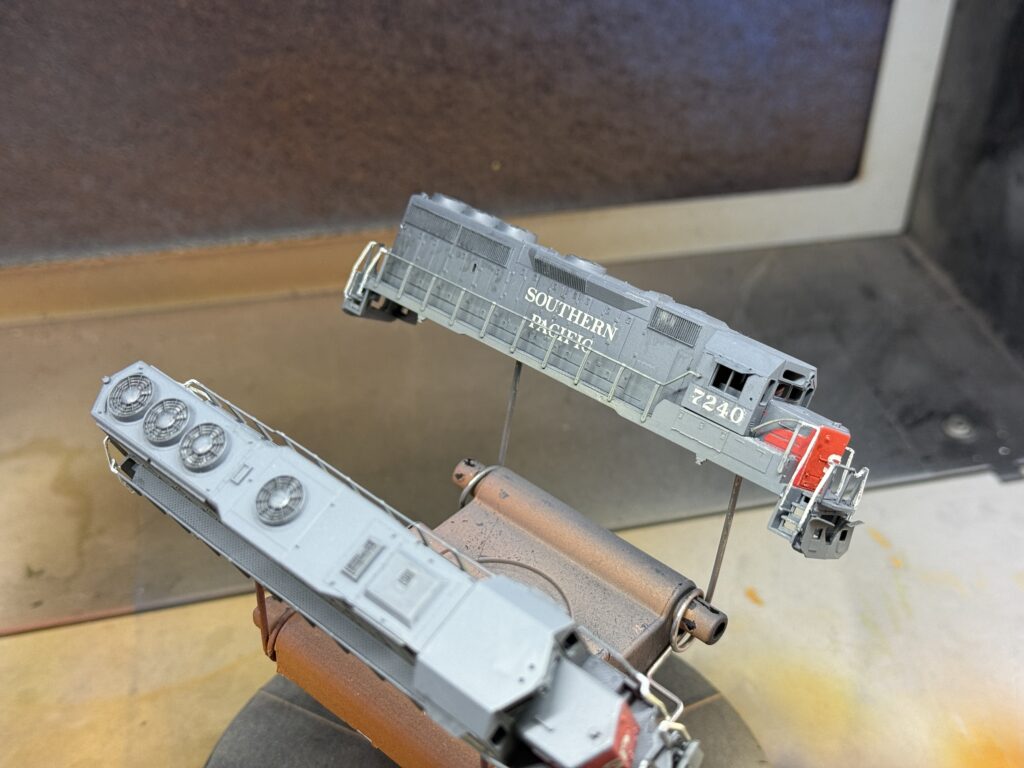
Using Microscale decals, I completed the GP40-2 lettering after repainting the locomotives. I chose to model units 7240 and 7609.
The red wings on the nose are always a bit tricky to apply, but I managed to get through it.
Weathering
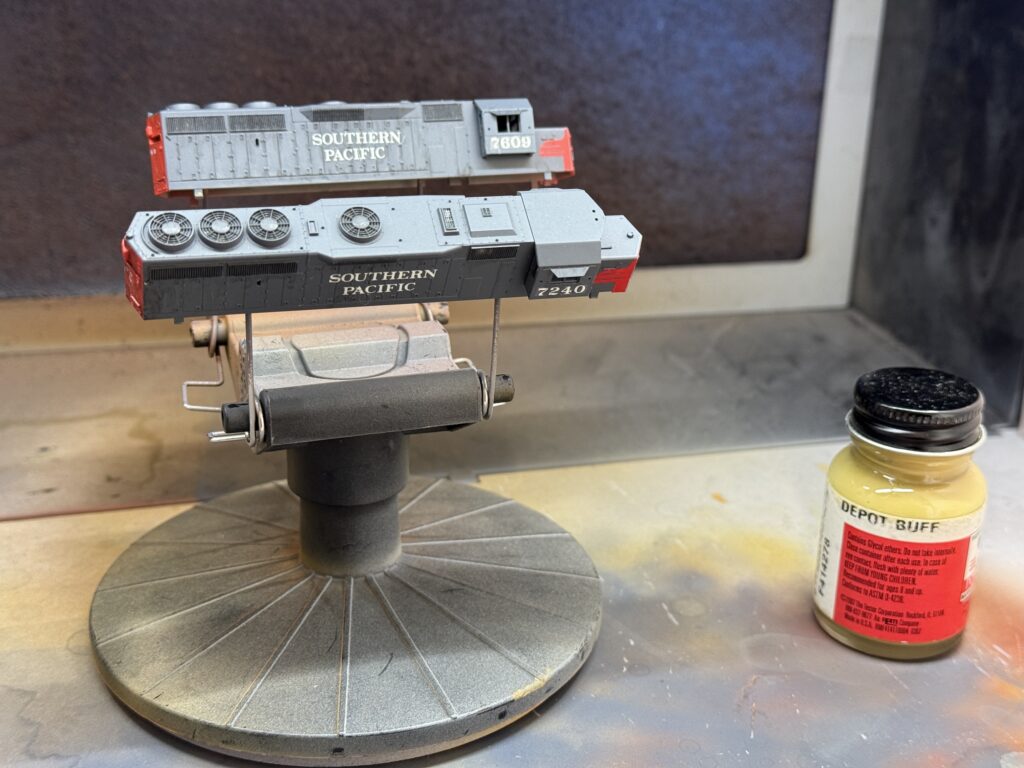
I then applied a weathering coat by washing the grills and adjacent areas with black India ink, followed by airbrushing a couple of layers of Polly Scale Depot Buff (70/30 thinner-to-paint mix).
The Depot Buff (light tan color) replicates a layer of accumulated dust.
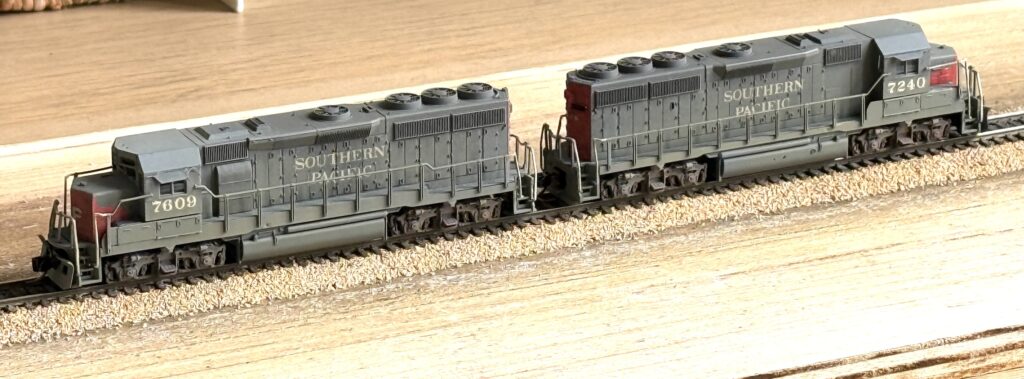
Here is the final result. Southern Pacific GP40-2 7609 and Southern Pacific GP40-2 7240, both equipped with a Zimo MX615 DCC decoder.
We use cookies to ensure that we give you the best experience on our website. If you continue to use this site we will assume that you are happy with it.
You can revoke your consent any time using the Revoke consent button.