Some new structures and scenery update on the SP Burbank Branch in N scale
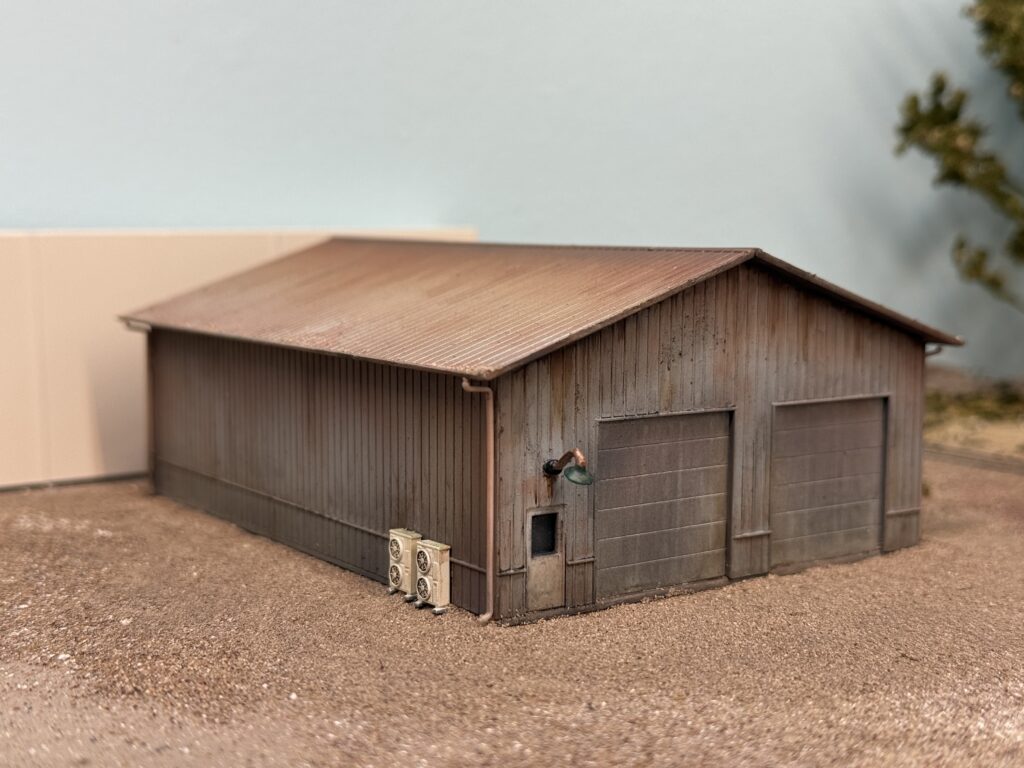
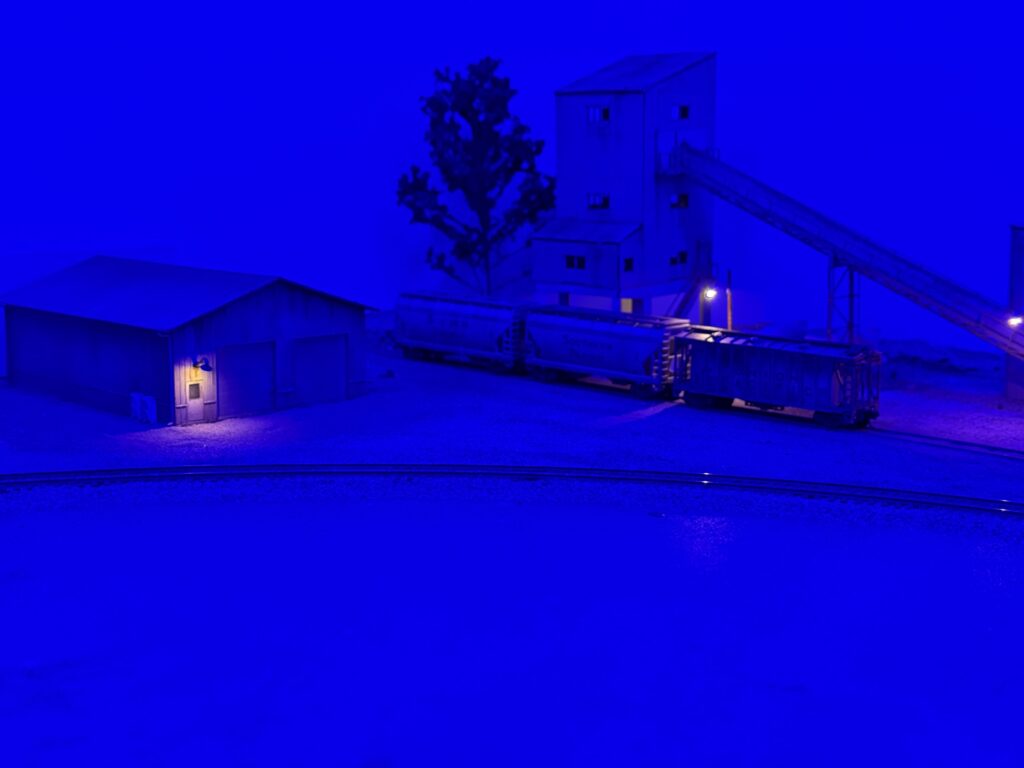
New structures and scenery update on first section of the layout to receive full scenery. I assembled, painted, and weathered several buildings to serve as warehouses or general industry-related structures.
I used Walthers kits as well as a scratchbuilt building flat from styrene to add a bit more depth to the backdrop. I also finished the bridge over the LA River.
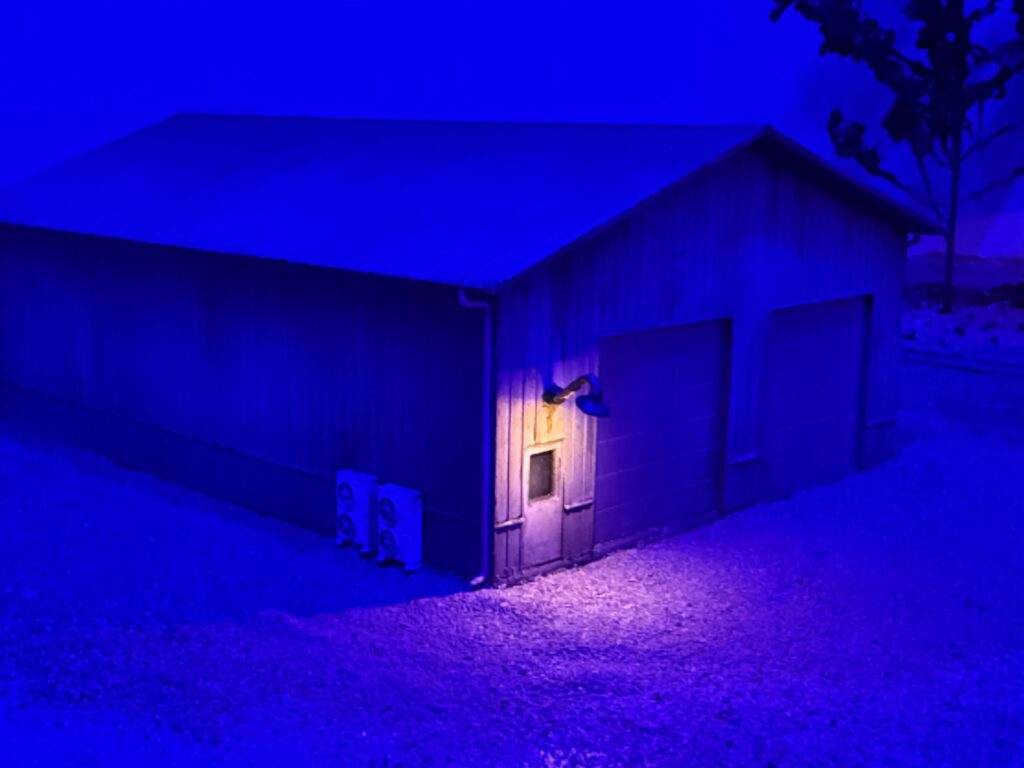
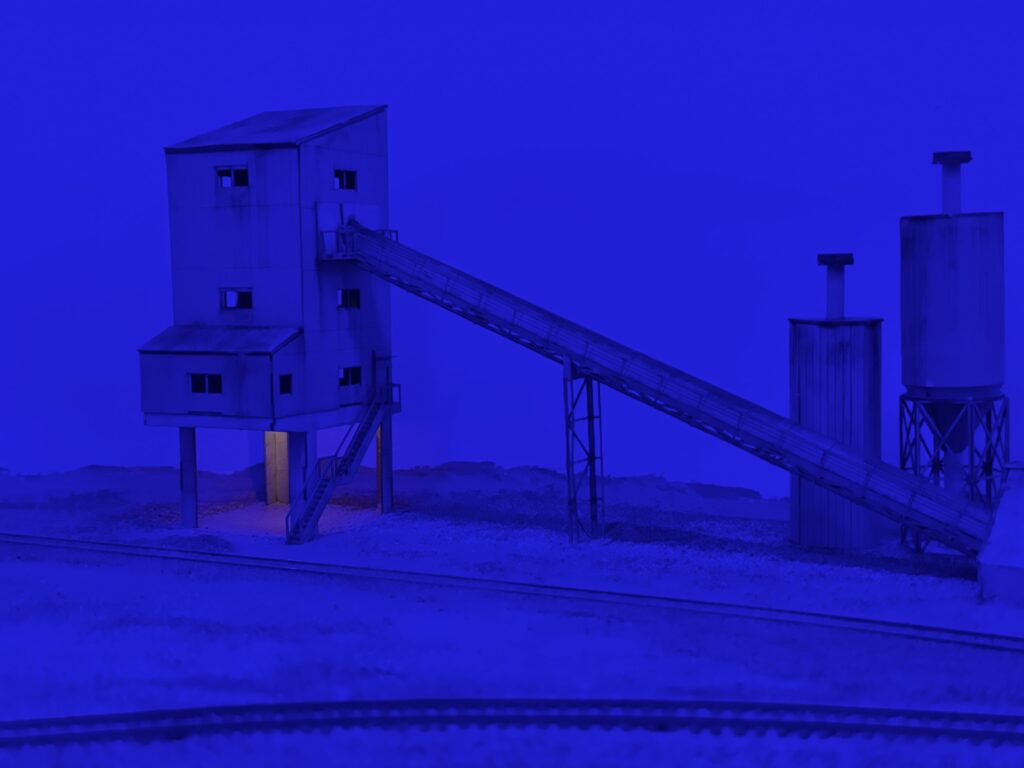
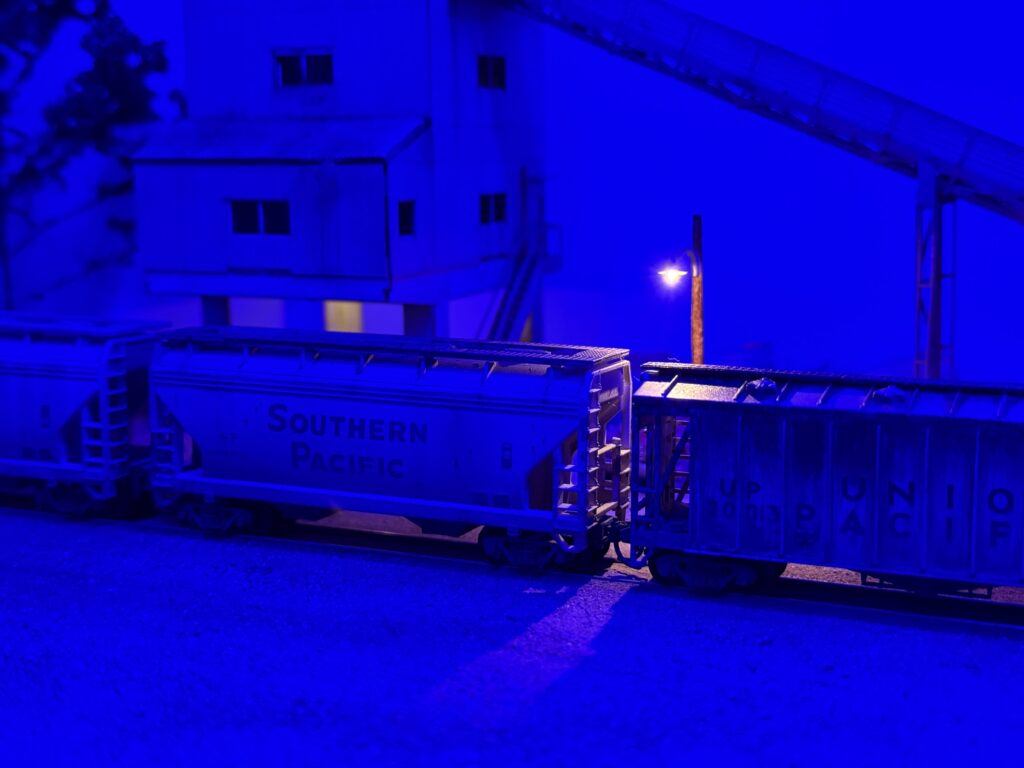
Then, I added lighting with small LEDs and Woodland Scenics goose lamps to make the night scene more interesting and realistic.
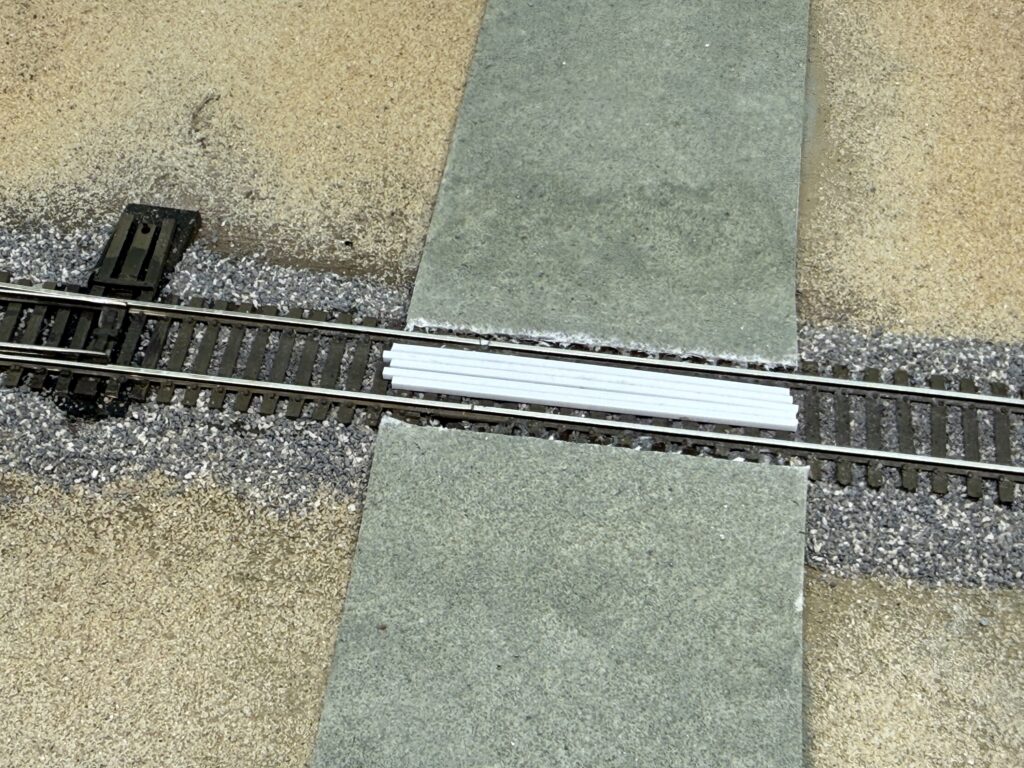
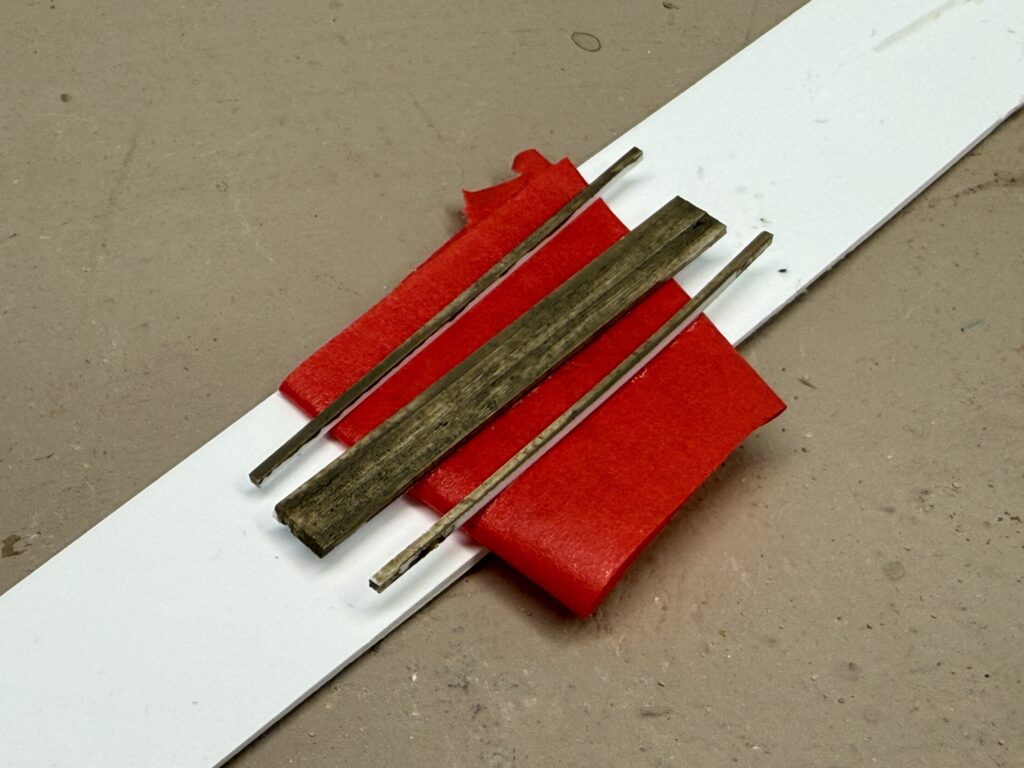
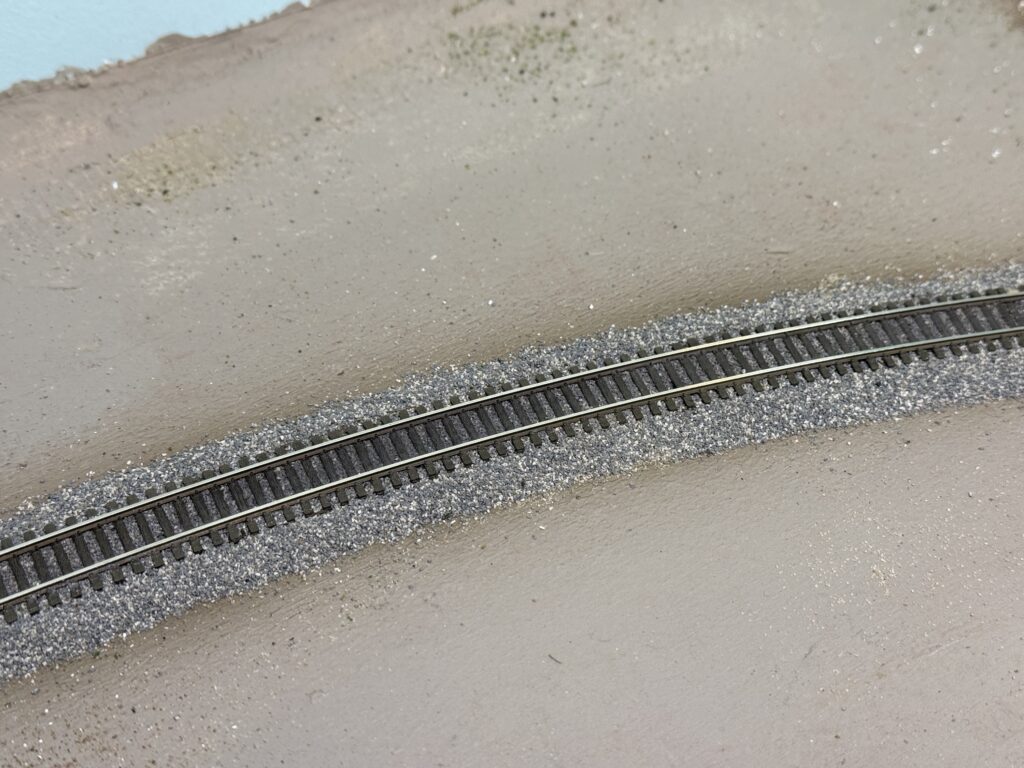
In addition, I used styrene strips to build a wood grade crossing. I hand-painted the styrene with a mix of gray and brown acrylics. Then, I sealed everything with a coat of flat clear from a spray can.
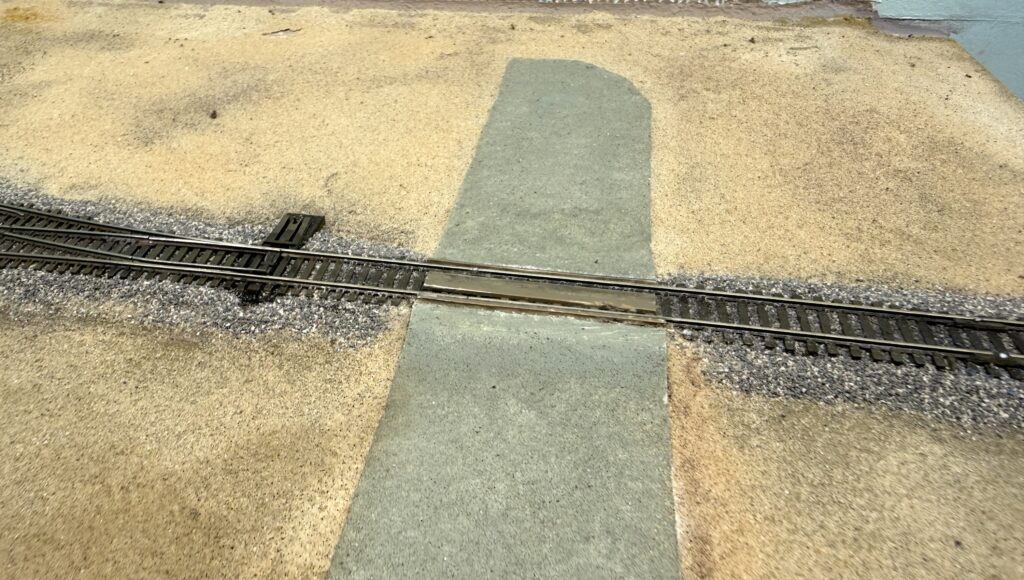
Furthermore, I weathered the area between the rails using powdered pigments mixed with plaster of Paris. Then, I and applied the mix on the track with a flat brush. Finally, I misted the area with water so the plaster would set and seal everything in place.
Enzo’s Pizza is a structure I will install on the Burbank Branch in N scale to honor the late Enzo Fortuna.
I built Enzo’s Pizza from a Blair Line kit. The kit represents Pizzaland in Chicago, Illinois, but I chose to rename it and place it on my N scale Burbank Branch layout.
The name honors the memory of Enzo Fortuna, a friend of mine who passed away on March 19, 2025. Enzo was a Southern Pacific N scale modeler whose layout depicted the beginning of the SP Coast Line, roughly from San Francisco to Santa Cruz. Unfortunately, he never had the chance to complete it.
We shared a passion for N scale, the Southern Pacific, and realistic operations. We were both members of FREMO in Italy, and we operated several times on the Italian N scale FREMO modular layout.
Enzo’s Pizza is my way of actively remembering him through modeling. I am sure he would have loved it.
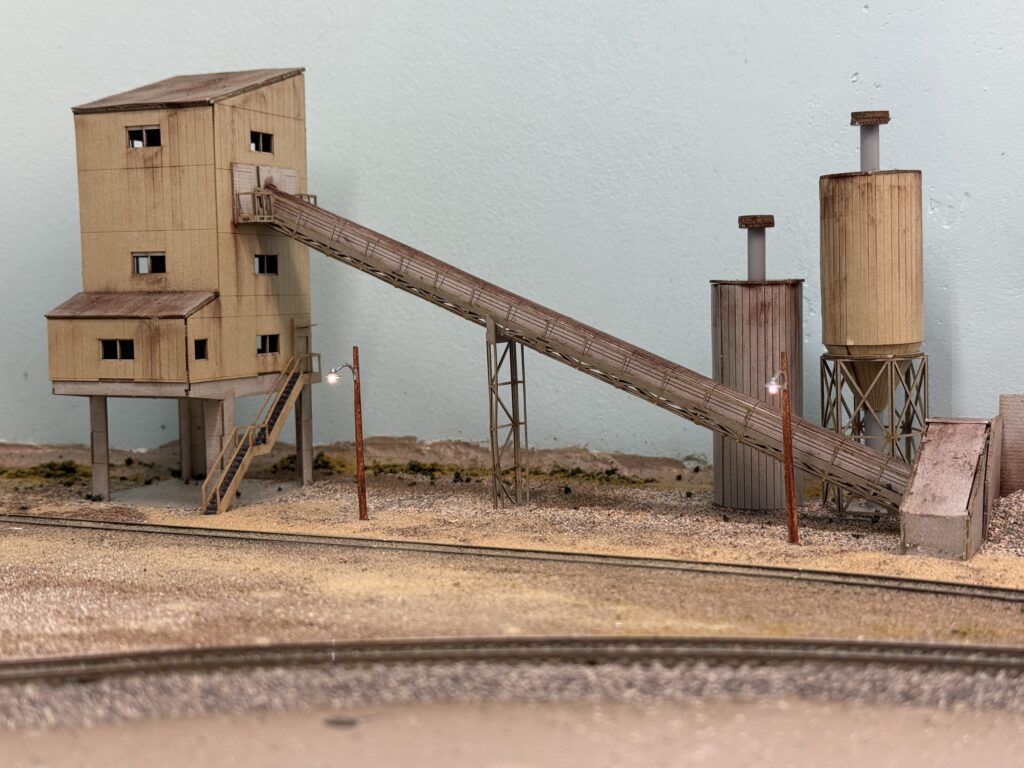
After installing the bridge, I placed the ConRock Ready-Mix Cement Plant
The layout corner where the ConRock Ready-Mix Cement Plant is located will be the first area to receive scenery.
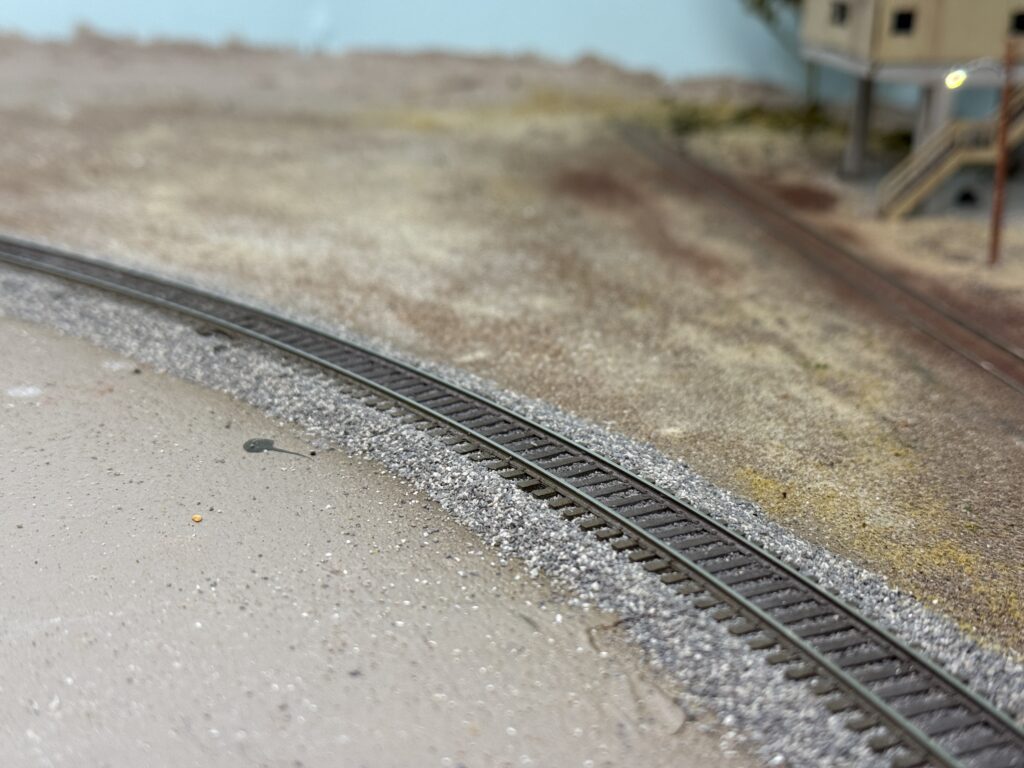
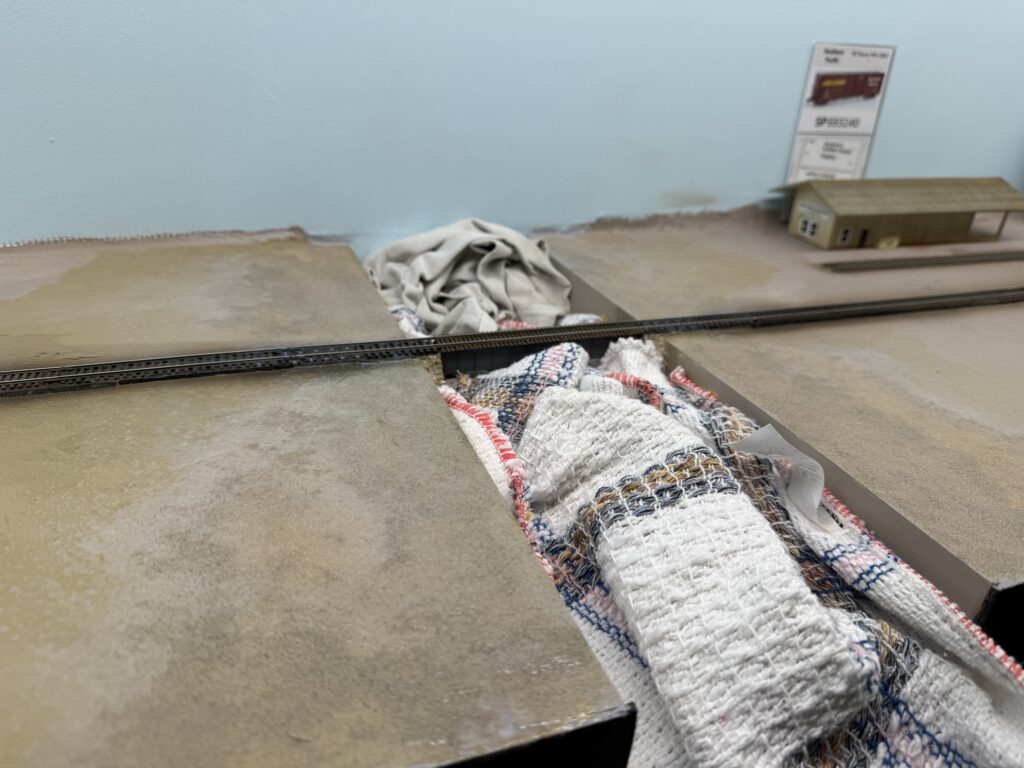
I added rough terrain texture near the bridge and ballasted the first section of track. To protect the bridge scene, I laid a couple of towels over the riverbed.
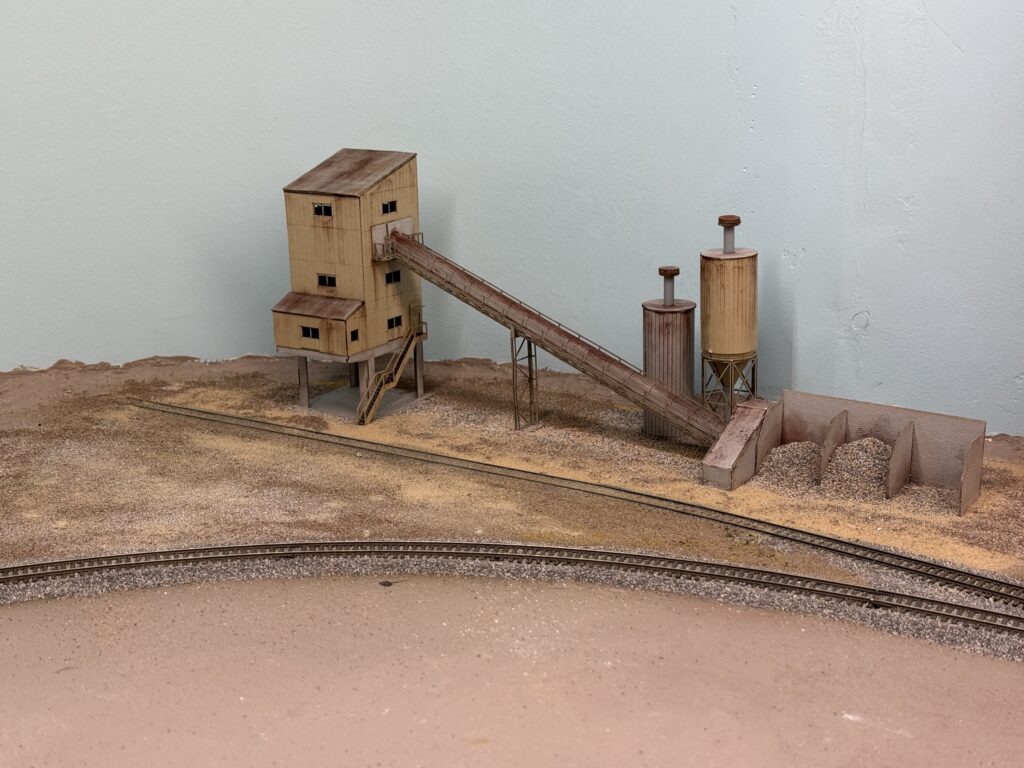
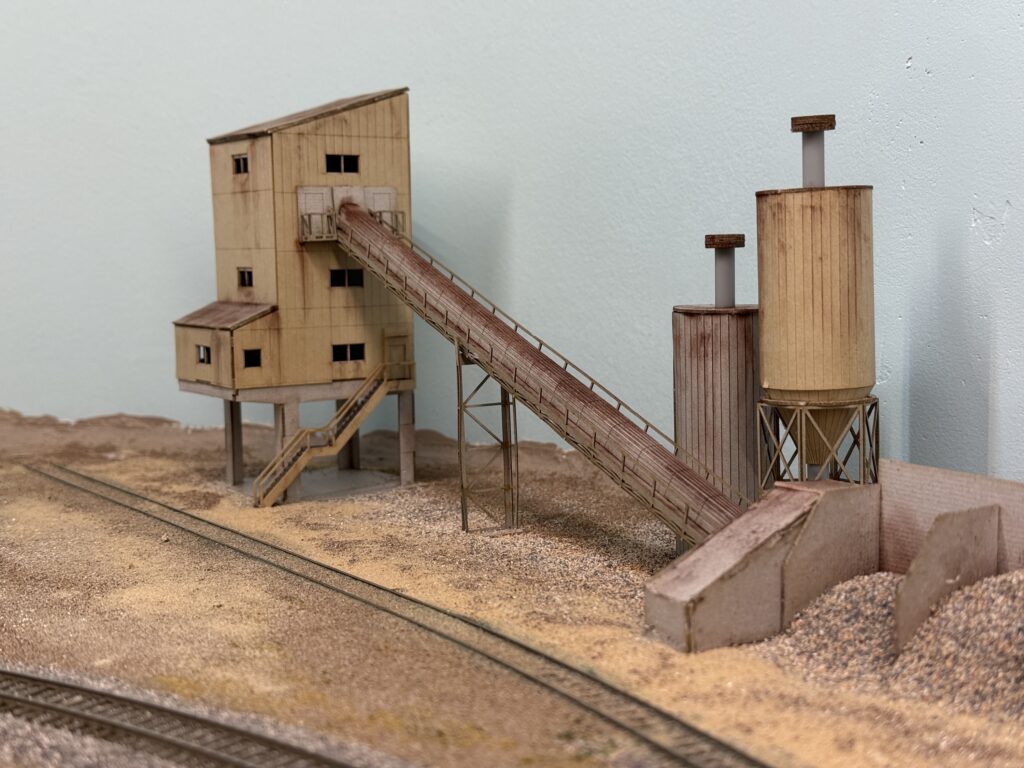
Then, I installed the cement plant structure. The building is a Japanese laser-cut paper kit that fits my needs perfectly.
The kit is made by a Japanese brand called Advance. It is a 1:150 scale model, but it still looks very good and fits the scene nicely.
I first sprayed a 50:50 mix of alcohol and water to reduce surface tension. Then, I sprinkled on some terrain powders and followed up with a 50:50 mix of matte medium and water.
The kit was weathered with powdered pigments, and the surrounding terrain was glued in place using Liquitex Matte Medium.
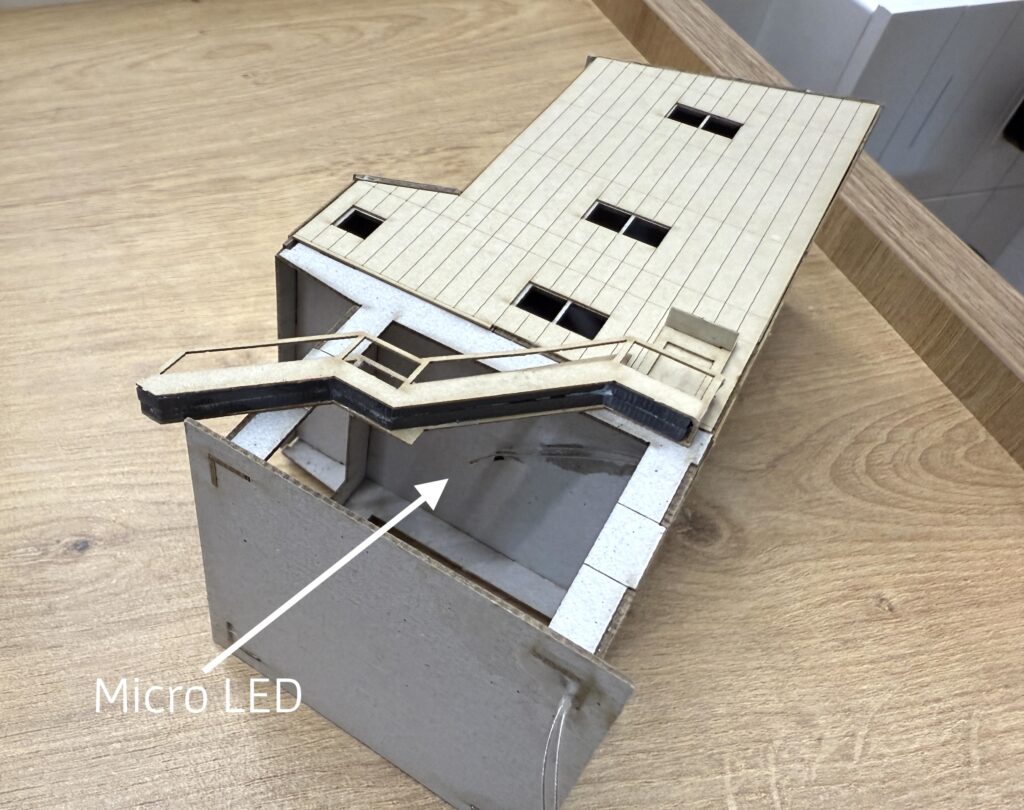
Before securing the structure to a sheet of styrene, which was later glued to the plywood base, I installed a micro LED to illuminate the scene at night. I secured the LED with CA glue and poked a hole in the structure base to run the wires through.
Adding Details
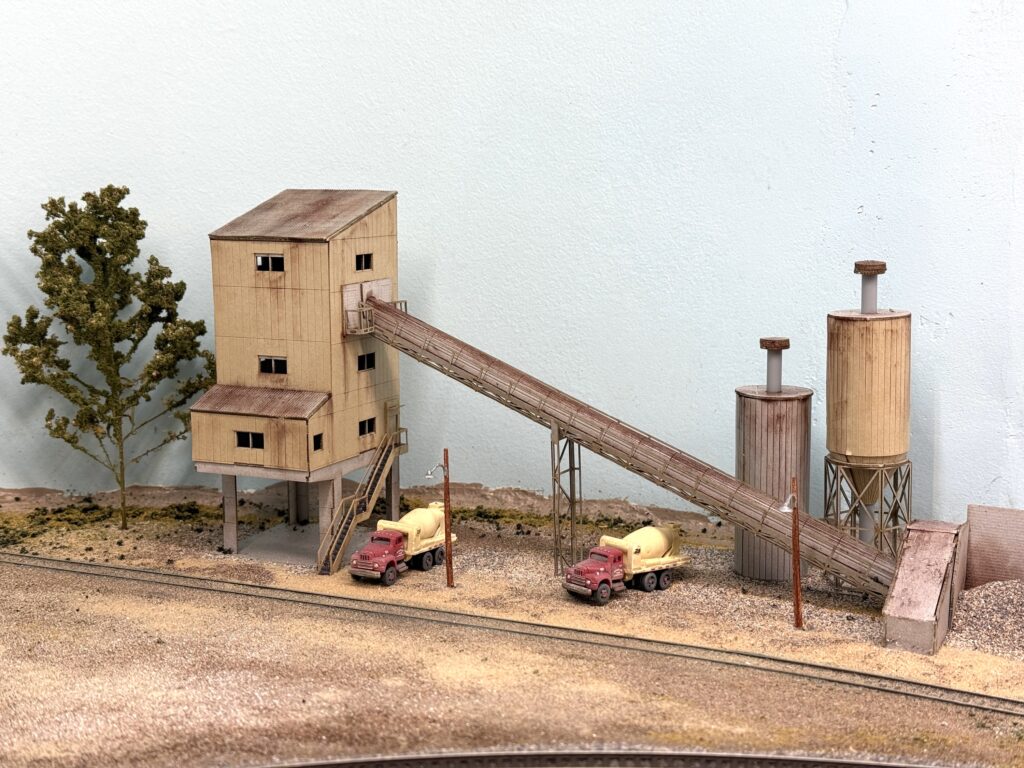
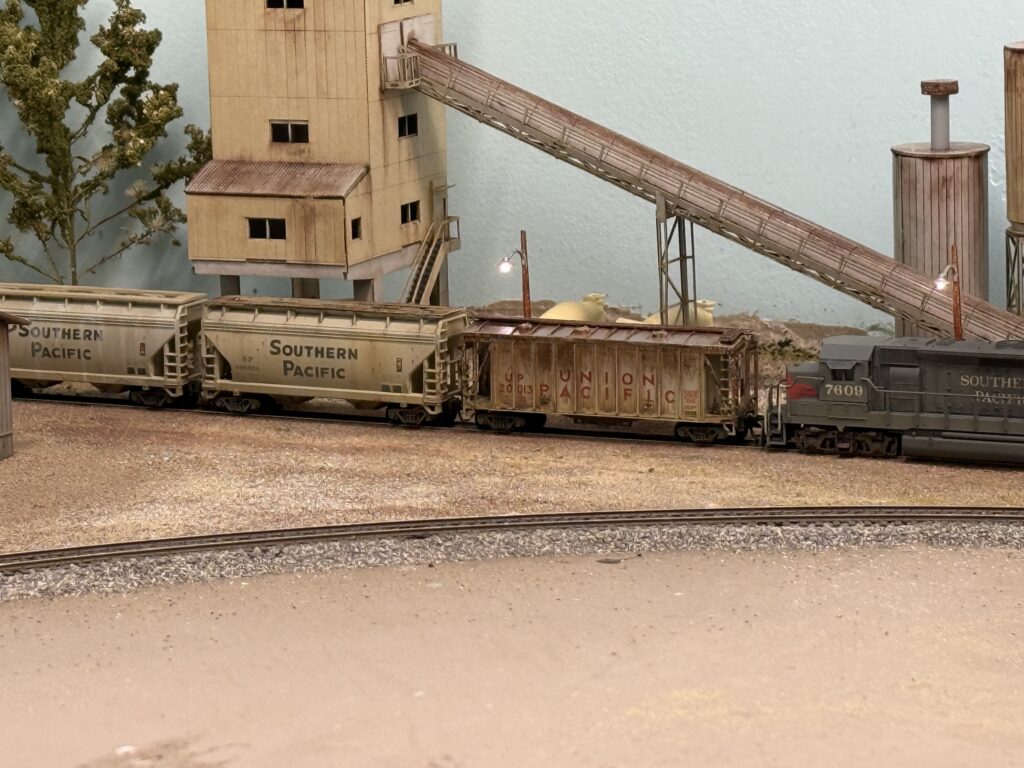
The cement plant is finally in place and it feels like the scene has gained real character. Next I will focus on adding life around it, because the area still looks a bit empty.
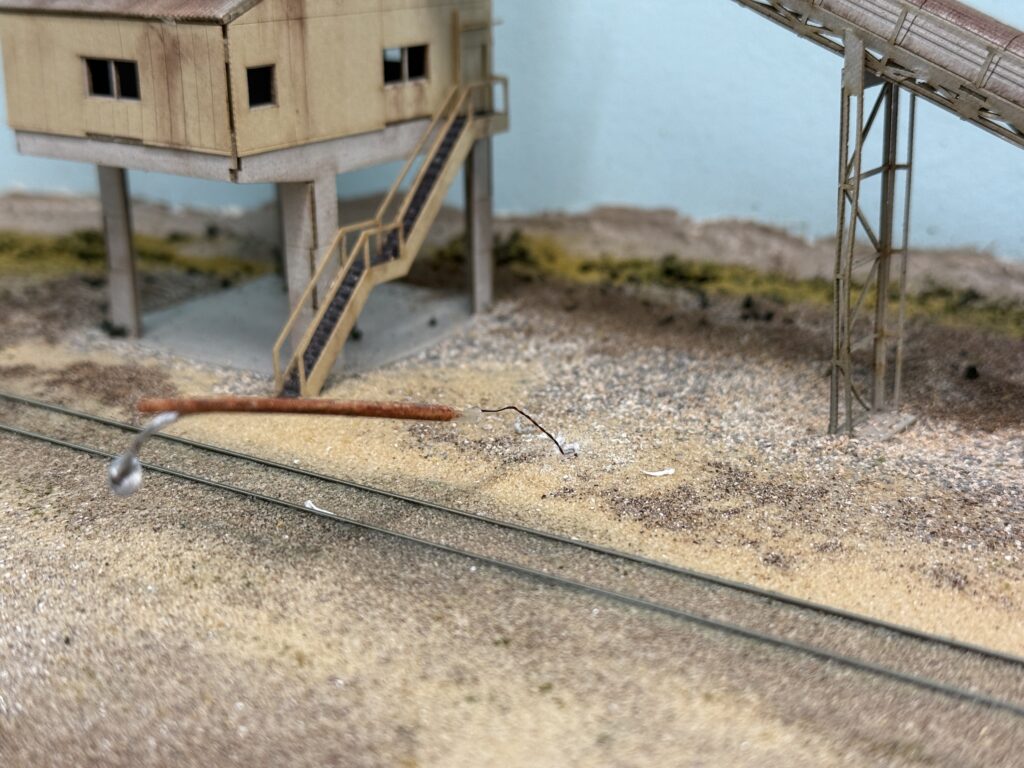
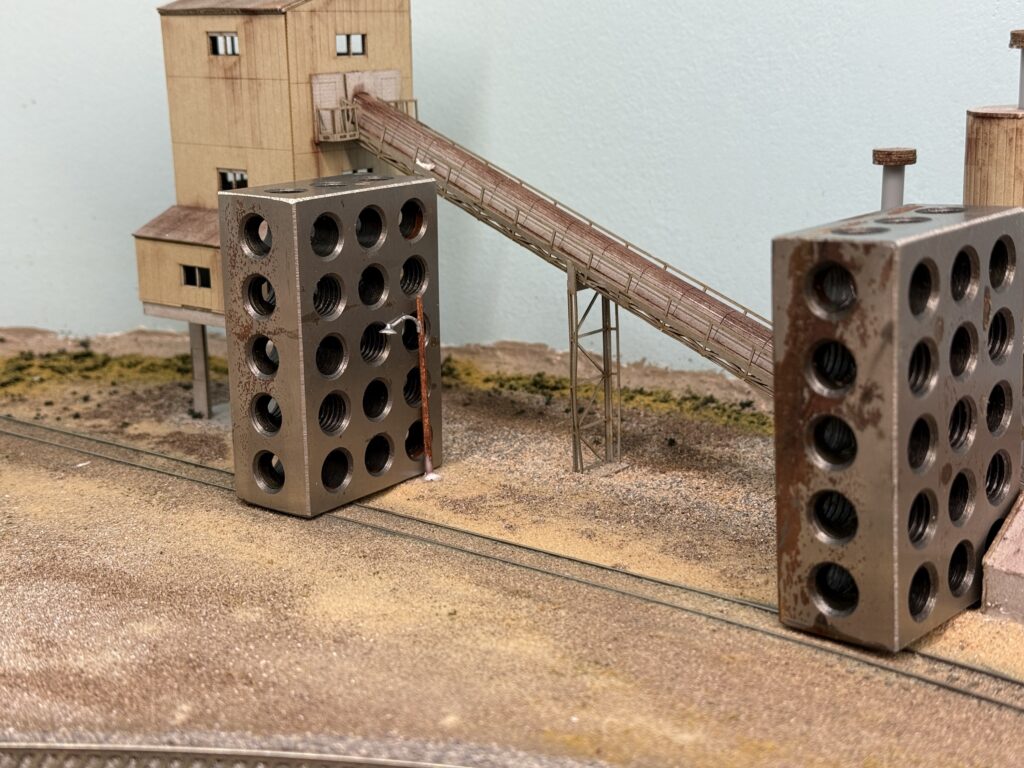
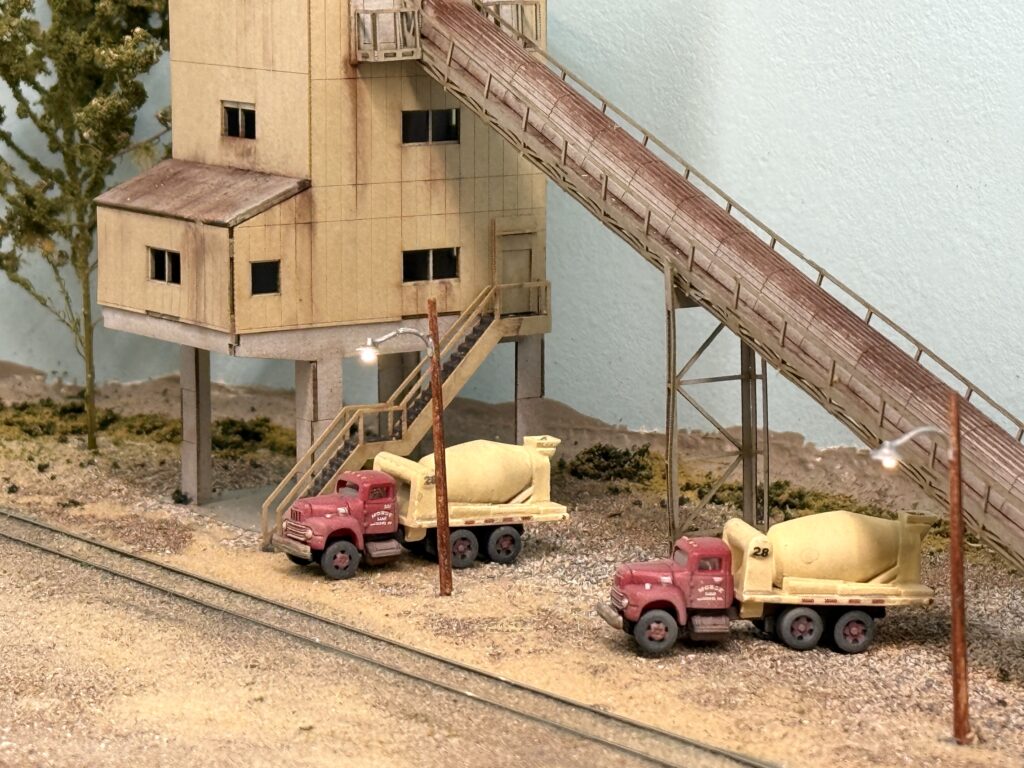
I added a couple of Woodland Scenics wooden streetlights. I drilled two holes, passed the wires through them, and glued the streetlights in place with matte medium. While the glue dried, I used some metal machine blocks to keep the poles in their final position.
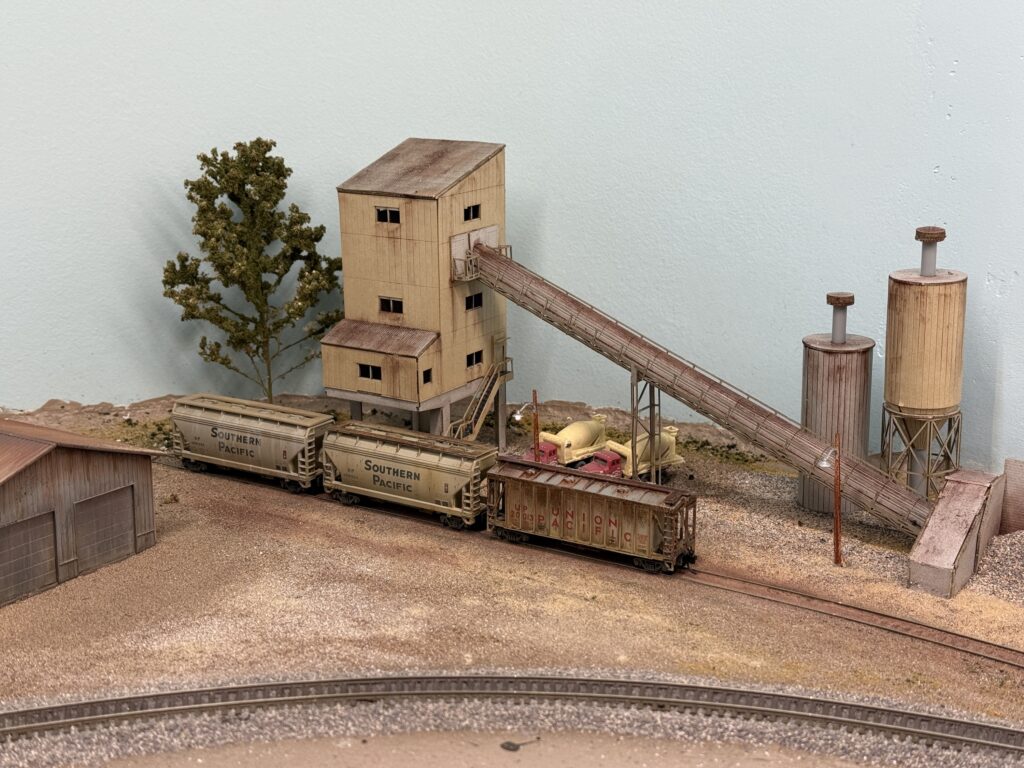
Afterwards I positioned a couple of concrete mixer trucks near the loading spots and added a tree.
Once more vegetation is set, I will install a metal fence to frame the whole structure. So the scene will grow step by step and the finished area should blend nicely with the rest of the layout.
Step-by-step on scratchbuilding a structure with styrene
I had wanted to embark into scratchbuilding a styrene structure for years but never did it properly. This time, I decided to model the Hendricks Builders Supply Company in Lankershim/North Hollywood.
This structure will be placed on the layout according to the trackplan.
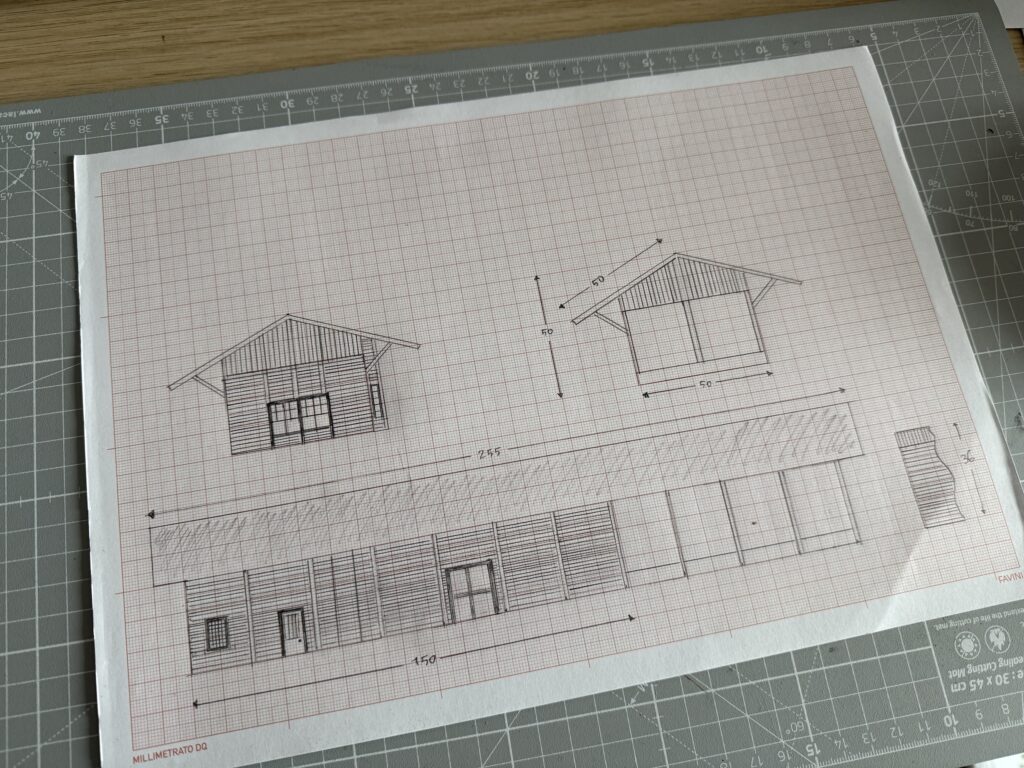
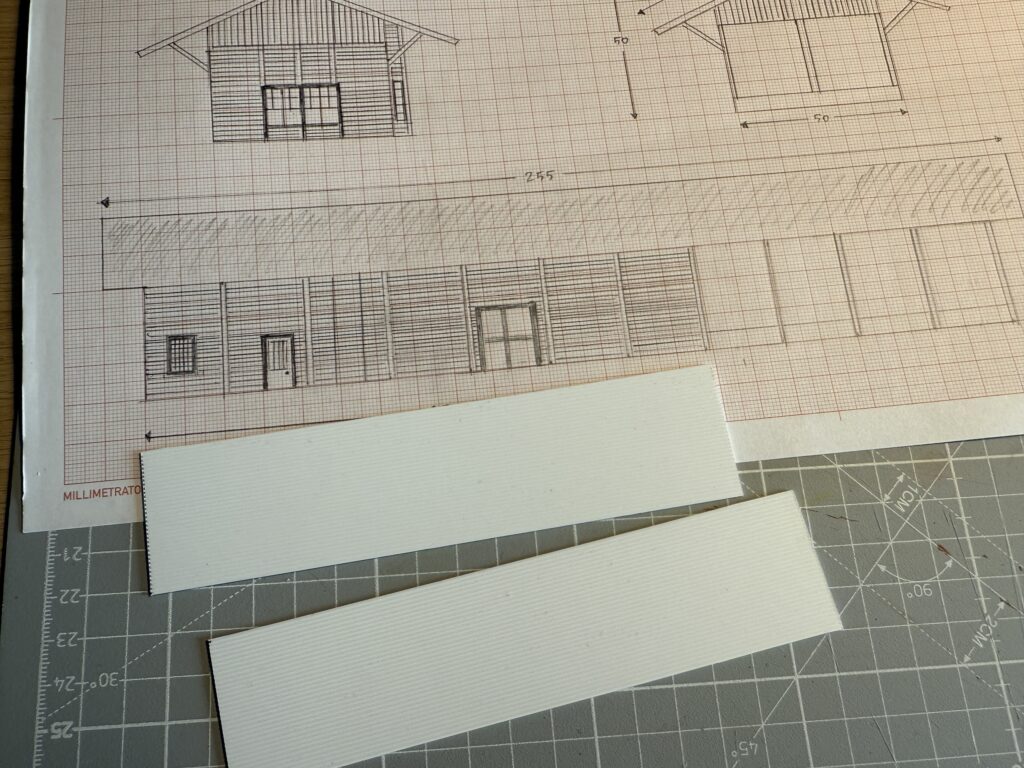
Drawing
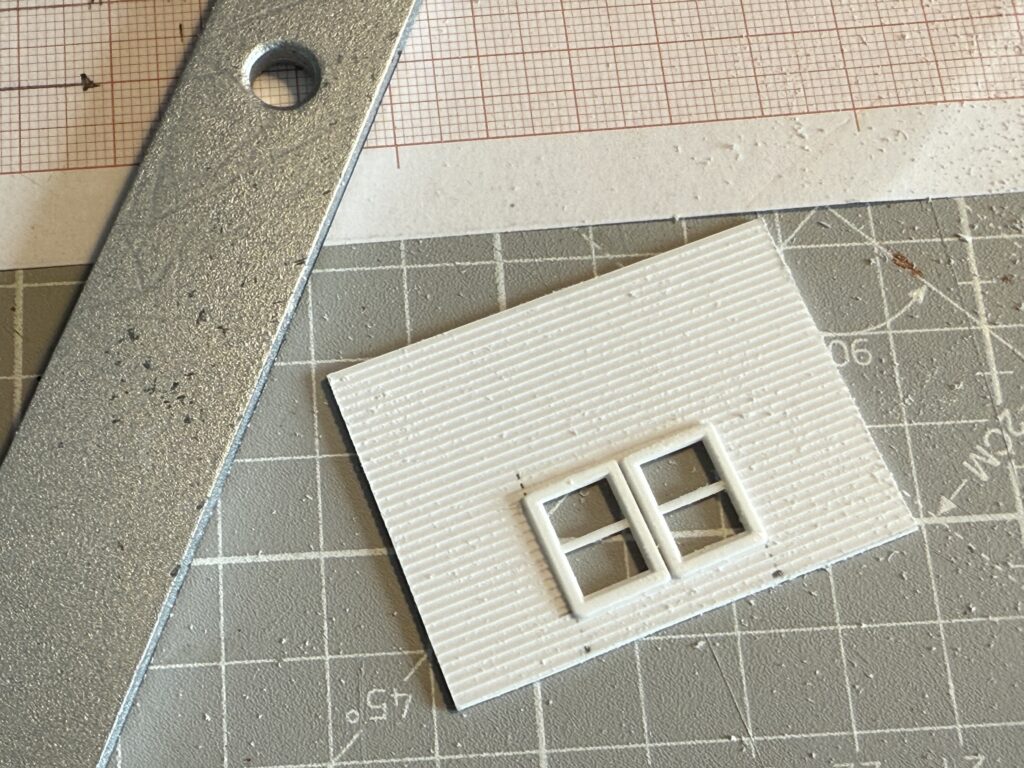
I started by drawing a rough plan on millimeter graph paper.
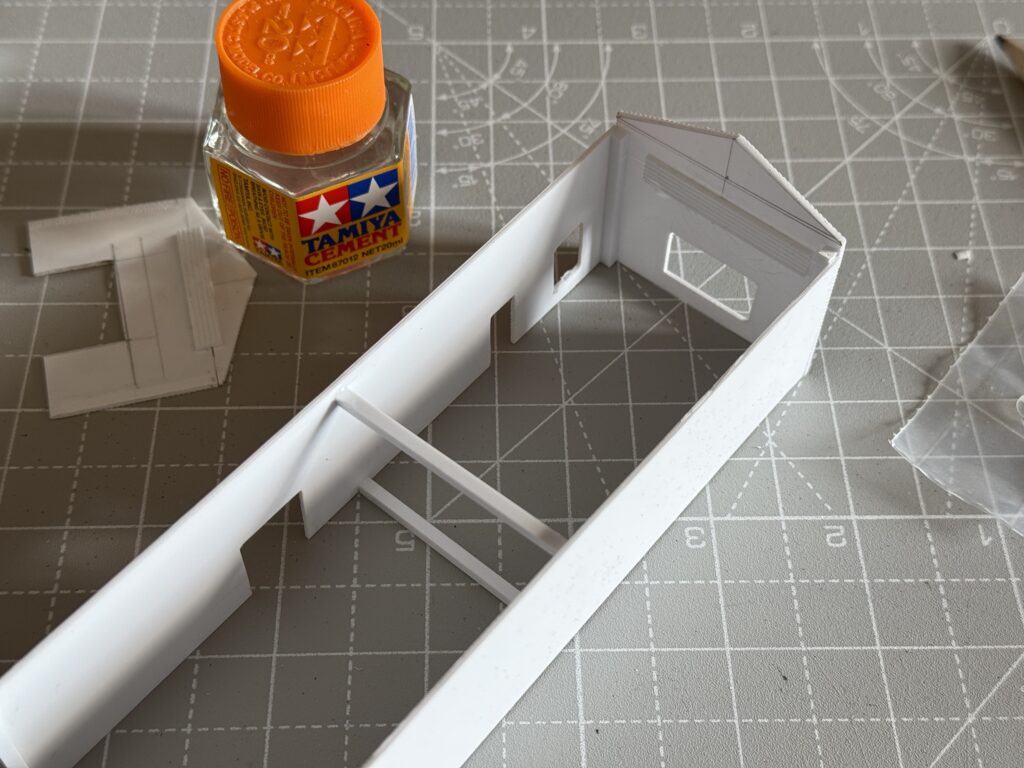
Two 2.5 mm strips also reinforce the middle of the structure.
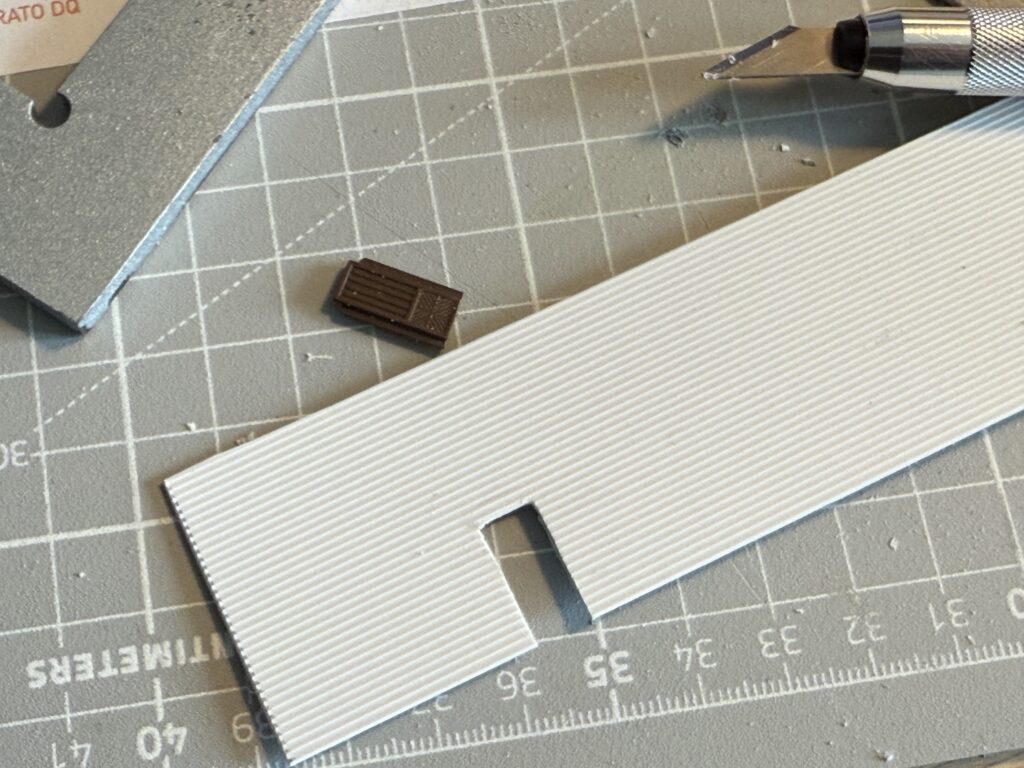
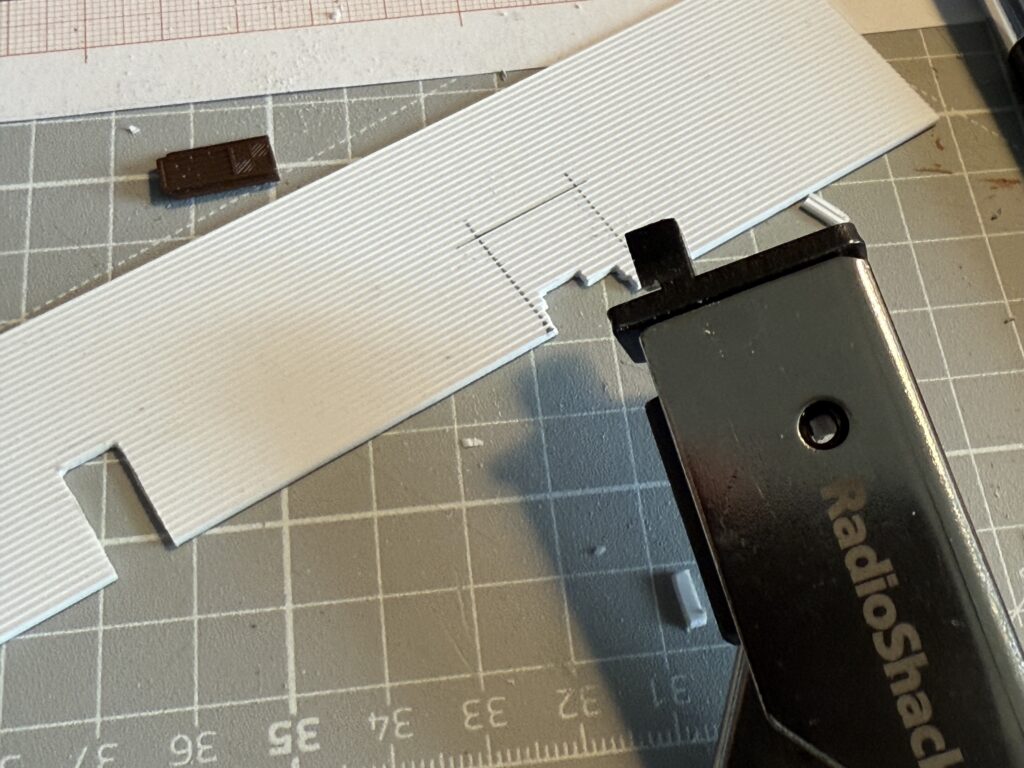
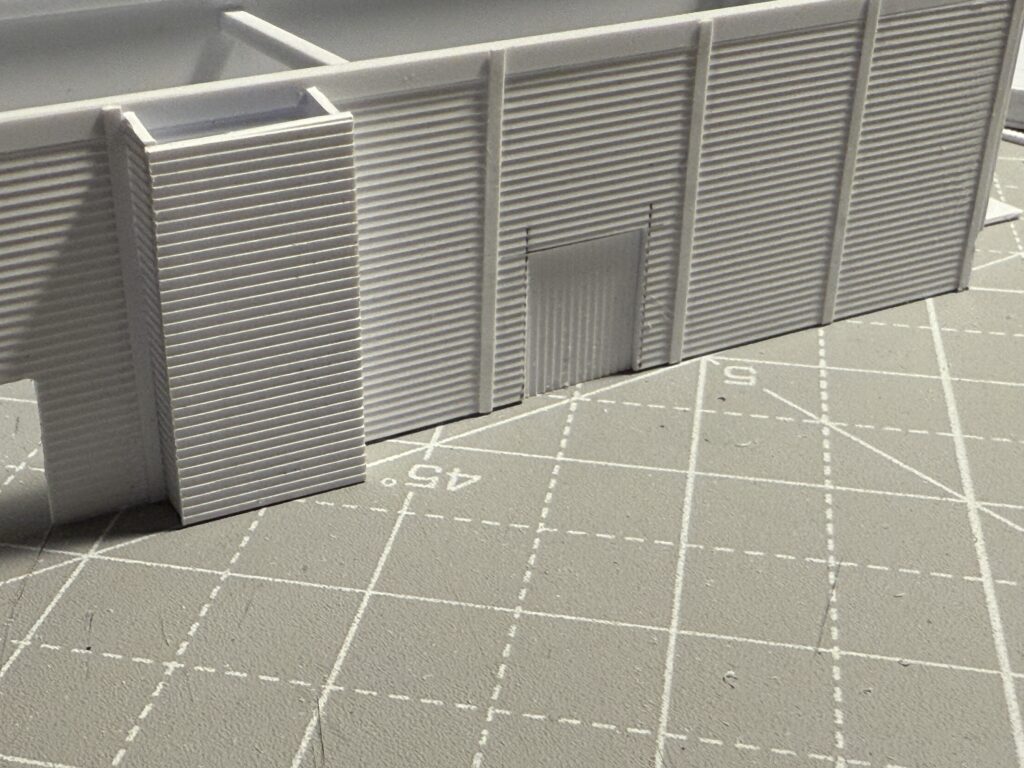
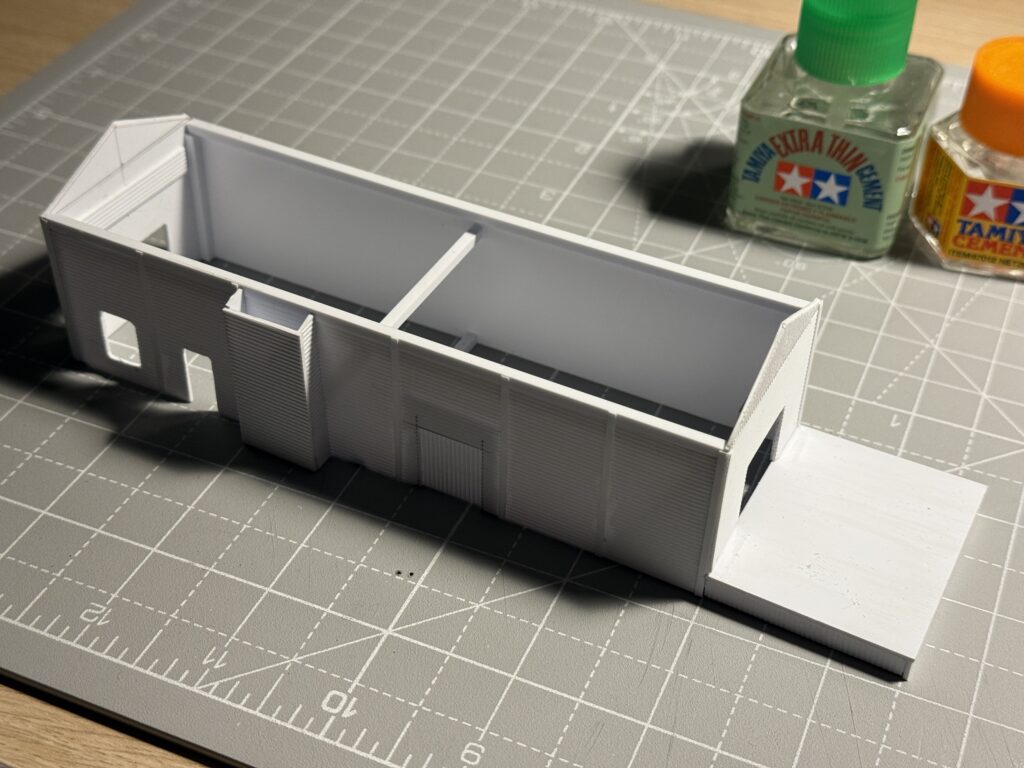
I made the wooden door from clapboard styrene sheet and glued it inside the wall. On the outside, I added vertical styrene strips for detail. For smaller pieces, I used Tamiya Extra-Thin Cement.
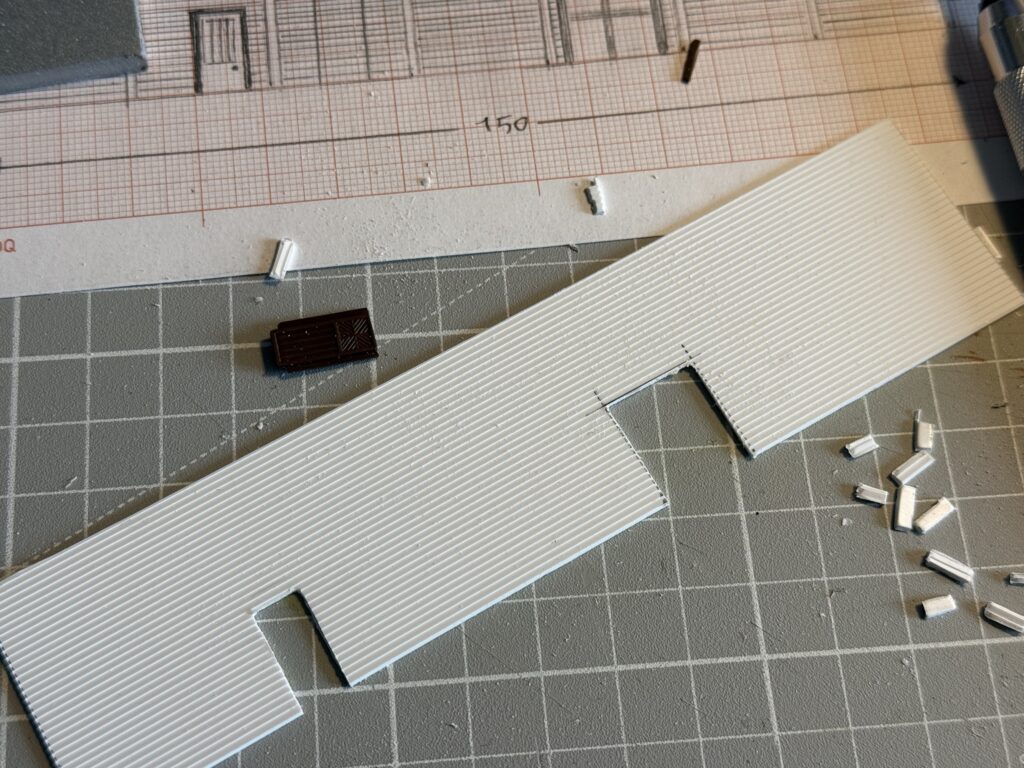
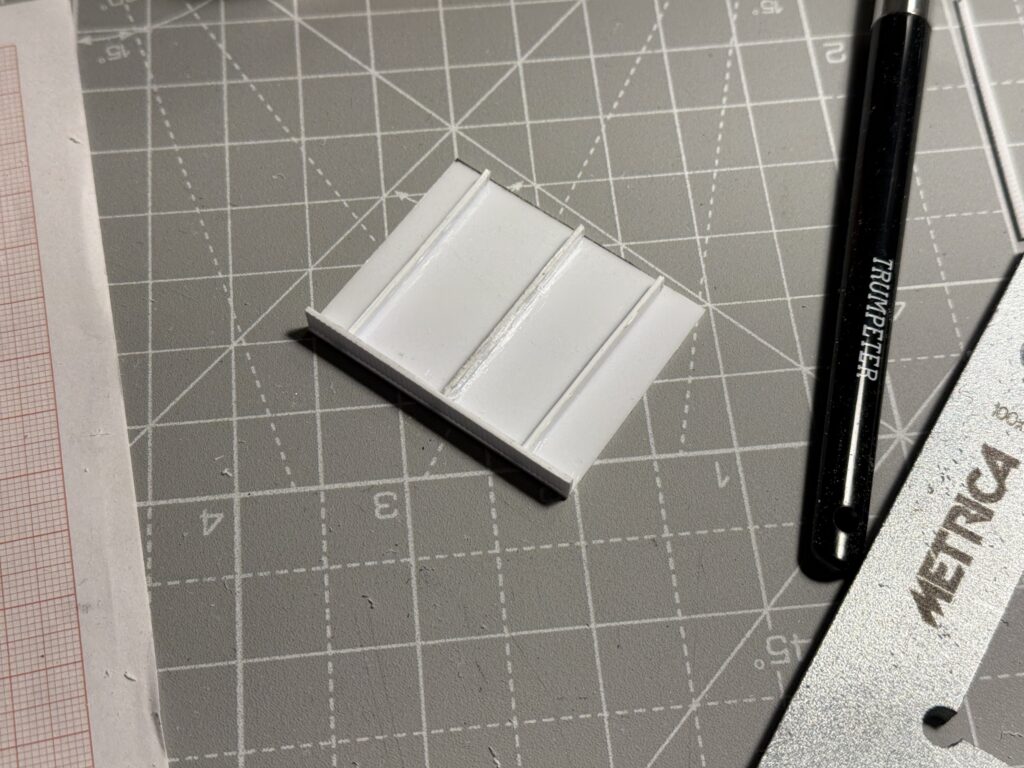
To strengthen the loading platform, I inserted reinforcement strips underneath.
Then, I glued the platform to the main structure.
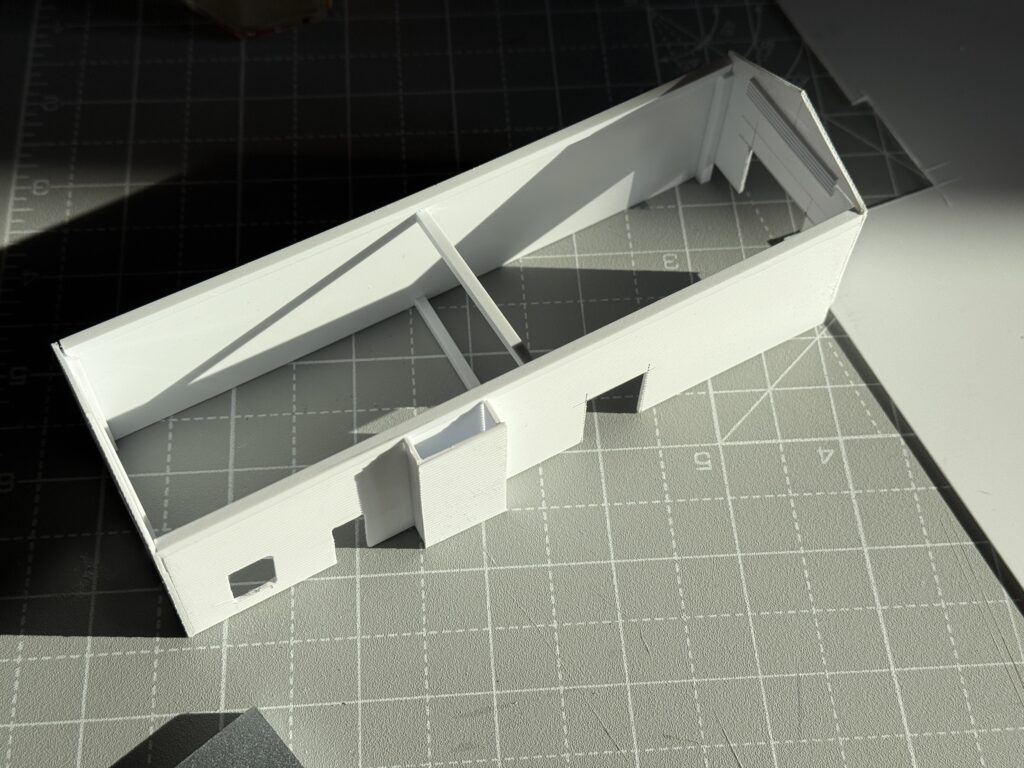
Before adding the roof, I reinforced the center with a triangular styrene piece.
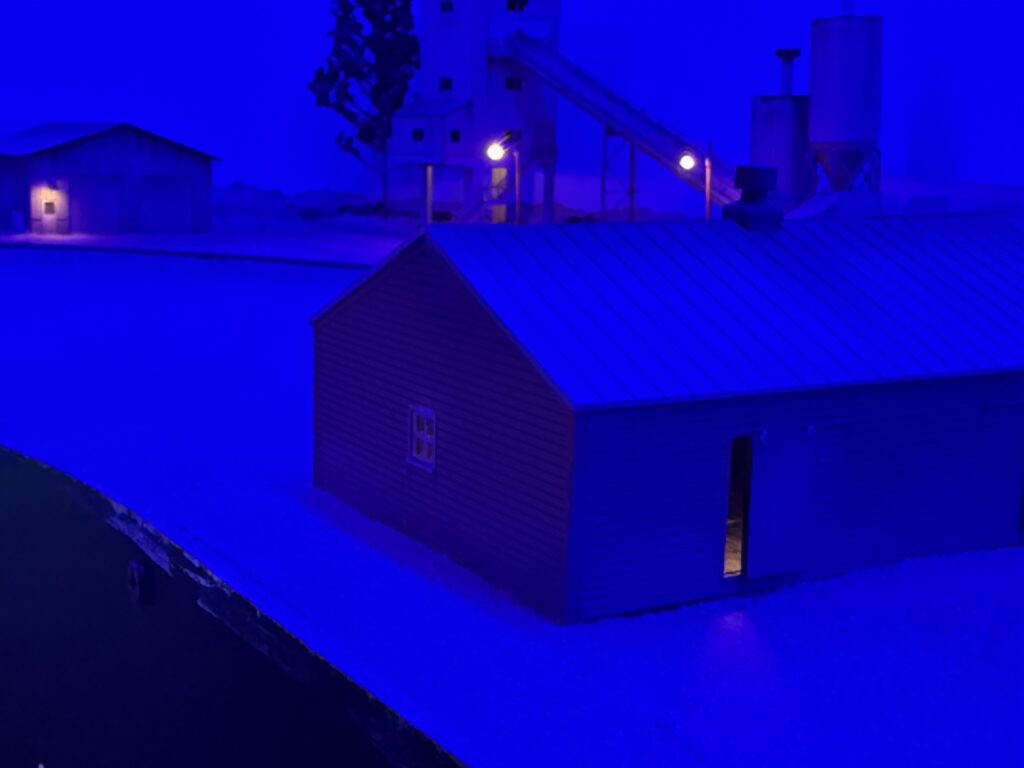
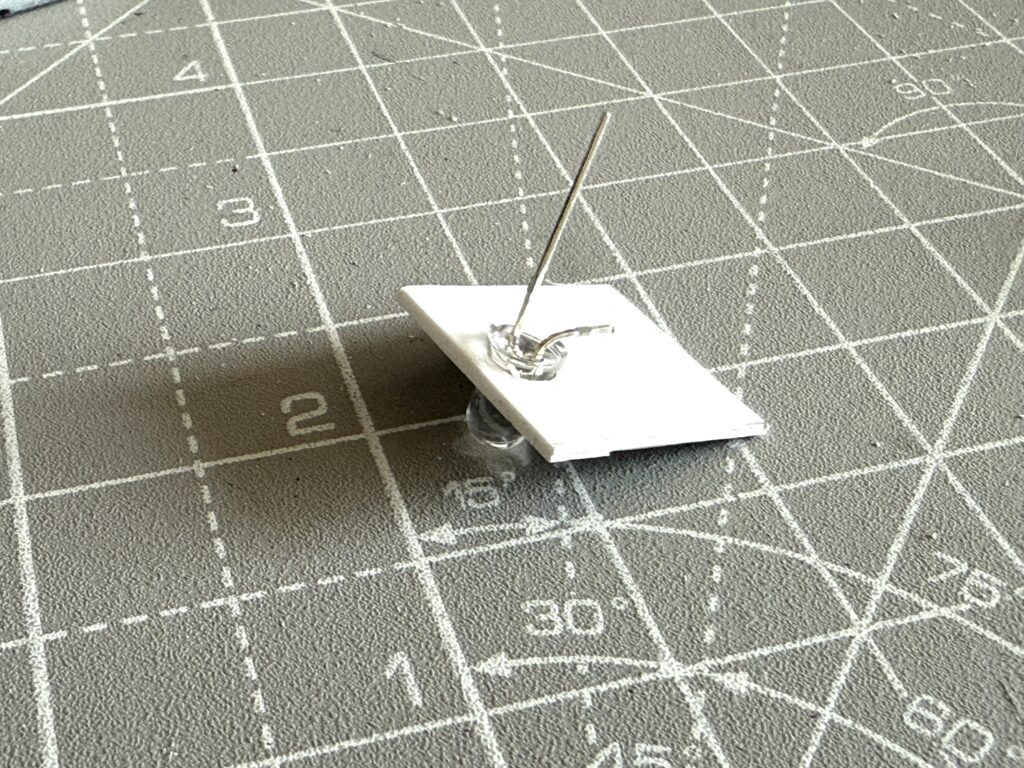
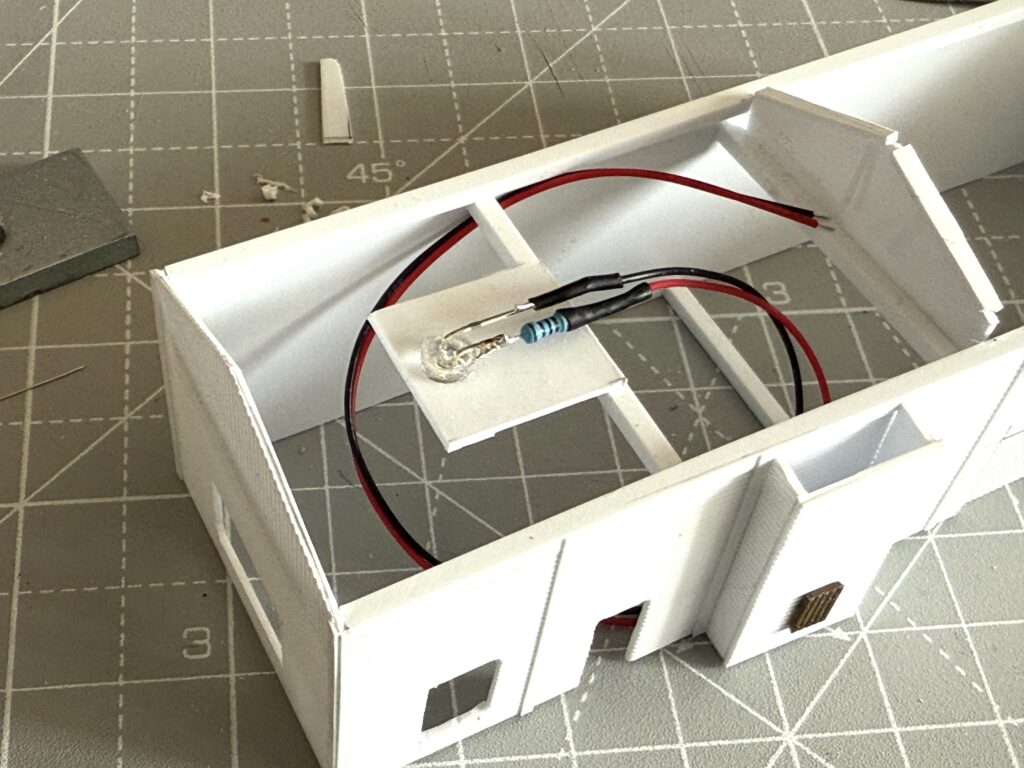
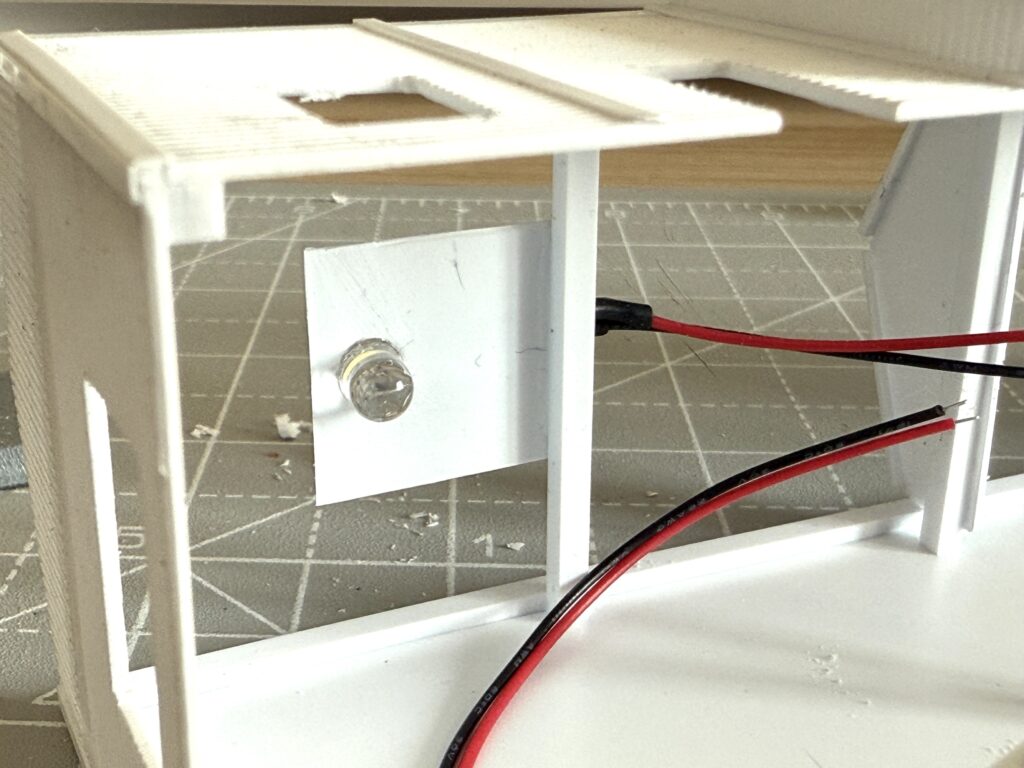
Scratchbuilding a structure: Lighting
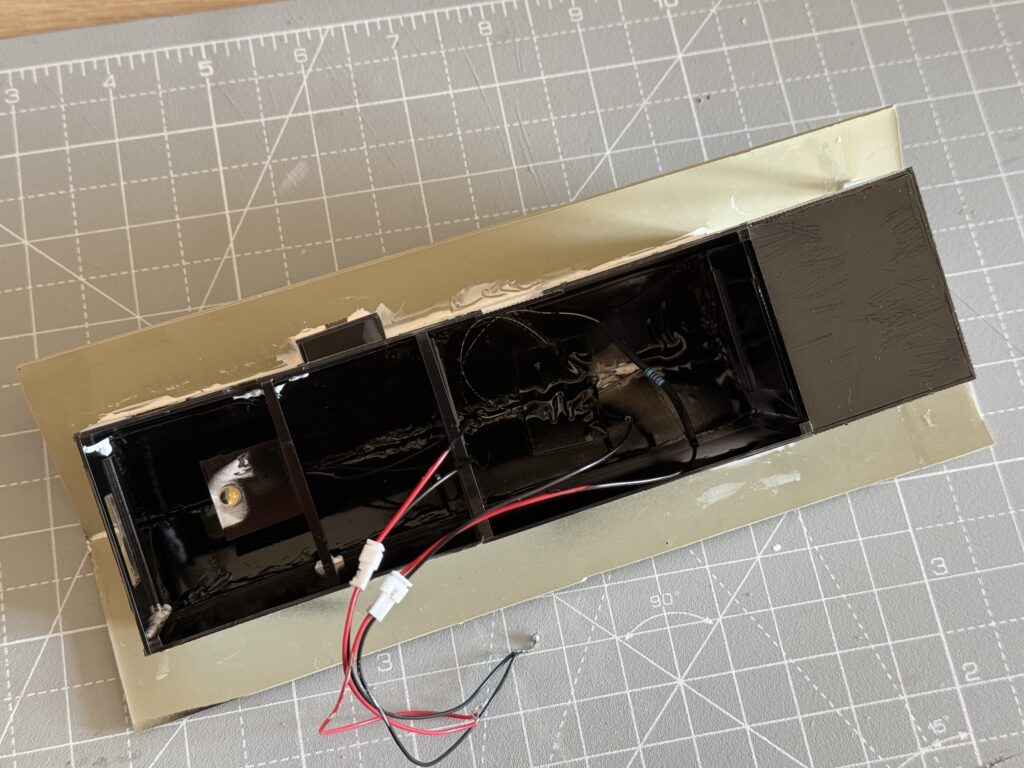
I wanted interior lighting, so I mounted a warm-white LED onto a small styrene support.
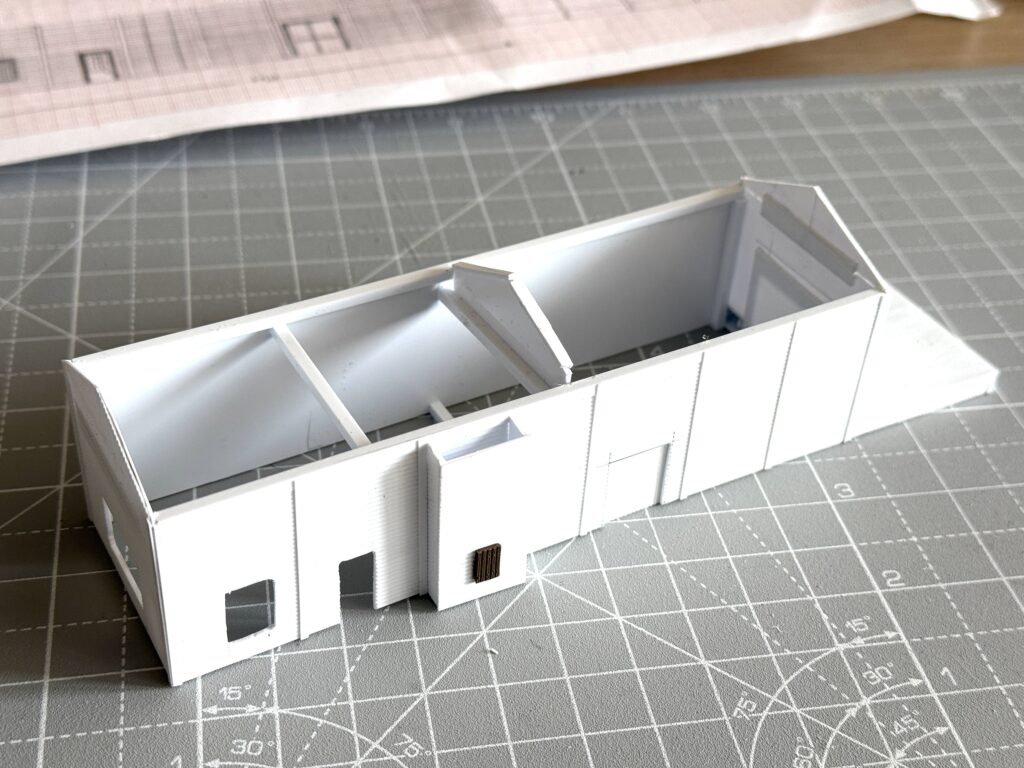
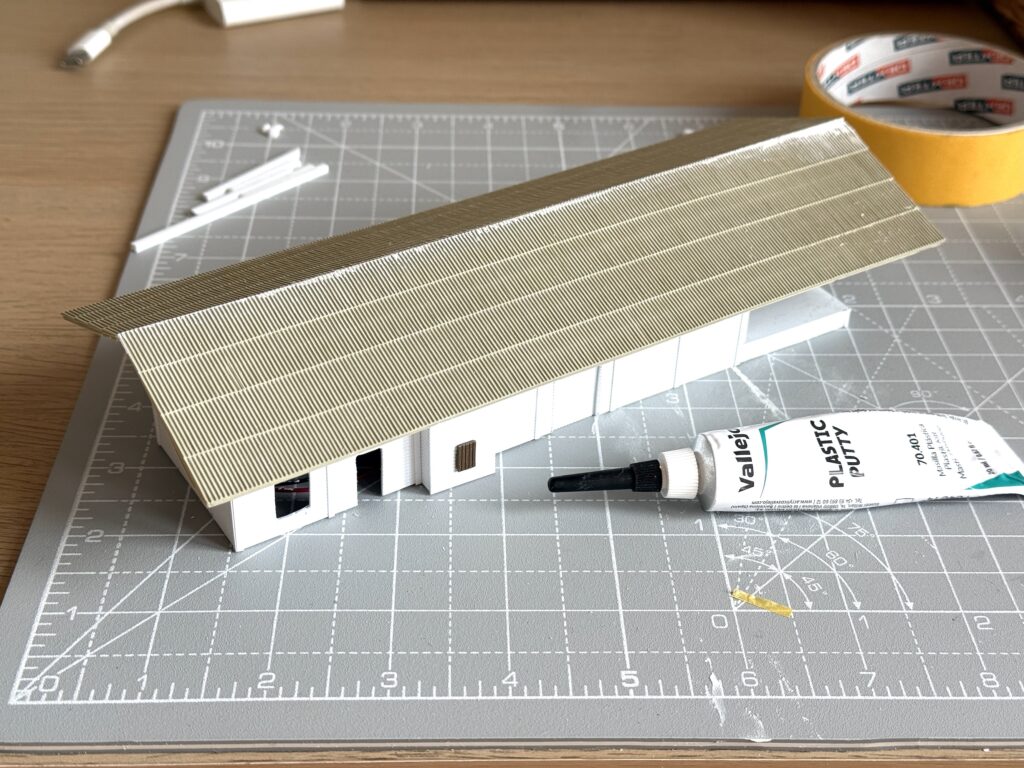
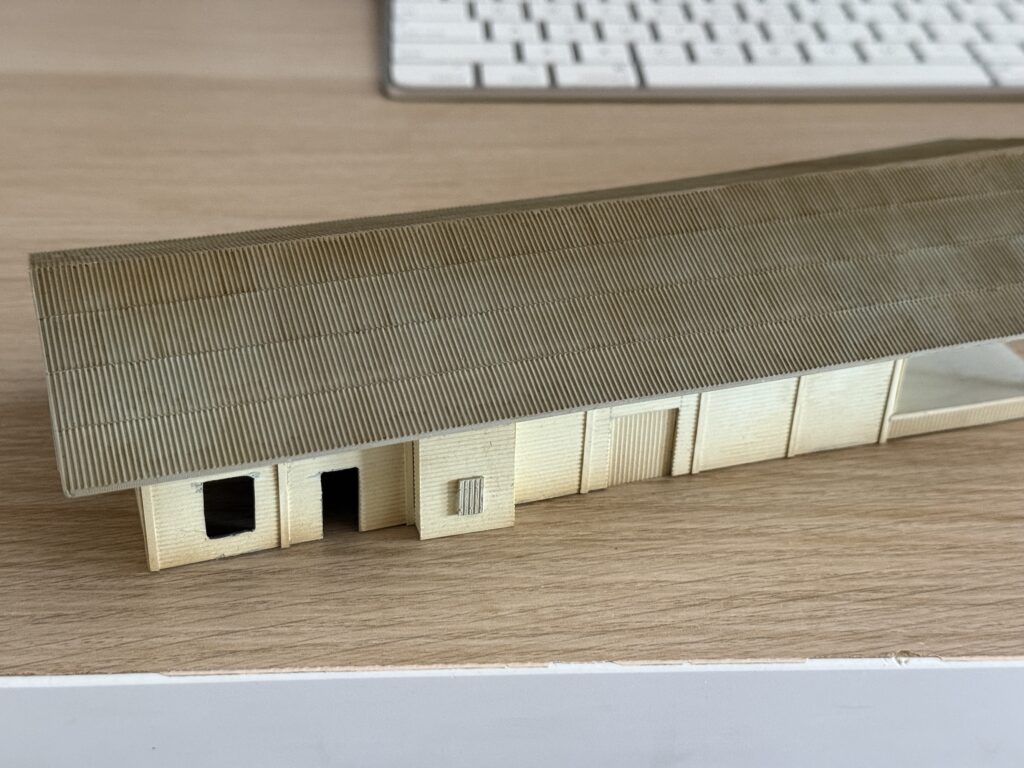
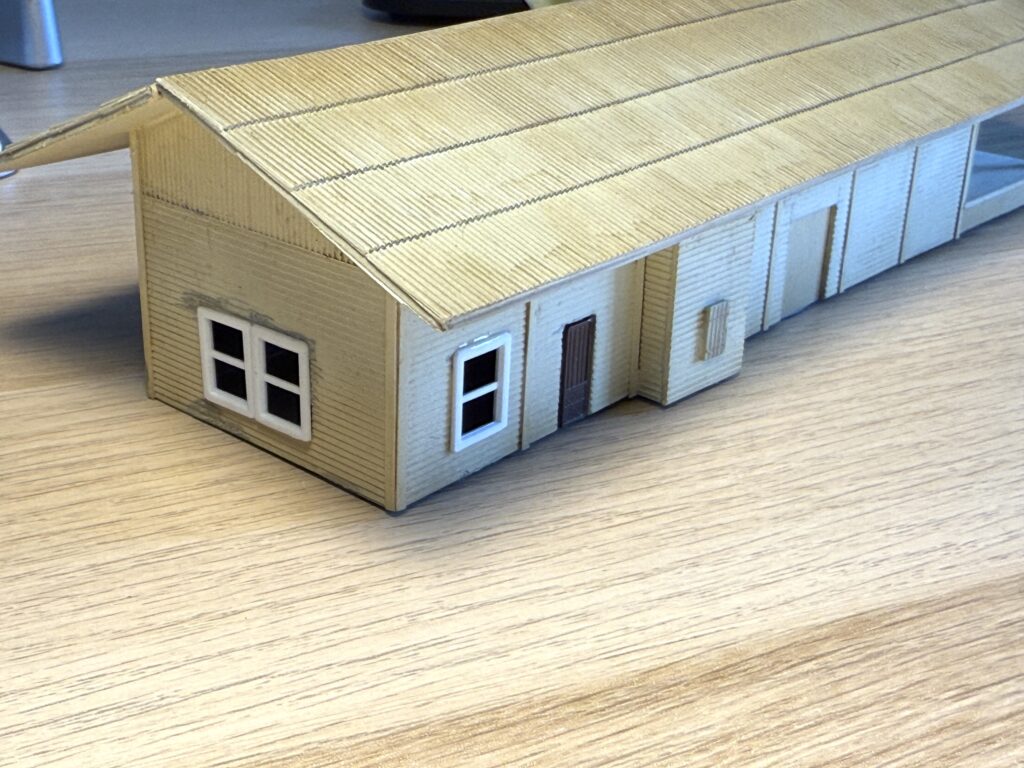
Roof
Then, I installed the roof. I used Vallejo Plastic Putty to fill a few gaps in the roof joint.
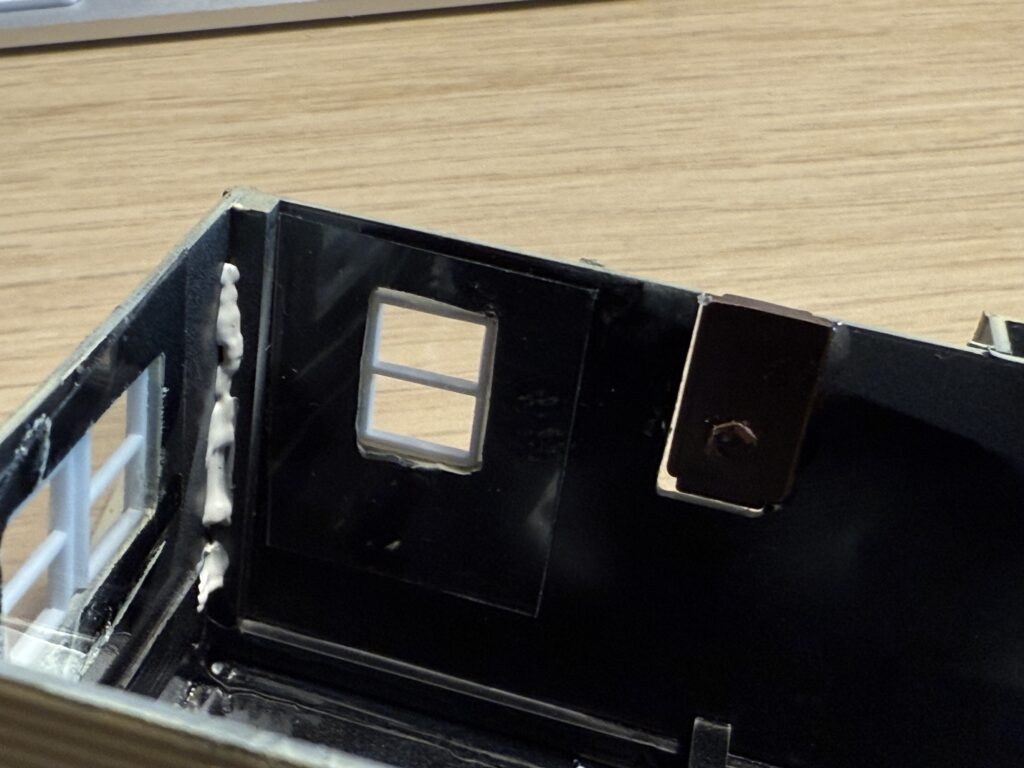
I spray-painted the interior walls black to prevent light from bleeding through the thin styrene.
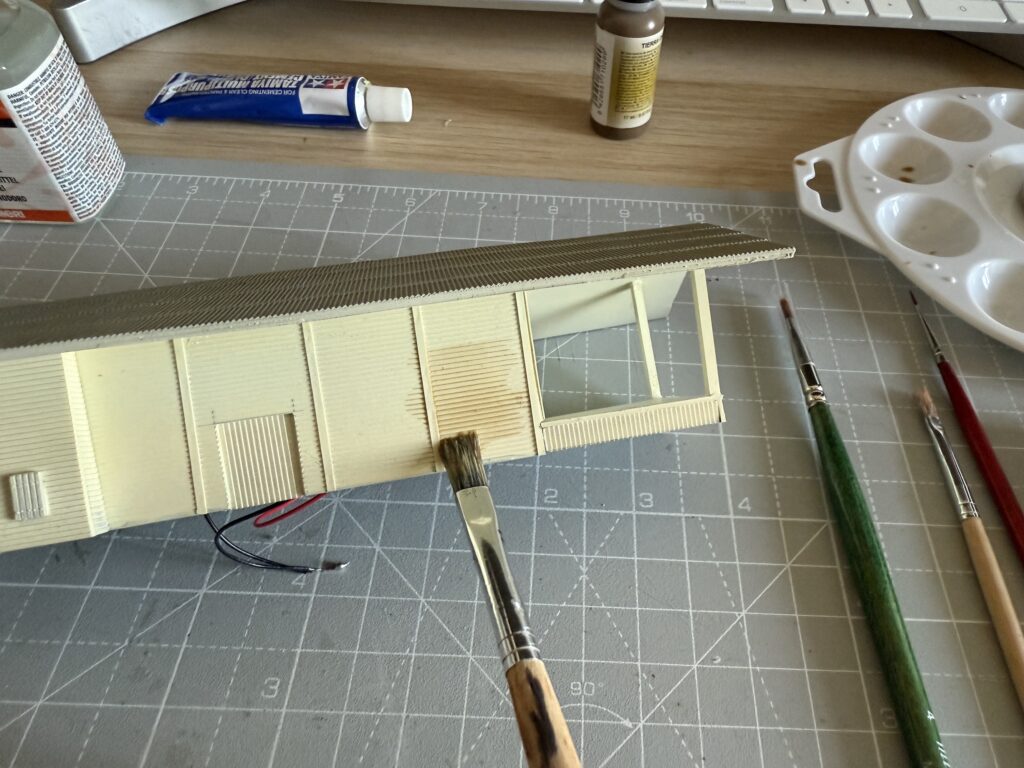
I started weathering the walls by applying a dark brown acrylic wash.
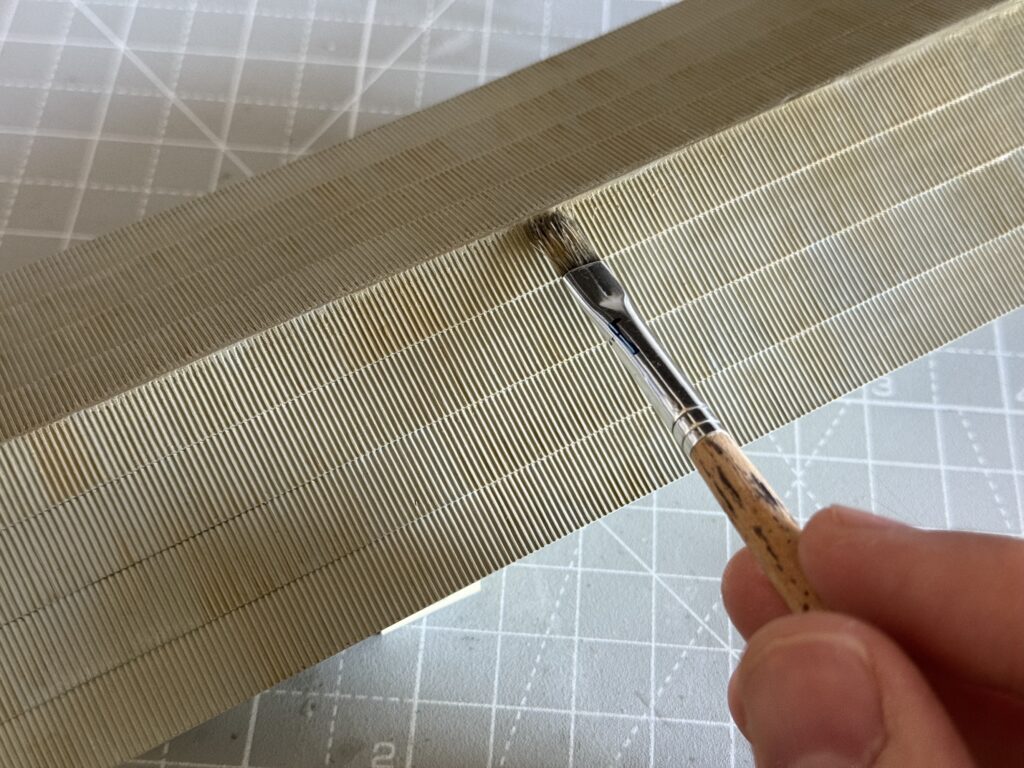
Next, I added more streaks of brown paint to weather the roof.
Then, I glued the windows and the door in place. I used products made by the German firm Auhagen.
I added a piece of clear plastic to the inside of the windows.
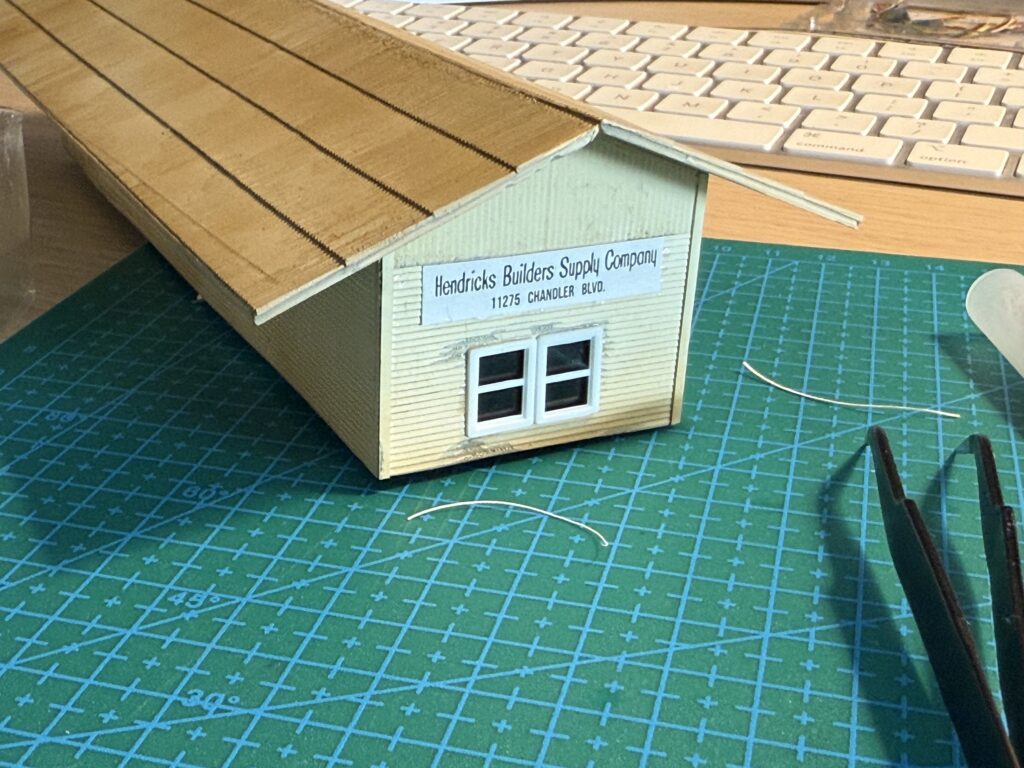
Next, I applied the “Hendricks Builders Supply” sign on the structure side.
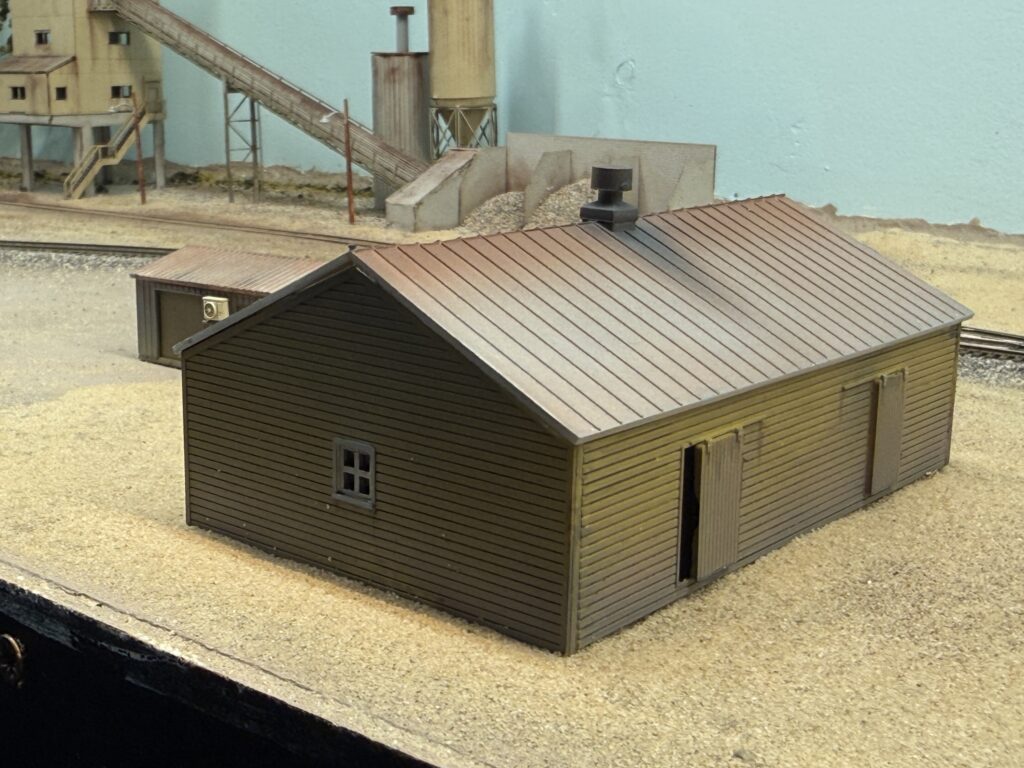
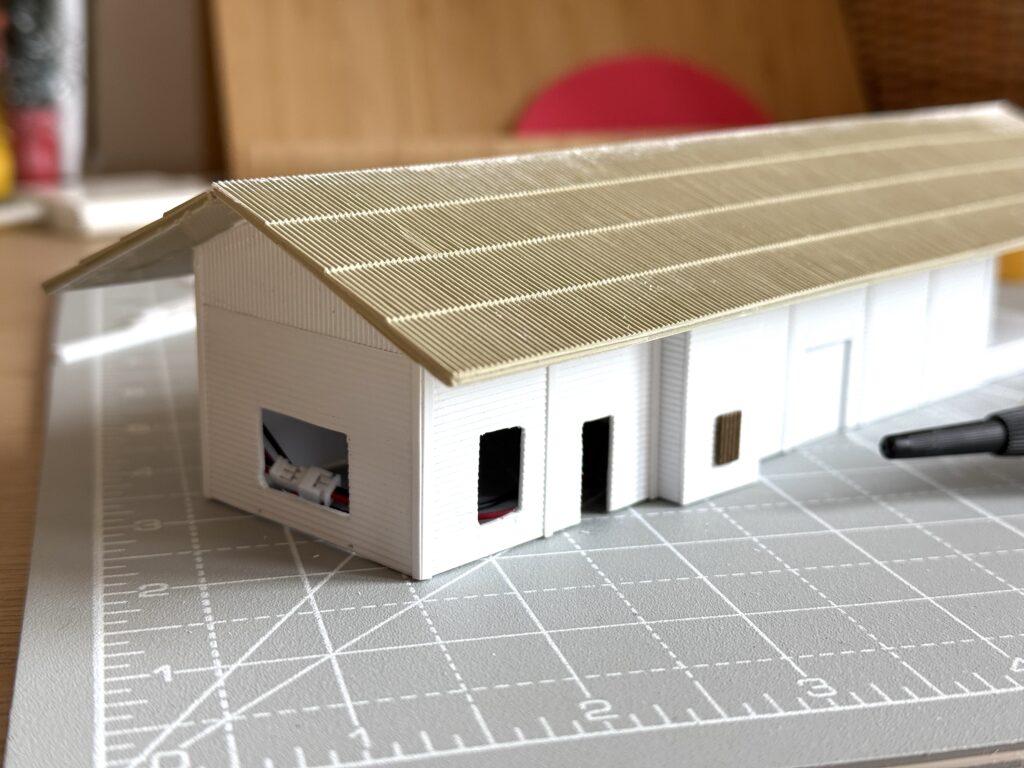
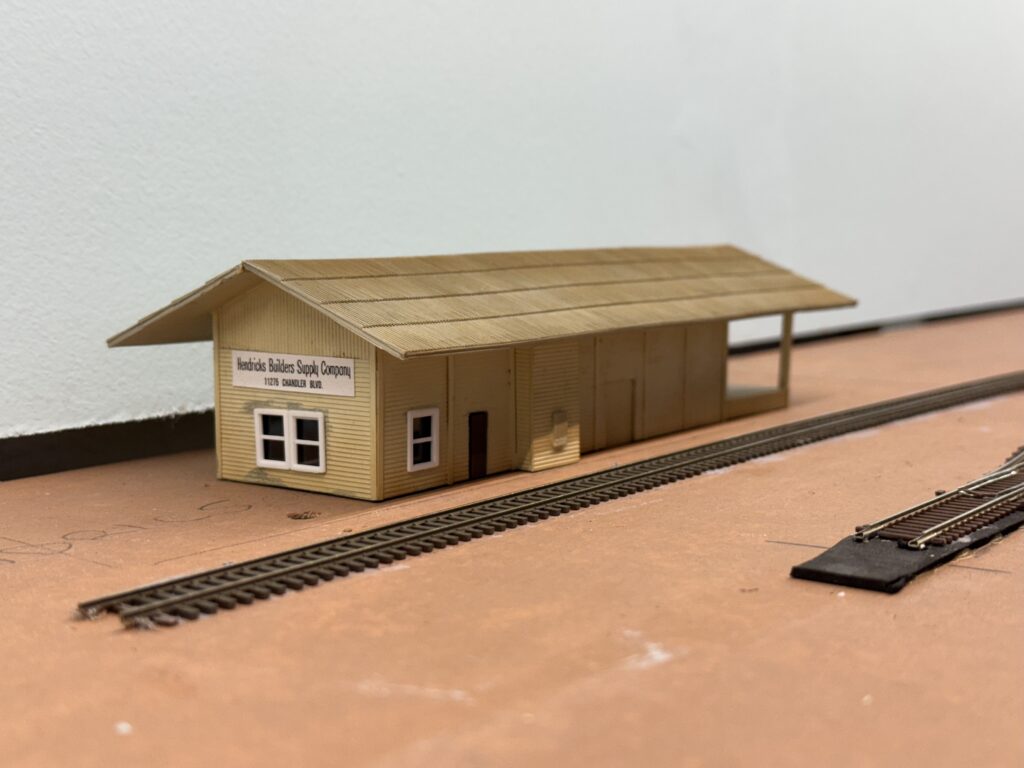
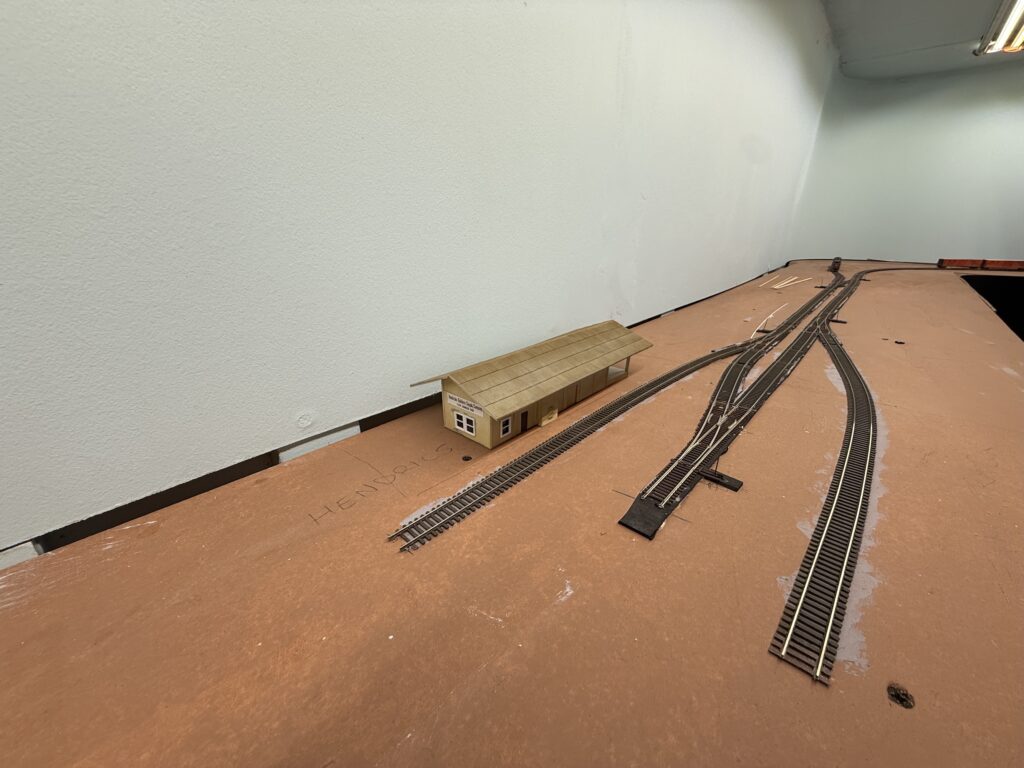
Here is a test-fit on the final location on the Burbank Branch in N scale layout.
Scratchbuilding a structure has been a rewarding project. While I had scratchbuilt a few simple structures before, this is the first time I completed a slightly more complex one.
The structure is not a perfect replica of the real thing; however, it works well as a rail-served industry and adds to the visual experience during operating sessions.
We use cookies to ensure that we give you the best experience on our website. If you continue to use this site we will assume that you are happy with it.
You can revoke your consent any time using the Revoke consent button.