Category: How-To

Weathering Flatcars

Weathering flatcars to make plastic look like wood

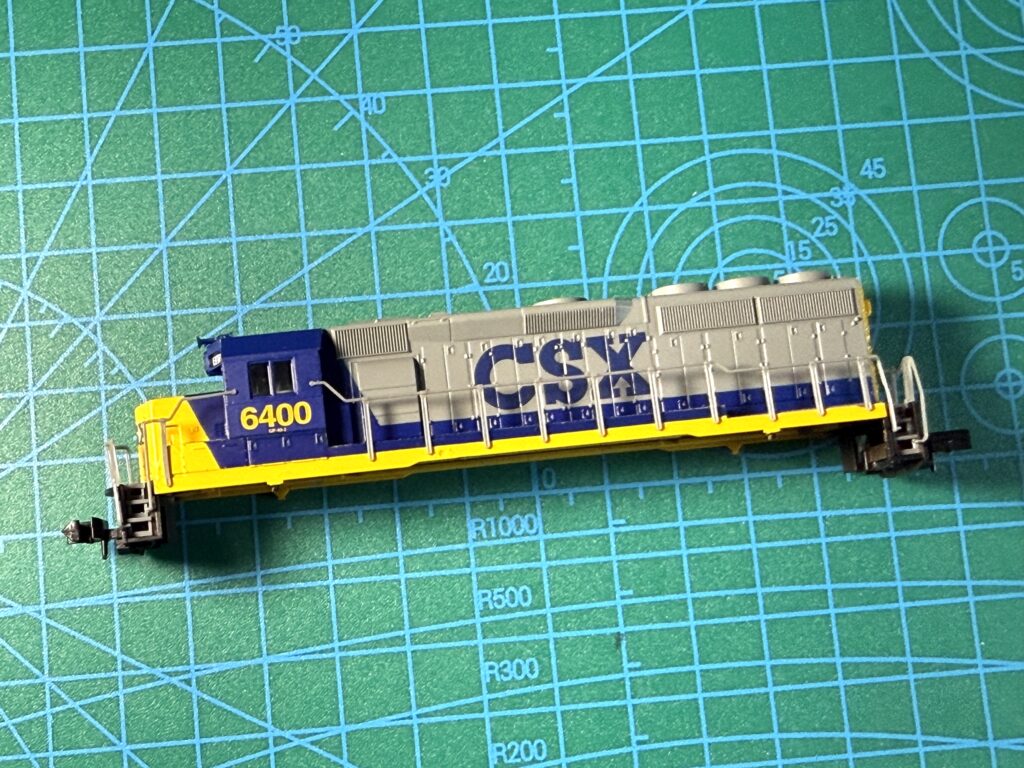
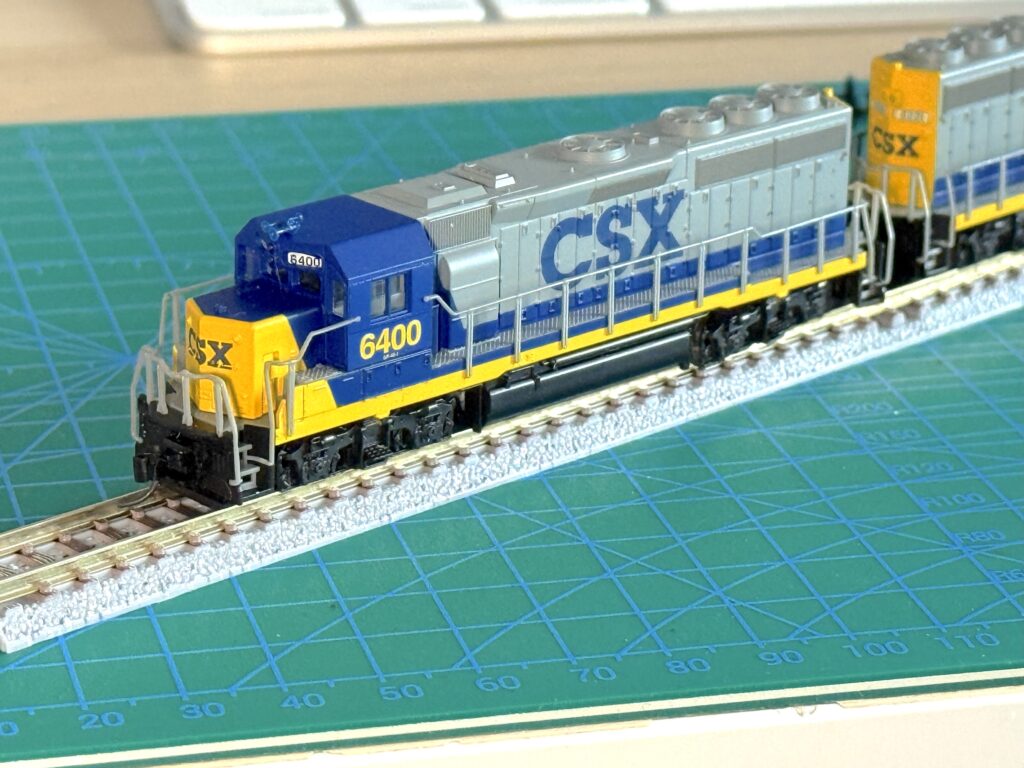
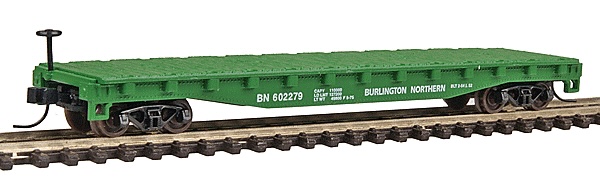
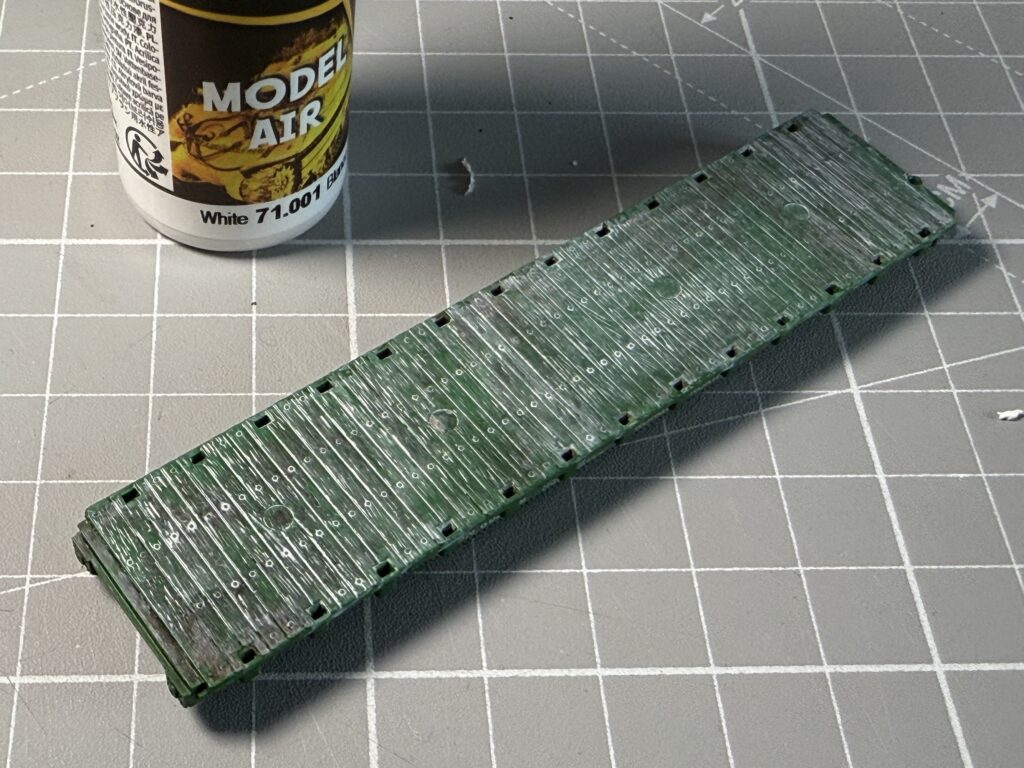
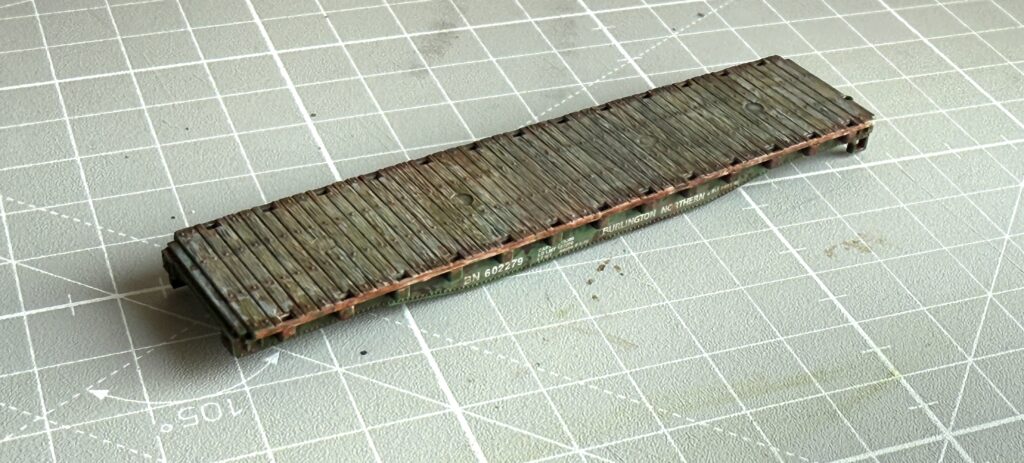
Using acrylic paints, India ink, and a set of paintbrushes, you can achieve convincing results when weathering flatcars. I weathered the Atlas BN flatcar pictured below as well as an old Con-Cor SP flatcar, in service on my N scale layout.

Atlas BN flatcar

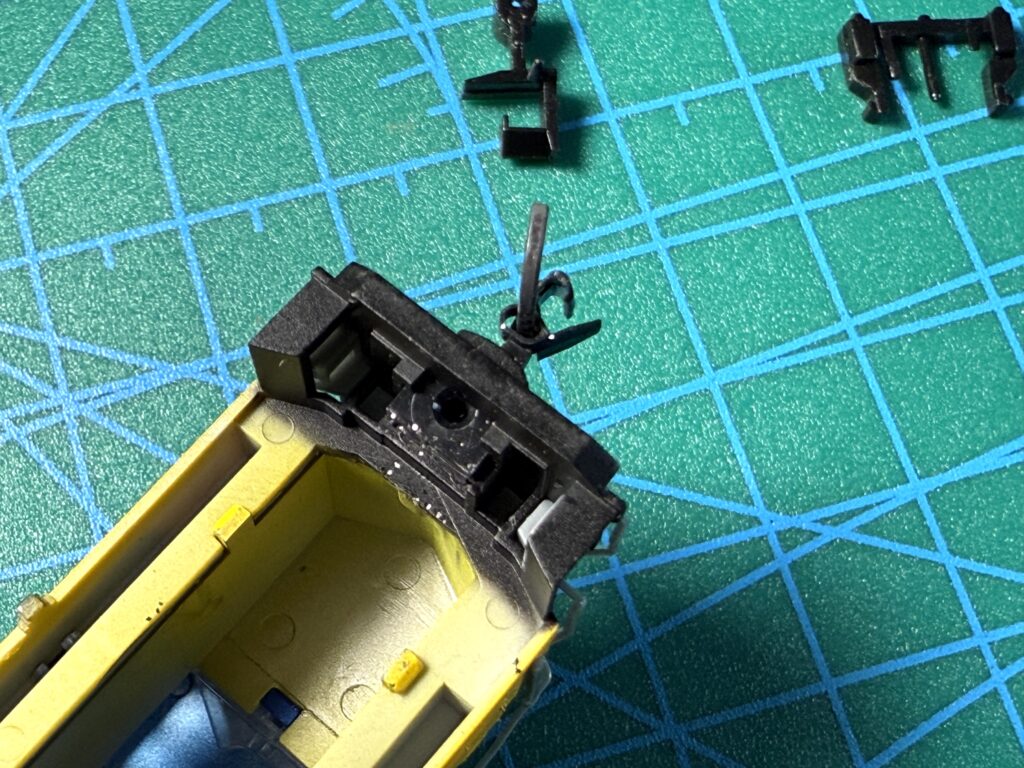
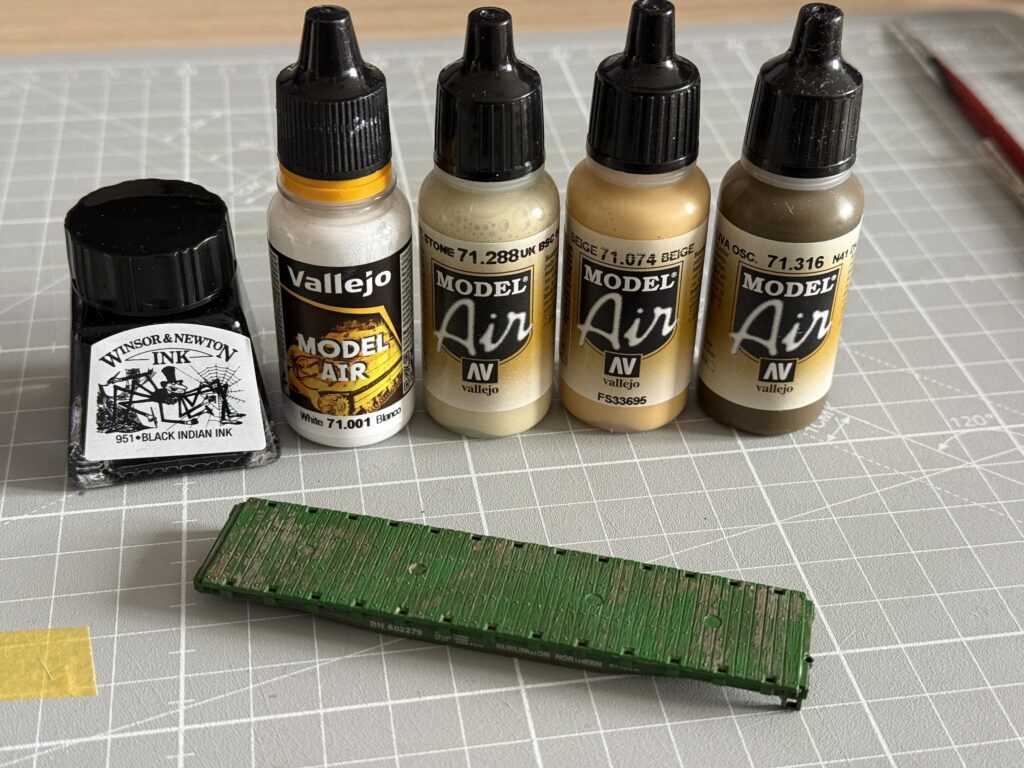
I first removed the trucks with couplers, then proceeded using Vallejo acrylic colors.

The key is to work in light layers. For the Southern Pacific flatcar, which already had a brown base, I applied a wash of dark brown for added depth.

I used Vallejo colors: White (71.001), Uk BSC 64 Portland Stone (71.288), Beige (71.074), N. 41 Dark Olive Drab (71.316) and Dark Rust Wash (76.507). Additionally, I prepared a solution by mixing a couple of drops of Winsor & Newton India Ink with water and 10 drops of isopropyl alcohol. I painted each groups of 2-3 wooden planks in different shades to create natural variation.

Vallejo colors

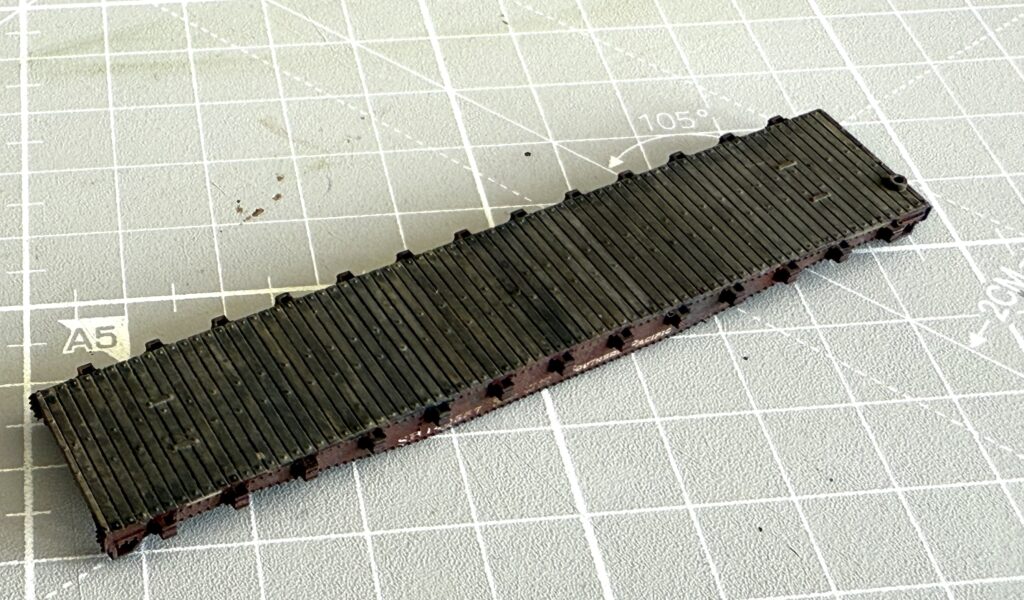
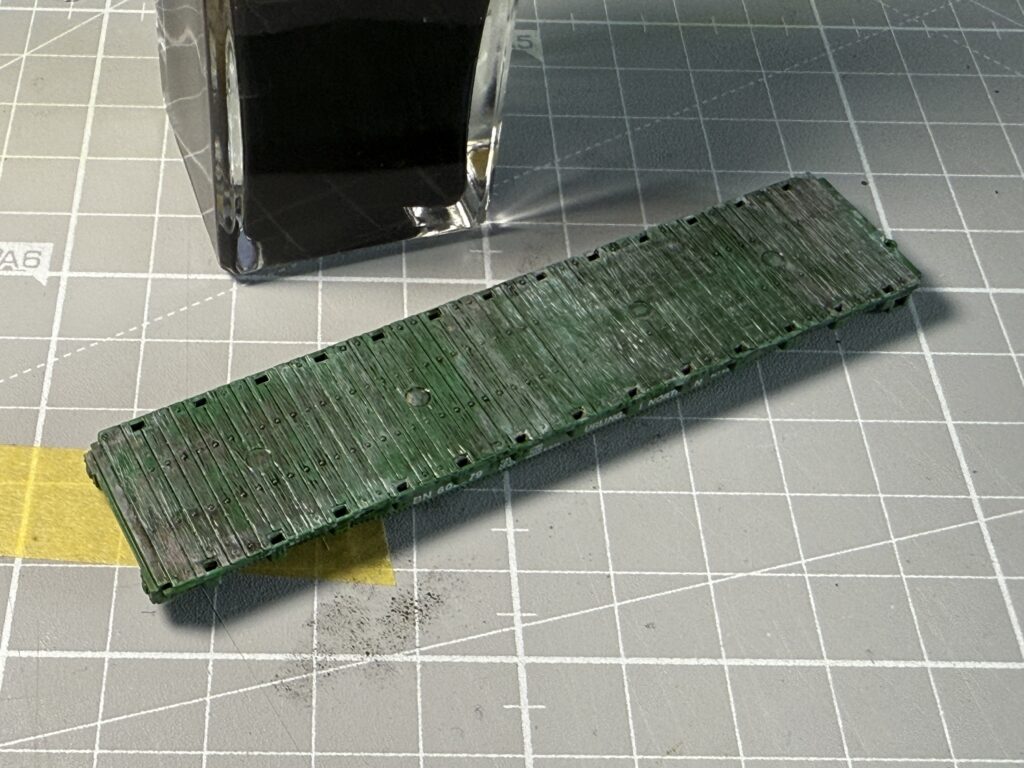
Here is the Con-Cor SP flatcar receiving a wash of diluted black India ink.

Wash of diluted black India ink

I used Vallejo Retarder Medium (70.597) to extend the drying time of acrylics, making brushwork easier and more controlled. First, I applied a wash of White (71.001).

Applying the first wash with white Vallejo 71.001

While Retarder Medium helps with layering by slowing down drying time, it also extends the overall drying process. I made sure the paint was completely dry before applying a wash of India ink, allowing it to seep into the gaps between the wooden planks by capillary action.

Weathering flatcars with India ink wash
Using a fine brush to apply India ink
Weathering flatcars with India ink

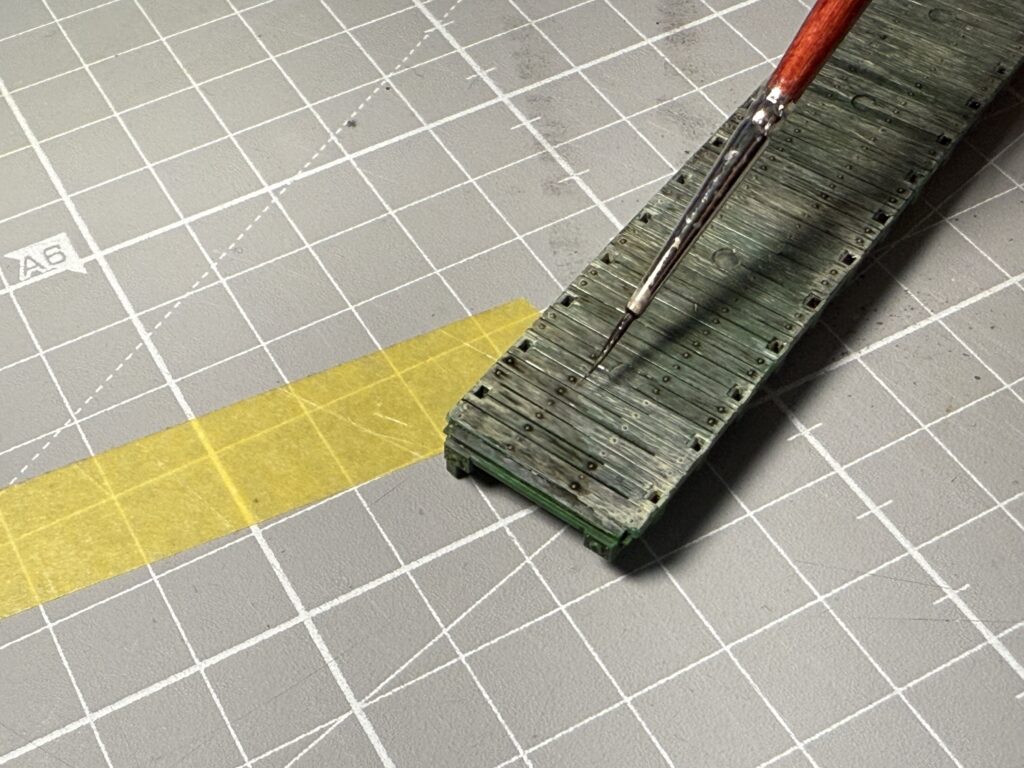
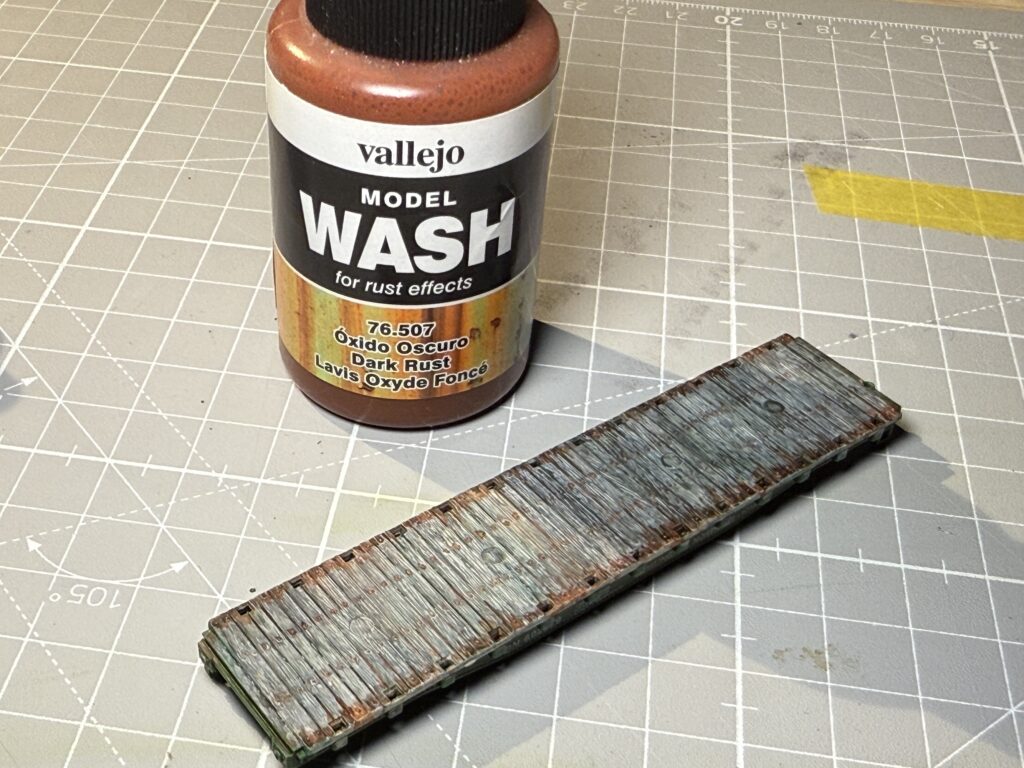
Then I carefully applied Vallejo Wash for rust effects, focusing on the area around rivets.

Using Vallejo Model Wash for rust effects
BN flatcar with added rust effect

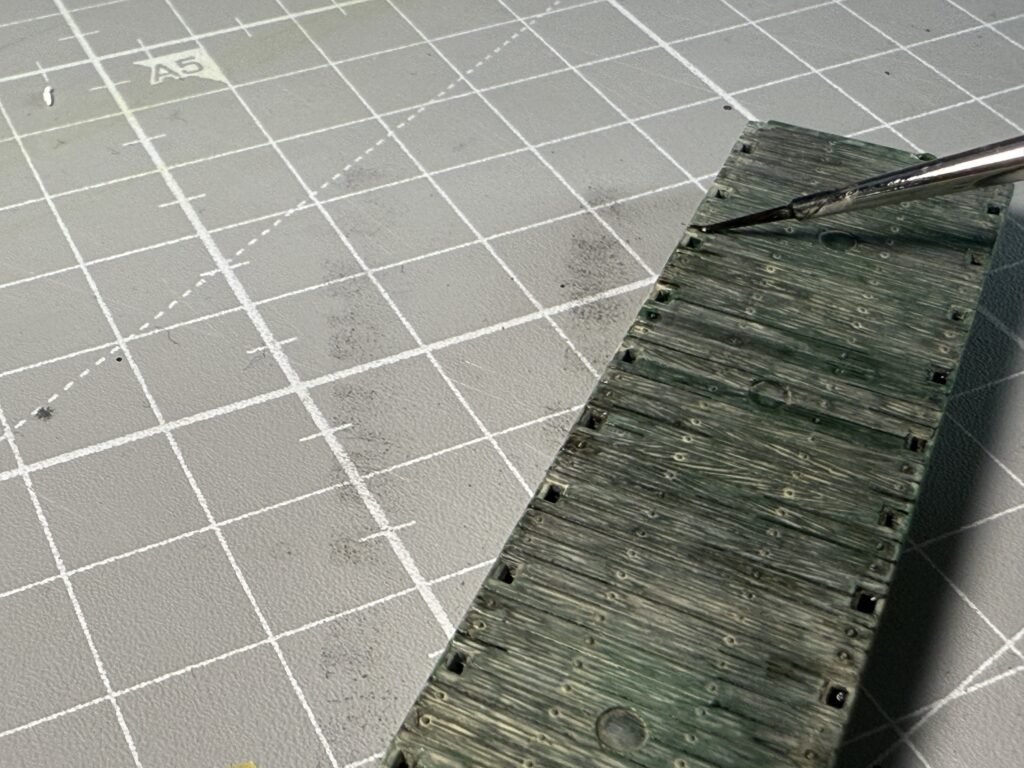
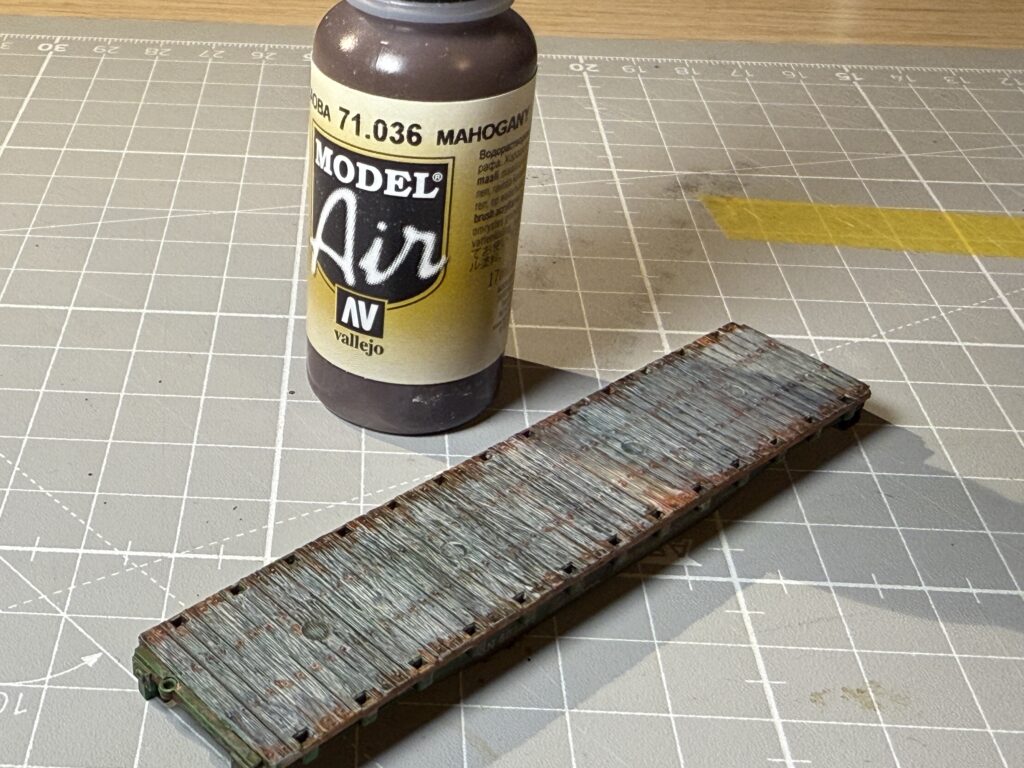
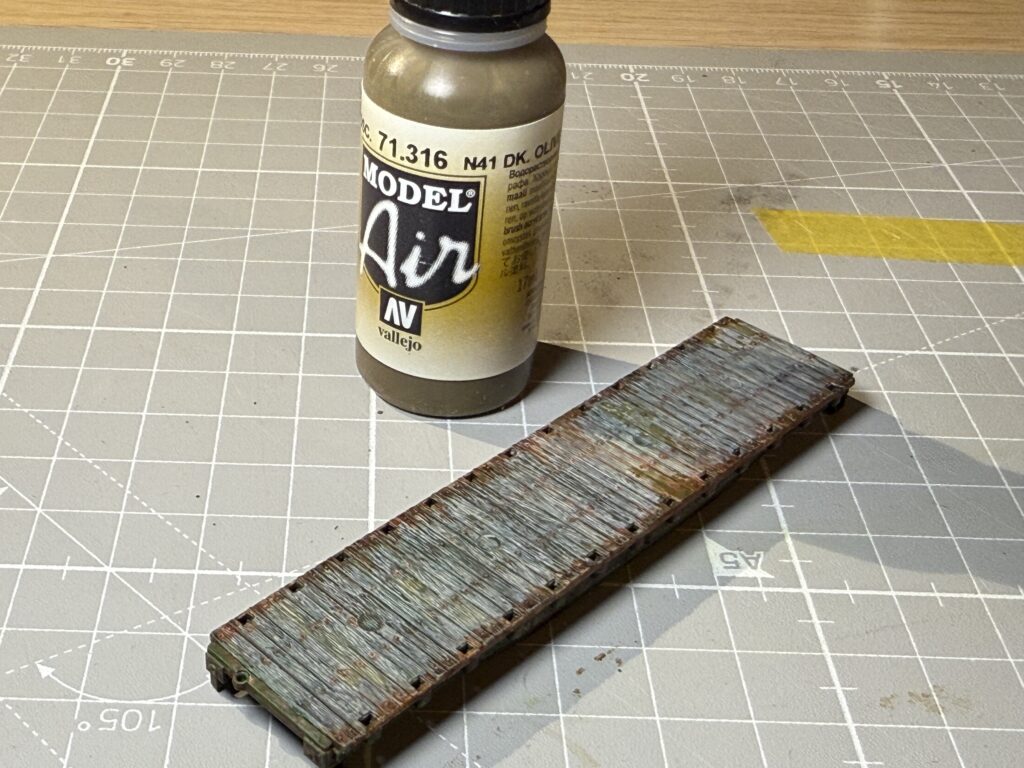
I applied another diluted, random layer of Mahogany (71.036) and N. 41 Dark Olive Drab (71.316) to tone down the red rust color.

Weathering flarcars using Vallejo Mahogany color
Using Dark Olive Drab

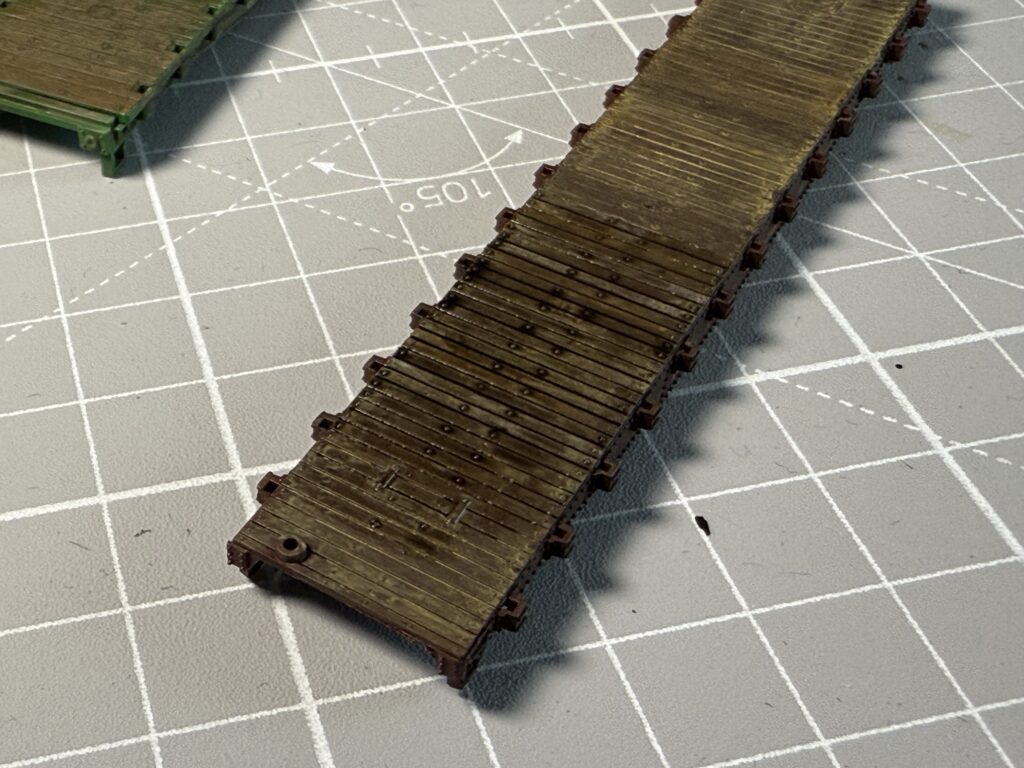
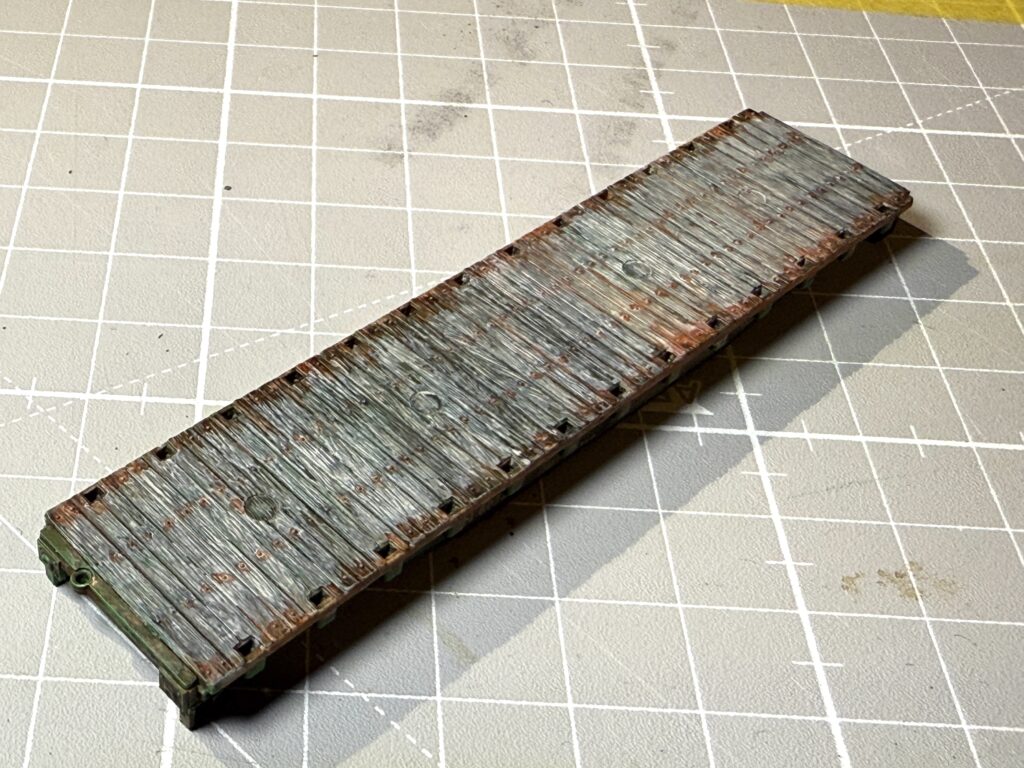
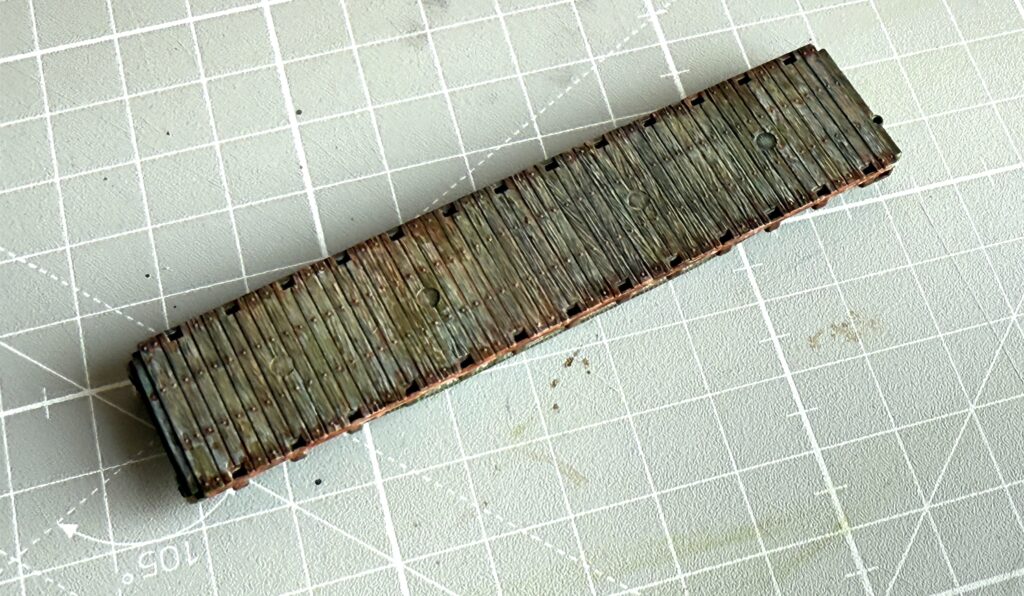
Here is the BN flatcar after the paint has dried.

BN flatcar weathered
Weathering a flatcar, done!

And here is the final result on the SP Con-Cor car. The goal was to create the look of old wooden planks weathered by the elements and stained by various load spills over time.

Weathering flatcars: SP Flatcar finished

Upgrading from Rapido to Micro-Trains Couplers

Step-by-step guide on upgrading from Rapido to Micro-Trains couplers an older Atlas EMD GP40-2 locomotive.

I recently purchased a pair of older Atlas CSX GP40-2 locomotives at a good price on eBay. My goal is to upgrade these locomotives by replacing the factory Rapido couplers with Micro-Trains 1015 couplers, installing a DCC decoder, and repainting and re-lettering them for the Southern Pacific.

Upgrading from Rapido to Micro-Trains Couplers, Atlas GP40-2 shell removed

Removing the Old Rapido Coupler

Use tweezers to carefully remove the metal spring holding the Rapido coupler in place.

removing the old coupler spring

Gently detach the coupler retainer using tweezers or the non-cutting edge of a hobby knife.

removing the coupler retainer

Installing the new Micro-Trains Coupler

Remove the Rapido coupler entirely. Insert a pre-assembled Micro-Trains 1015 coupler into the coupler box.

Upgrading from Rapido to Micro-Trains Couplers, pushing in the new Micro-Trains 1015 knuckle coupler

Fit the original retainer back into place and securely push it into position.

securing the new coupler
new coupler secured in place

Checking Coupler Height After Upgrading from Rapido to Micro-Trains

Verify that both the front and rear couplers align correctly by using a Micro-Trains coupler height gauge.

checking front coupler height
checking rear coupler height

By upgrading from Rapido to Micro-Trains couplers, you will enhance the performance and appearance of your locomotives, ensuring compatibility with modern rolling stock while maintaining a realistic look.

Upgrading from Rapido to Micro-Trains Couplers, two GP40-2 with upgraded couplers

Rapido couplers, once a standard on many older N scale locomotives and rolling stock, are functional but lack the realism and operational reliability desired for modern model railroad layouts. They feature a bulky design that doesn’t closely mimic the appearance of real knuckle couplers, making them less appealing for hobbyists focused on realism.

Micro-Trains couplers, on the other hand, are widely recognized for their realistic knuckle-style design and superior performance. They provide smoother and more reliable coupling and uncoupling, which is crucial for layouts emphasizing realistic operation, such as switching industries or forming trains in a yard. Additionally, Micro-Trains couplers work seamlessly with uncoupling magnets, enabling hands-free operation, which enhances both playability and immersion.

For those looking to upgrade their layouts, converting from Rapido to Micro-Trains couplers is a worthwhile investment. It not only improves the overall aesthetic of the trains but also ensures smoother operations, reducing derailments and coupling issues that can disrupt realistic operating sessions.