Category: Operations

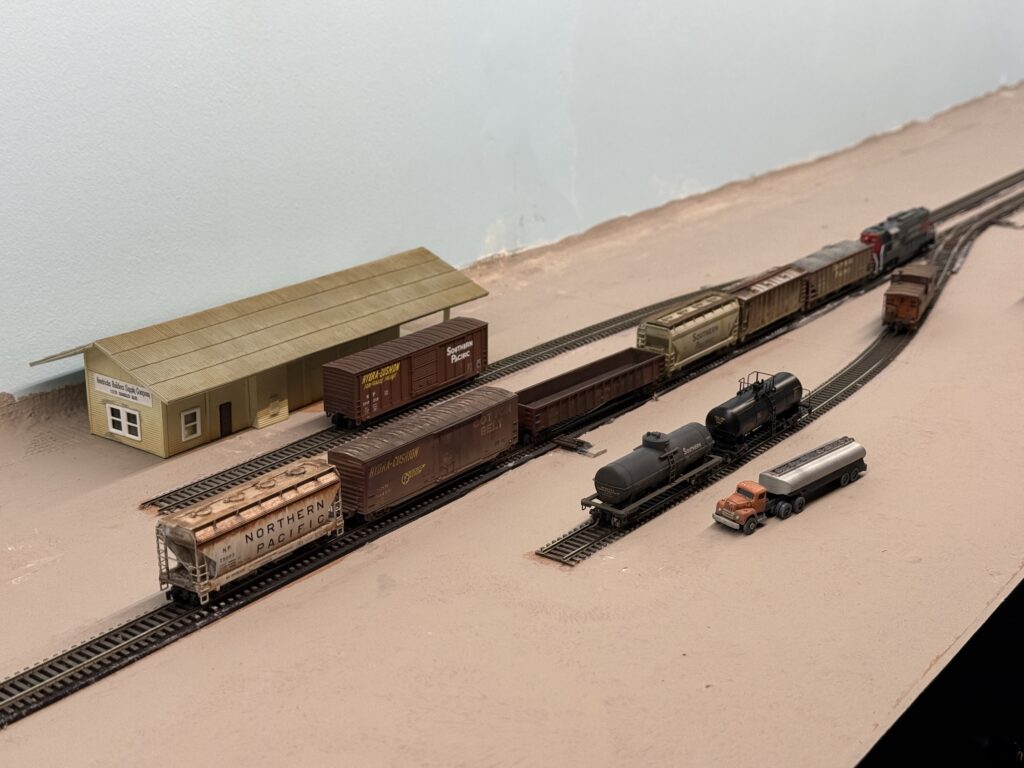
Test Operating Session

Running a test operating session helps reveal whether the trackwork and car movements meet expectations.

It is always important to run a test operating session before painting and ballasting the track, since any minor or major issue can be addressed without damaging the scenery.

Test operating session

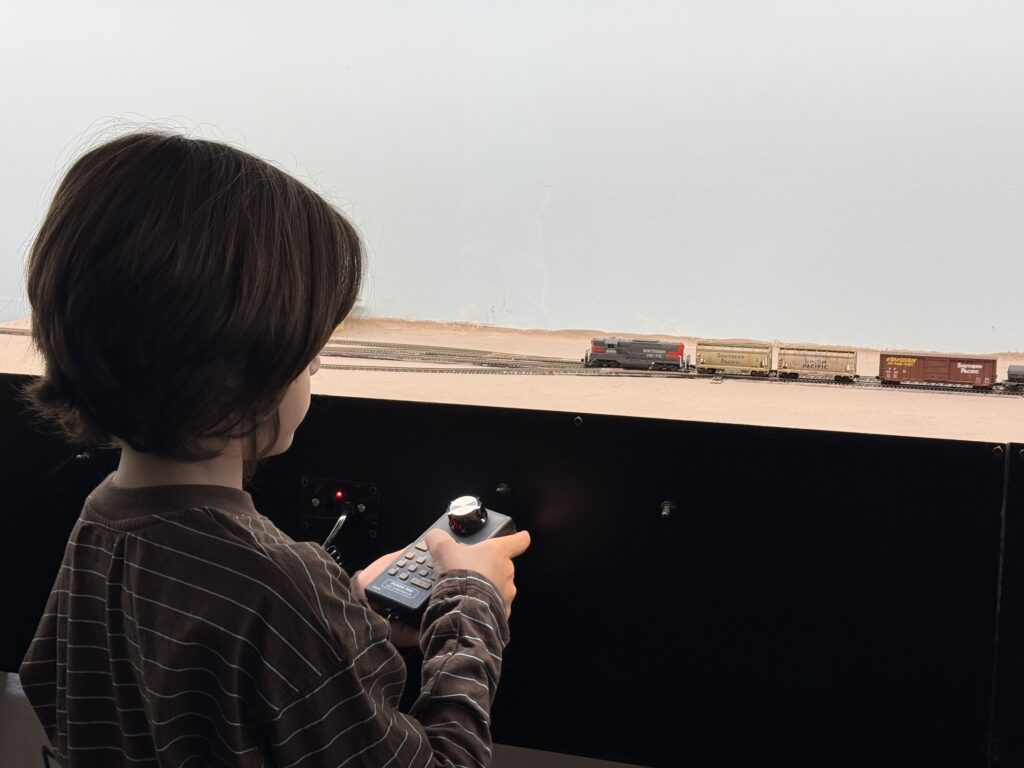
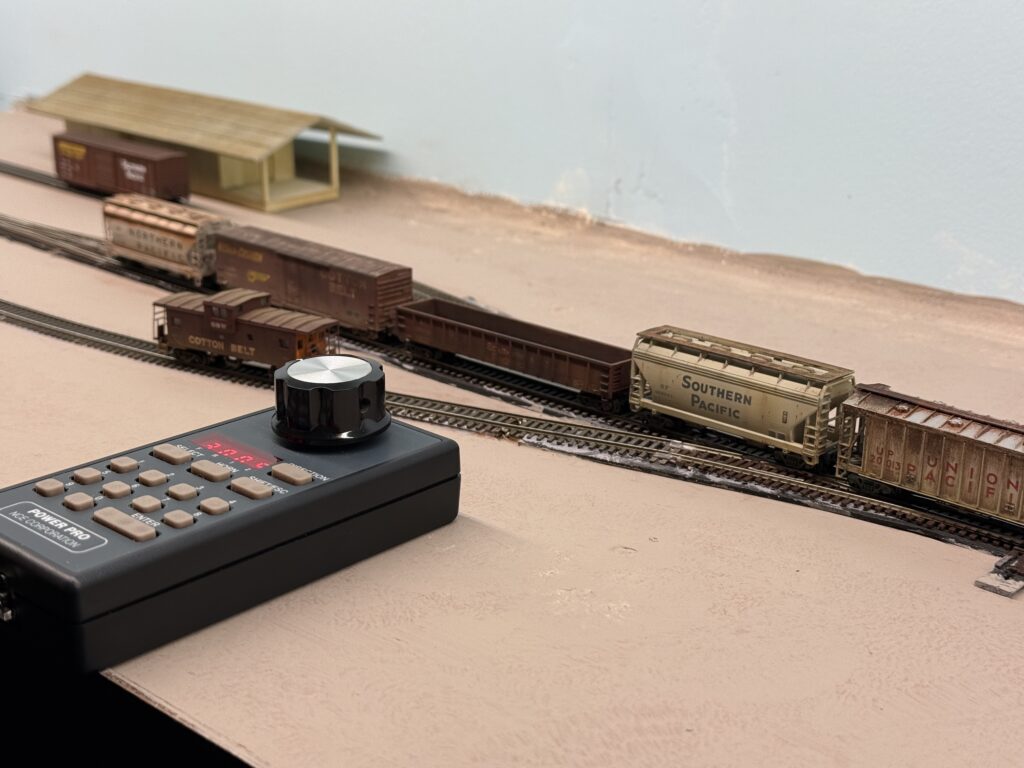
The first operating session was completed with the help of my seven-year-old son, who took the role of engineer. I printed a simple switchlist, and he performed all the switching under my guidance. We started from the staging yard, completed our setouts and pickups, and returned to staging in about one hour.

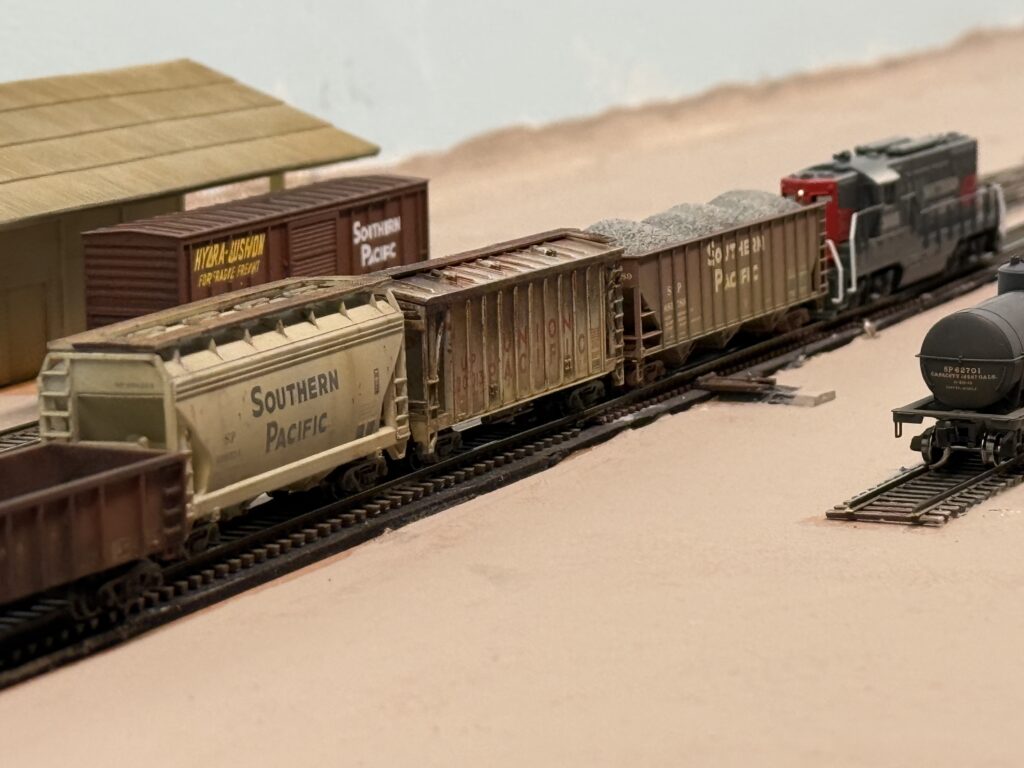
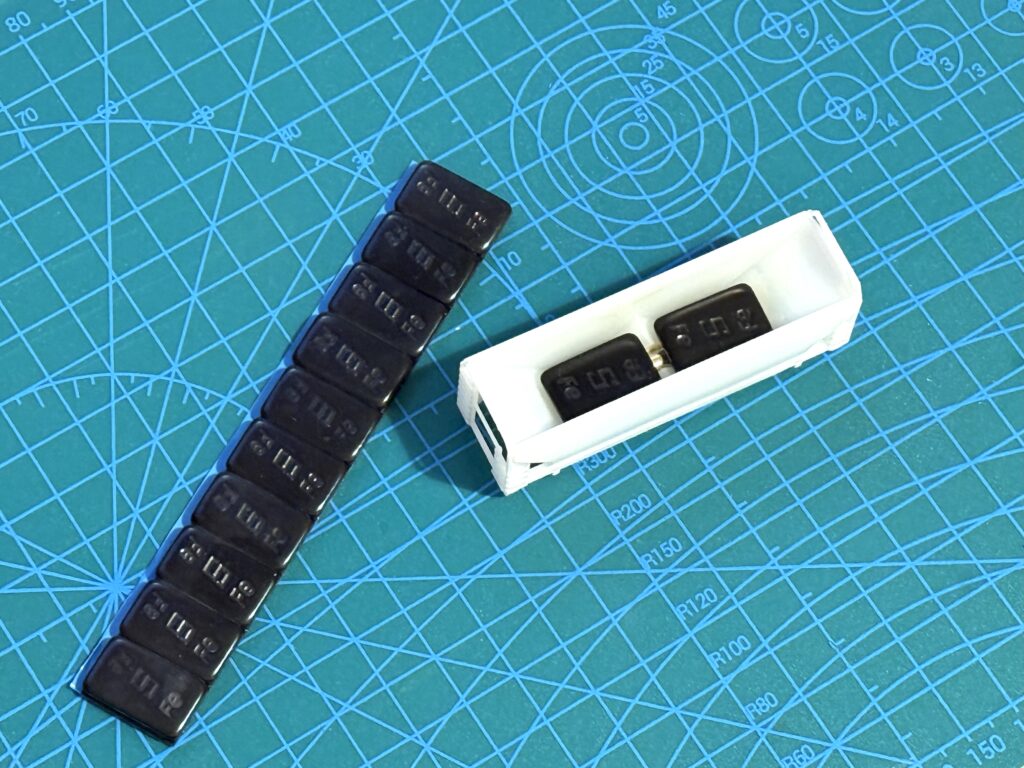
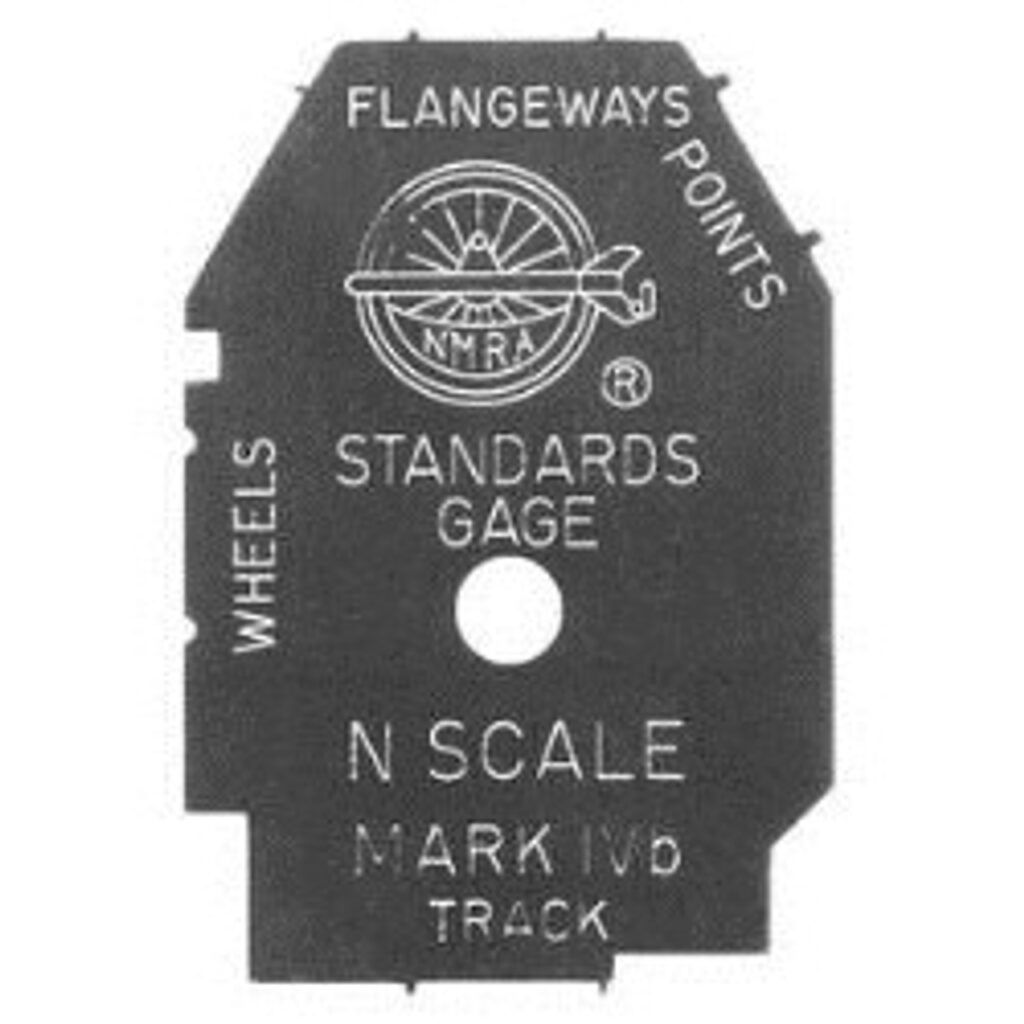
During the session, I discovered that my Atlas GP9 with an ESU sound decoder, purchased new in November 2024, had a serious gauge problem on the rear truck axles. I checked the wheels with two different tools: the official NMRA gauge and the Micro-Trains Line coupler gauge.

Even after correcting the axle gauge, the locomotive still derailed every time it passed through a crossover. I tested six other locomotives, and none of them had any issues. No matter how I fine-tuned the wheels, the GP9 kept derailing over the same turnouts.

I never had problems like this on my previous layout, which included about forty Atlas Code 55 turnouts. However, I must admit that the quality control of Atlas turnouts is not what it used to be twenty years ago.

I checked several against the NMRA gauge, and about eighty percent showed a narrow flangeway clearance. It is quite disappointing, especially that an Atlas locomotive struggles to run smoothly over Atlas track.

By the way, apart from a few hiccups with the GP9, the session once again proves that a layout with only seven turnouts can still be a lot of fun to operate.

Team track and Hendrick's Builder Supply spur
Controlling the train with a NCE throttle.
Test operating session

First Running Test

First running test on the SP Burbank Branch in N scale switching layout.

After completing 90% of the trackwork, I performed a first running test to check the work done so far. Turnouts were of course under close examination. A few spots revealed two things:

  • Atlas code 55 turnout quality control isn’t perfect. In a few cases, the guard rails were slightly too close to the stock rail, as confirmed with an NMRA gauge.
  • I need to check the wheelset gauge on a few locomotives, as they don’t appear to have been set correctly at the factory. I’ll be using an NMRA gauge for this.

Video

Overall the test went well, and I was able to simulate a short switching operating session.

It’s essential to get reliable operations on a layout, especially in smaller scales like N. The first test run offered valuable insight into both track and rolling stock performance.

While a few adjustments are still needed, it’s encouraging to see the layout begin to function as intended. With minor fine-tuning, the SP Burbank Branch will soon be ready for smooth and reliable operations.

Model Railroad Cars Weight

How much should model railroad cars weigh? Let’s explore NMRA Recommended Practice 20

A proper model railroad cars weight plays a key role in ensuring smooth operations, especially on tight curves and uneven track sections where some cars may derail. Also, properly weighted cars significantly improve realistic operations, especially when it comes to coupling and uncoupling.

Model railroad cars weight
Using 5-gram (0.18 oz) tire balancing weights to add weight to a covered hopper.

The ideal weight for each car depends on its length. Using NMRA standards, particularly RP-20, you can calculate the optimal weight for any car and adjust it if needed by adding extra weight.

How to calculate weight

Here’s the formula for determining the recommended weight of a model train car:

Recommended weight = Initial weight + (Car length × Additional weight per unit length)

Let’s break it down with a practical example.

The image above shows an N scale Atlas ACF 2-bay covered hopper. It weighs 15 grams (including trucks, wheels, couplers, and a factory-installed weight) and measures 70 mm in length. According to the NMRA RP-20 standards, the initial weight for N scale is 14.17 grams (0.5 oz). The additional weight is calculated as 0.15 oz per inch (equivalent to 4.25 grams per 25.4 mm, or approximately 0.167 grams per mm).

  • Initial weight = 14.17 g
  • Car length = 70 mm
  • Additional weight = 70 mm × 0.167 g/mm = 11.69 g

Total Recommended Weight:

Total Weight = 14.17 g + 11.69 g = 25.86 g

A 15 g, 70mm car should weigh almost 26 g, so I need to add 10 g. Tire balancing stick-on weights are an excellent choice for adding weight. They’re affordable, easy to find, and readily available. My approach involves removing the car shell, identifying suitable spots to place the weights, and securing them with adhesive.

Covered hopper with additional weight, now correctly measuring 26 grams.

Adding weight to model railroad cars requires a bit of extra effort, but it pays off in the long run.

Using 5-gram (0.18 oz) tire balancing weights to add weight to a boxcar chassis.

Standards

A set of standards helps in building and operating a reliable model railroad layout

Before starting a model railroad layout construction, a set of standards should be established to ensure smooth operations. These standards apply to trackwork, rolling stock, wiring, and DCC. My bare minimum standards are:

NMRA Standards Gauge N Scale
  • All code 55 tracks, using Micro Engineering flextrack and Atlas turnouts
  • DCC bus and feeders with the appropriate wire gauge
  • All Micro-Trains couplers set at the proper height
  • All BMF-equipped DCC decoders
  • Properly maintained and cleaned rolling stock
  • Properly maintained and cleaned tracks (using white spirits and graphite)

By strictly adhering to these standards, you can ensure smooth operating sessions and, ultimately, an enjoyable and rewarding experience.