Adding track ballast to the Burbank Branch in N scale
Adding track ballast is one of my favorite parts of the process. It is the stage when a model railroad truly starts to take shape and look real, like when I painted the track.
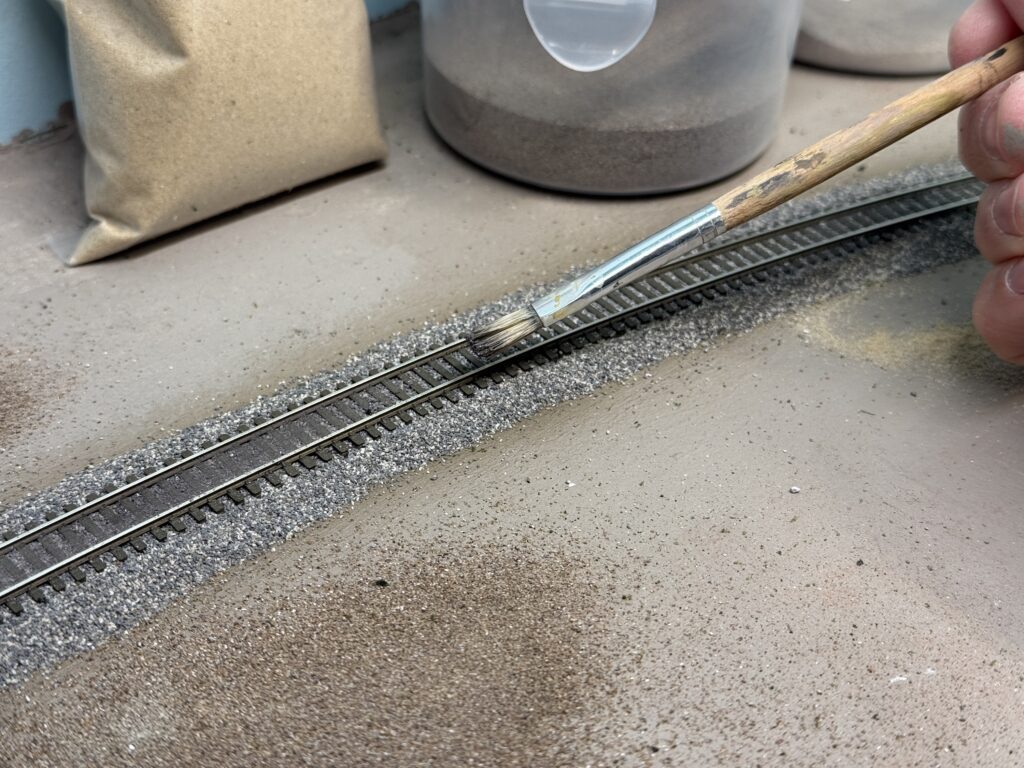
Afterwards, I used Woodland Scenics fine ballast as I usually do. This time I mixed equal parts of Gray (B1375) and Light Gray (B1374). I spread the ballast with a spoon, then shaped it carefully with my index finger and a soft paintbrush.
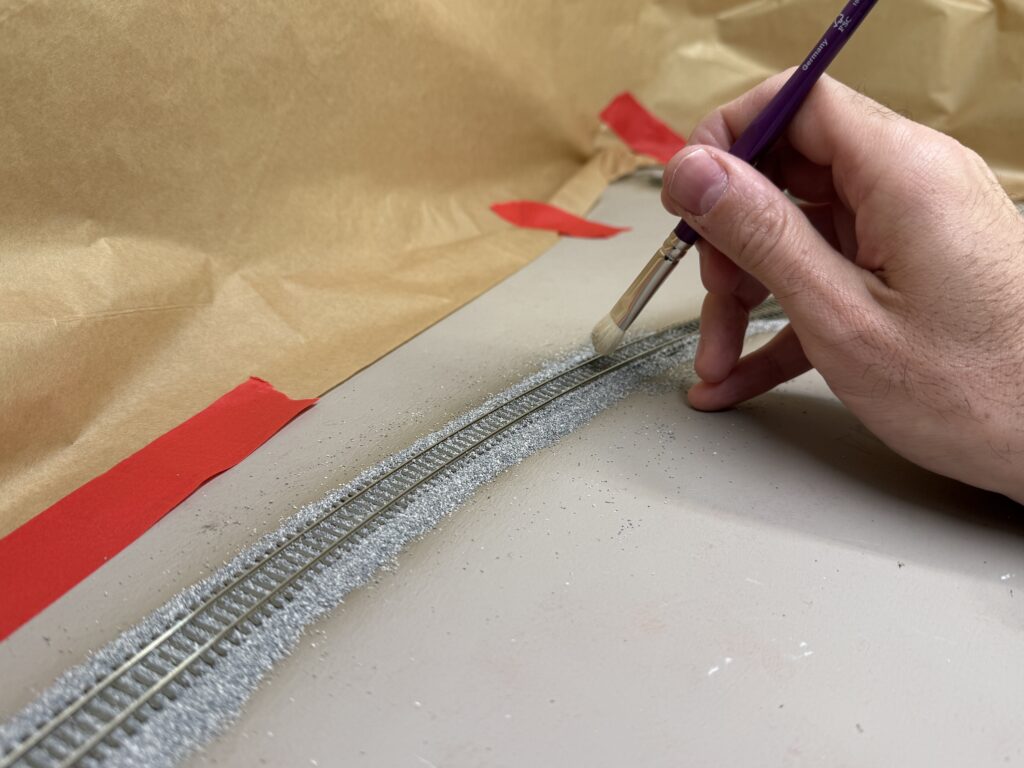
After that, I made sure no ballast remained on the ties or along the rail sides. I also payed special attention to the turnouts, usually avoiding the points area altogether.
With some careful painting, it is easy to disguise the missing ballast.
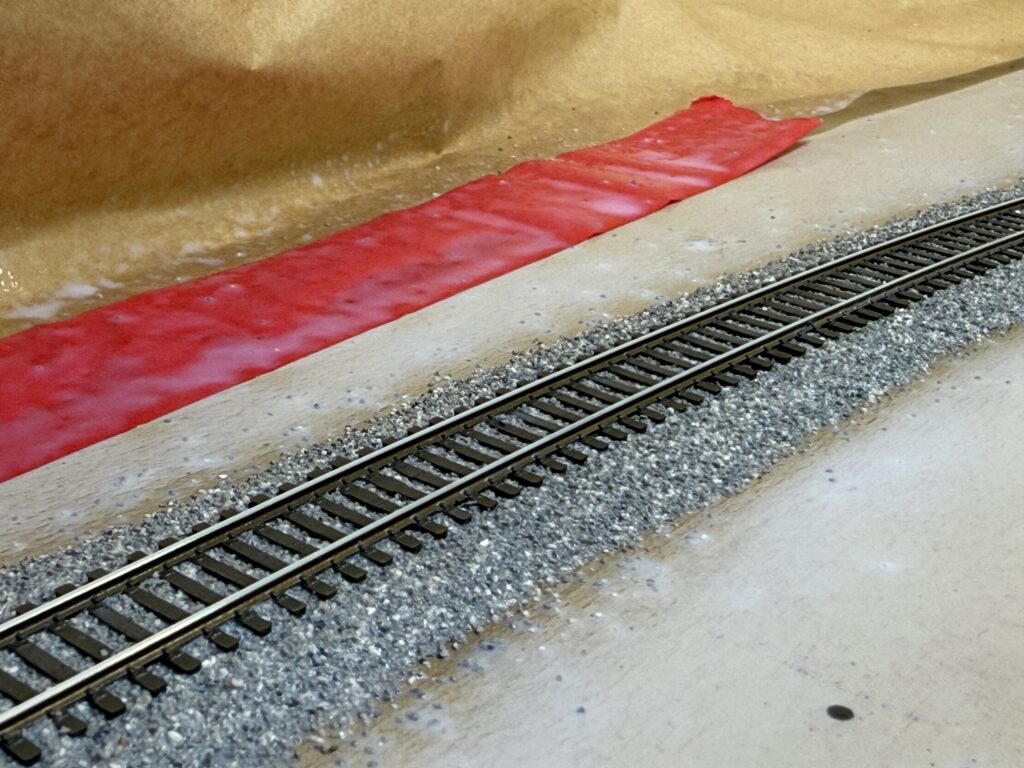
After the ballast was in place, I misted the tracks with a 40:60 mix of 99.9% isopropyl alcohol and water, letting it soak thoroughly. This helps break the water’s surface tension and allows the glue to penetrate the ballast. Once it was well soaked, I sprayed a 50:50 mix of water and Liquitex Matte Medium.
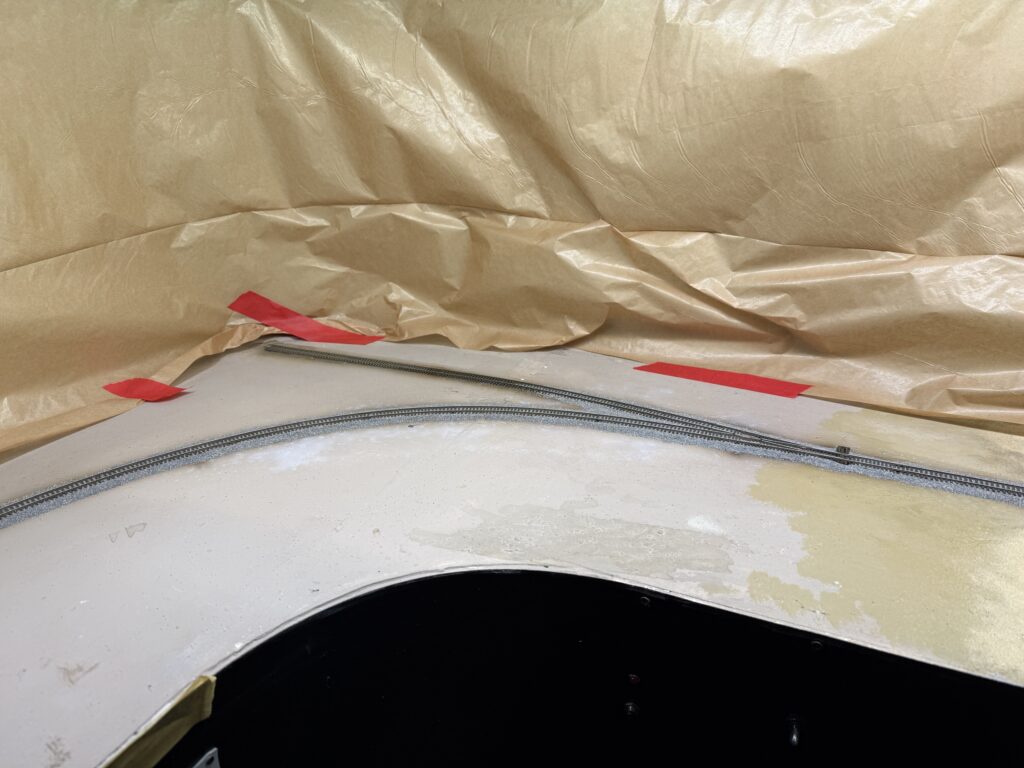
At the ConRock Ready-Mix Cement Plant, I used some tan terrain material to slightly bury the track and give it a more realistic, dirt-embedded look.
Track Weathering
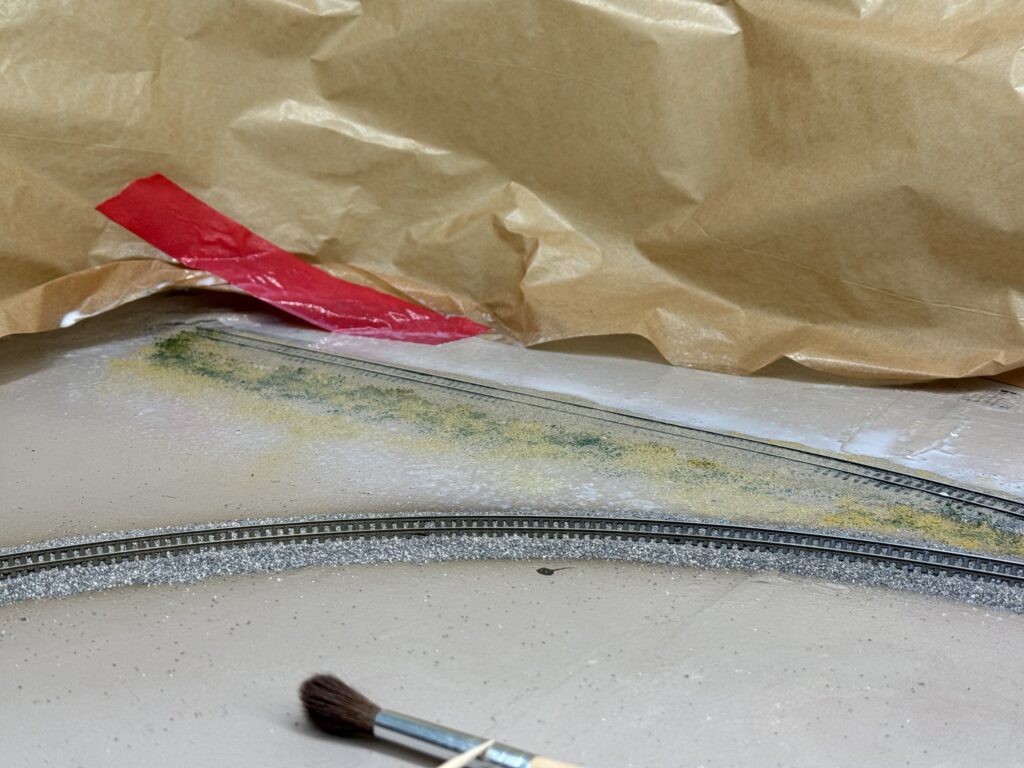
I weathered the area between the rails using a mix of plaster and black powdered pigments in a 2:1 ratio.
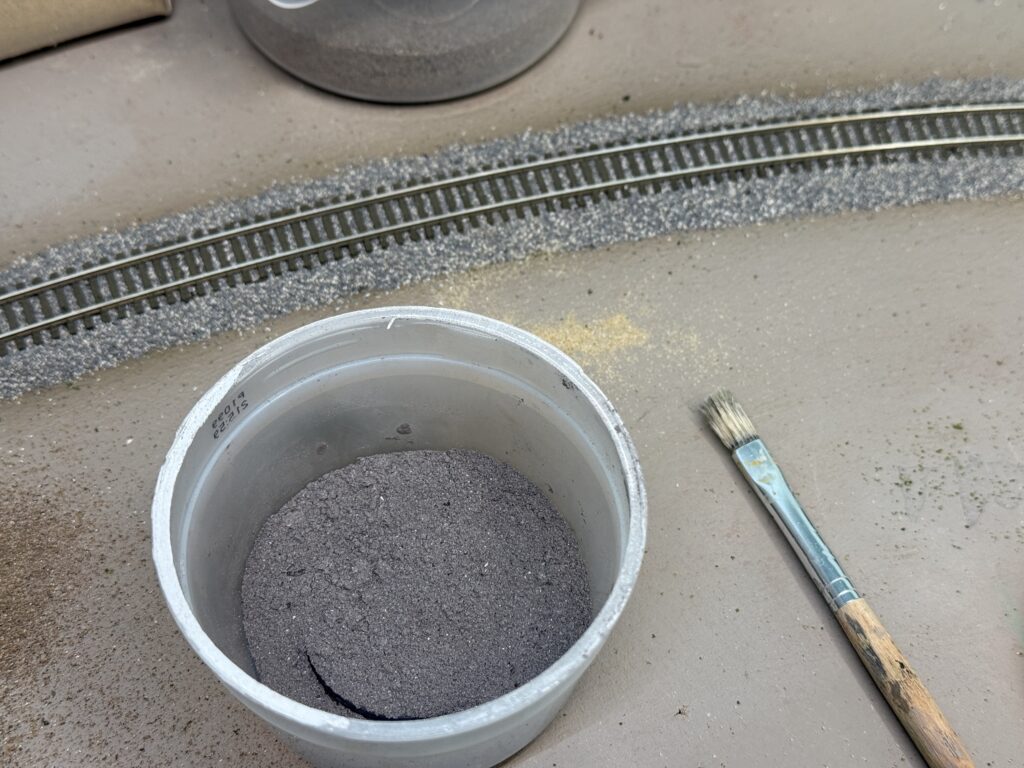
Then, I spread the mixture between the rails with a fairly stiff flat brush. Afterwards, I misted the area with water, which activated the plaster and sealed everything firmly in place.

Here is a photo of the weathered track after the plaster of Paris and pigment mix had fully dried.
