Scratchbuilding a structure
Step-by-step on scratchbuilding a structure with styrene
I had wanted to embark into scratchbuilding a styrene structure for years but never did it properly. This time, I decided to model the Hendricks Builders Supply Company in Lankershim/North Hollywood.


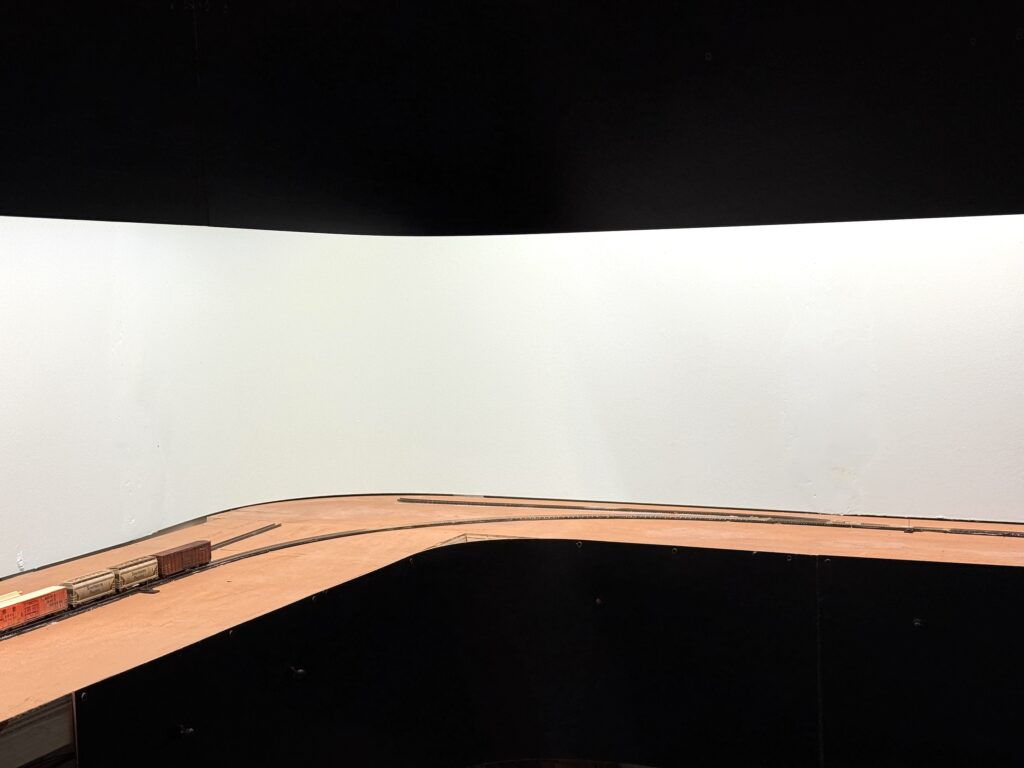
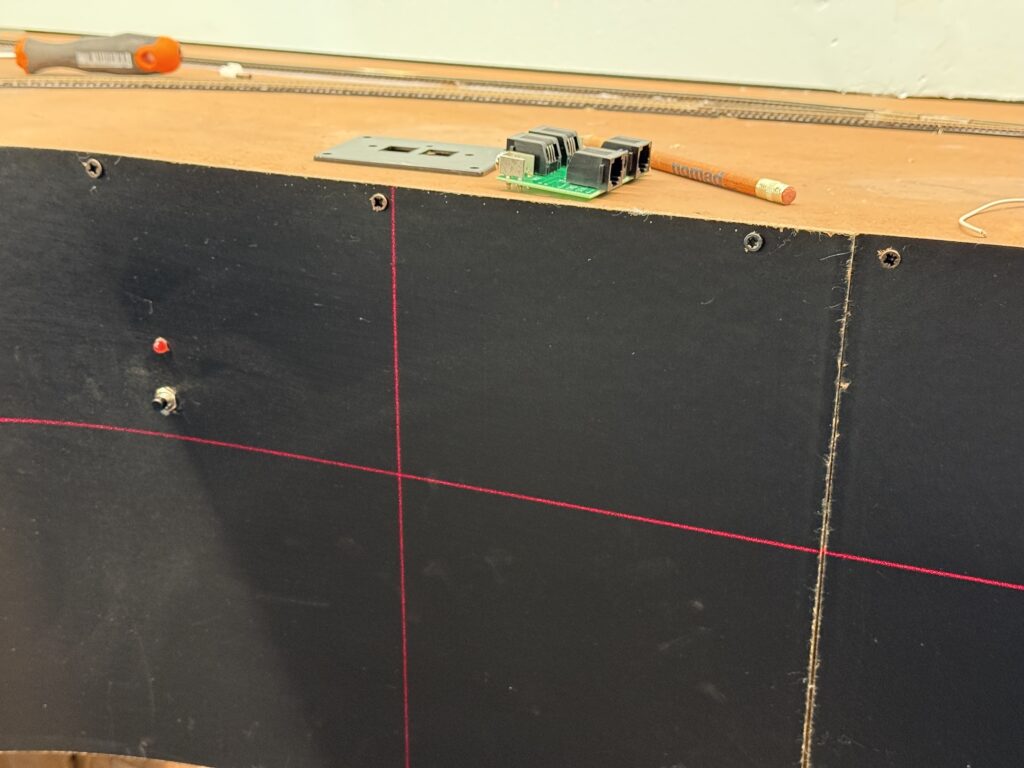
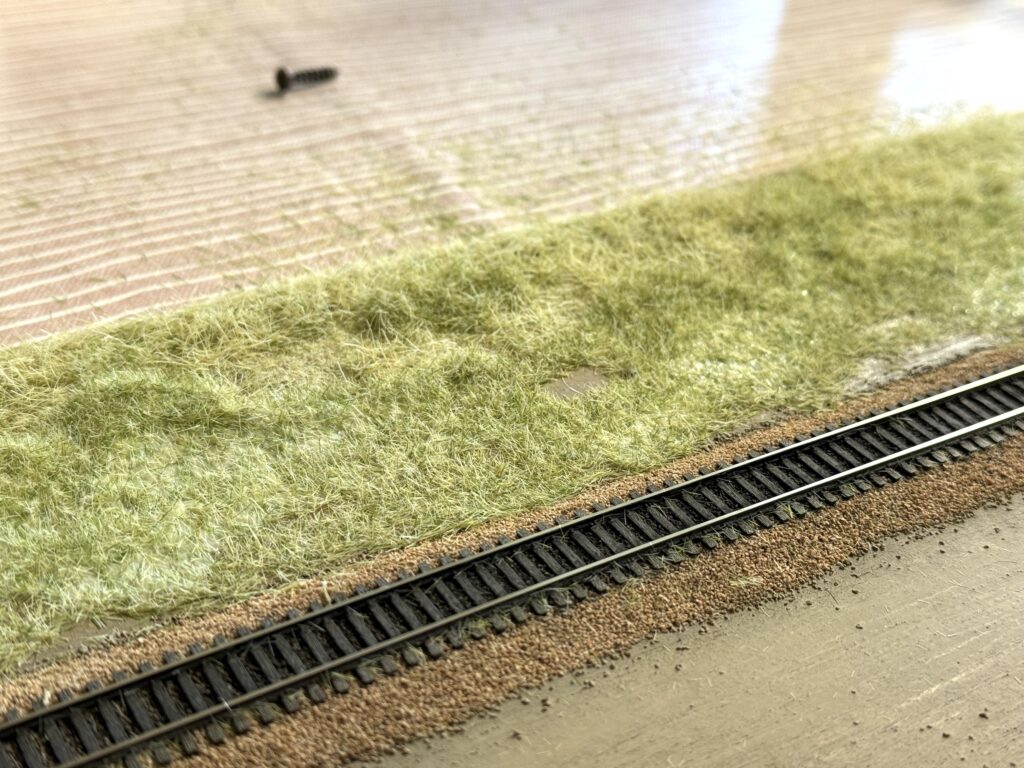
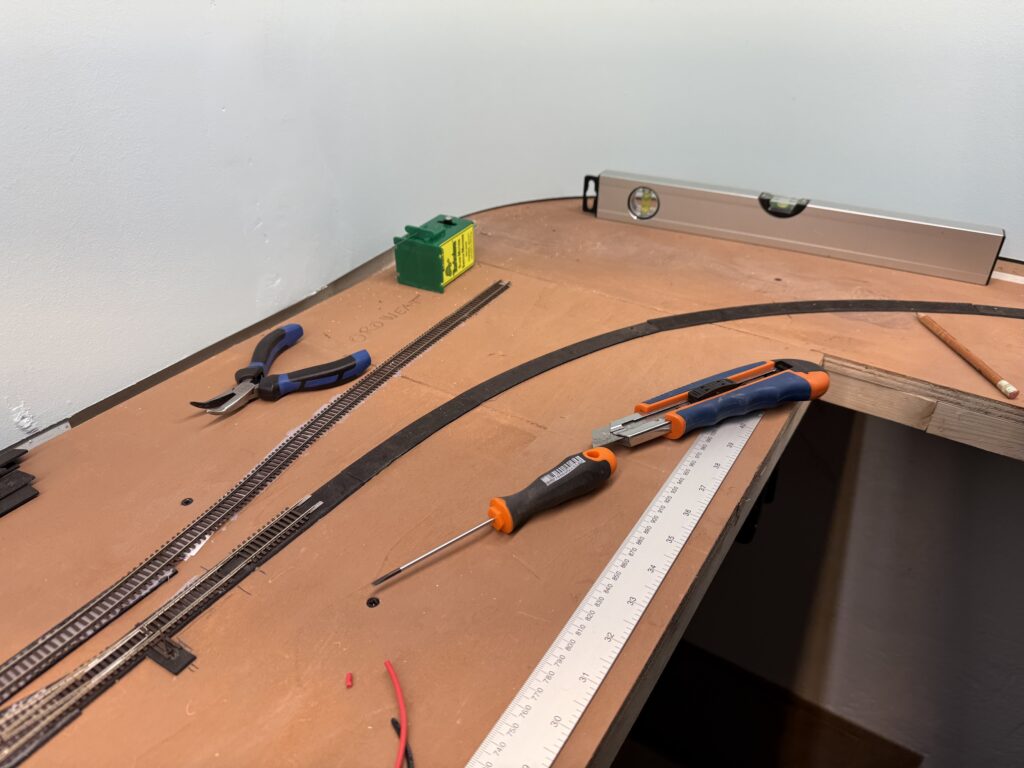
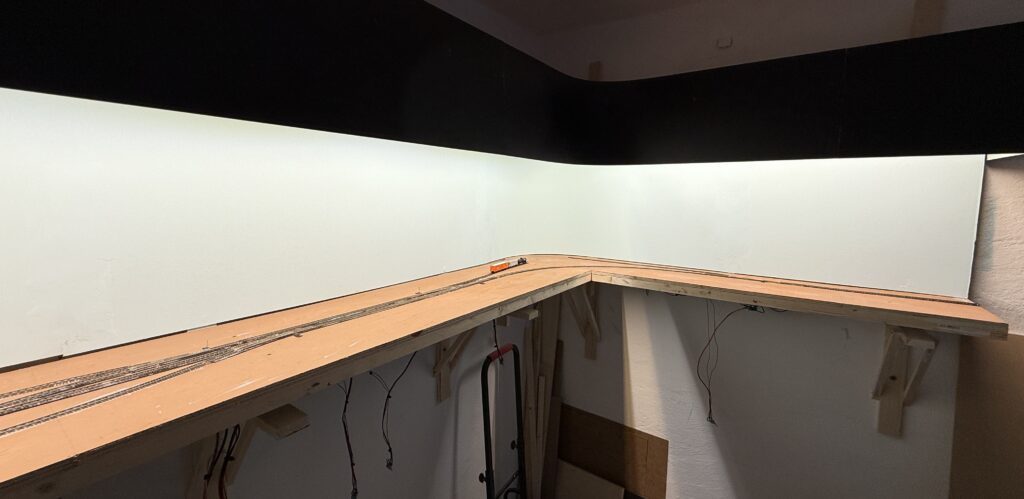
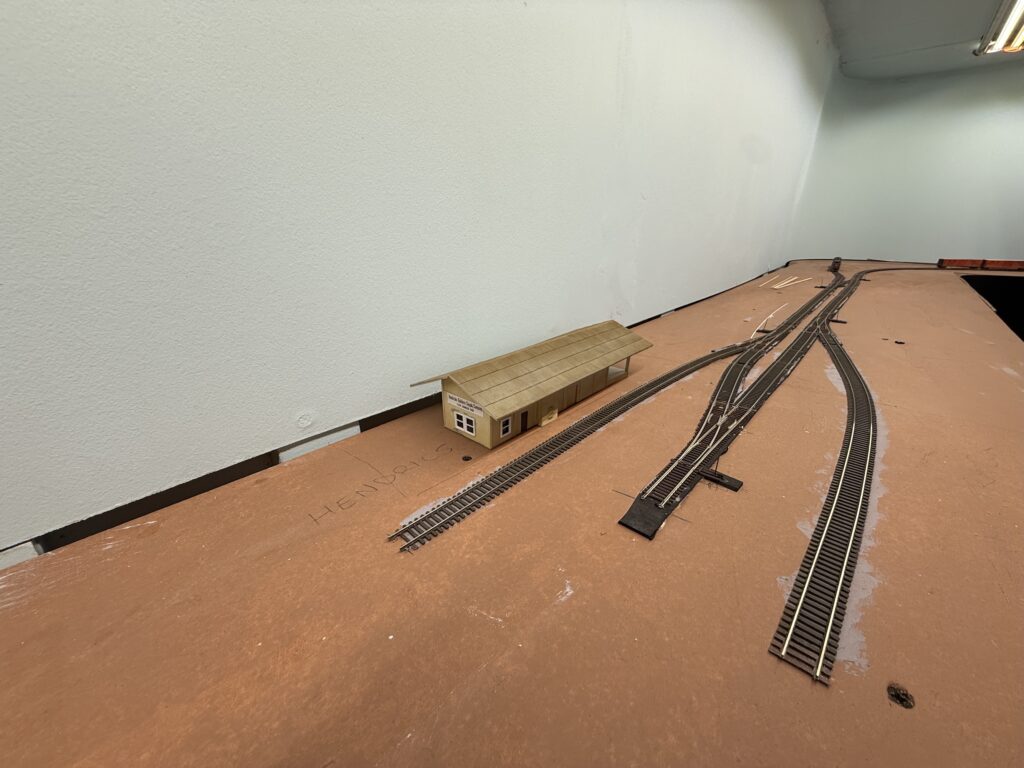
This structure will be placed on the layout according to the trackplan.
Drawing
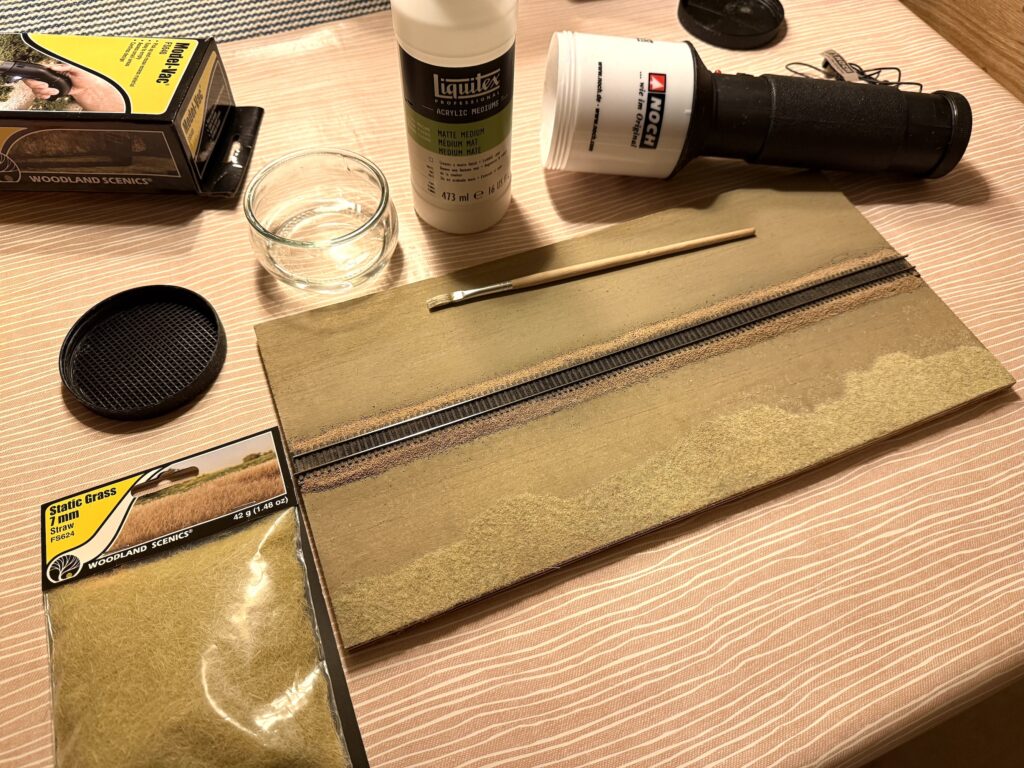
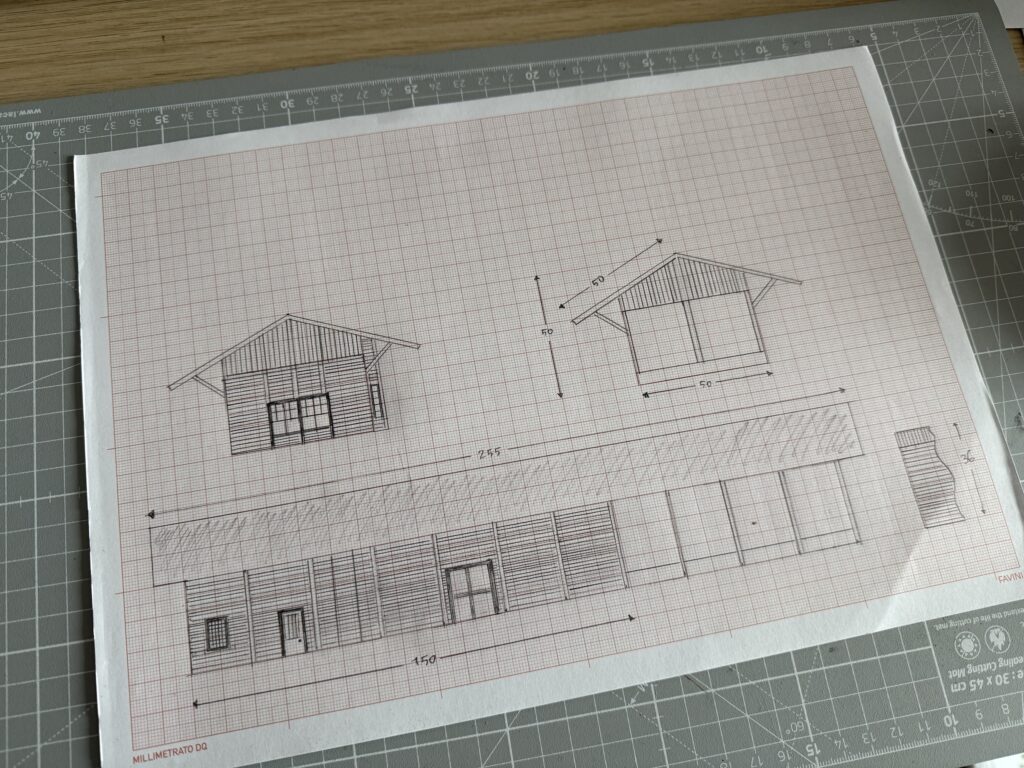
I started by drawing a rough plan on millimeter graph paper.
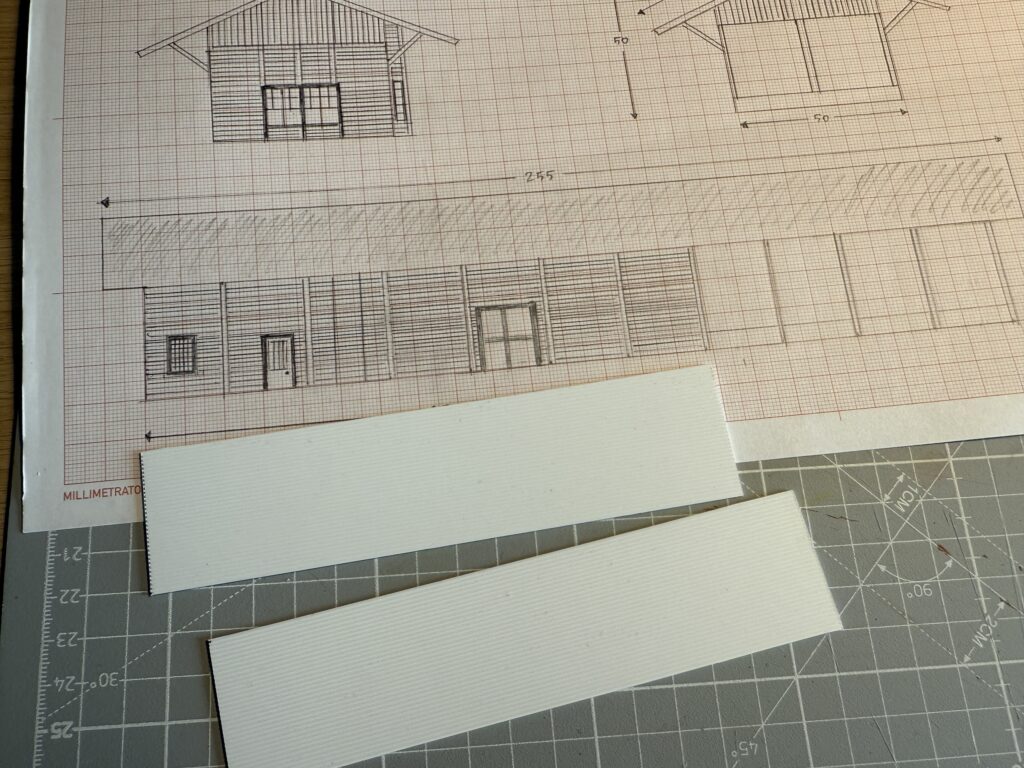
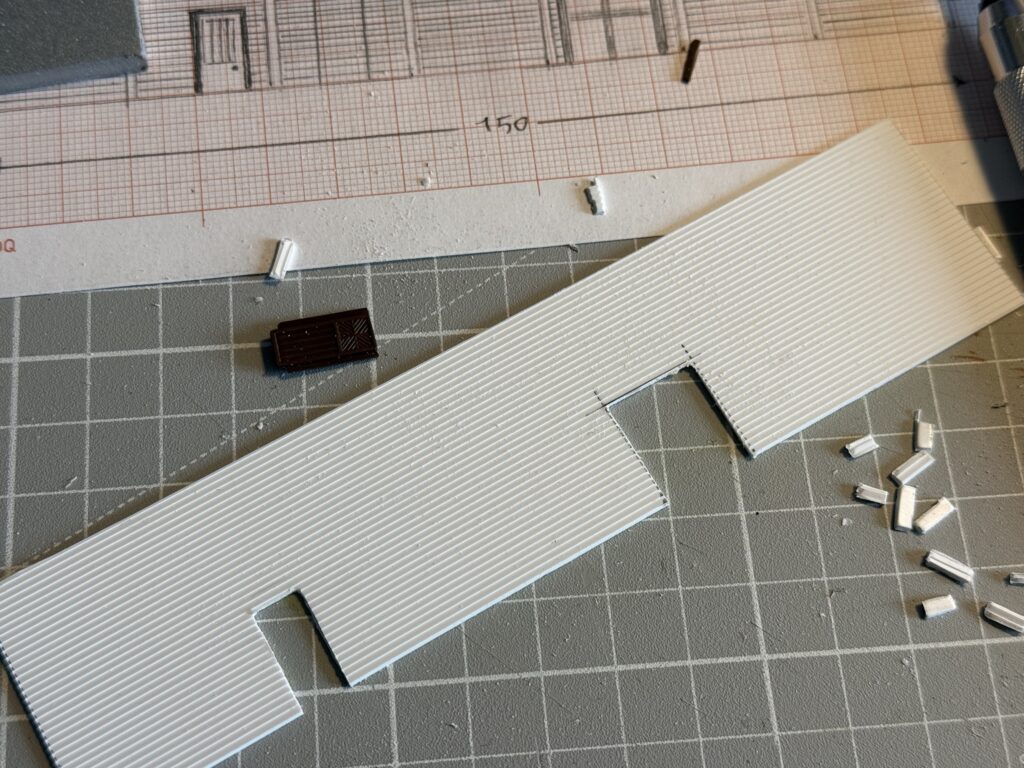
I used Evergreen styrene 4041 clapboard 1mm (.040″) sheets for the main walls.
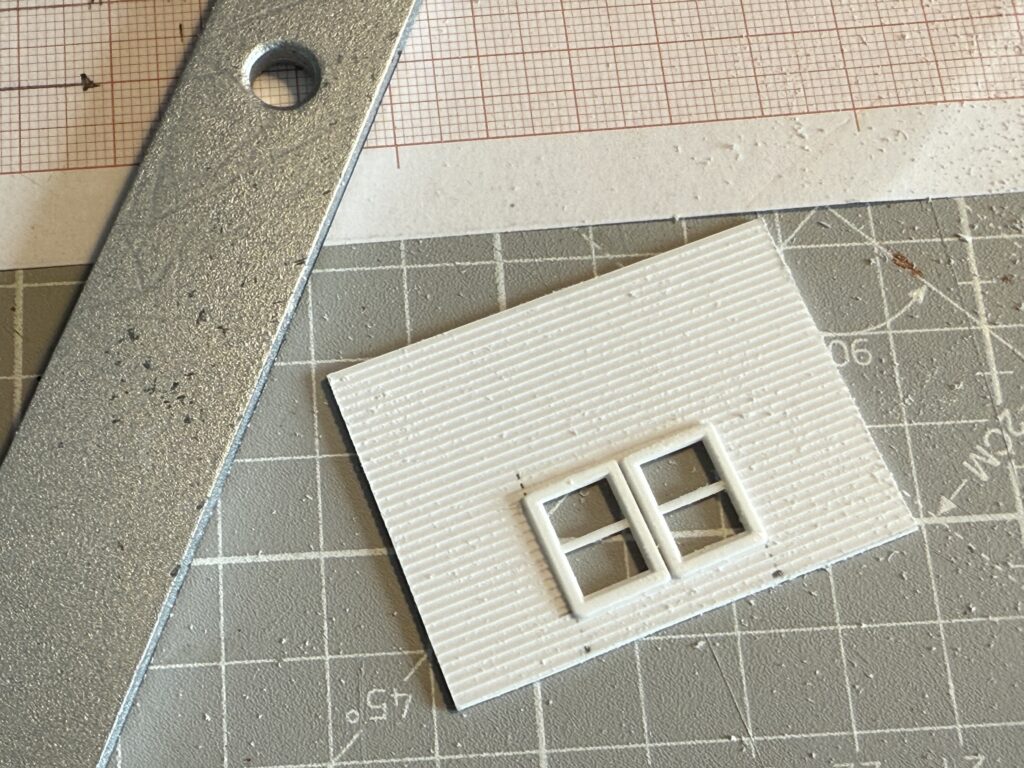
Windows
I had some doors and windows on hand that matched the building’s style.
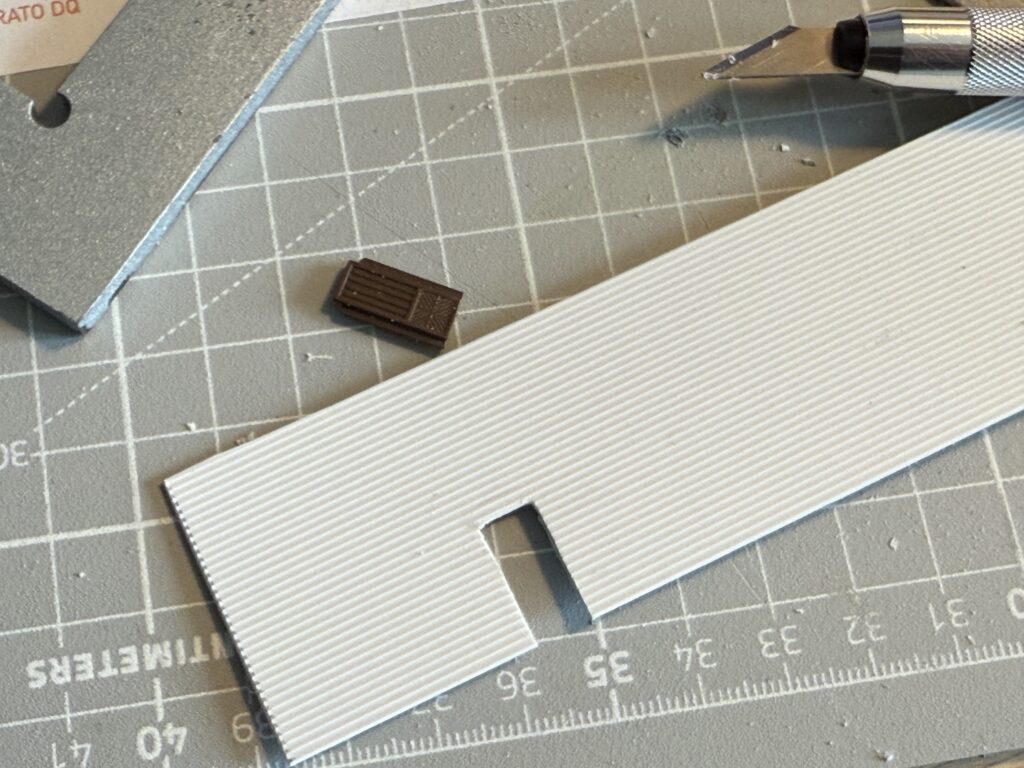
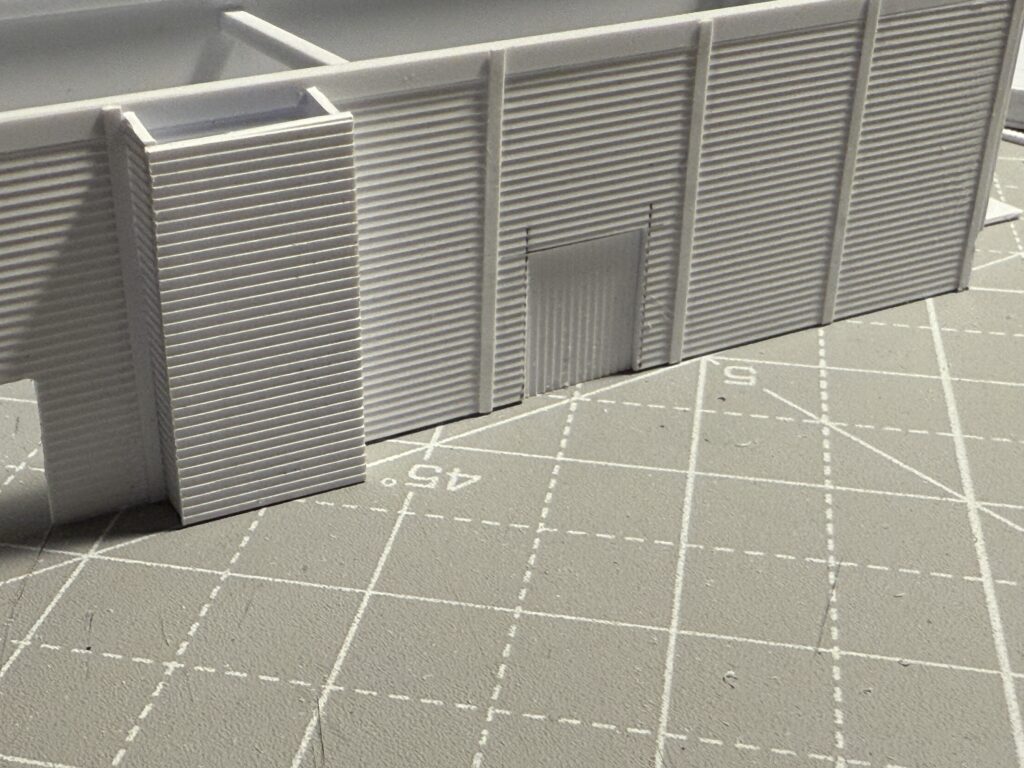
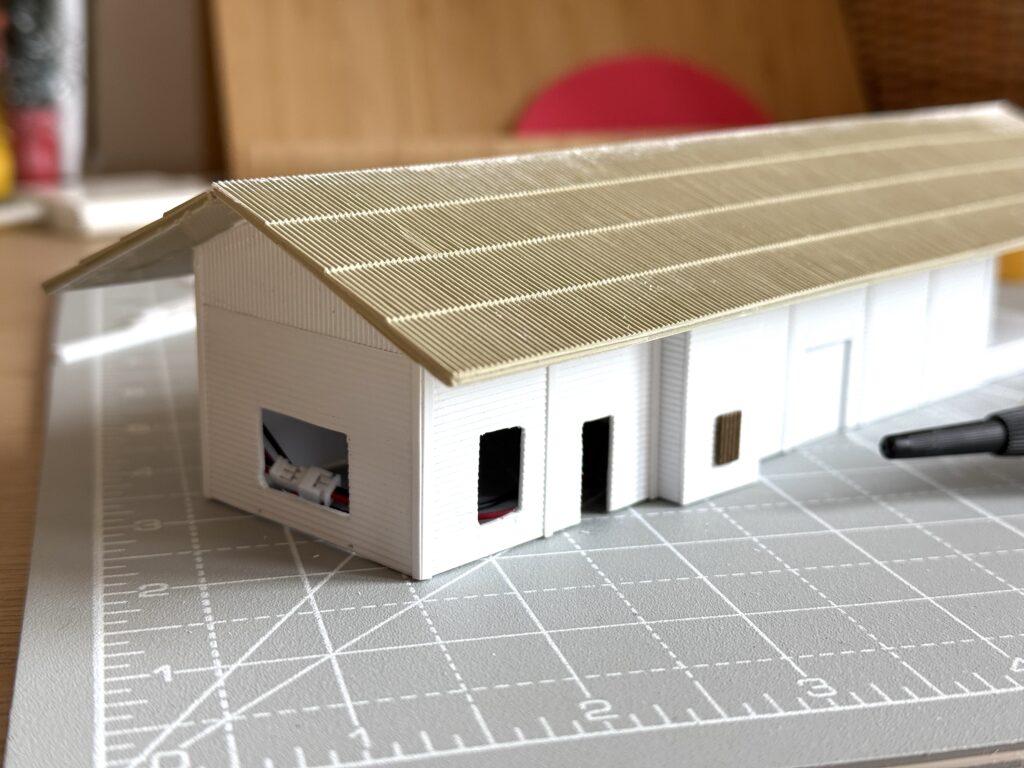
Using a nibbler tool, I cut out the door openings from the wall.
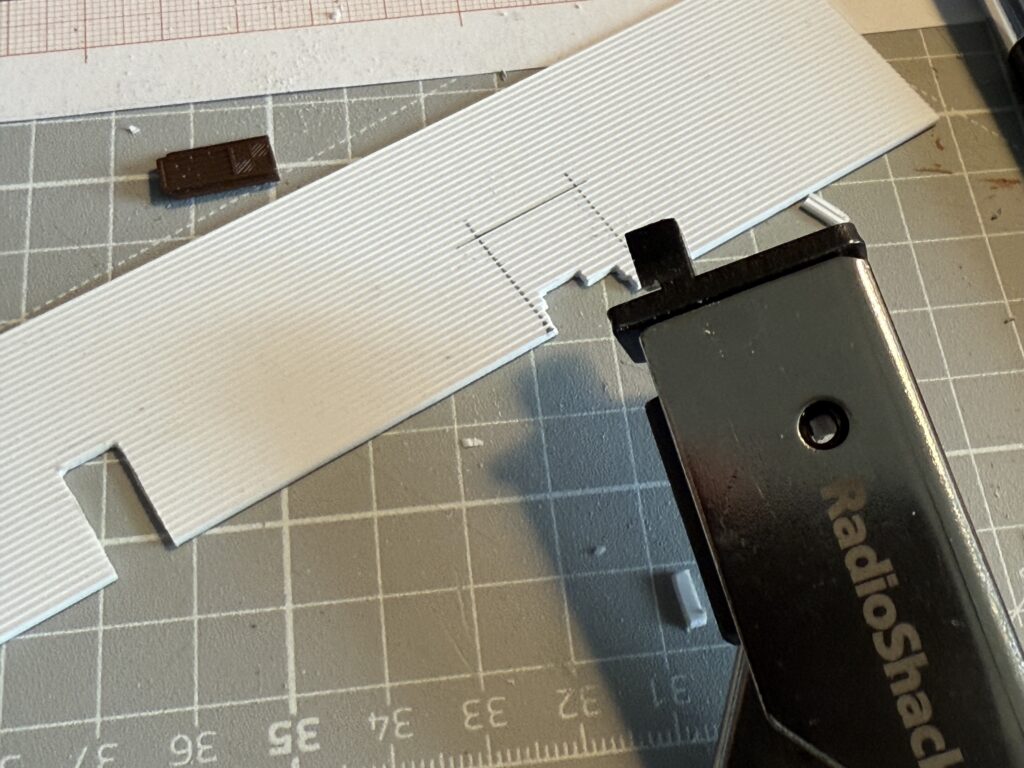
Then, using a small file I refined the door and window openings.
Test-fitting a window.
Gluing
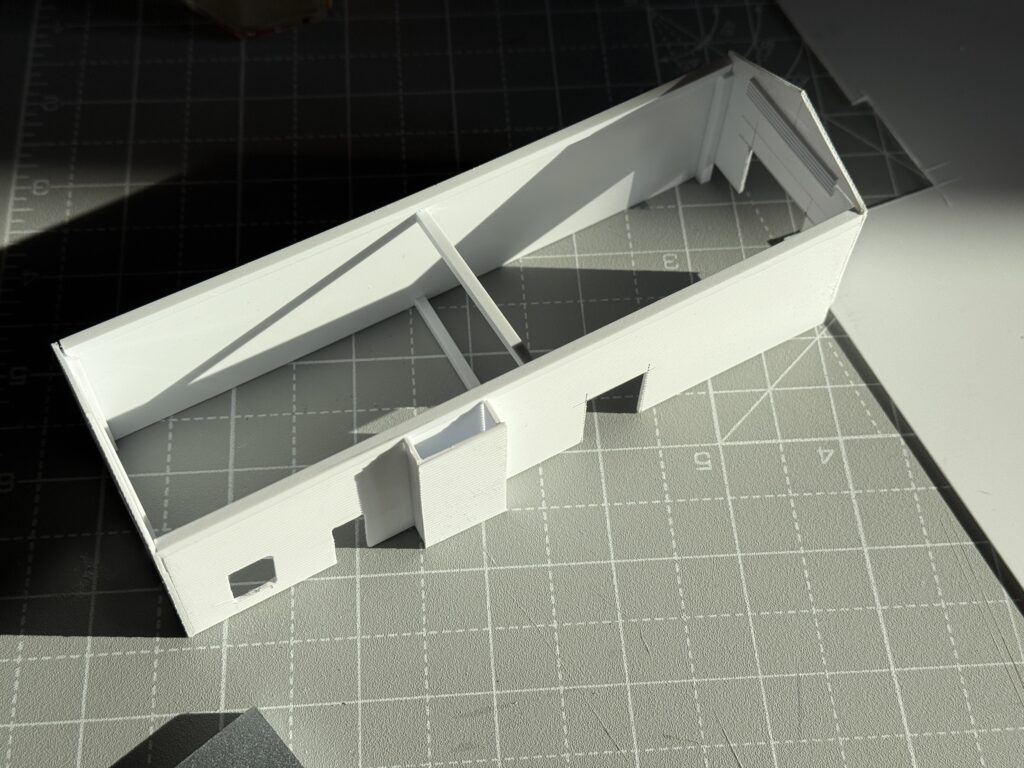
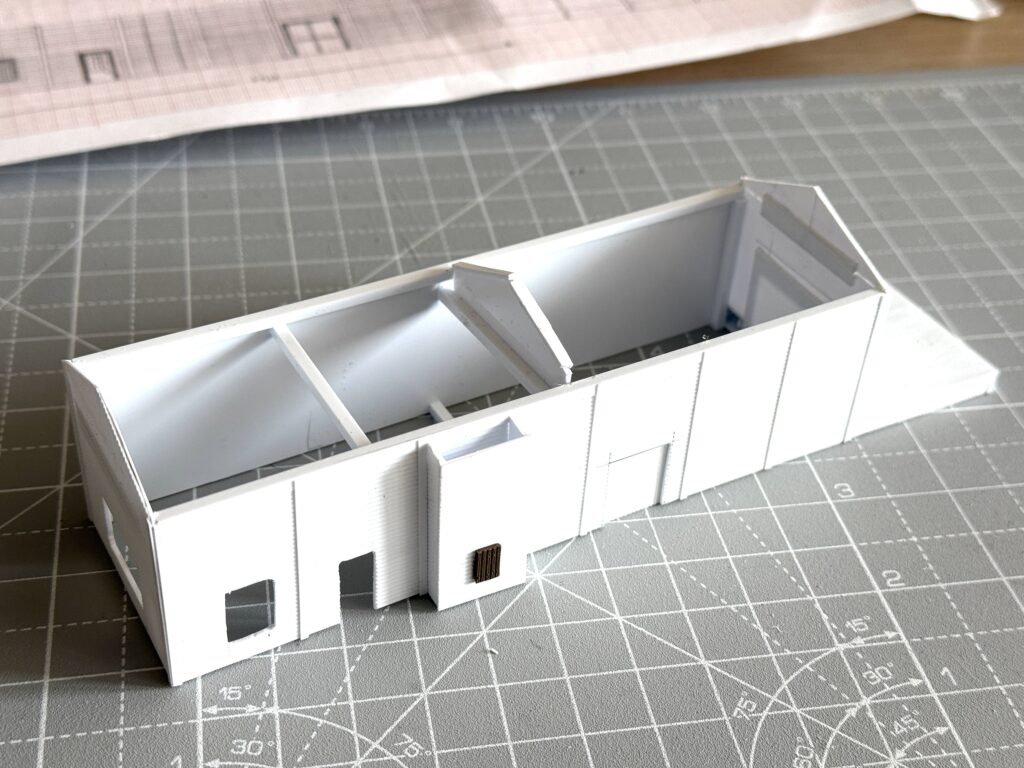
The four main walls are ready to glue. I reinforced each corner with 2.5 mm Evergreen 175 styrene strips for stability.

I used Tamiya Cement to glue the parts.
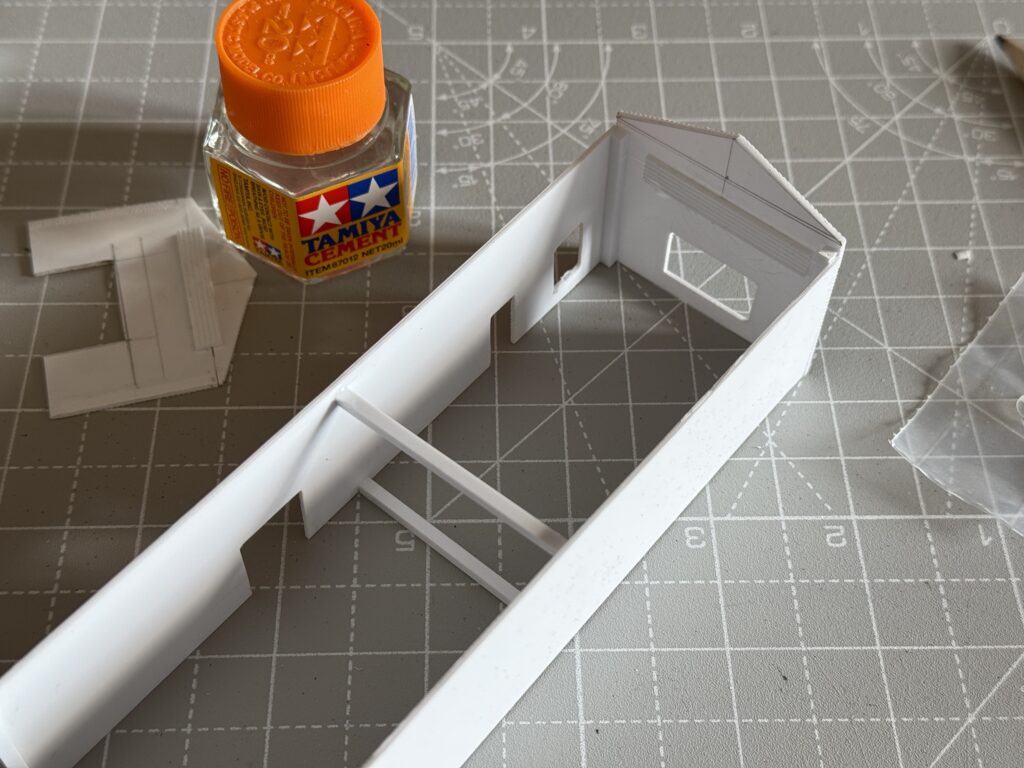
Two 2.5 mm strips also reinforce the middle of the structure.
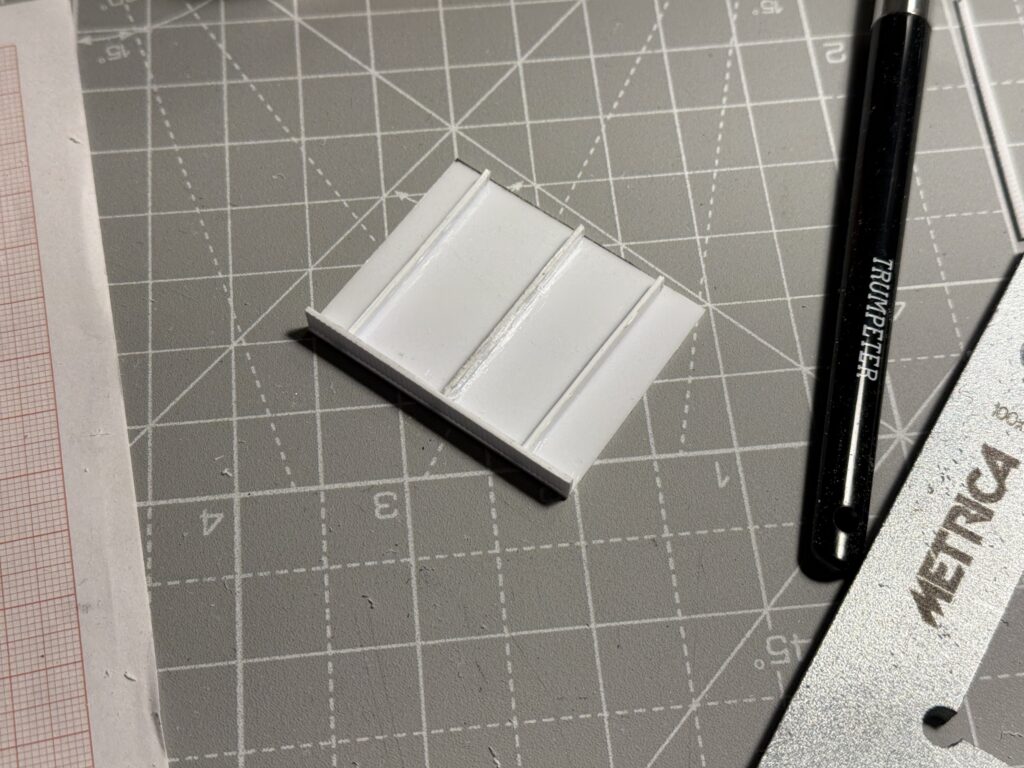
I made the wooden door from clapboard styrene sheet and glued it inside the wall. On the outside, I added vertical styrene strips for detail. For smaller pieces, I used Tamiya Extra-Thin Cement.
To strengthen the loading platform, I inserted reinforcement strips underneath.

Then, I glued the platform to the main structure.
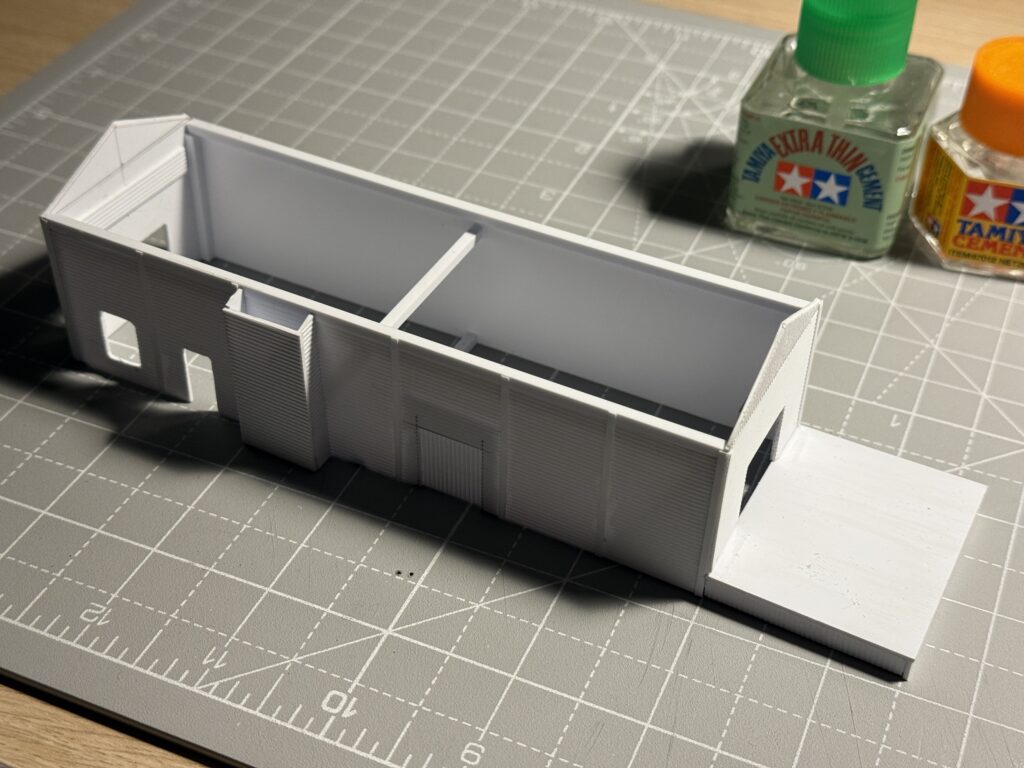
Before adding the roof, I reinforced the center with a triangular styrene piece.
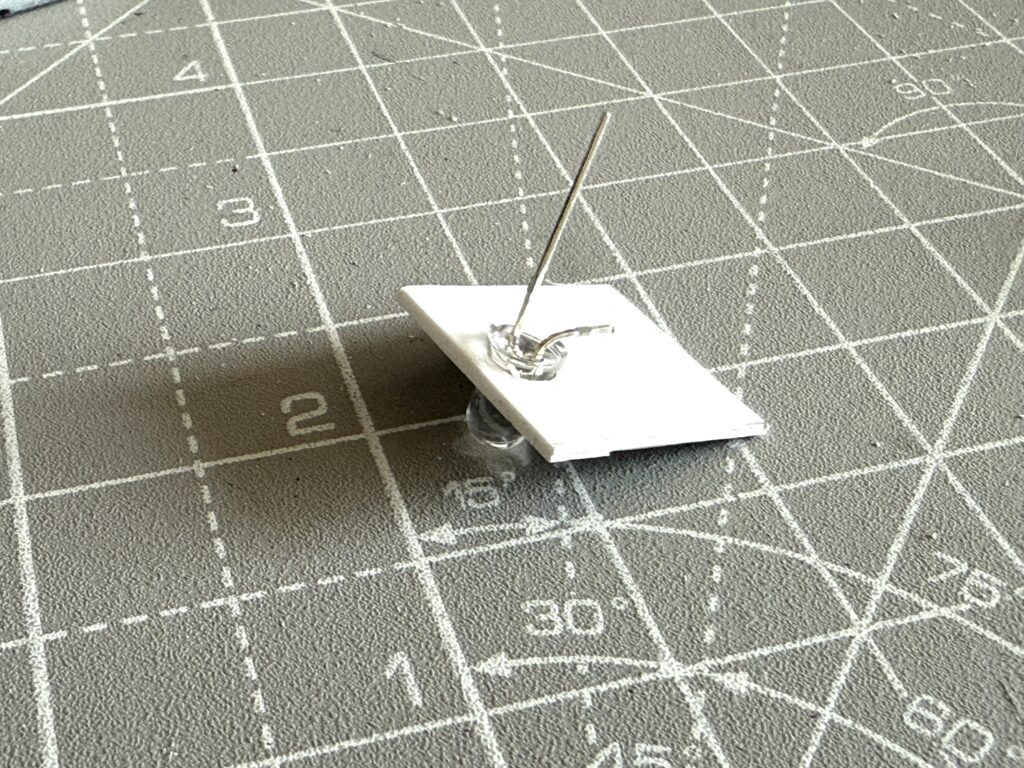
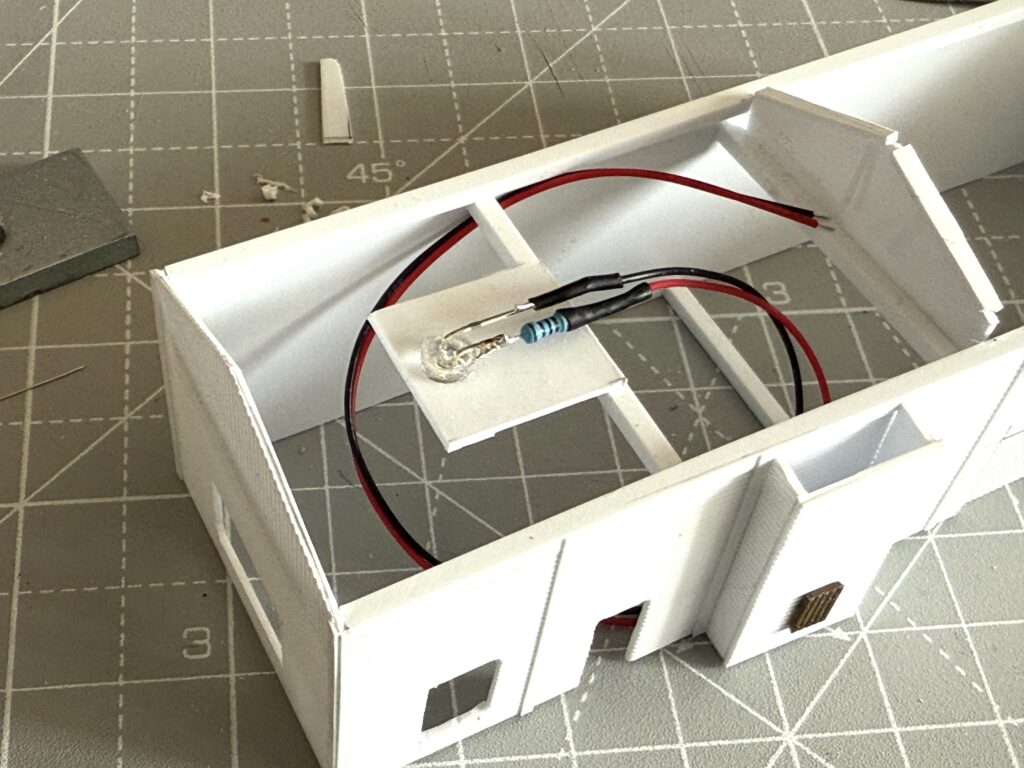
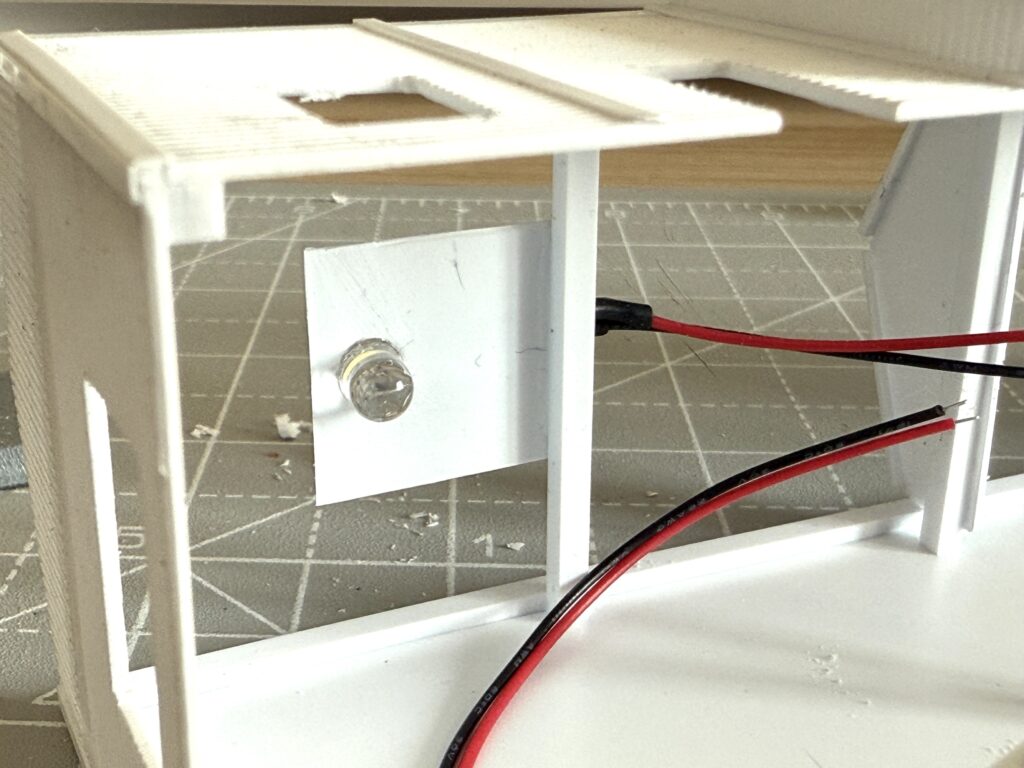
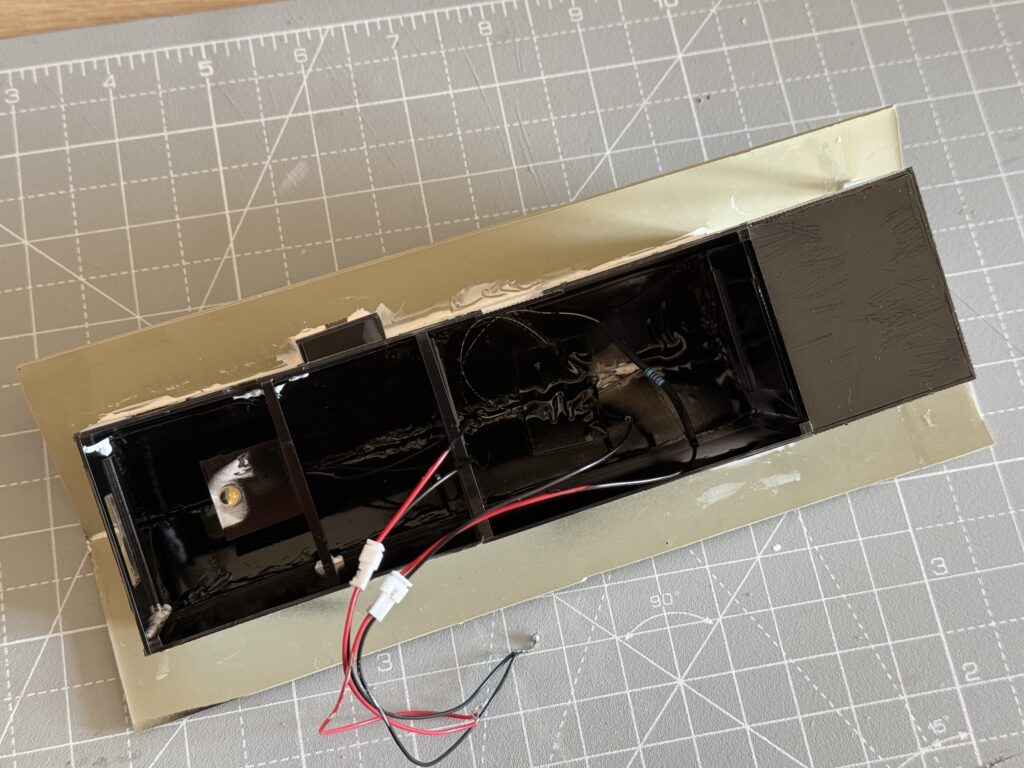
Scratchbuilding a structure: Lighting
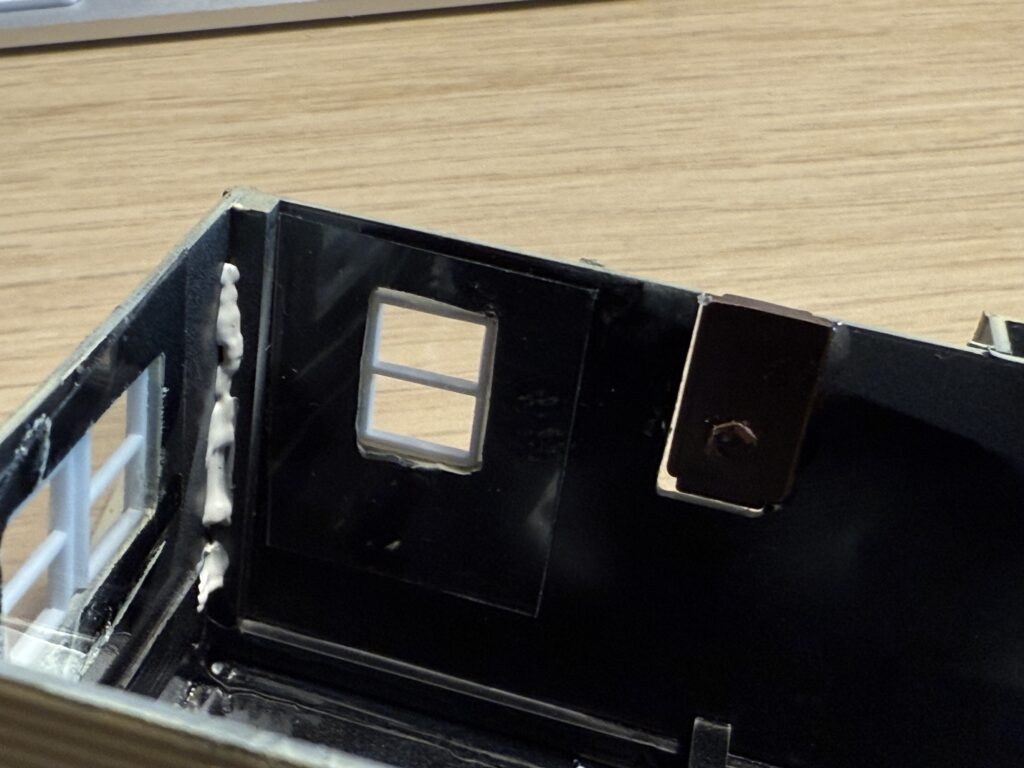
I wanted interior lighting, so I mounted a warm-white LED onto a small styrene support.
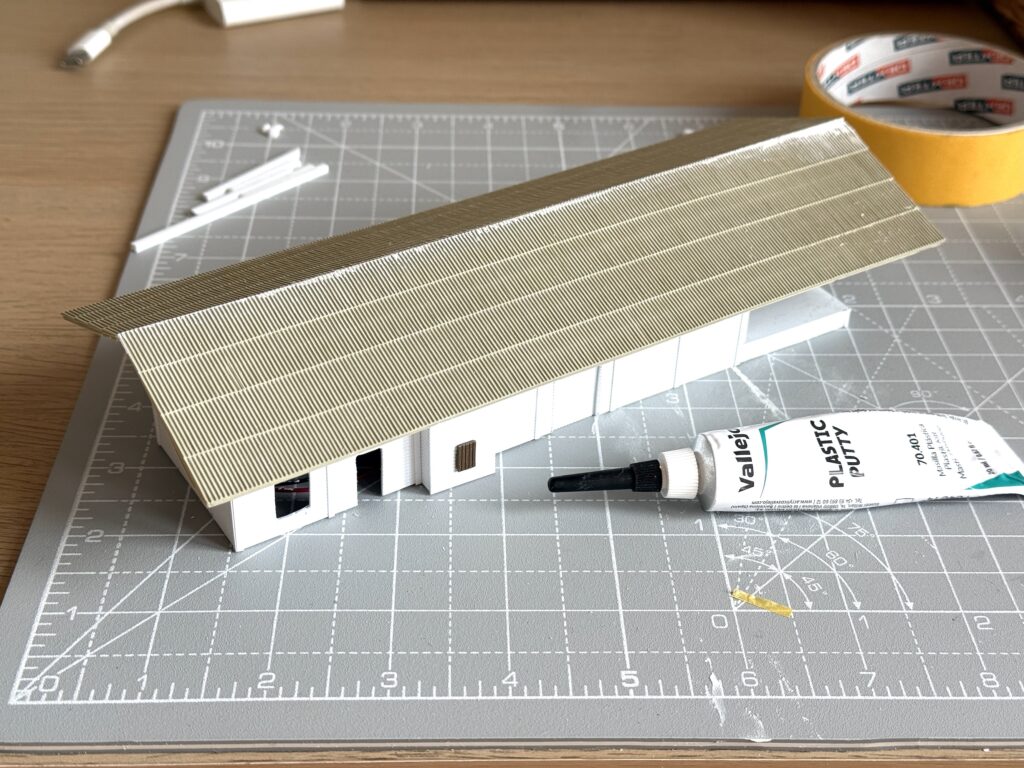
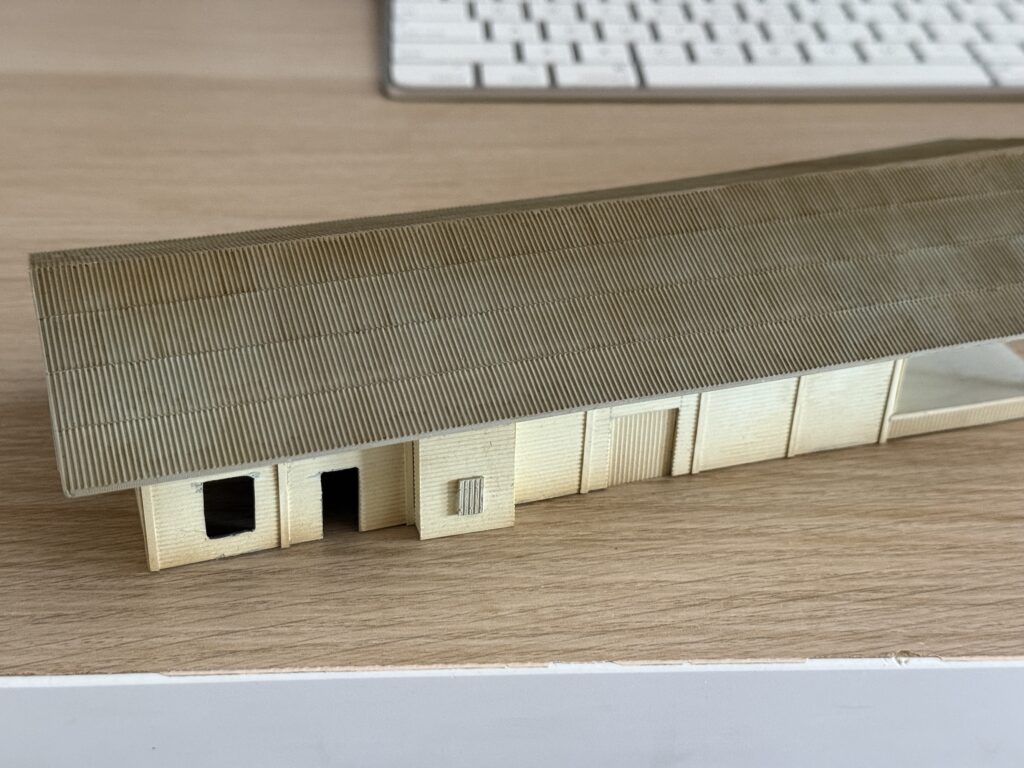
Roof
Then, I installed the roof. I used Vallejo Plastic Putty to fill a few gaps in the roof joint.
I spray-painted the interior walls black to prevent light from bleeding through the thin styrene.
Scratchbuilding a Structure: Painting
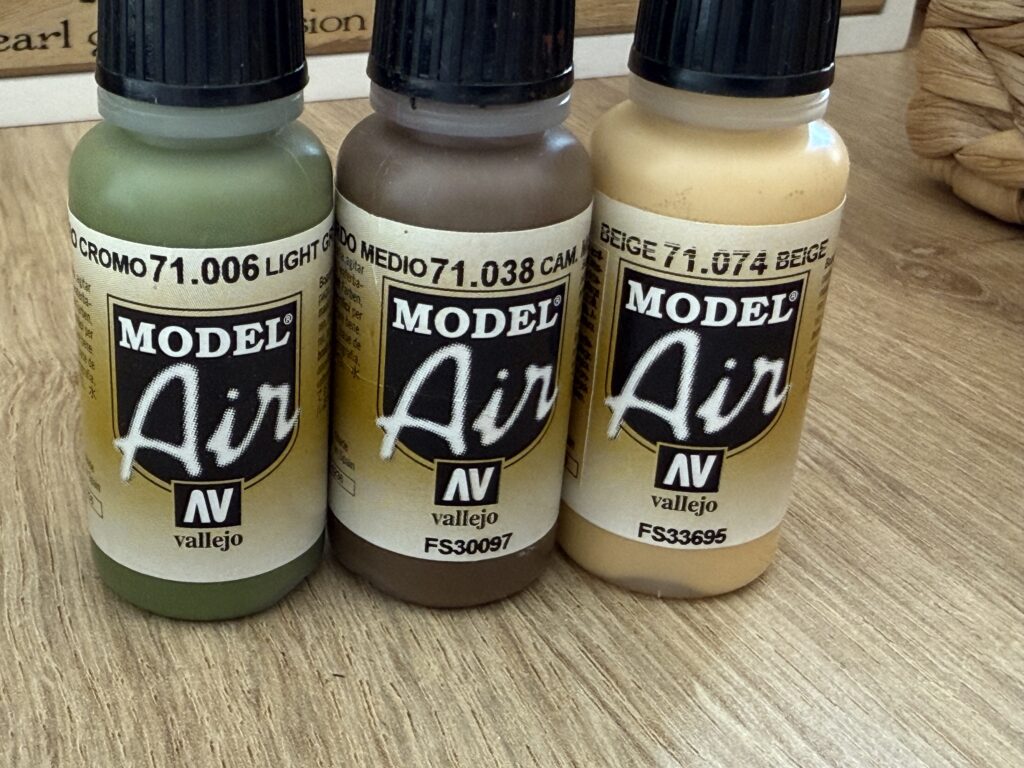
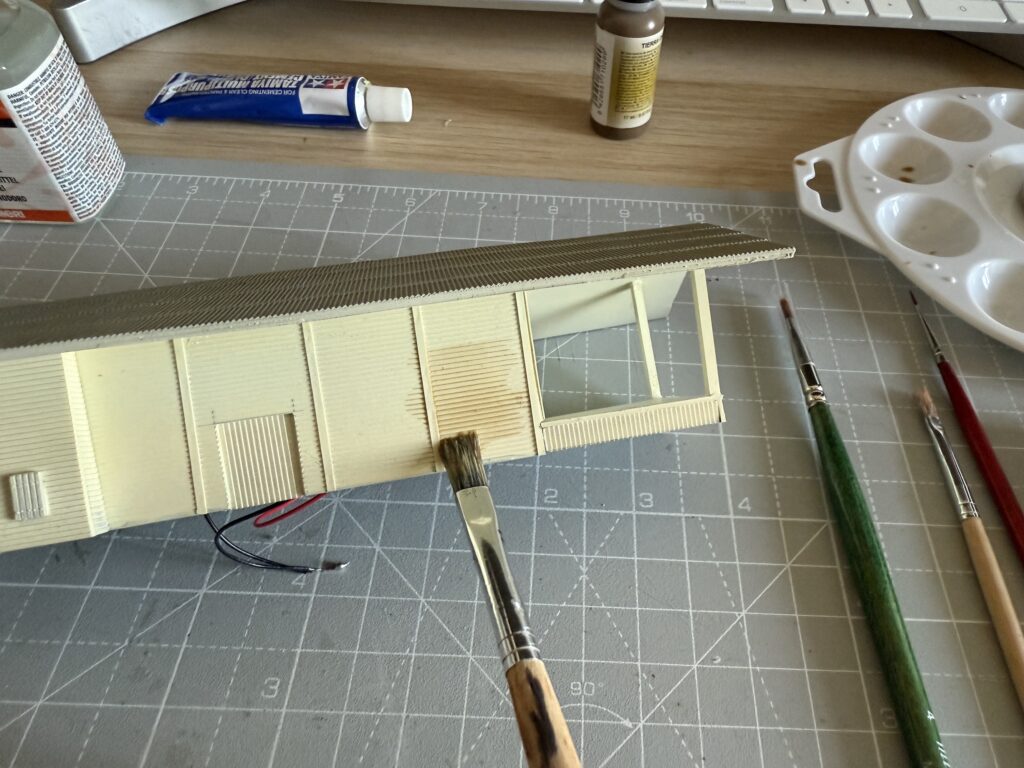
I painted the roof with a few shades of Vallejo gray paint, and the walls with Vallejo Aged White (71.132).

Stratchbuilding a Structure: Weathering
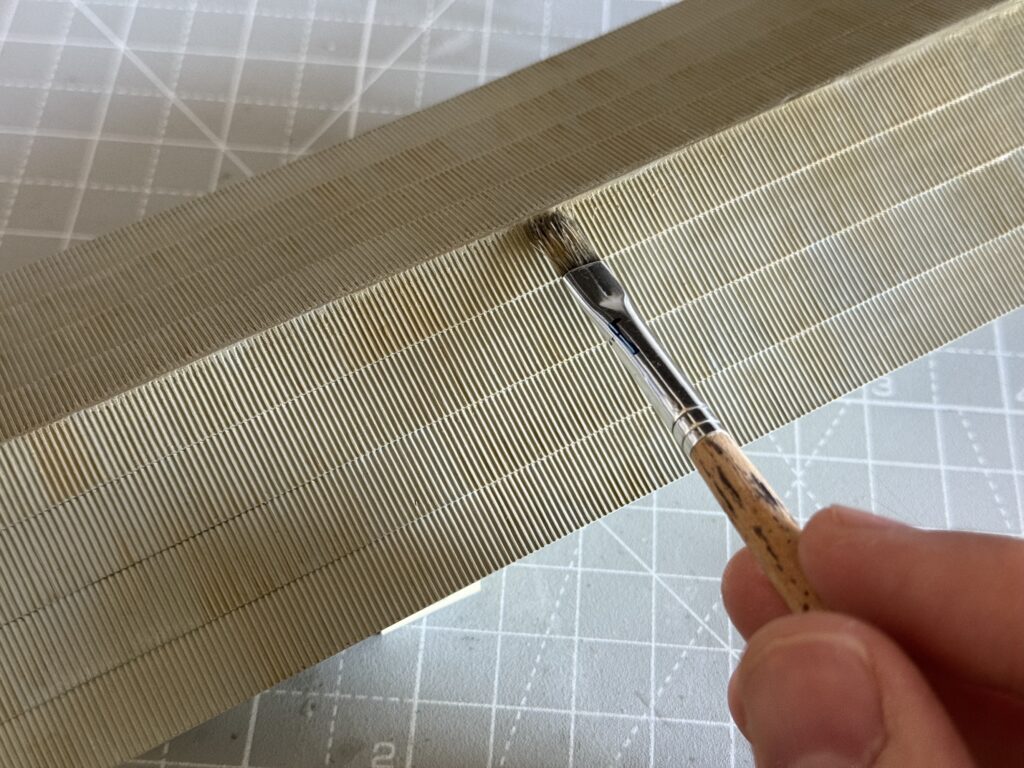
I started weathering the walls by applying a dark brown acrylic wash.
Next, I added more streaks of brown paint to weather the roof.
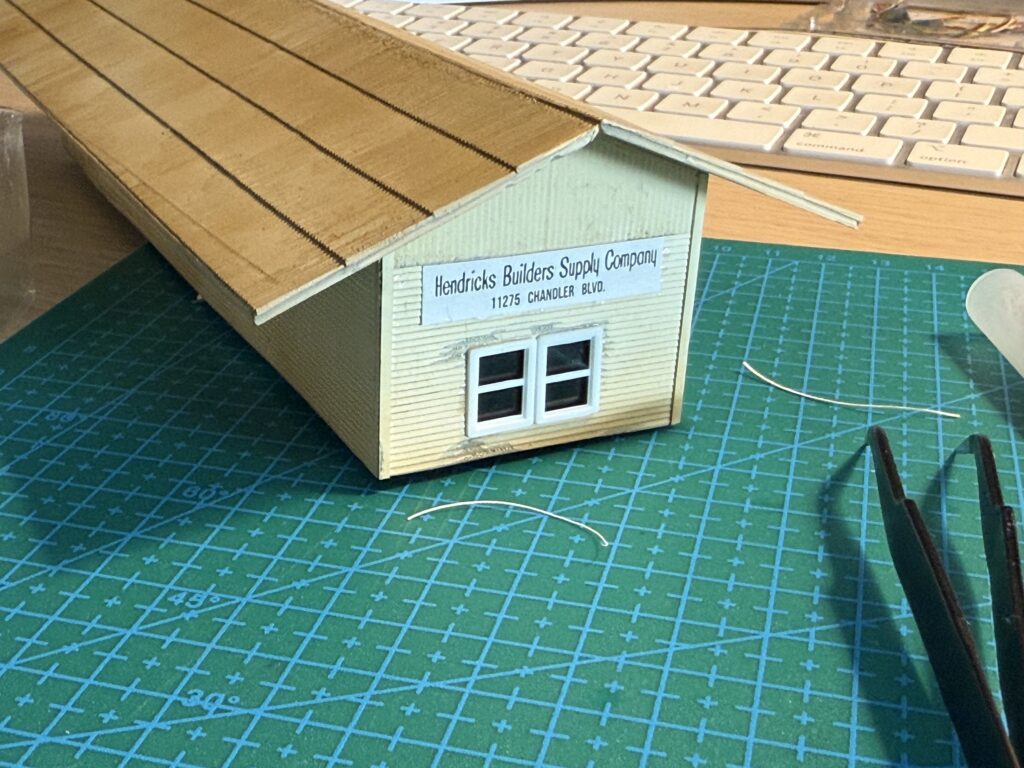
Then, I glued the windows and the door in place. I used products made by the German firm Auhagen.
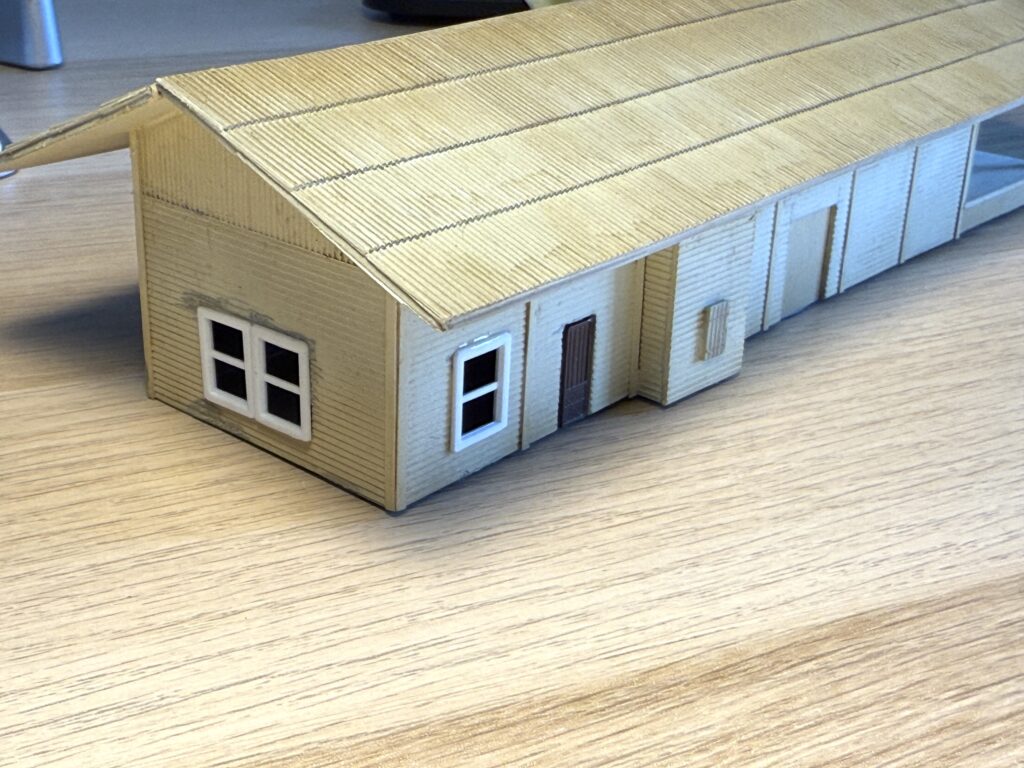
I added a piece of clear plastic to the inside of the windows.
Next, I applied the “Hendricks Builders Supply” sign on the structure side.
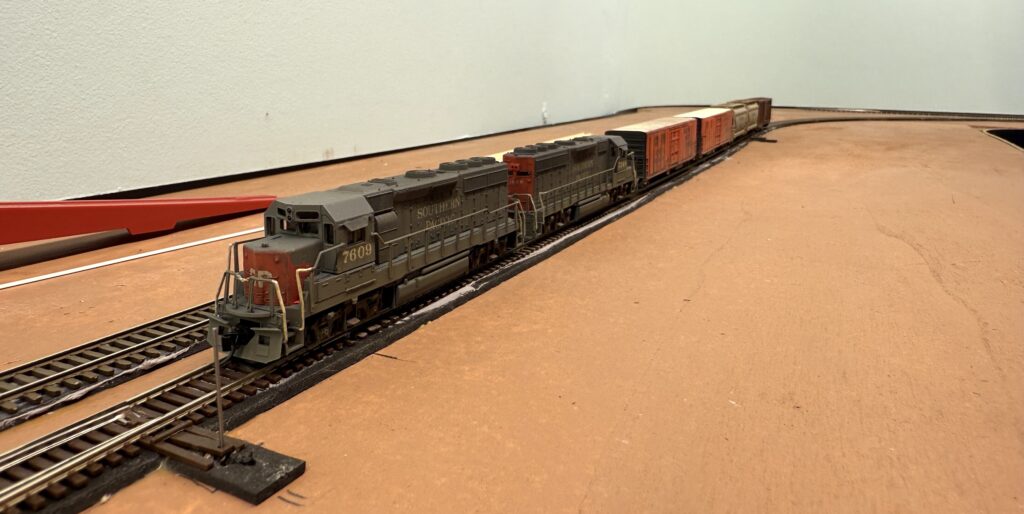
Here is a test-fit on the final location on the Burbank Branch in N scale layout.
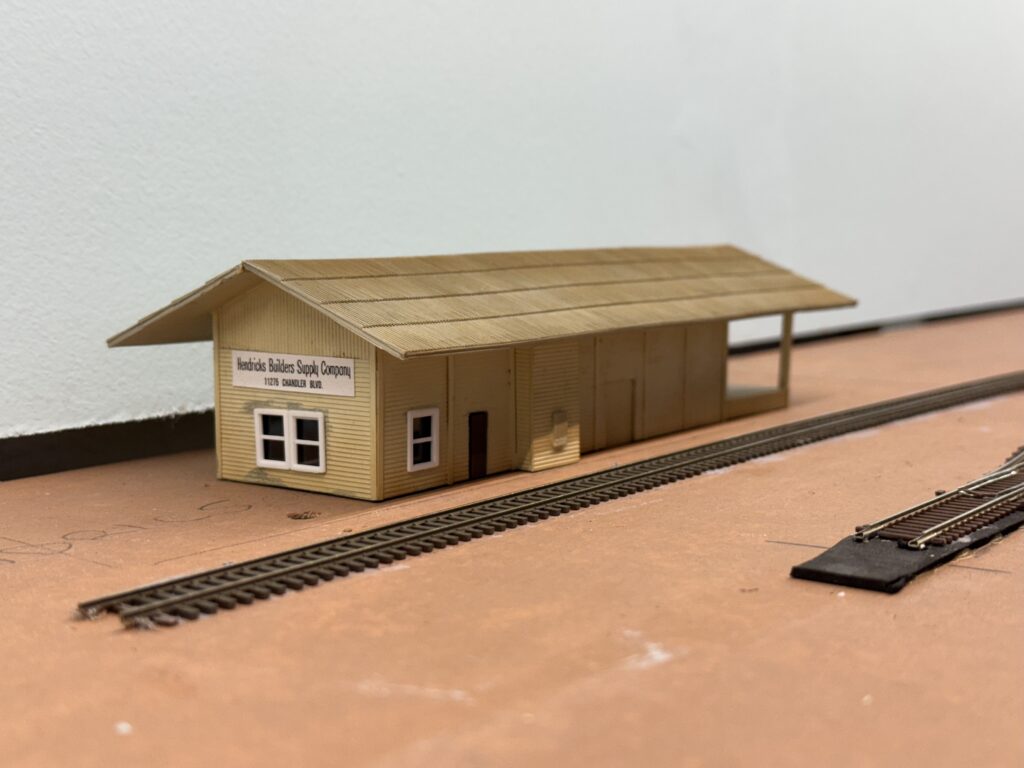
Scratchbuilding a structure has been a rewarding project. While I had scratchbuilt a few simple structures before, this is the first time I completed a slightly more complex one.
The structure is not a perfect replica of the real thing; however, it works well as a rail-served industry and adds to the visual experience during operating sessions.