Some new structures and scenery update on the SP Burbank Branch in N scale
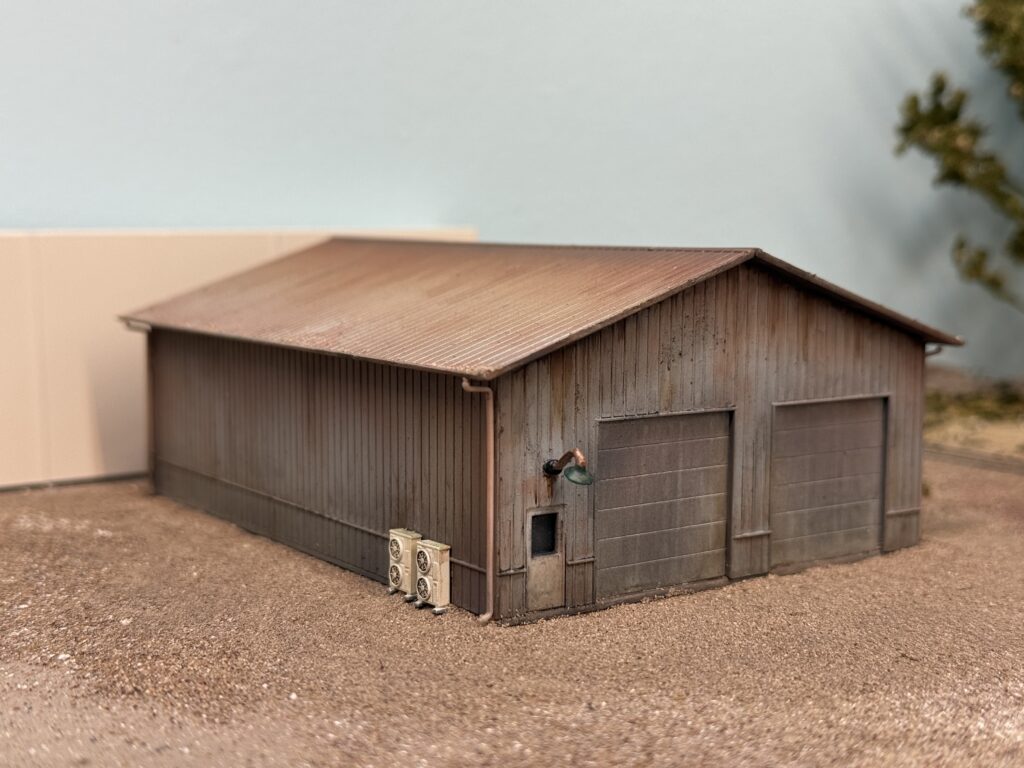
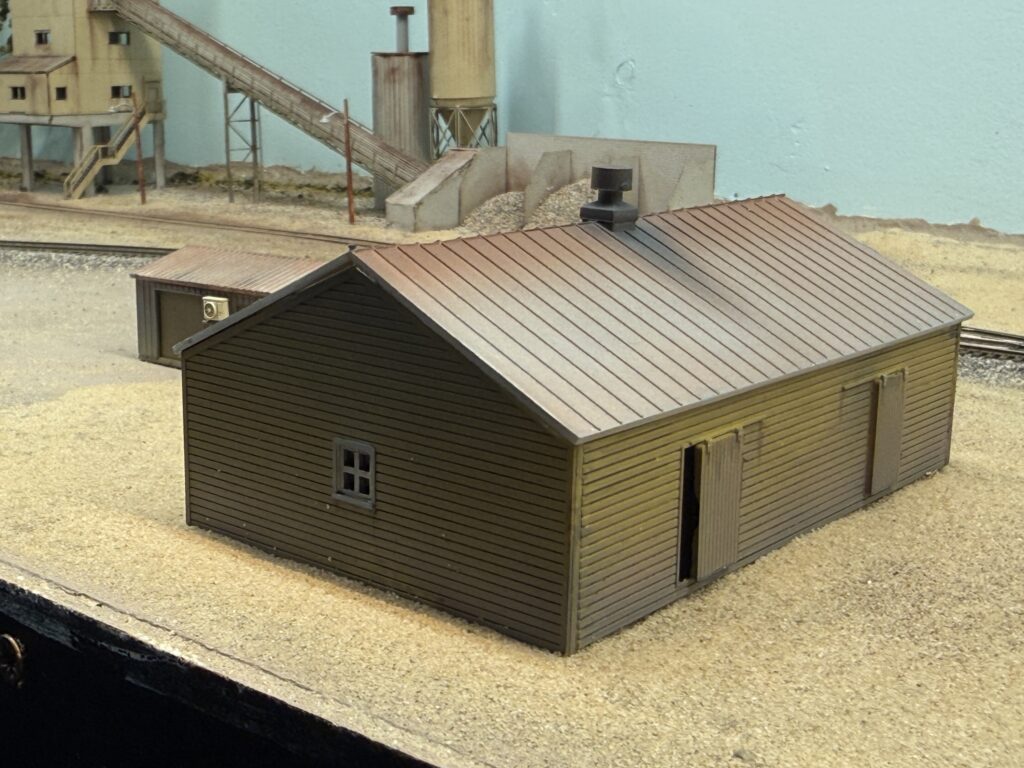
New structures and scenery update on first section of the layout to receive full scenery. I assembled, painted, and weathered several buildings to serve as warehouses or general industry-related structures.
I used Walthers kits as well as a scratchbuilt building flat from styrene to add a bit more depth to the backdrop. I also finished the bridge over the LA River.
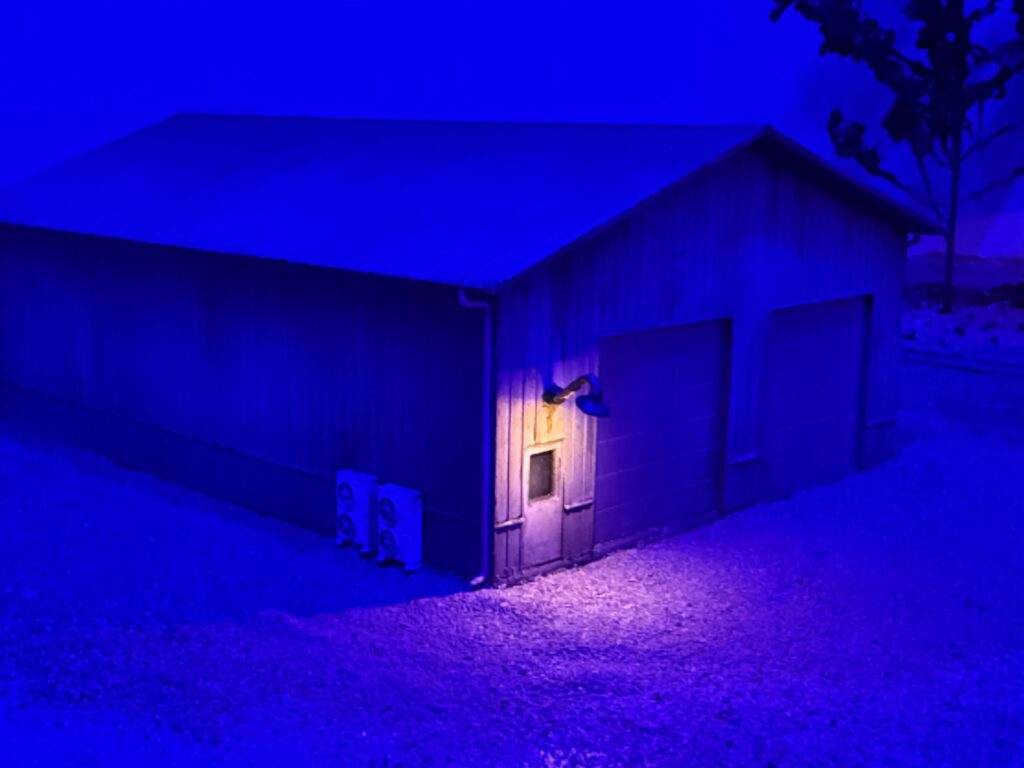
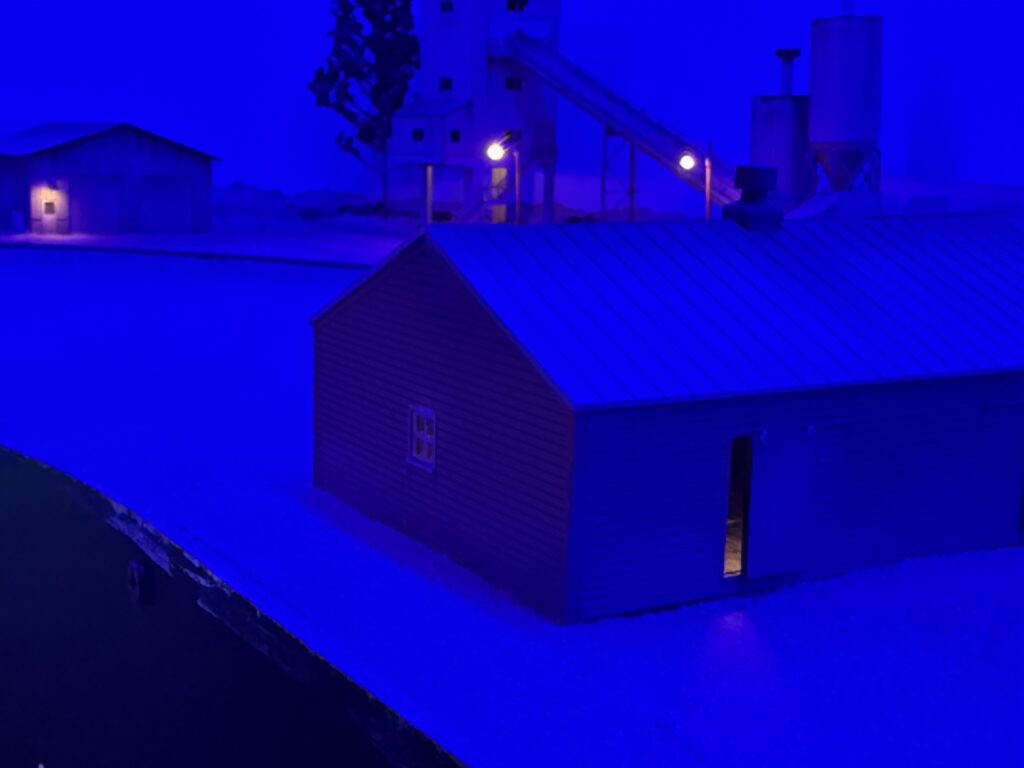
Then, I added lighting with small LEDs and Woodland Scenics goose lamps to make the night scene more interesting and realistic.
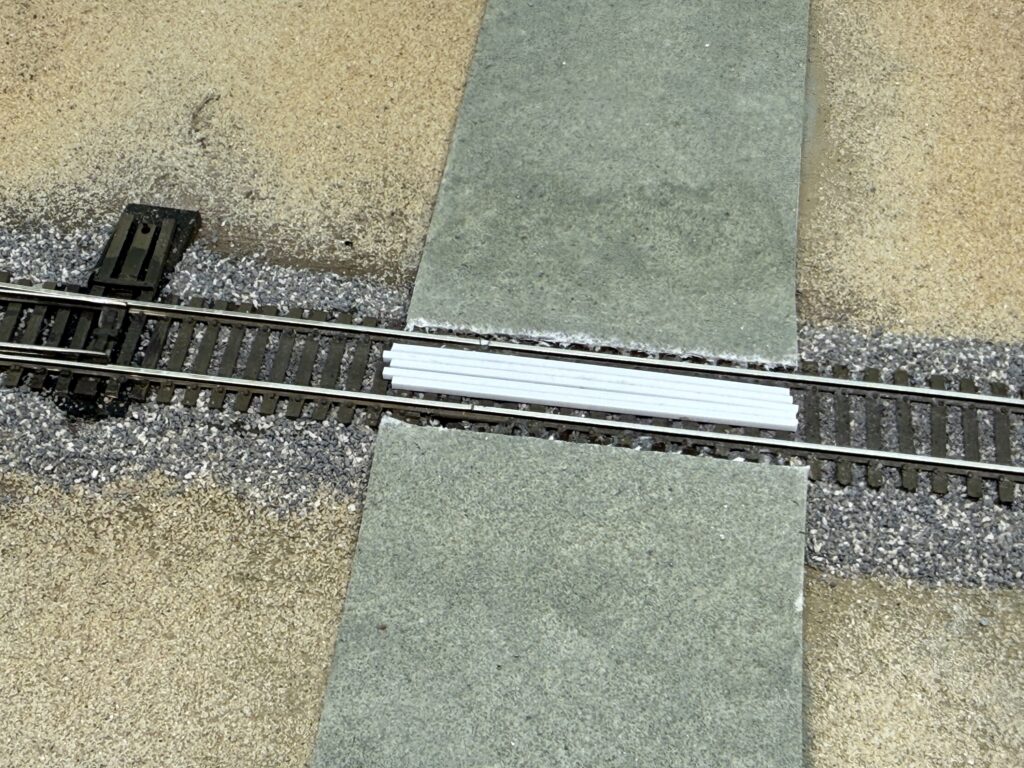
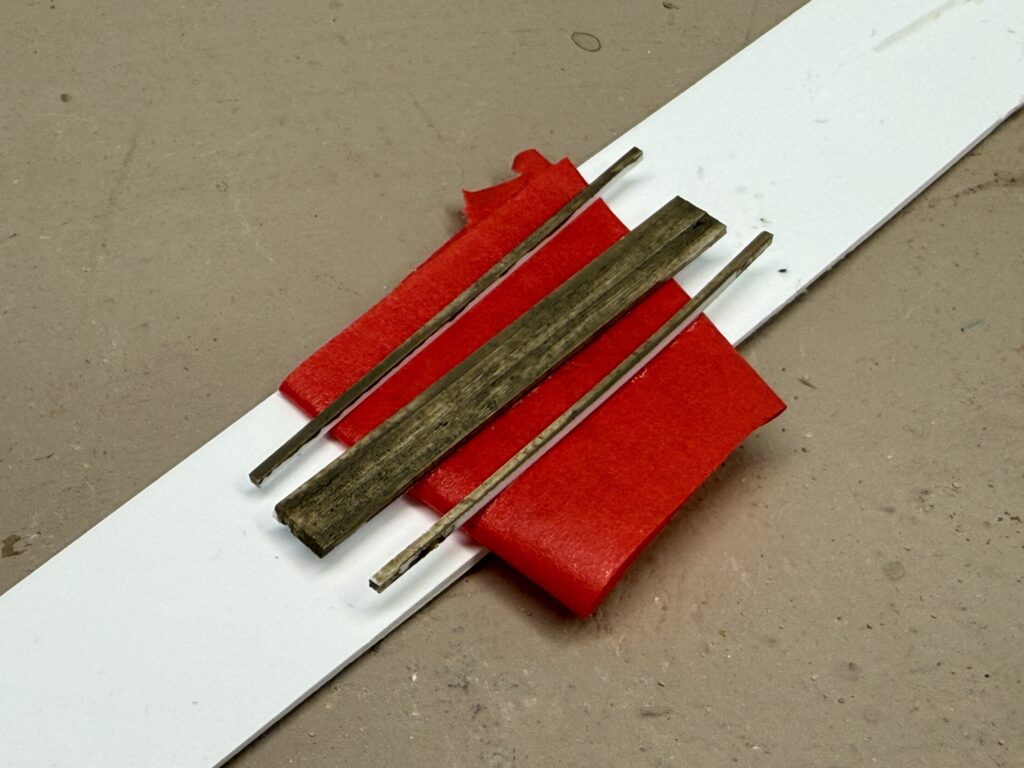
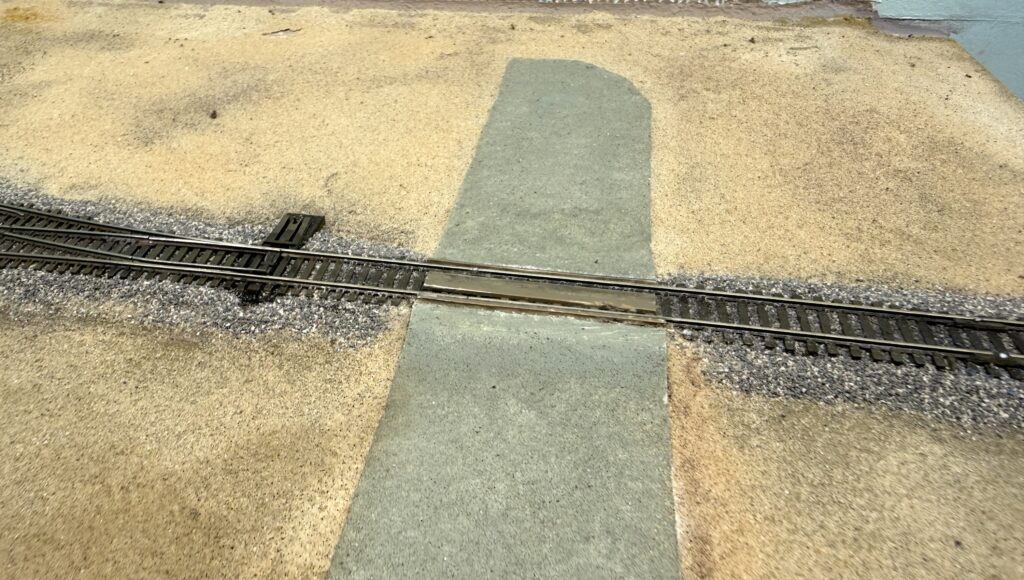
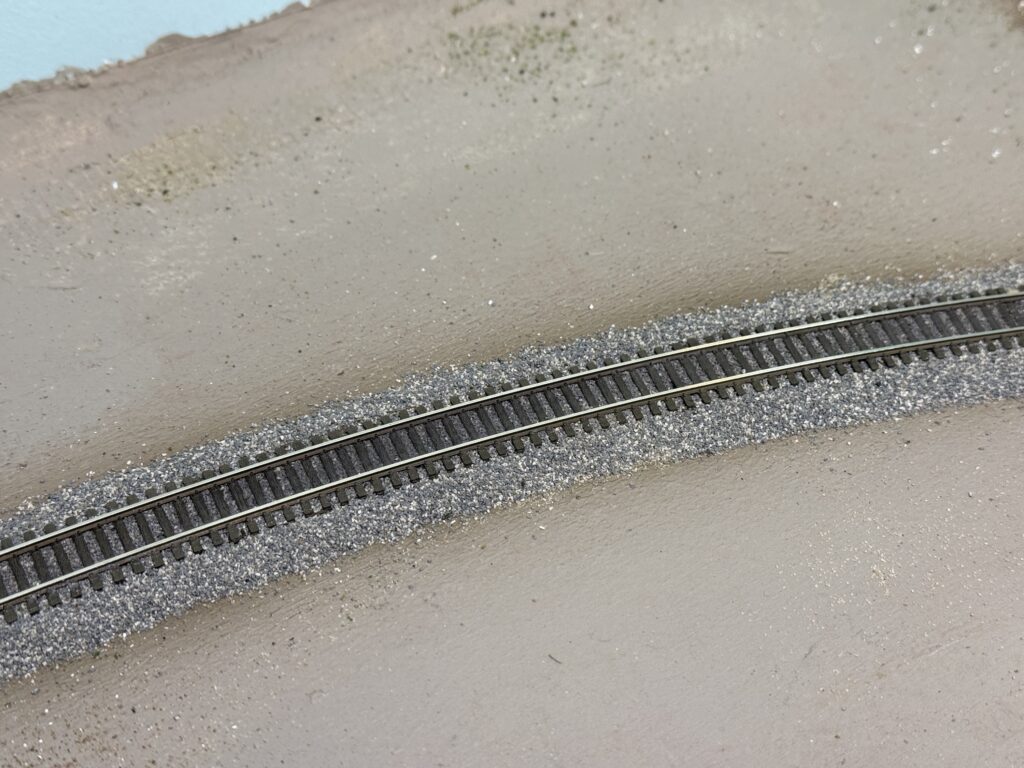
In addition, I used styrene strips to build a wood grade crossing. I hand-painted the styrene with a mix of gray and brown acrylics. Then, I sealed everything with a coat of flat clear from a spray can.
Furthermore, I weathered the area between the rails using powdered pigments mixed with plaster of Paris. Then, I and applied the mix on the track with a flat brush. Finally, I misted the area with water so the plaster would set and seal everything in place.
Enzo’s Pizza is a structure I will install on the Burbank Branch in N scale to honor the late Enzo Fortuna.
I built Enzo’s Pizza from a Blair Line kit. The kit represents Pizzaland in Chicago, Illinois, but I chose to rename it and place it on my N scale Burbank Branch layout.
The name honors the memory of Enzo Fortuna, a friend of mine who passed away on March 19, 2025. Enzo was a Southern Pacific N scale modeler whose layout depicted the beginning of the SP Coast Line, roughly from San Francisco to Santa Cruz. Unfortunately, he never had the chance to complete it.
We shared a passion for N scale, the Southern Pacific, and realistic operations. We were both members of FREMO in Italy, and we operated several times on the Italian N scale FREMO modular layout.
Enzo’s Pizza is my way of actively remembering him through modeling. I am sure he would have loved it.
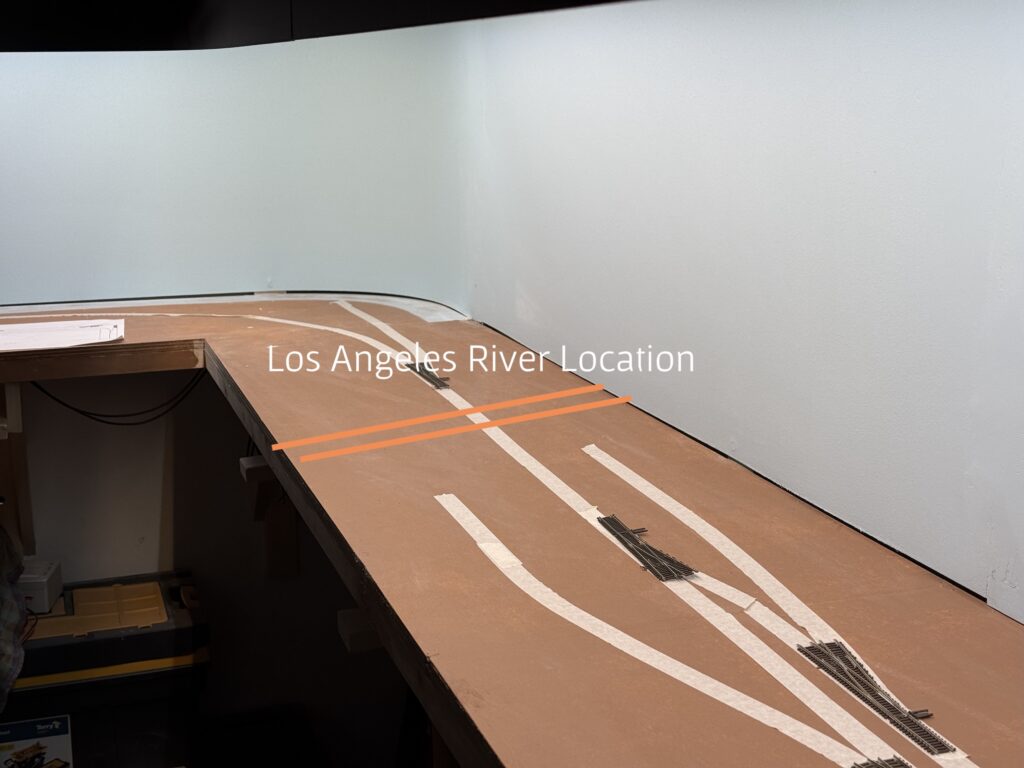
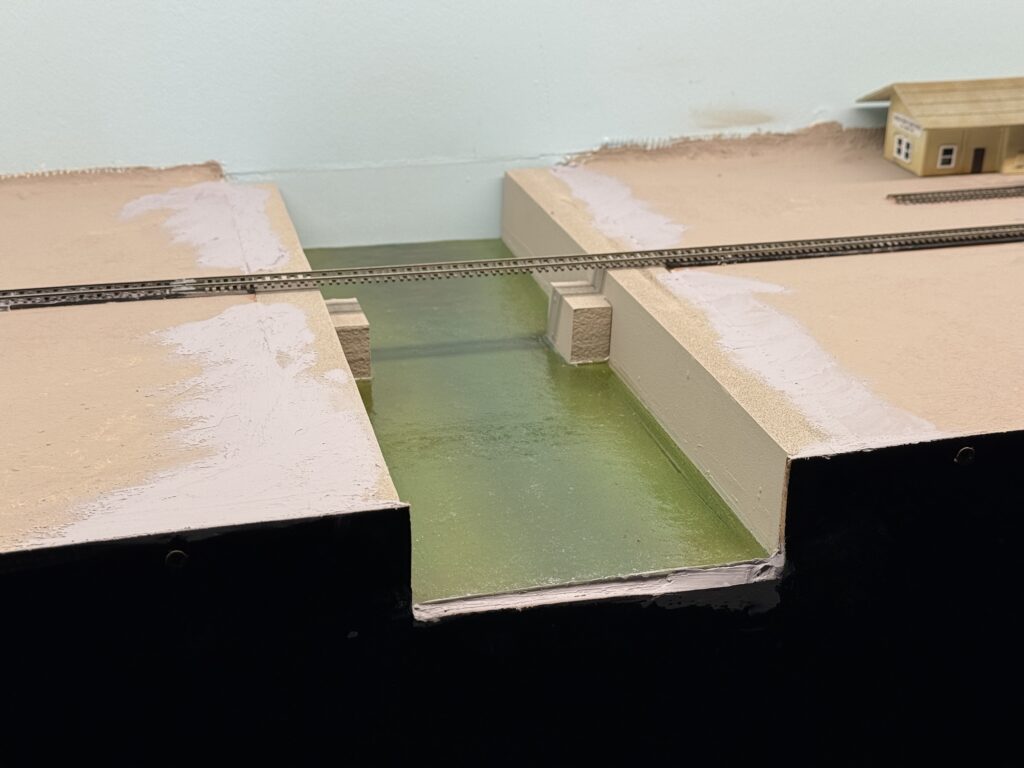
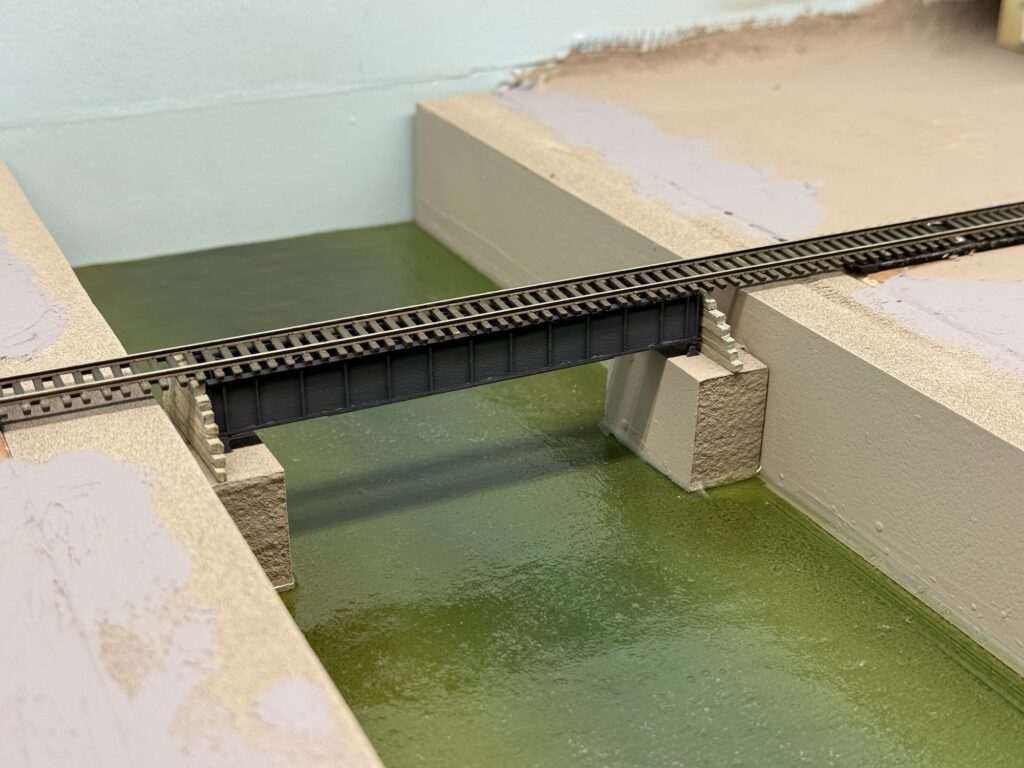
Installing a bridge over the Los Angeles River was high on my list, since river bridges have always fascinated me in model railroad layouts. In addition, bridges are a great way to add vertical variation to an otherwise flat urban setting, especially on a layout like the Burbank Branch in N scale .
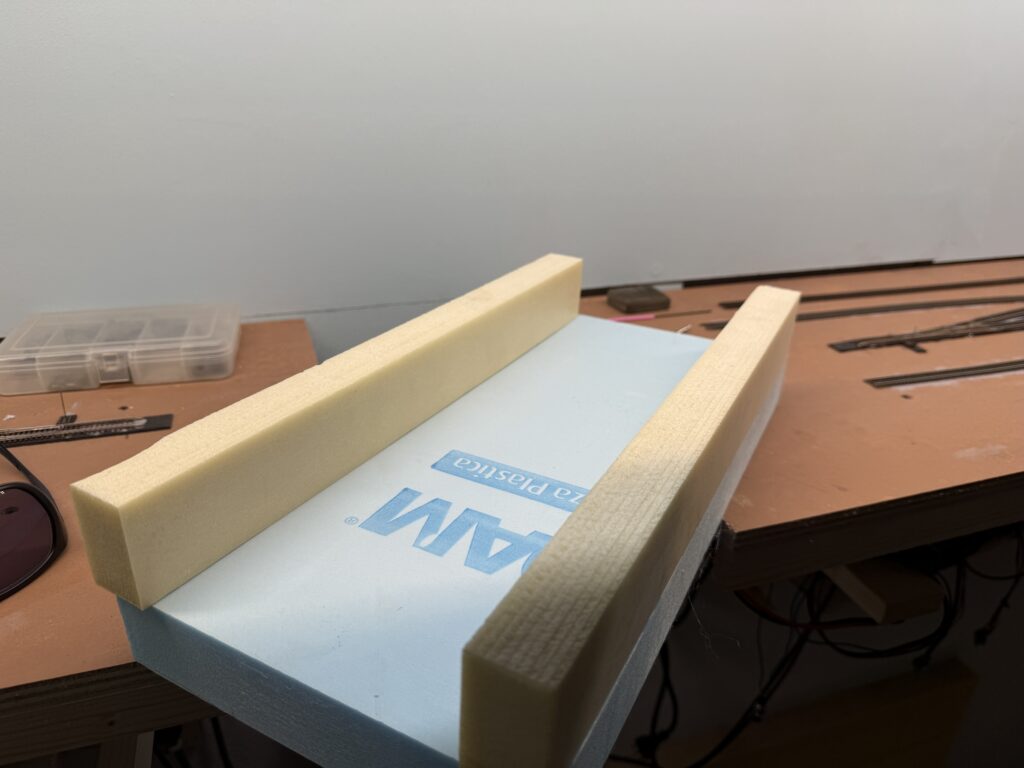
I painted the concrete riverbanks with a flat gray finish using an inexpensive spray can.
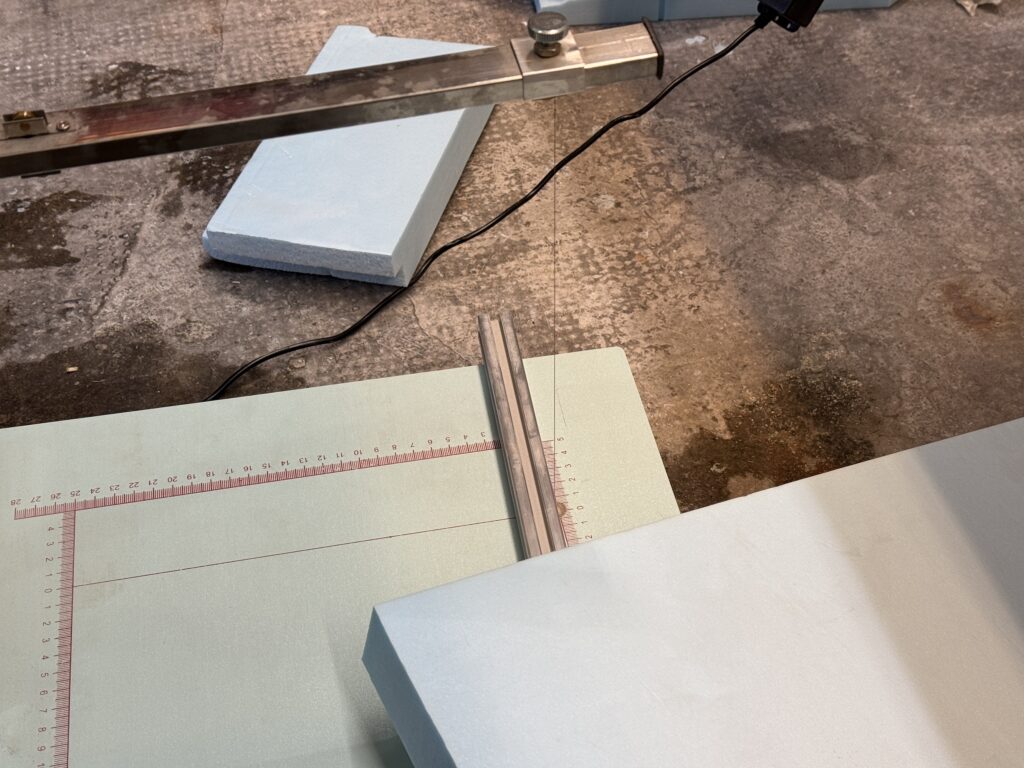
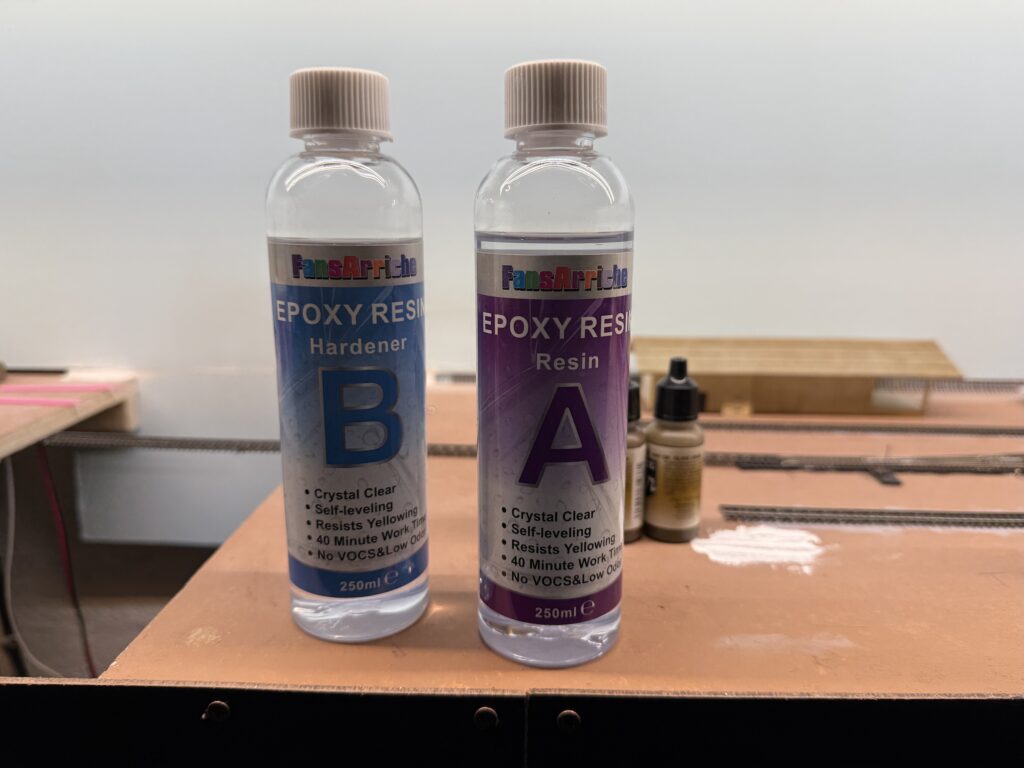
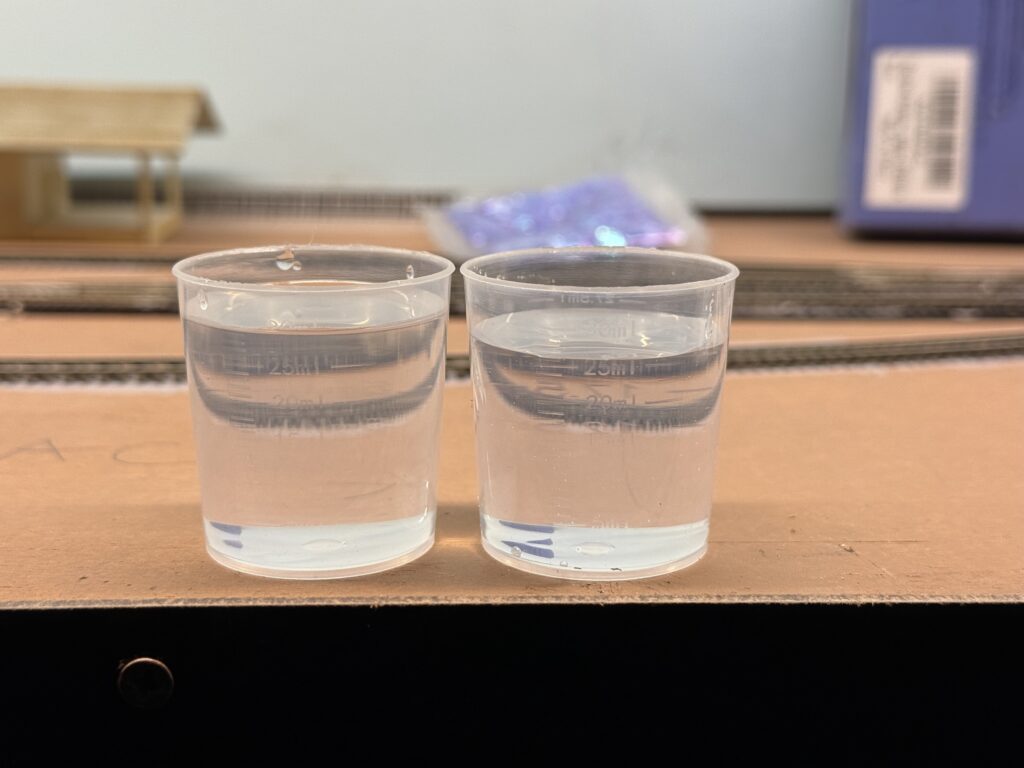
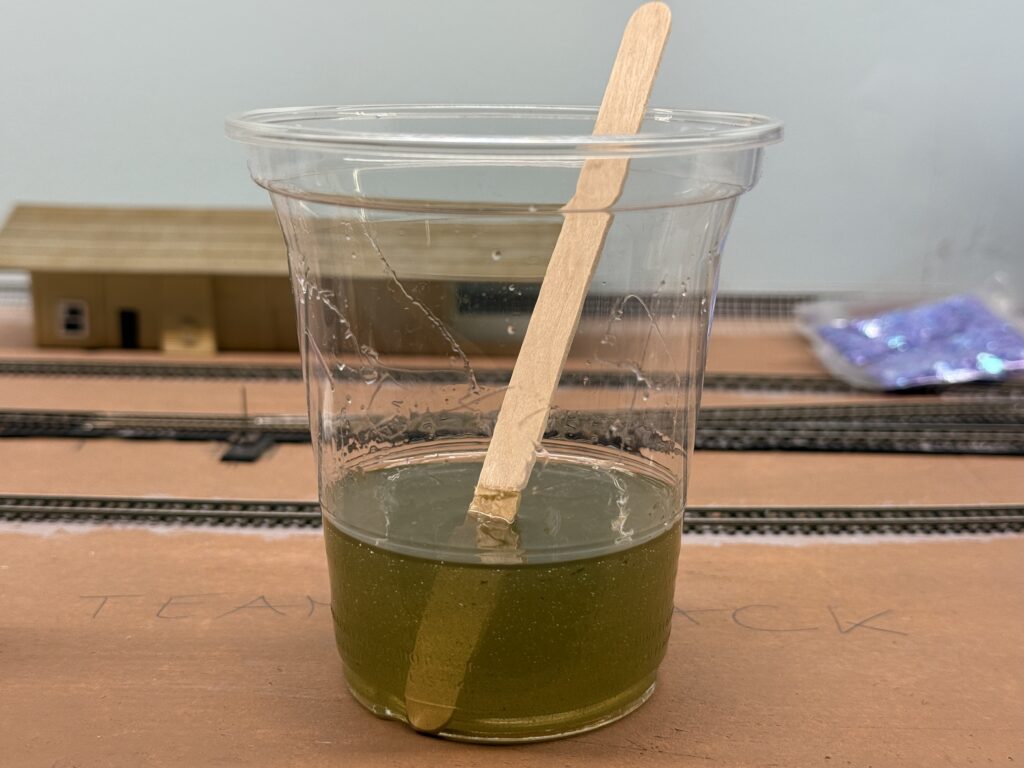
Expoxy Resin Water
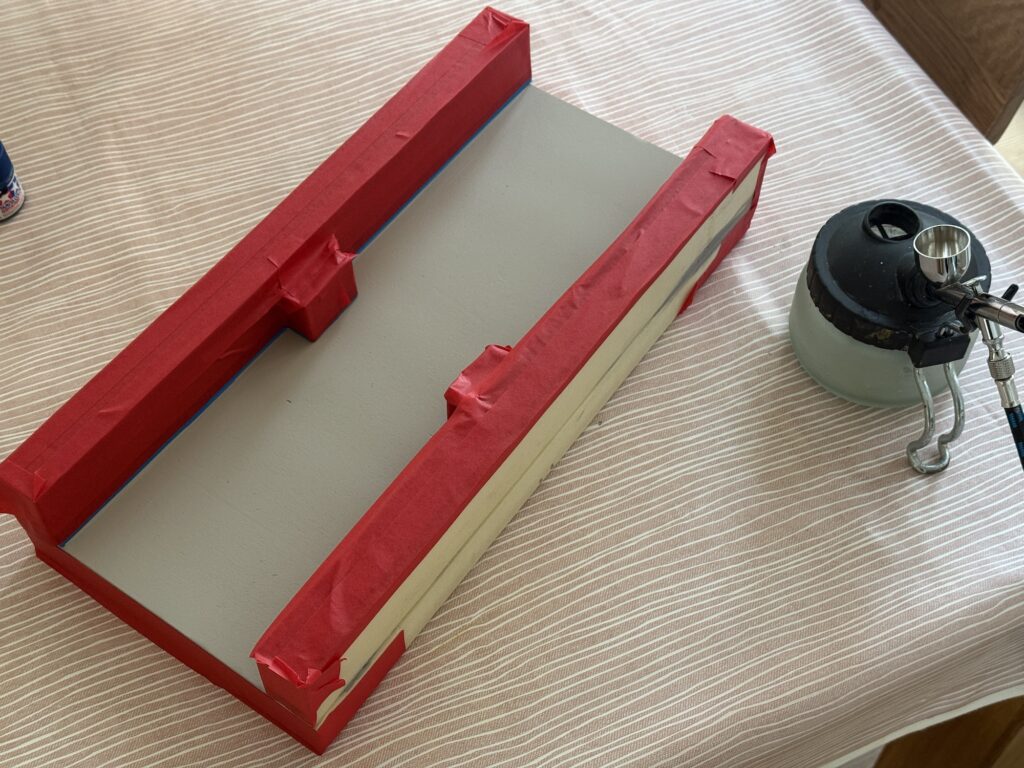
The riverbed and riverbanks are now painted. Therefore, they are ready for a layer of 2-part epoxy resin to achieve a realistic water effect.
Always wear protective gloves when handling resin. After all, that material is incredibly sticky!
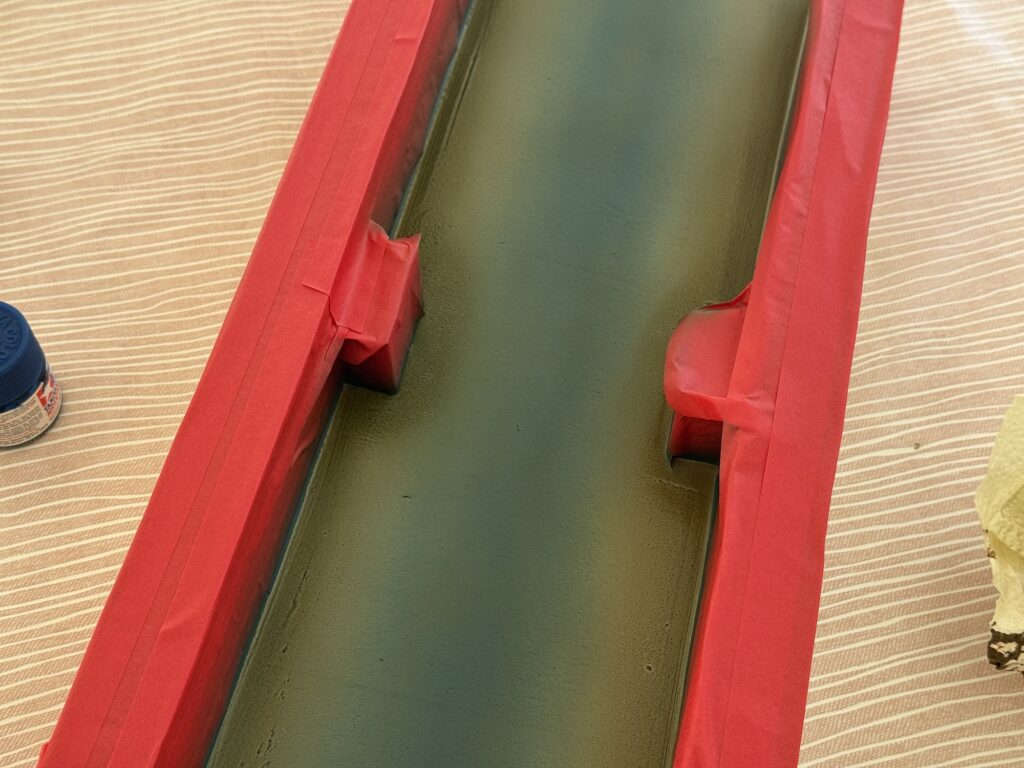
Additionally, I incorporated a few drops of Vallejo Dark Olive Drab (71.316). This gives the water a subtly greener, more natural appearance.
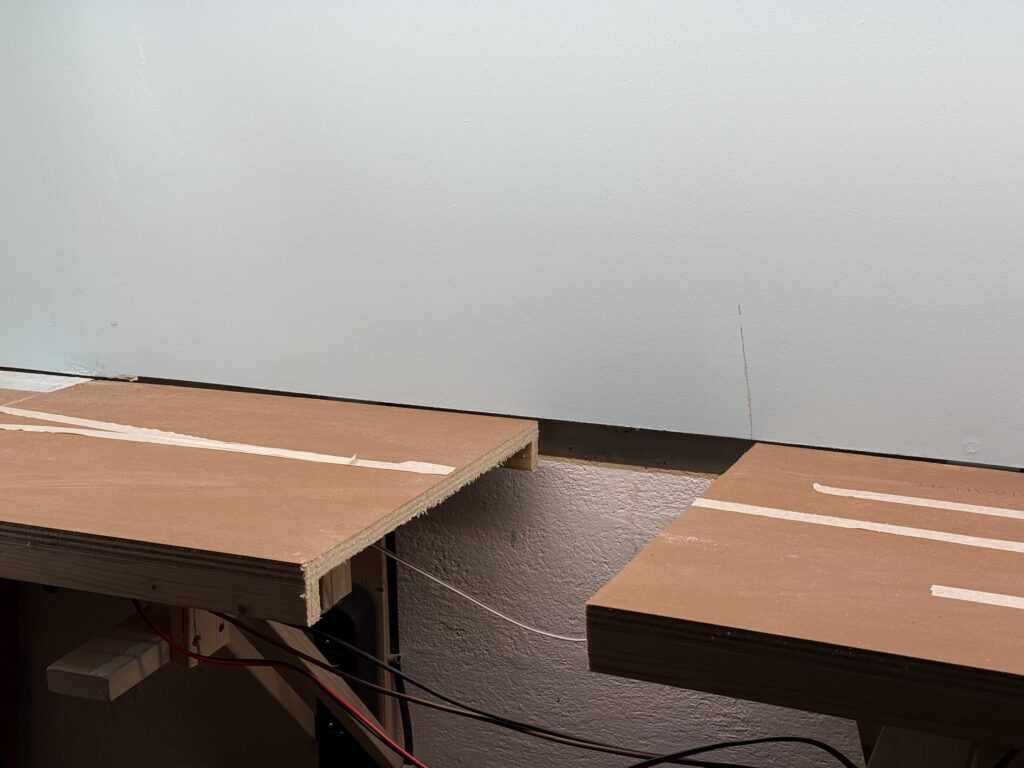
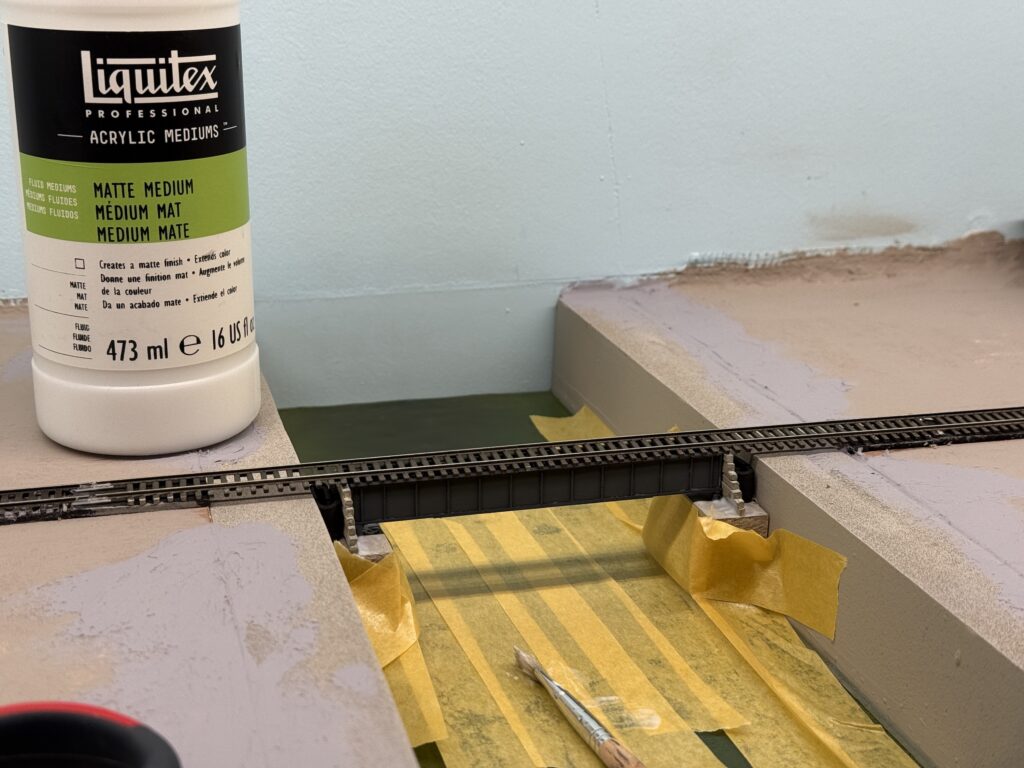
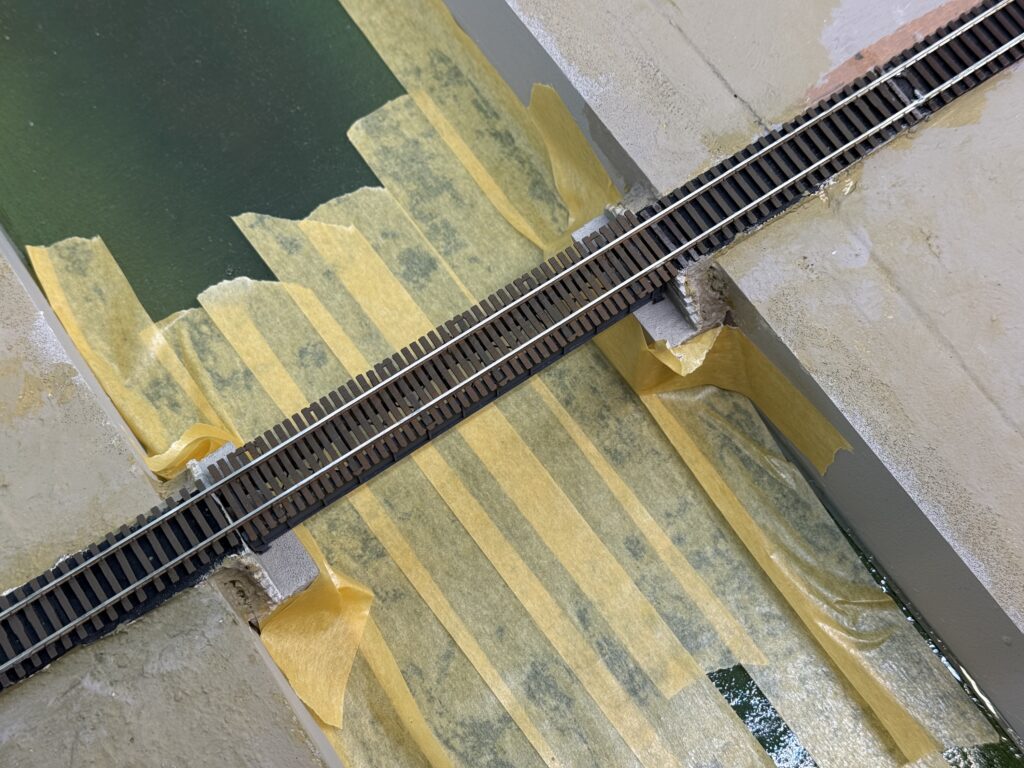
Once the resin had cured, I painted some subtle wave effect using Liquitex Gloss Medium. Then, I installed the riverbed in its final position on the layout. To ensure a perfect fit, I first test-fitted the riverbed and then marked the cutaway along the fascia with a pencil.
Subsequently, I cut the fascia accordingly with a saw. I then used a rasp and a file to fine-tune it.
Finally, I glued the riverbed to the benchwork. Following this, I applied a layer of putty to smooth out the joints, creating a seamless transition.
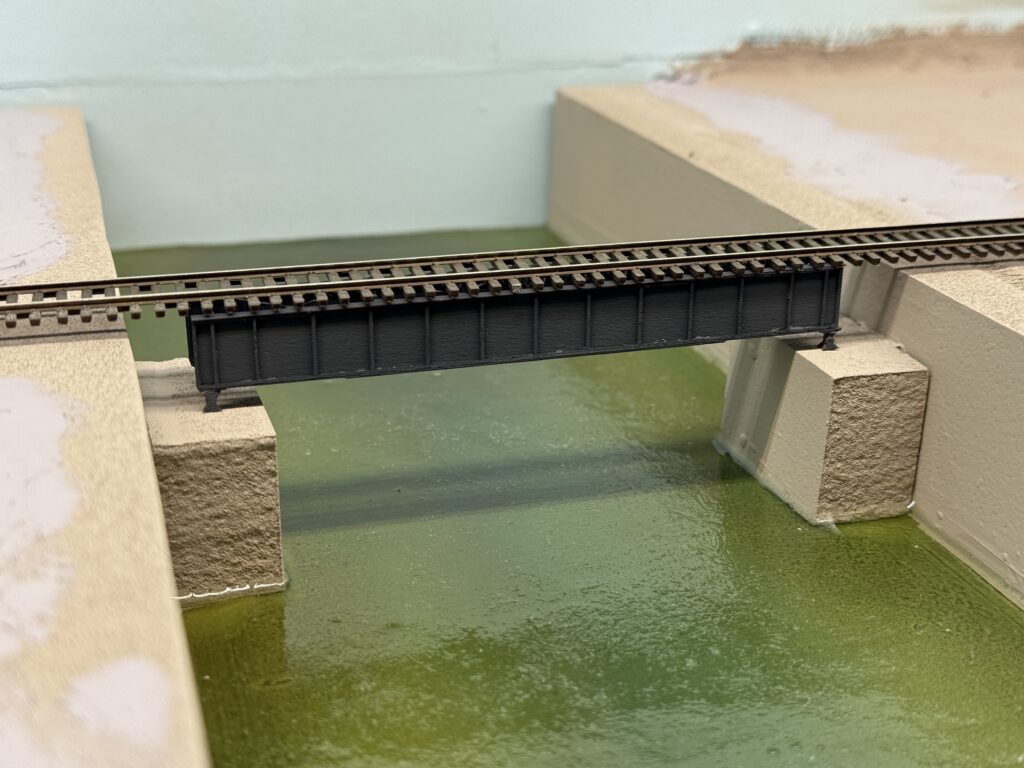
Installing a Bridge: Final Steps
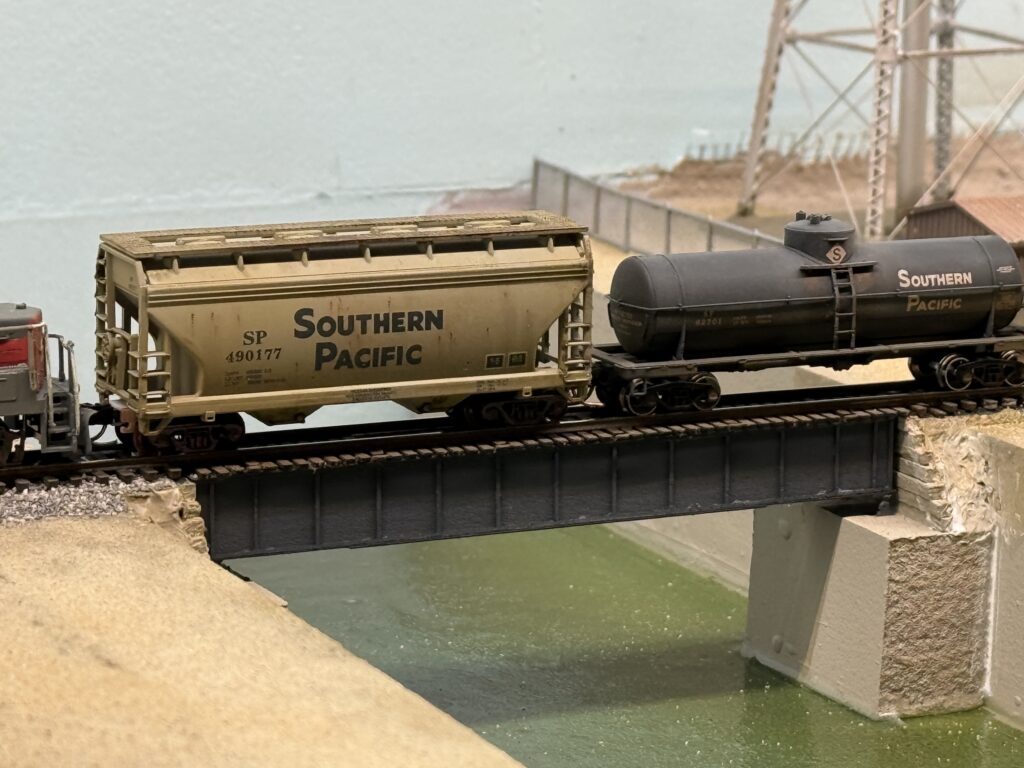
Then, I assembled an RSLaser 60-foot girder bridge kit and test fitted it in its final location.
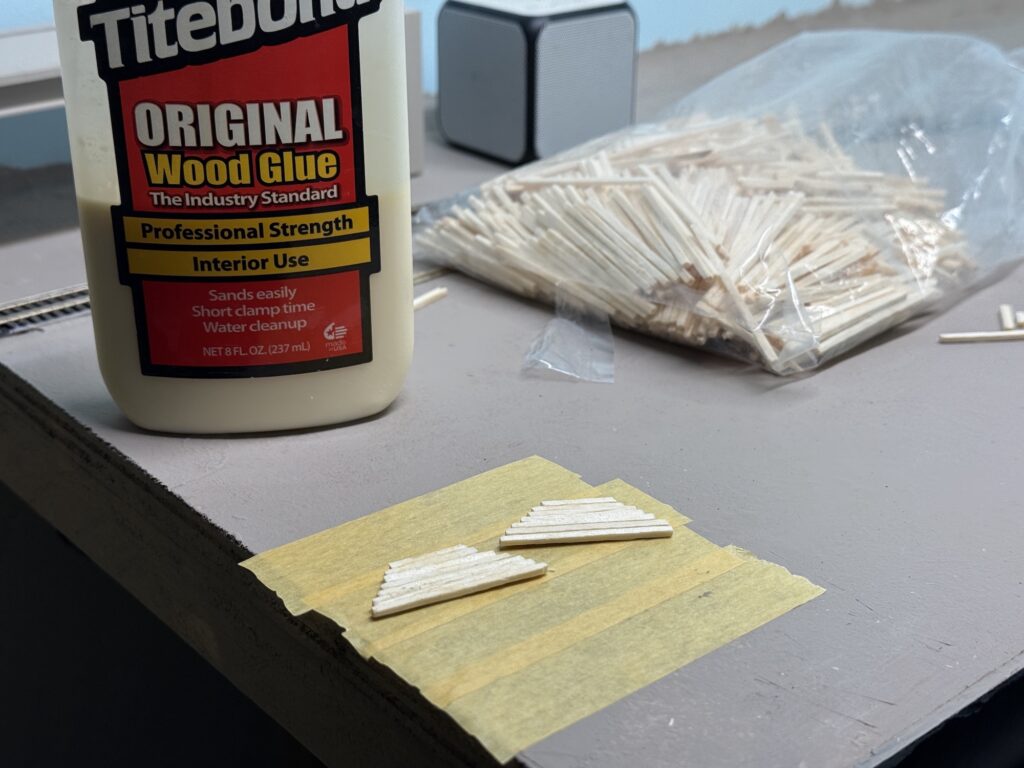
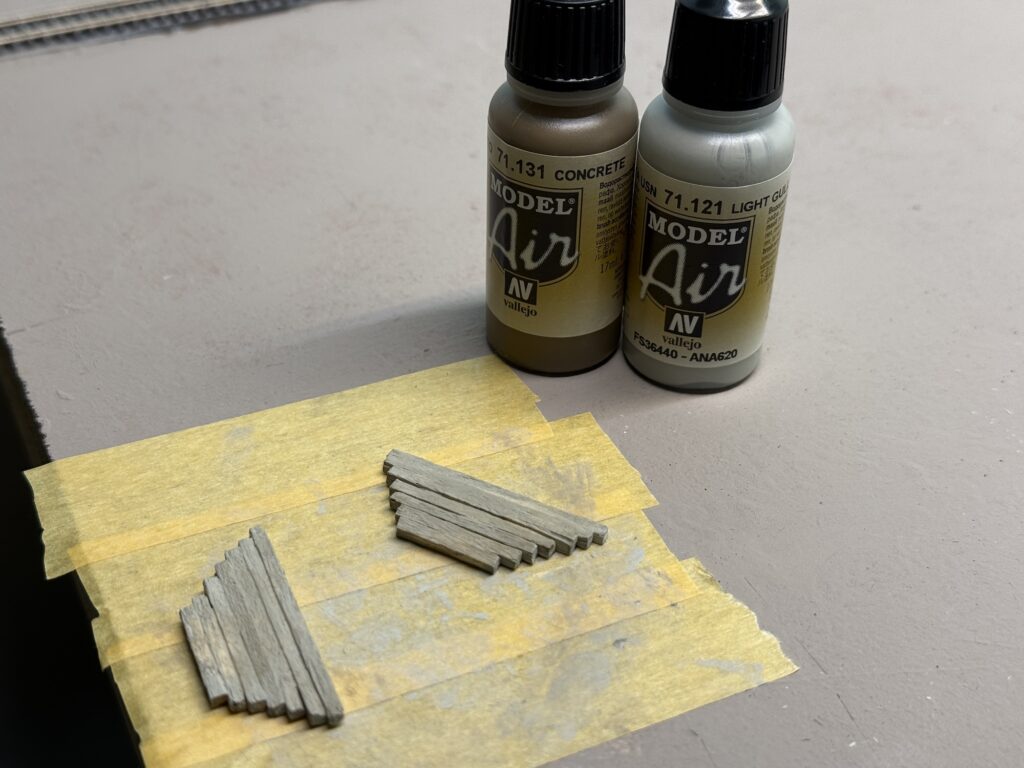
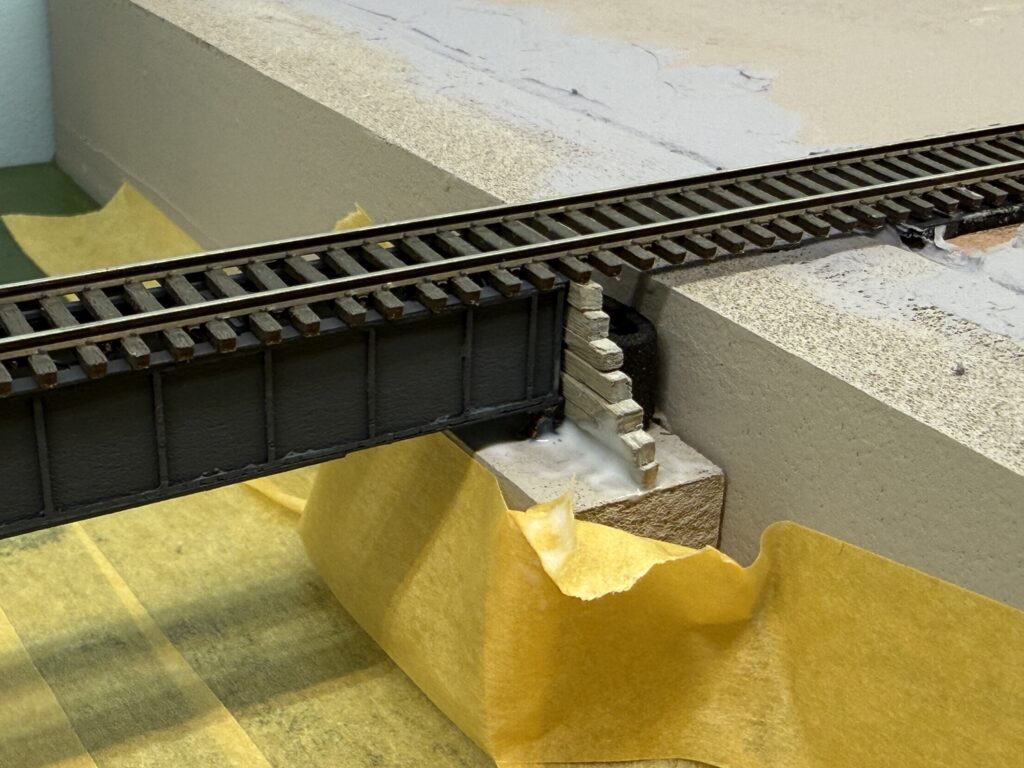
Afterwards, I scratchbuilt the retaining walls from tiny pieces of wood and painted them a warm gray tone using Vallejo Concrete and Vallejo Gull Gray. In the photo below, I’m test fitting them in place.
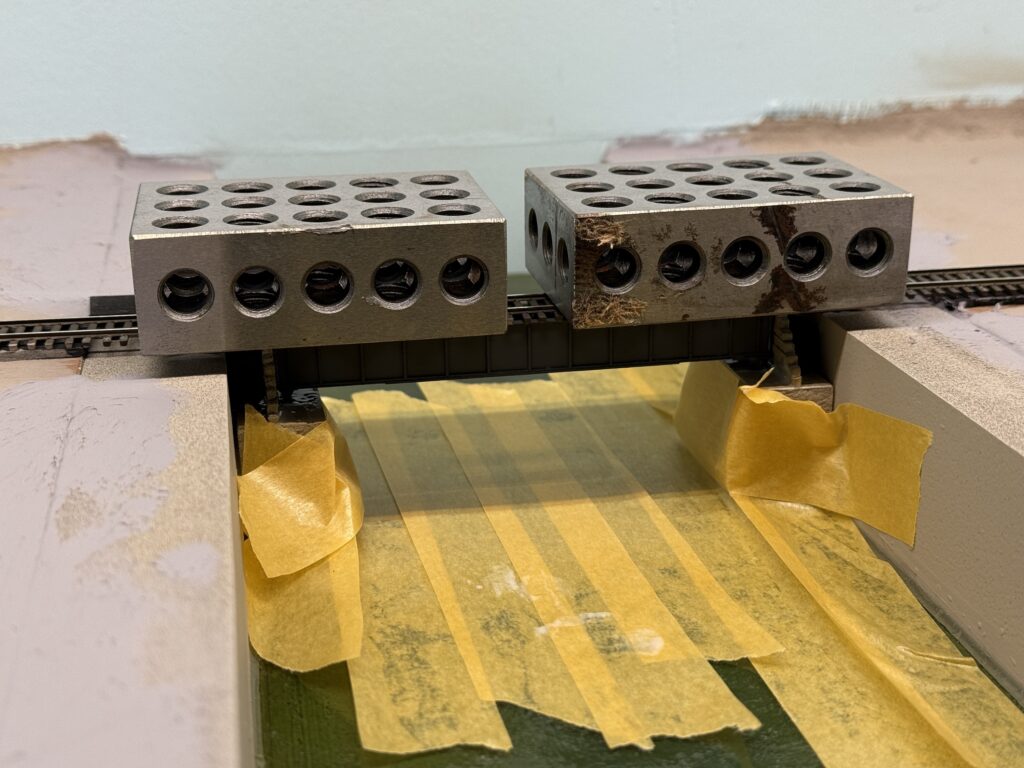
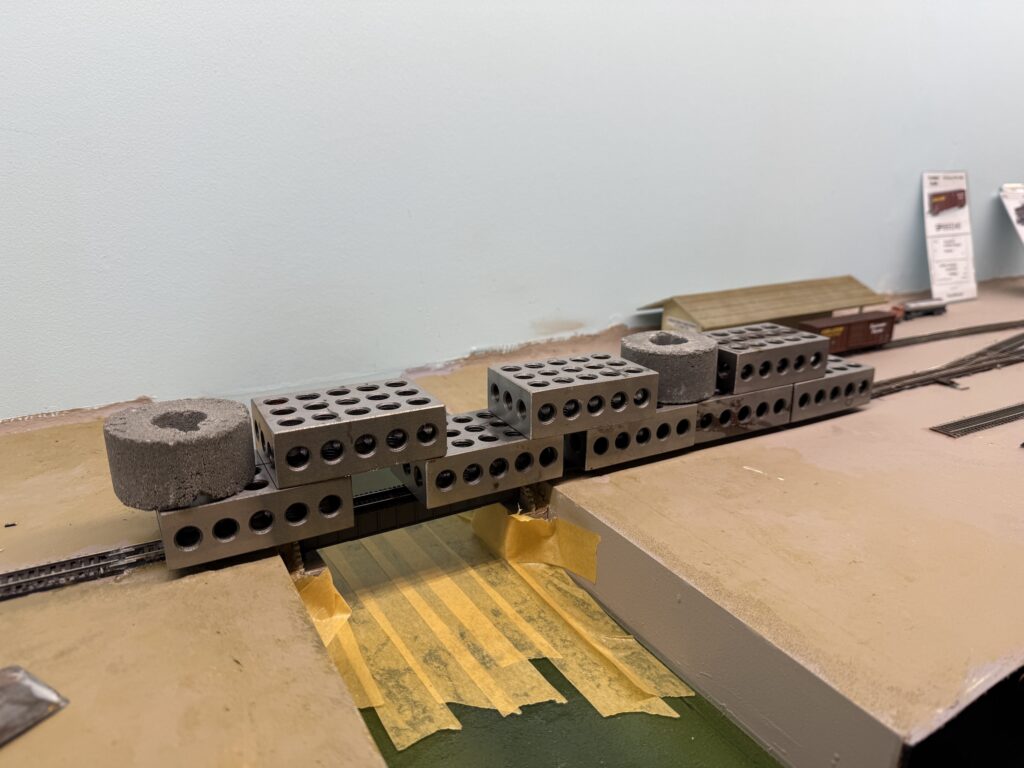
I glued the bridge to the abutments using Liquitex Matte Medium. Then, I secured the wooden retaining walls with more matte medium.
To keep everything aligned, I inserted a small piece of EVA foam to press the wall against the bridge. Afterwards, I placed a couple of metal weights on top of the bridge and let the glue dry.
I added some papier-mâché terrain behind the retaining walls and painted everything a tan color.
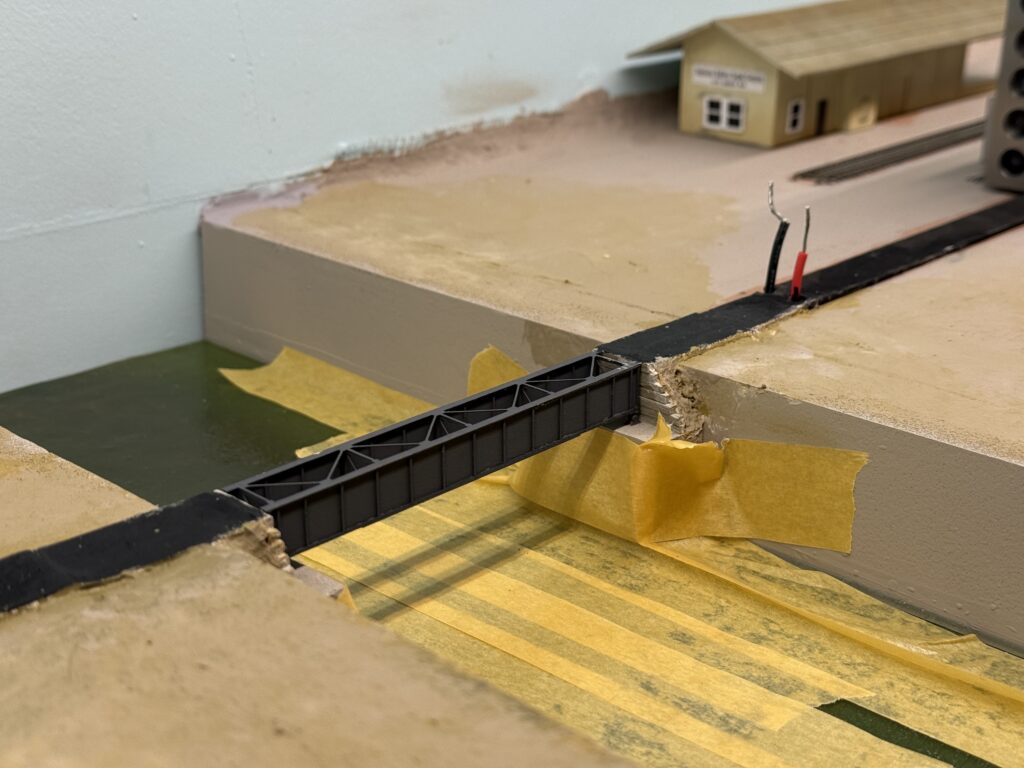
I prepared the bridge track with the correct tie spacing and soldered the feeders. Then, I carefully measured the section to install it in place of the temporary flex track I had used before the bridge was ready.
Once the track was in place, I connected all the feeders to the main bus, cleaned the rails, and tested the track.
Here is the final result. It is still missing some terrain and vegetation around the edges, but overall the scene already feels much more complete.
We use cookies to ensure that we give you the best experience on our website. If you continue to use this site we will assume that you are happy with it.
You can revoke your consent any time using the Revoke consent button.