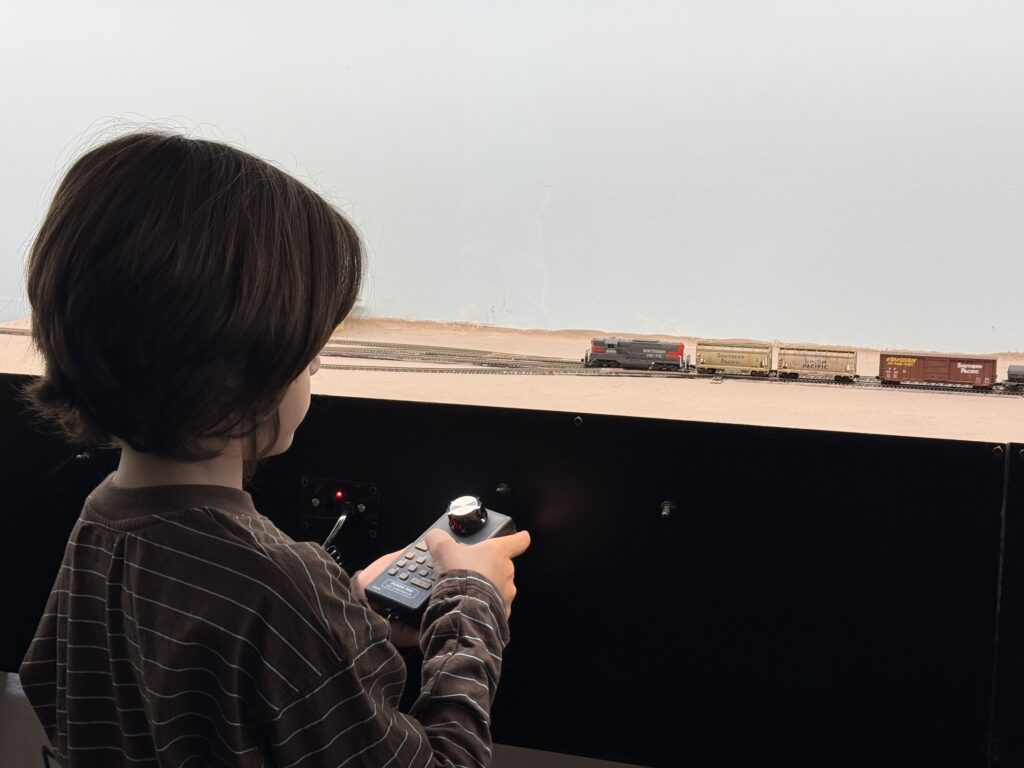
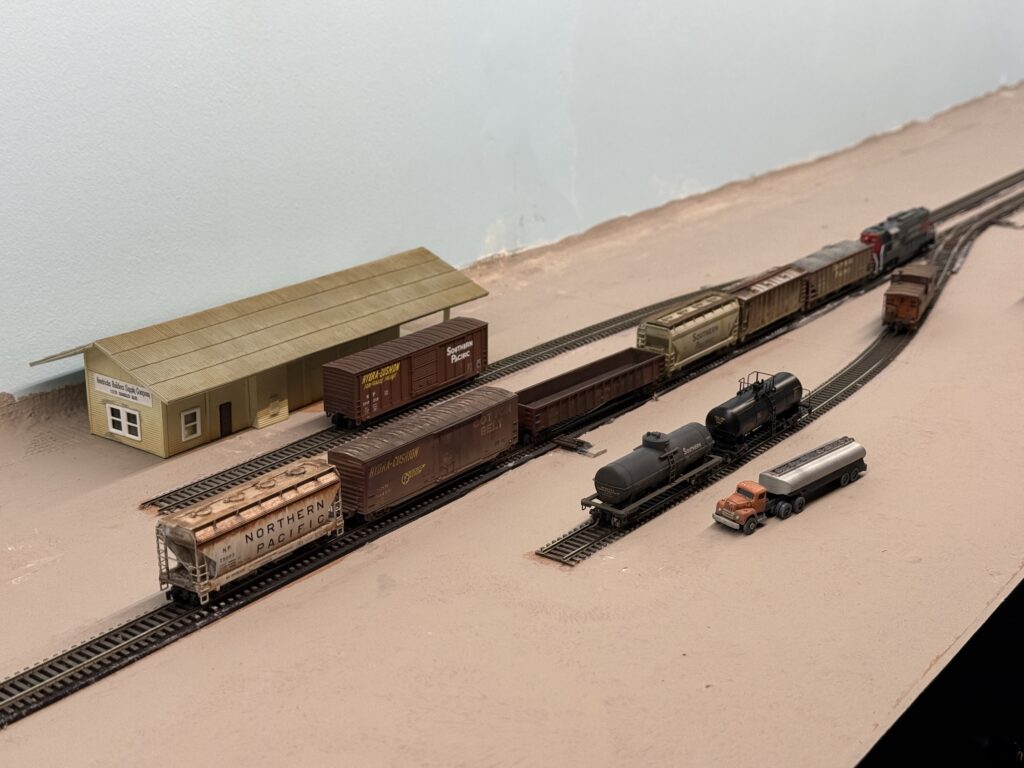
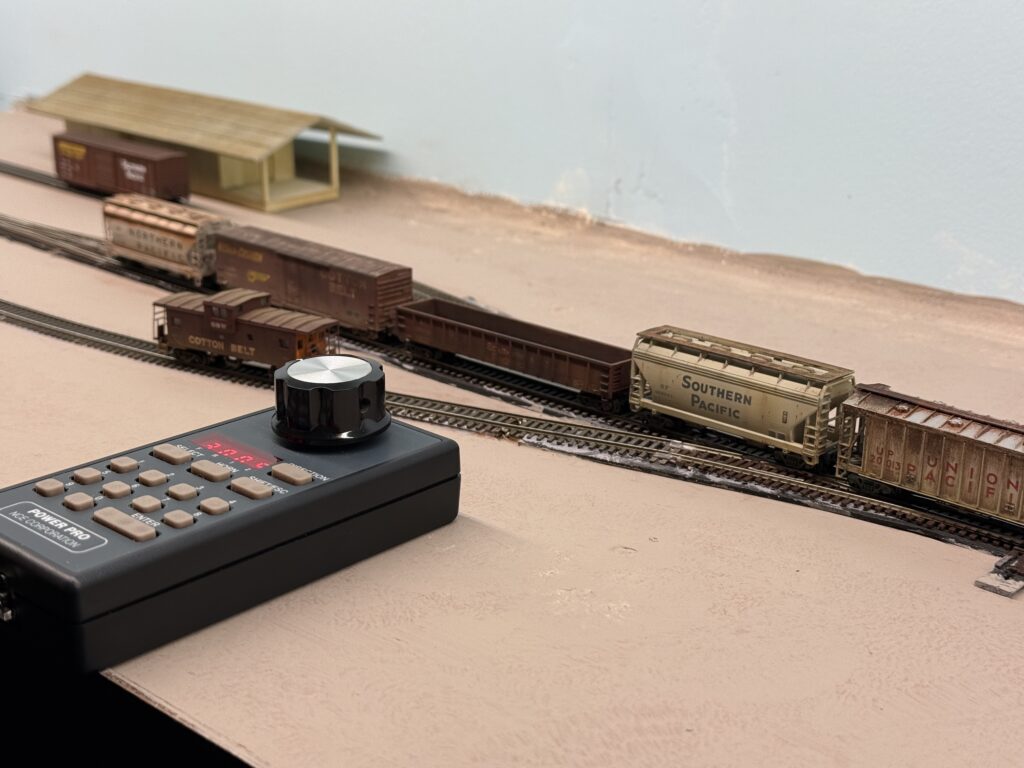
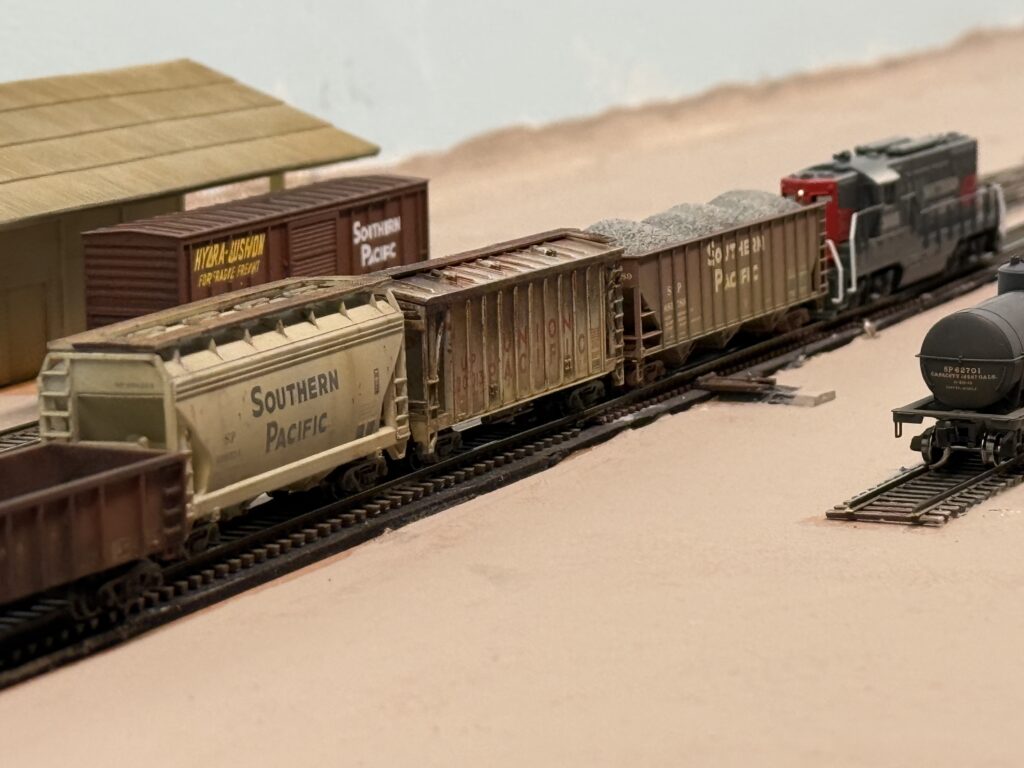
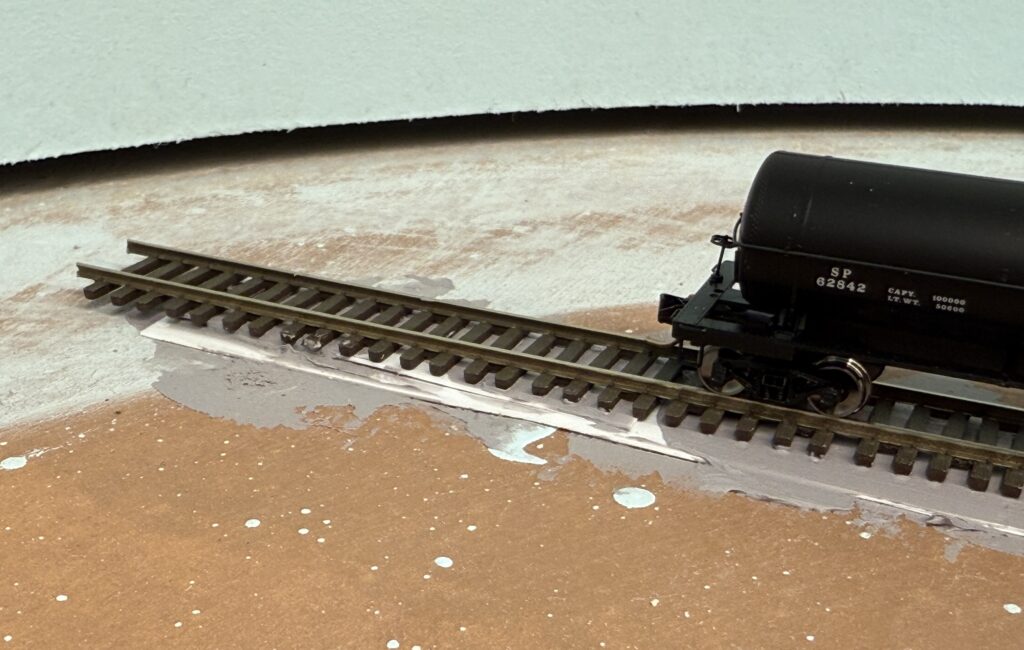
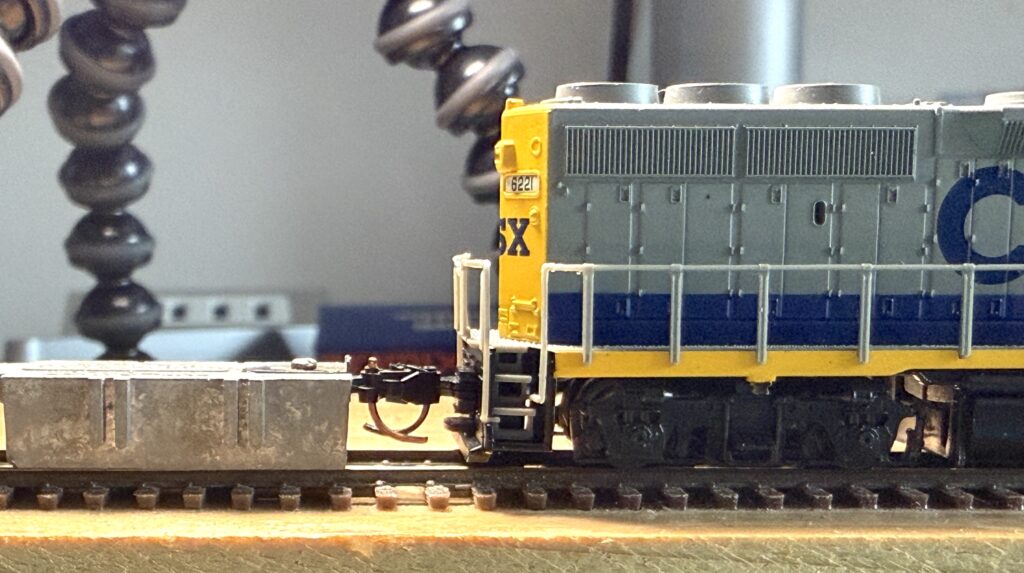
First running test on the SP Burbank Branch in N scale switching layout.
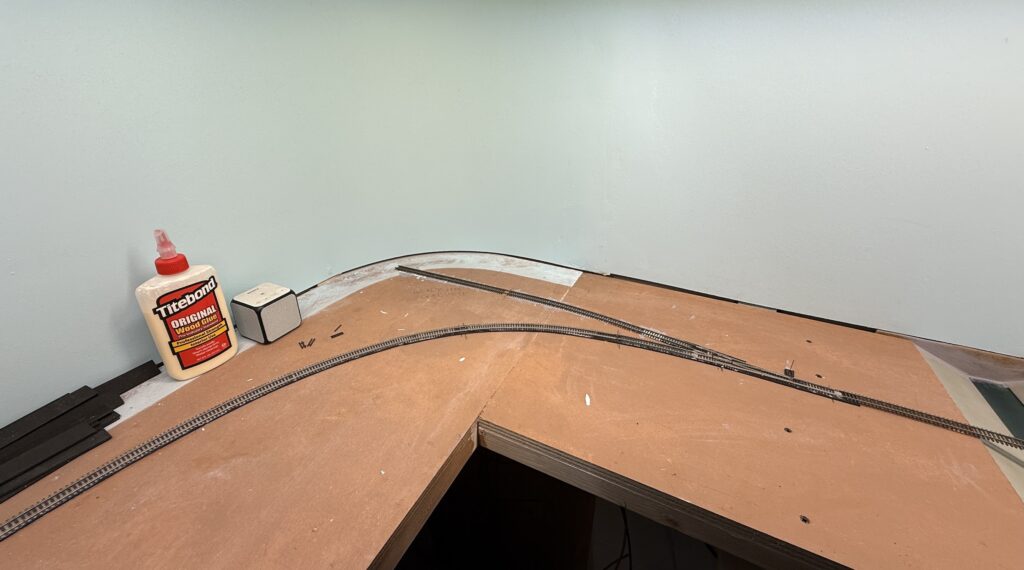
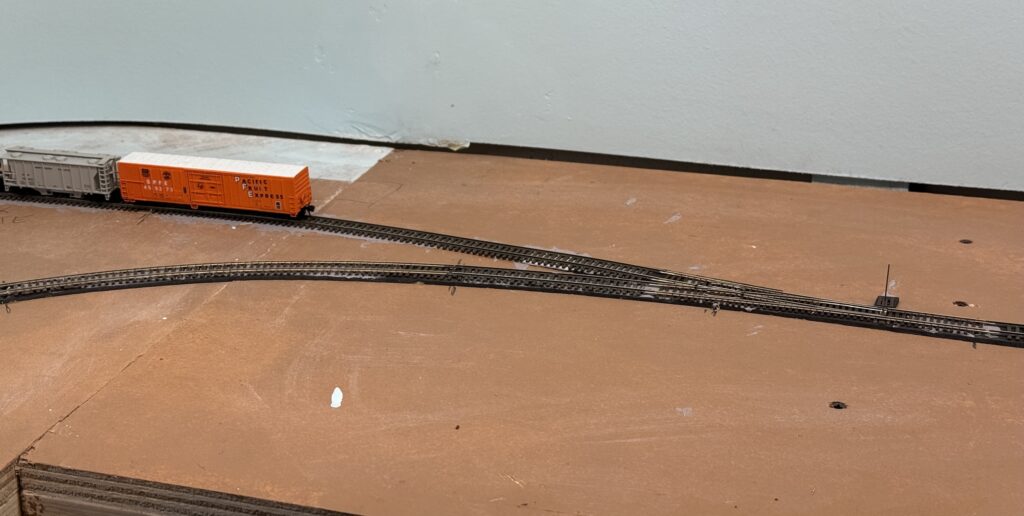
After completing 90% of the trackwork, I performed a first running test to check the work done so far. Turnouts were of course under close examination. A few spots revealed two things:
Atlas code 55turnout quality control isn’t perfect. In a few cases, the guard rails were slightly too close to the stock rail, as confirmed with an NMRA gauge.
I need to check the wheelset gauge on a few locomotives, as they don’t appear to have been set correctly at the factory. I’ll be using an NMRA gauge for this.
Video
Overall the test went well, and I was able to simulate a short switching operating session.
It’s essential to get reliable operations on a layout, especially in smaller scales like N. The first test run offered valuable insight into both track and rolling stock performance.
While a few adjustments are still needed, it’s encouraging to see the layout begin to function as intended. With minor fine-tuning, the SP Burbank Branch will soon be ready for smooth and reliable operations.
I started laying tracks across most of my N scale layout. When needed, I flipped the plywood base upside down to handle wiring and install the Tortoise switch machines more comfortably.
Roadbed
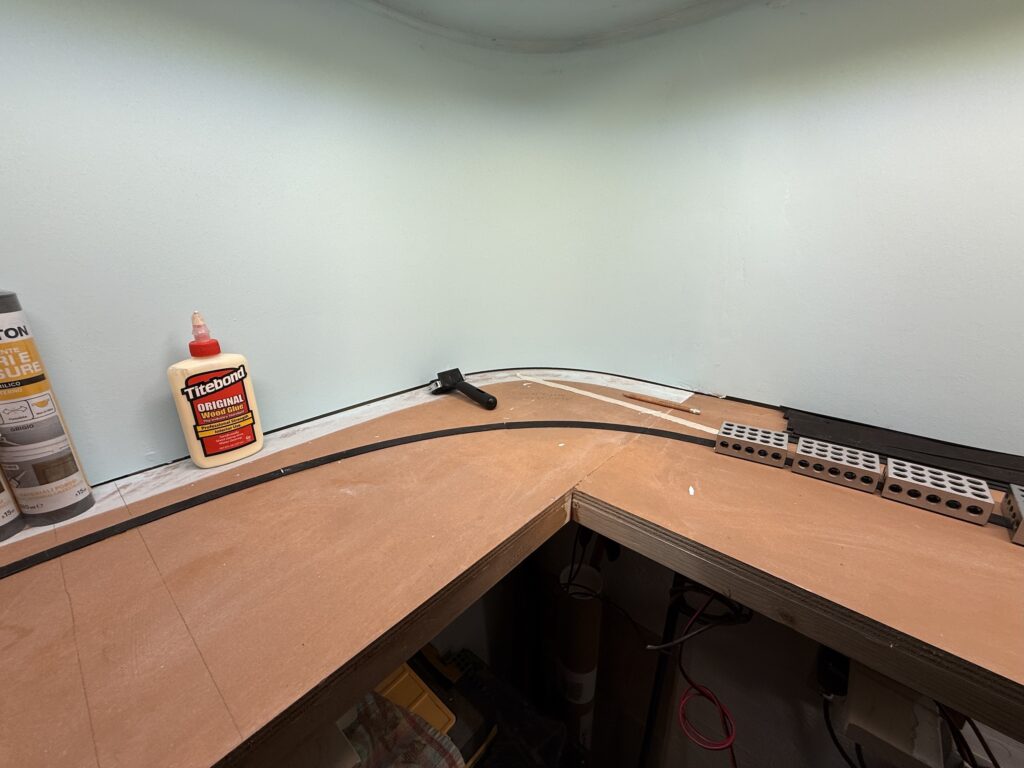
To start, I used 2mm EVA foam strips for the roadbed. I glued them down with Titebond Original Wood Glue. For simplicity and a prototypical look, I laid the roadbed only under the mainline. Sidings and spurs will go directly onto the plywood.
Laying Tracks and Wiring
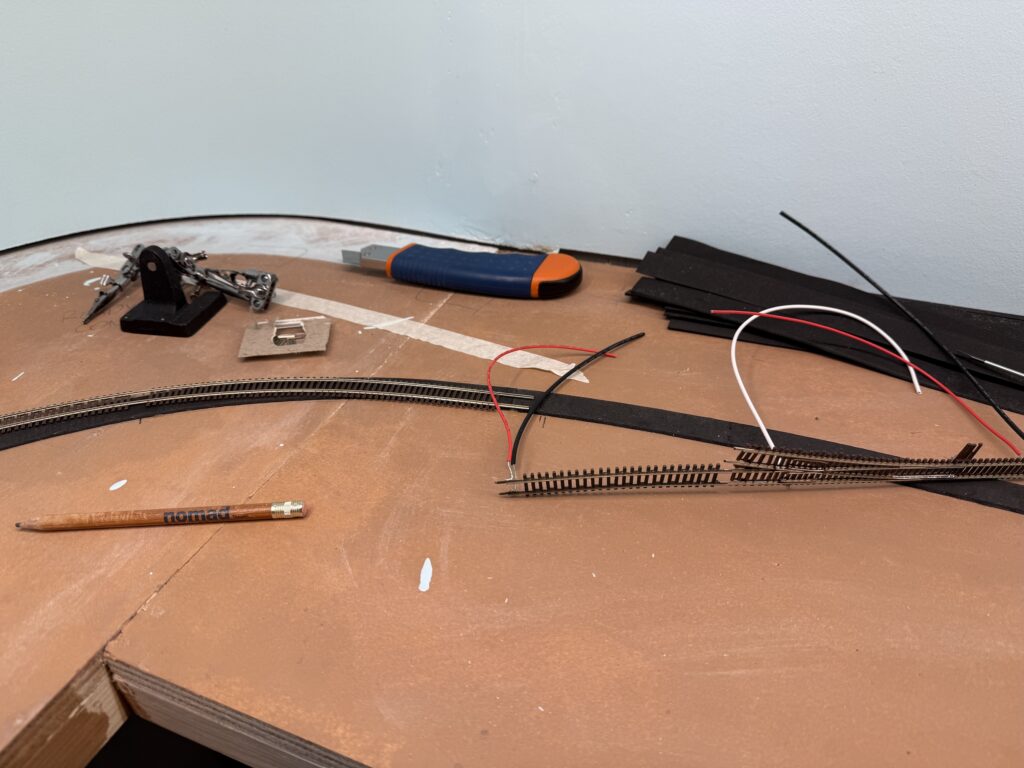
Next, I soldered 24AWG feeders to the underside of the rails. I drilled holes through the roadbed to connect the feeders to the DCC bus.
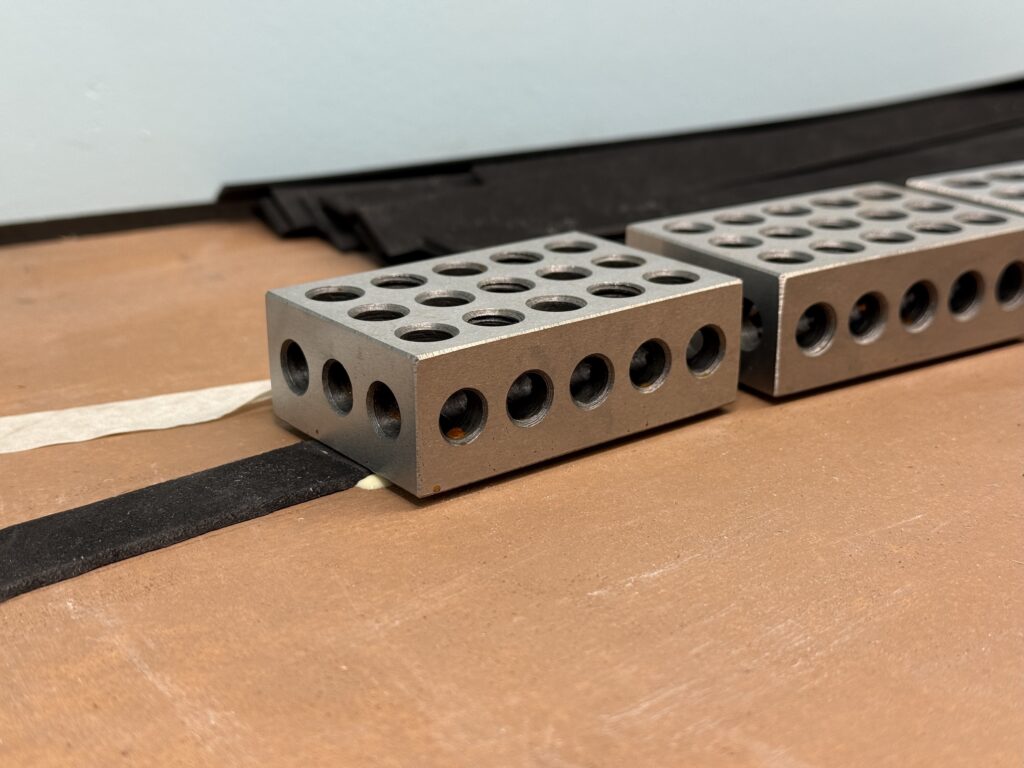
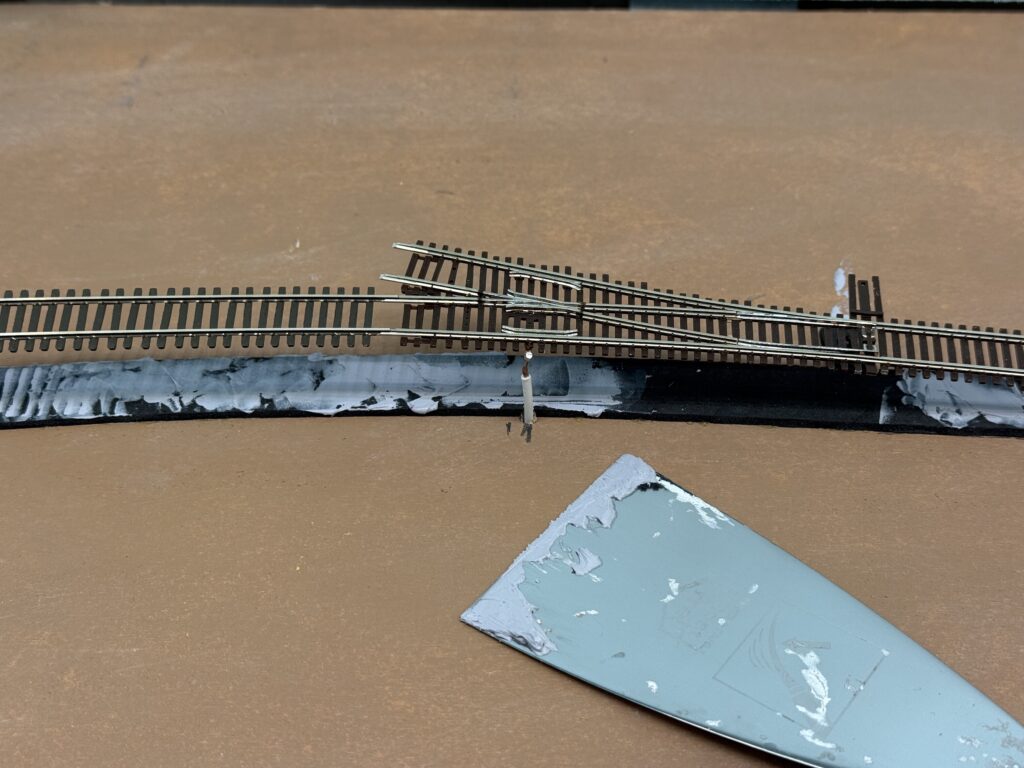
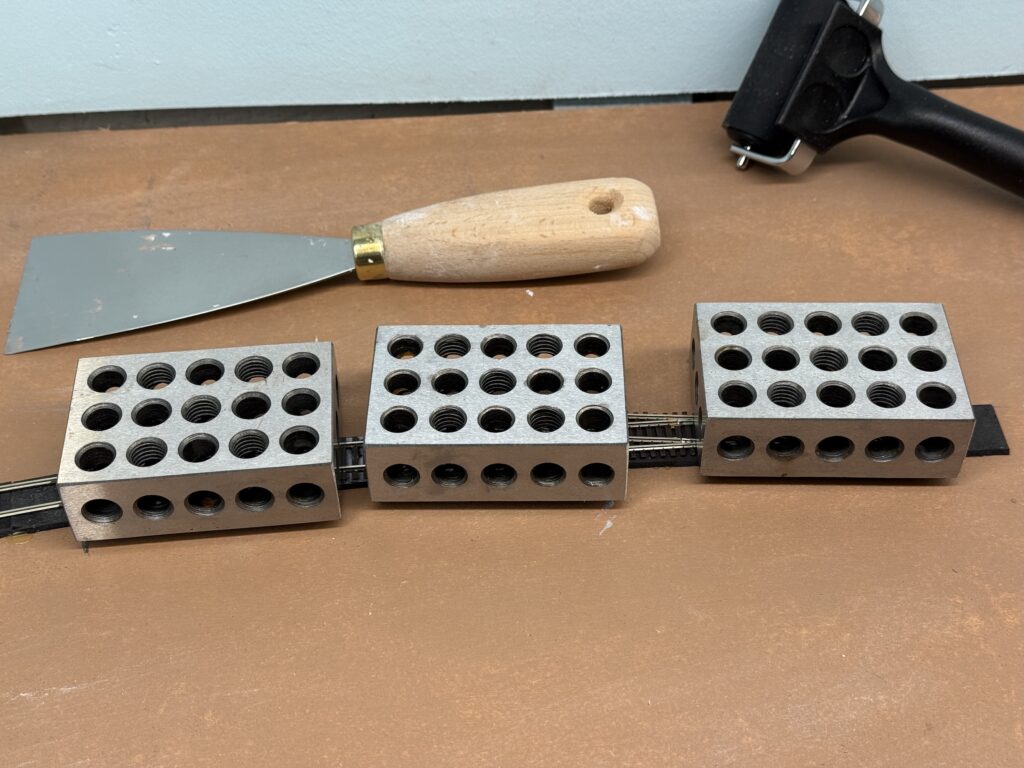
To secure the track, I applied a thin layer of acrylic caulk using a putty knife. I then placed metal blocks on top to hold the rails in position as the caulk dried.
Switch Machines
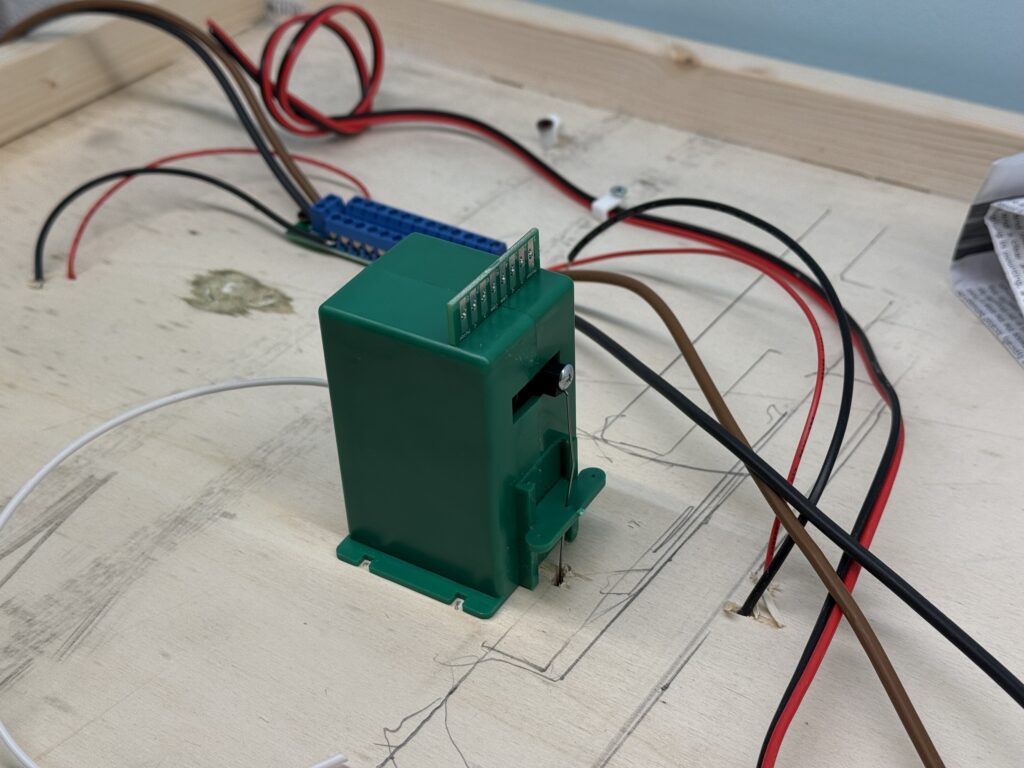
Once the track was down, I flipped the base again to install the Tortoise switch machines. I also connected the feeders and ran the DCC bus wires.
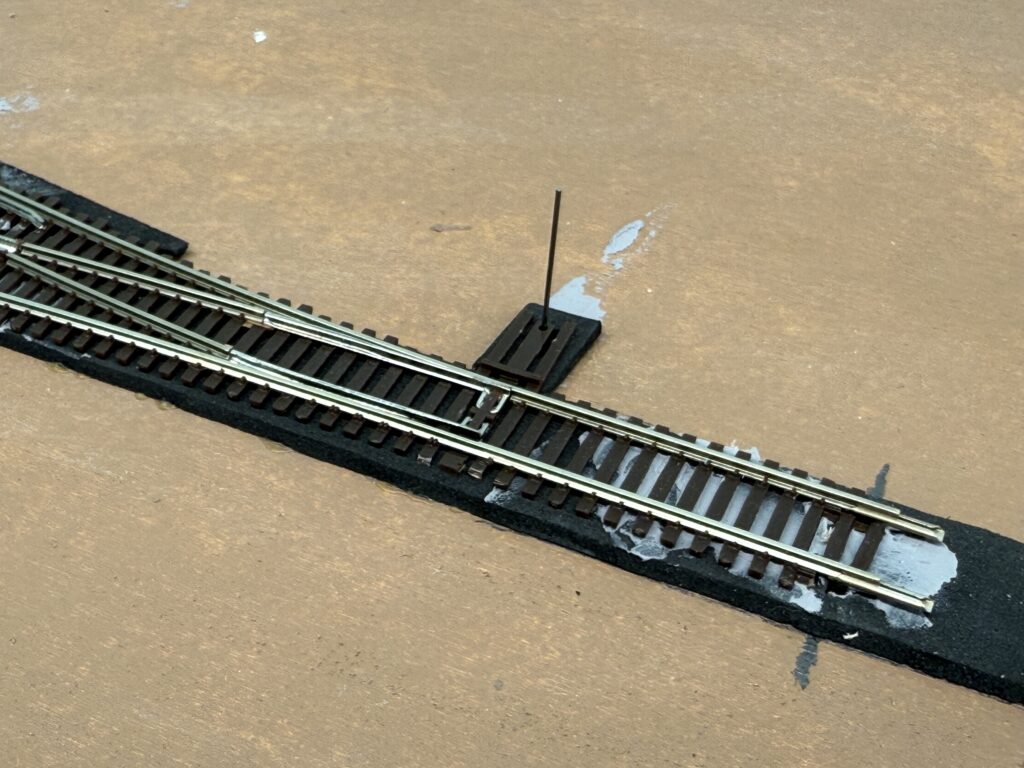
Afterward, I inserted the piano wire into the hole in the turnout’s throwbar.
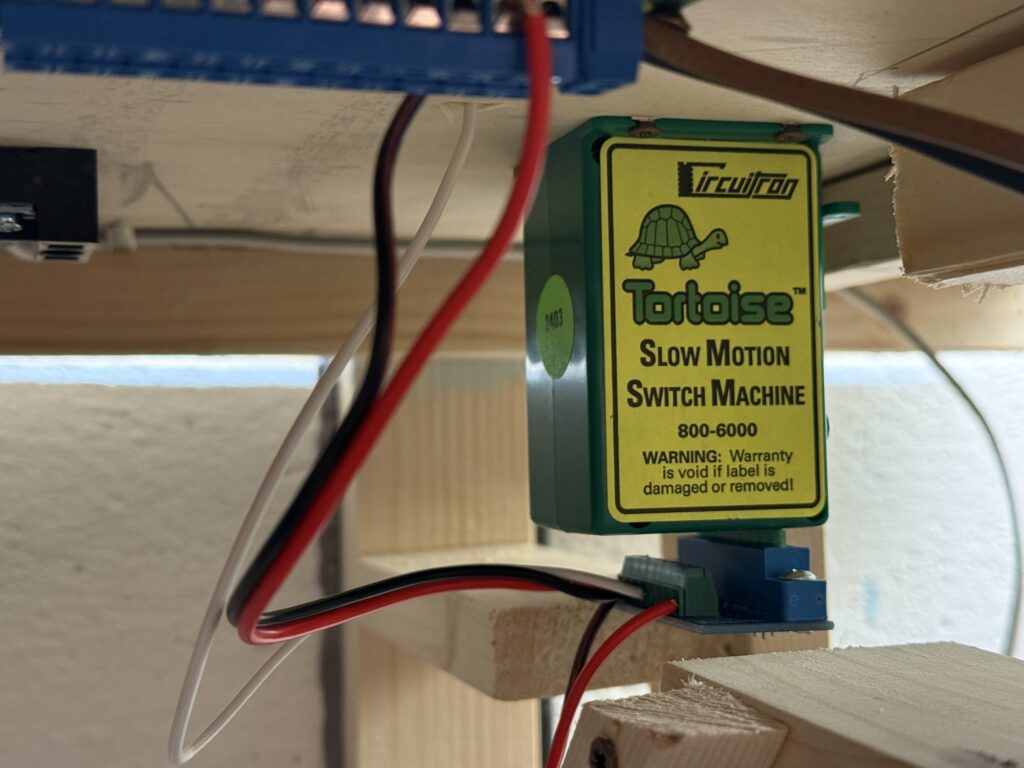
I then screwed the switch machine to the plywood base and connected it using ZipZ solderless connectors.
Each Tortoise is controlled by a DPDT toggle switch and powered by a 12V DC supply
Power Supply
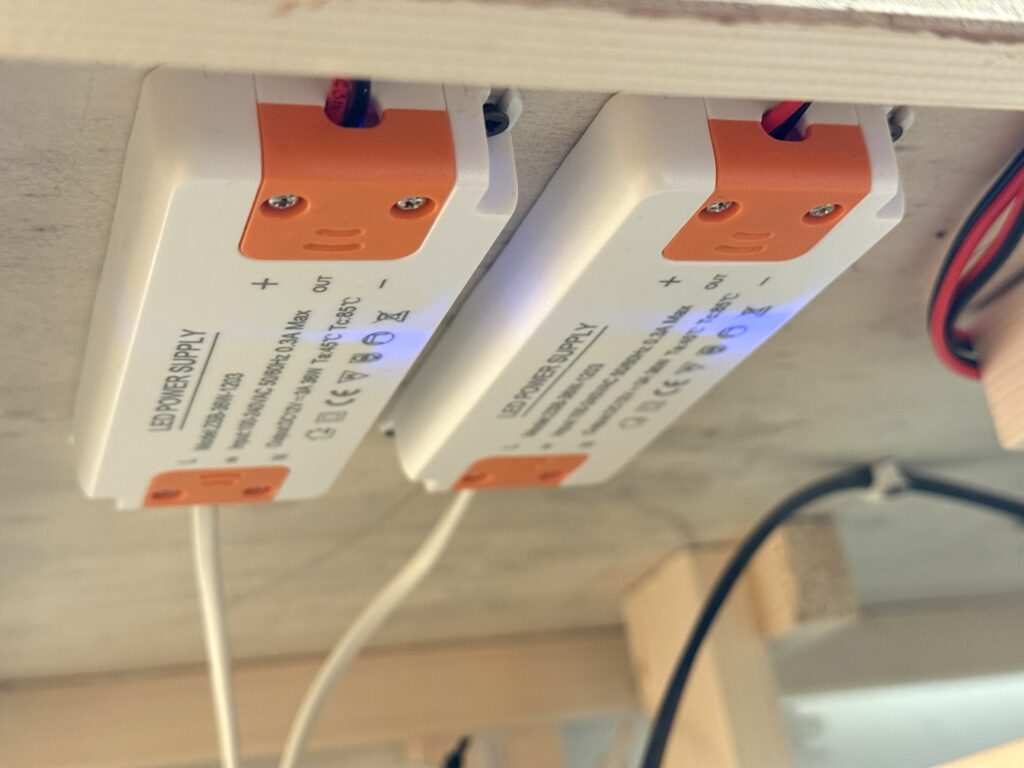
I installed two 3A 12V DC power supplies under the layout – one for the switch machines, and the other for layout lighting. This includes LEDs in buildings, vehicles, and streetlights.
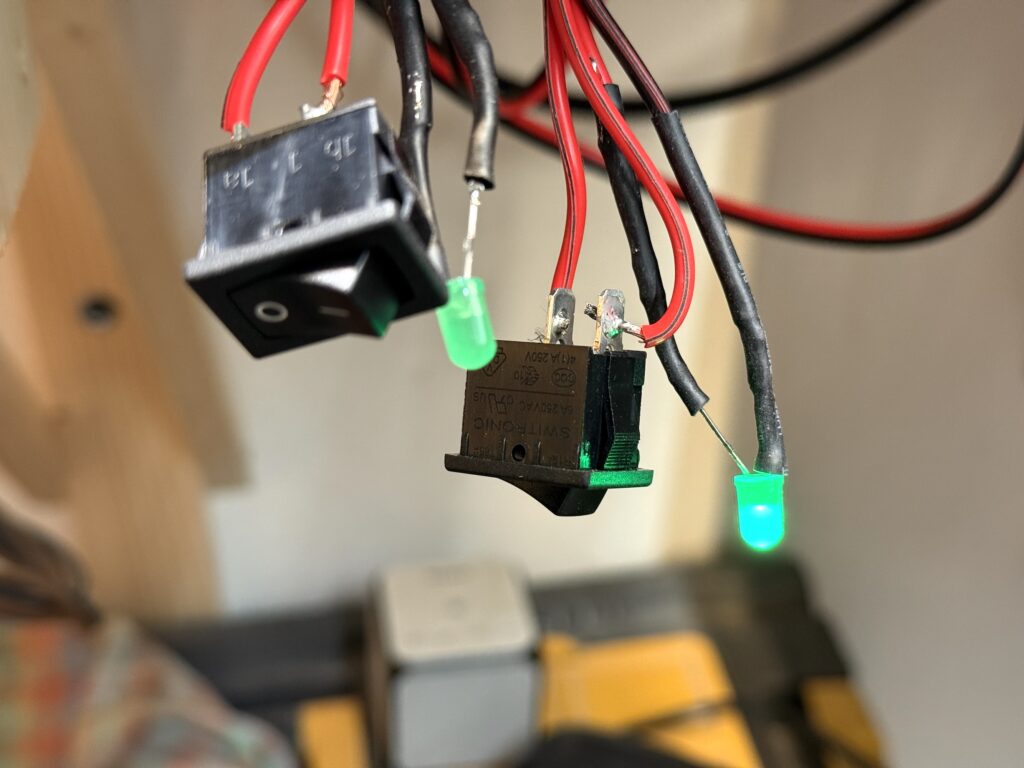
To monitor power delivery, I added a main switch to each 12V output. These switches illuminate an LED when active. I’ll mount both switches and LEDs on the fascia for easy access.
Trackwork Fine Tuning
The first section of tracks on my N scale layout is complete. Track has been laid, wiring is done and the first turnout is controlled by a properly installed Tortoise switch machine.
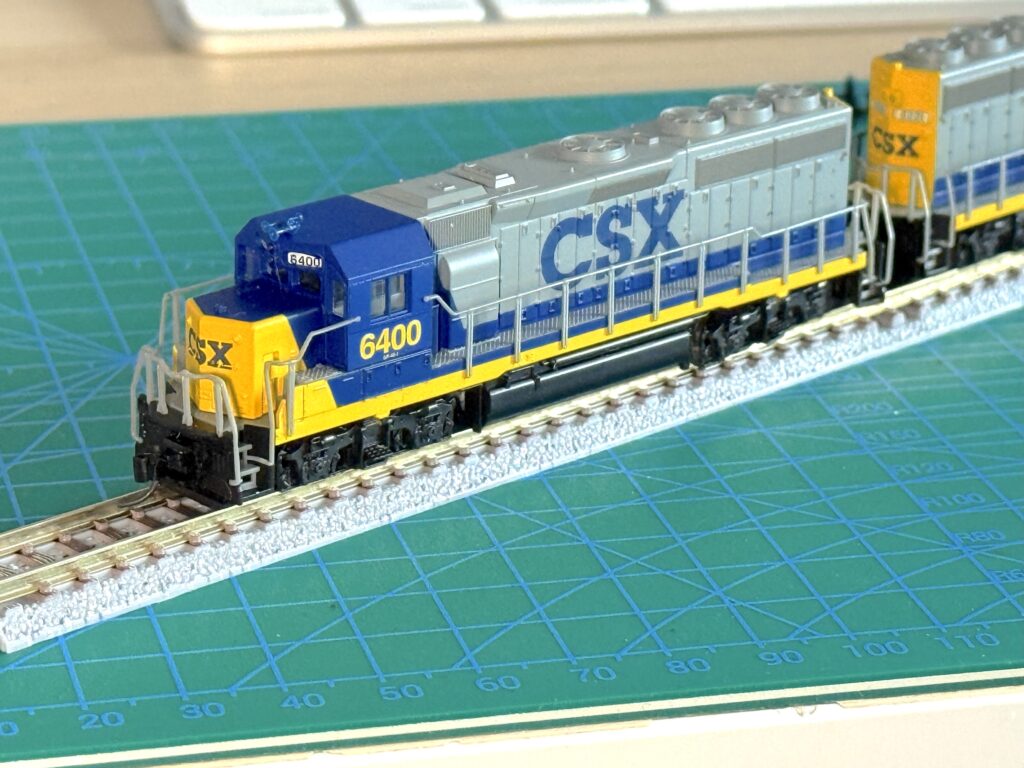
Here is the Conrock and Skyline ready-mix concrete spur.
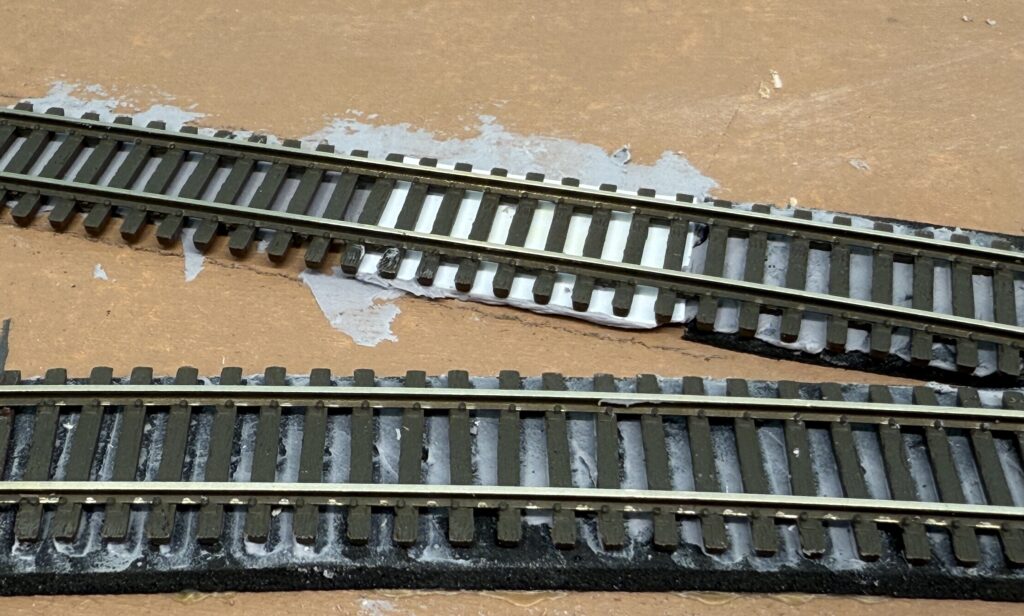
I used thin pieces of styrene to shim tracks. One for the transition in track height from mainline (photo below, bottom) to the Conrock spur (photo below, top), and another one at the end of the same spur to keep the track level.
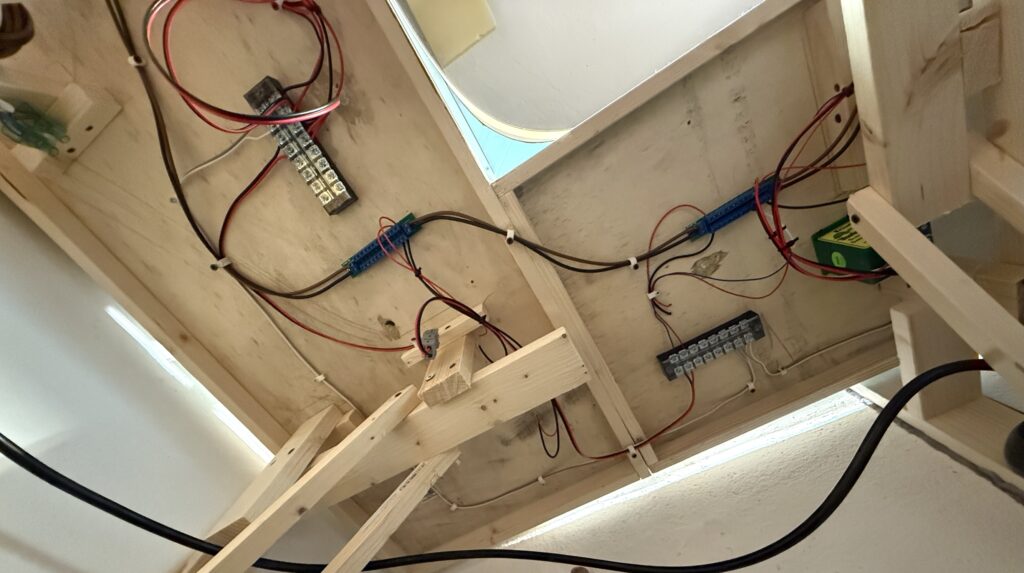
Wiring should be neat and well-organized to make troubleshooting easier if problems occur. Here is how I managed wiring on the Burbank Branch in N scale.
The trackwork phase marks a major milestone in building the layout, which is now coming together with solid progress.
Careful planning now will ensure smoother operations and fewer issues later and sets the foundation for future scenery and detailing.
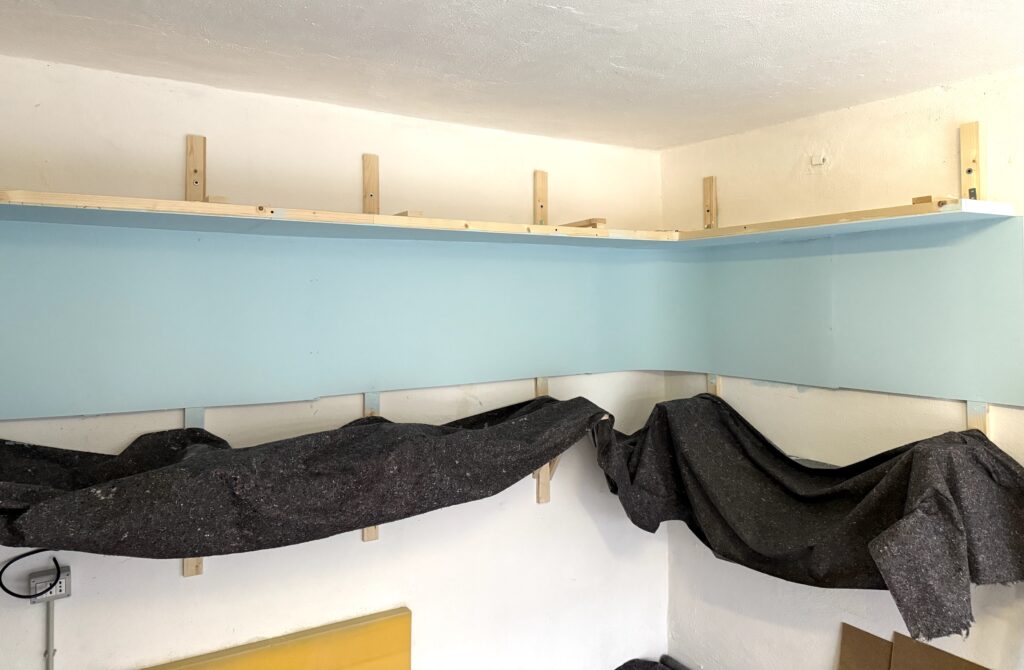
Using Faesite (Masonite) sheet, installing the valance is quick and easy.
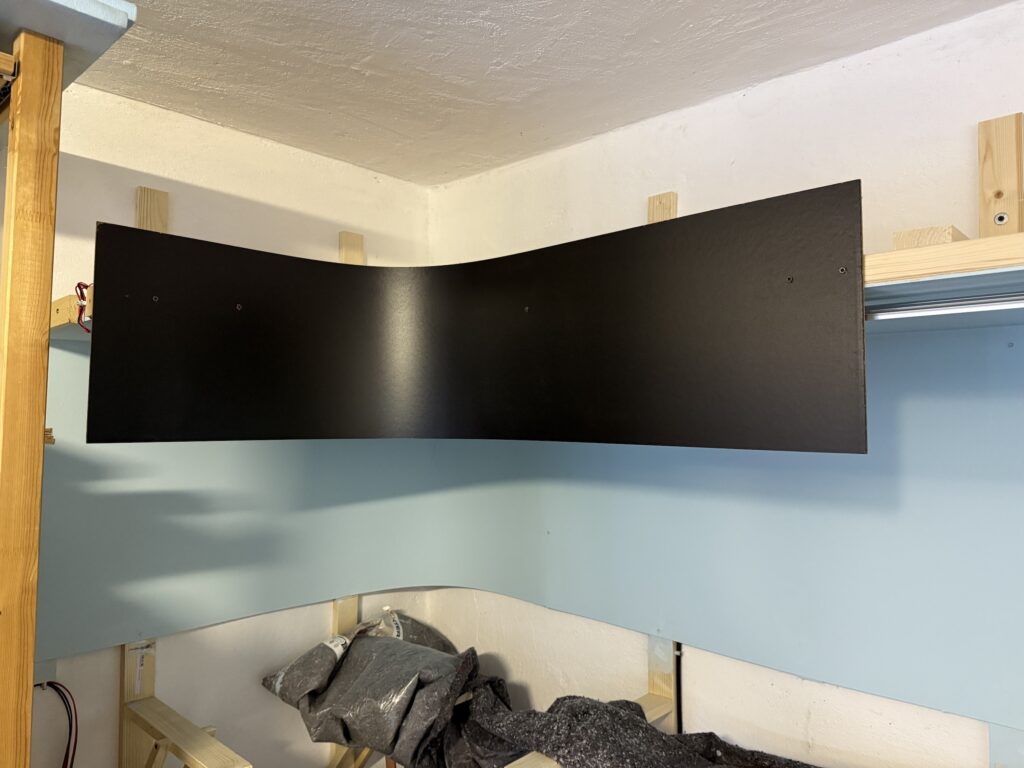
I purchased some black Faesite (Masonite) sheets, had them cut to length, and used them to install the valance. A valance helps direct and diffuse light onto the layout while preventing glare from LED strips or other light sources.
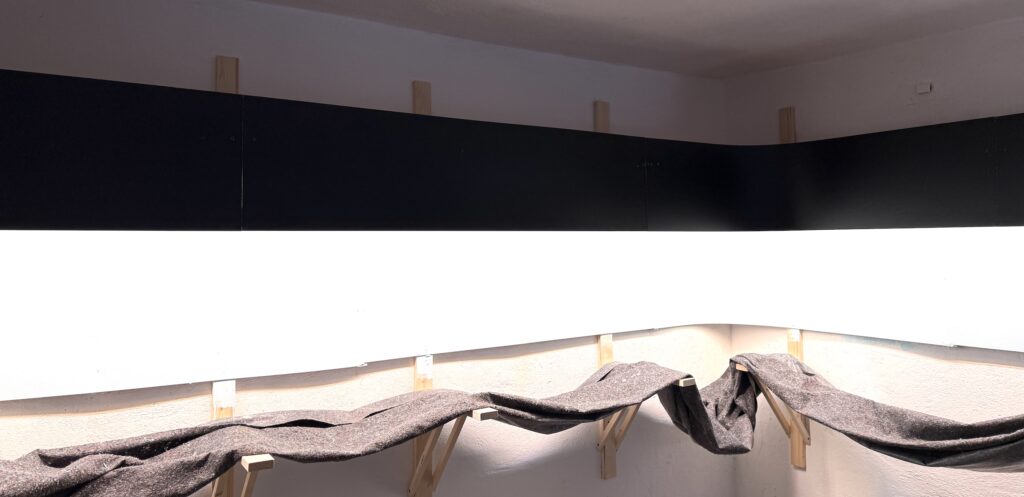
Below is a short video showing the final result with LED lighting on my N scale layout.
Valance Installation
Just like with the backdrop, I bent the board to create a smooth, rounded corner.
Enhanced Visual Framing
The LED strips are hidden behind the valance. Installing the valance creates a more immersive and finished look by framing the scene and keeping the viewer’s focus on the trains and scenery. The valance helps conceal ceiling lights, room clutter, and other distractions outside the layout.
Depending on the height and depth of the valance, the valance may make the layout feel more enclosed or get in the way of taller operators. Also, installing a valance requires additional materials, cutting, mounting, and possibly bending for curved corners.
That said, a well-designed valance adds a professional touch, making the layout appear more polished and realistic.
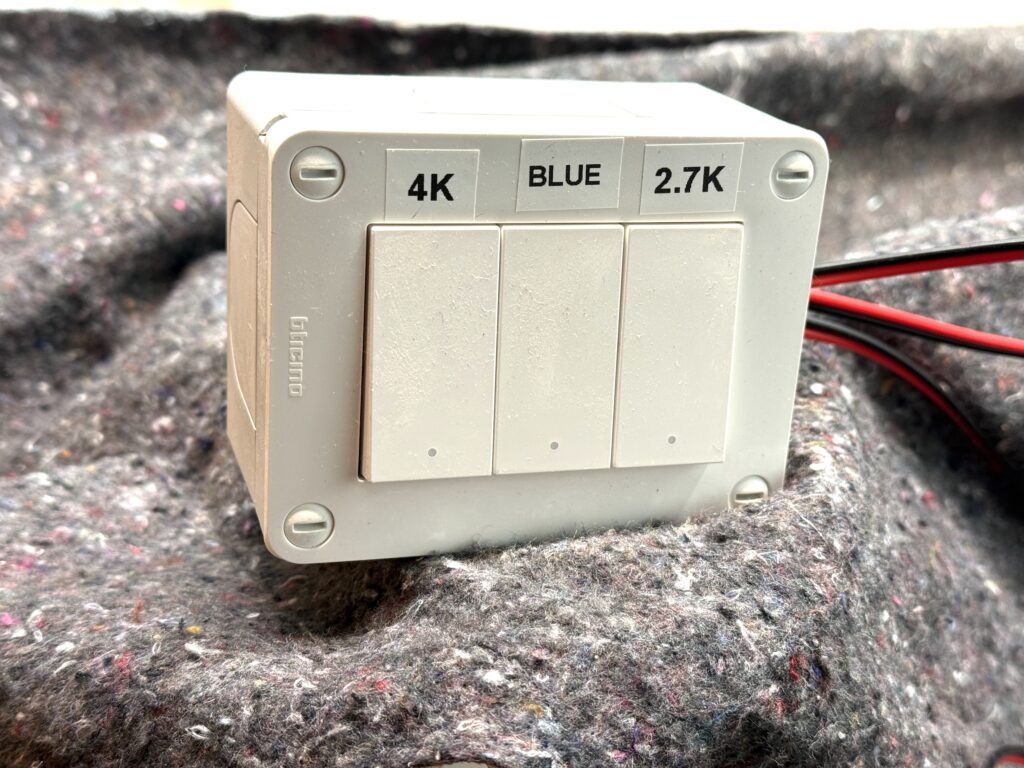
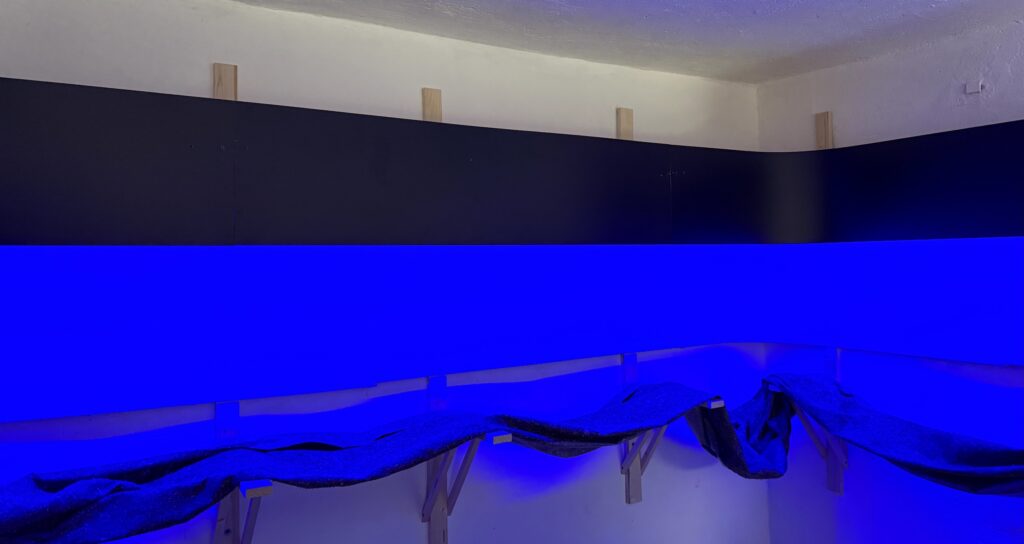
I usually use a combination of 4000K and 2700K for daylight, while the blue light is on for night operations. In the photo below, the blue appears more saturated than it does in person.
A well-planned valance and lighting setup transforms the look and feel of a model railroad. By combining different LED color temperatures, it’s possible to replicate natural lighting transitions, enhancing realism without drawing attention away from the trains.
Adjustable dimming and remote controls add convenience, allowing for seamless shifts between day and night scenes. Thoughtful lighting makes a huge difference in bringing the layout to life while keeping the focus on the trains and scenery.
Using acrylic or latex paint with a soft roller is a quick way for painting the backdrop sky blue.
Painting the backdrop sky blue is a simple yet effective way to enhance the realism of a model railroad layout. The benchwork’s depth limits the world we can model; thus, the backdrop creates the illusion of extending the space.
There is a school of thought in model railroading that advocates for using a very light blue. The idea is that the backdrop should serve as a subtle foundation rather than a focal point.
This approach helps maintain realism and it enhances the illusion of depth without drawing unnecessary attention.
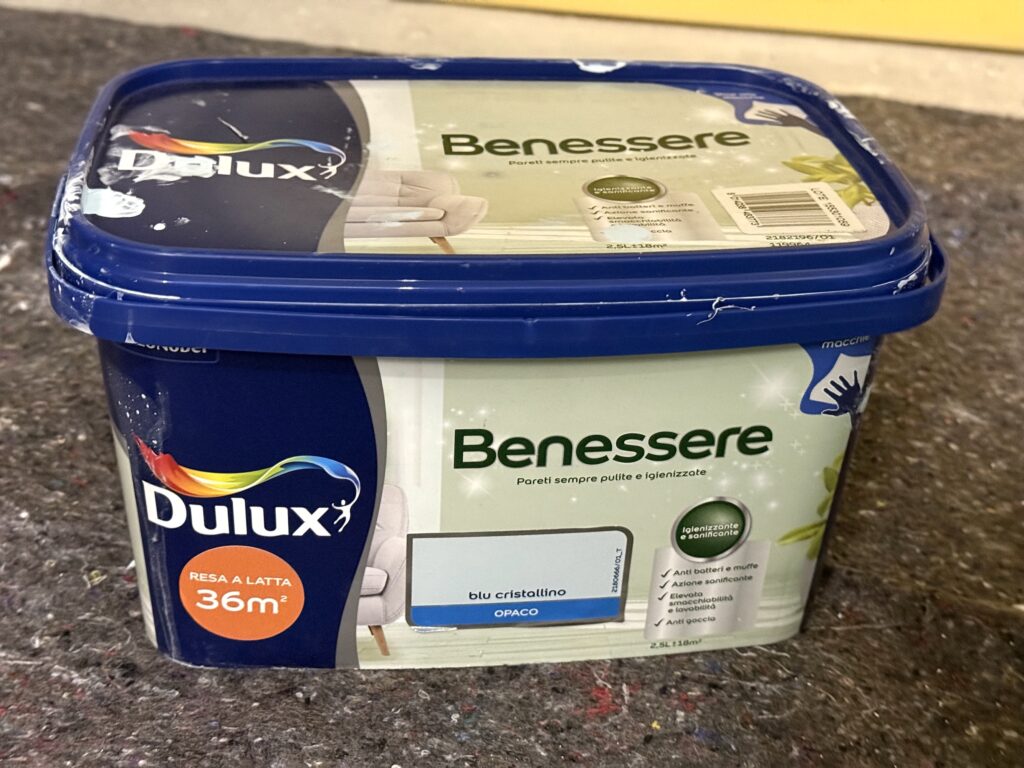
I used this particular brand of wall paint because it offers excellent coverage and a smooth, flat finish, perfect for creating a seamless backdrop. It’s made by Dulux, a British brand.
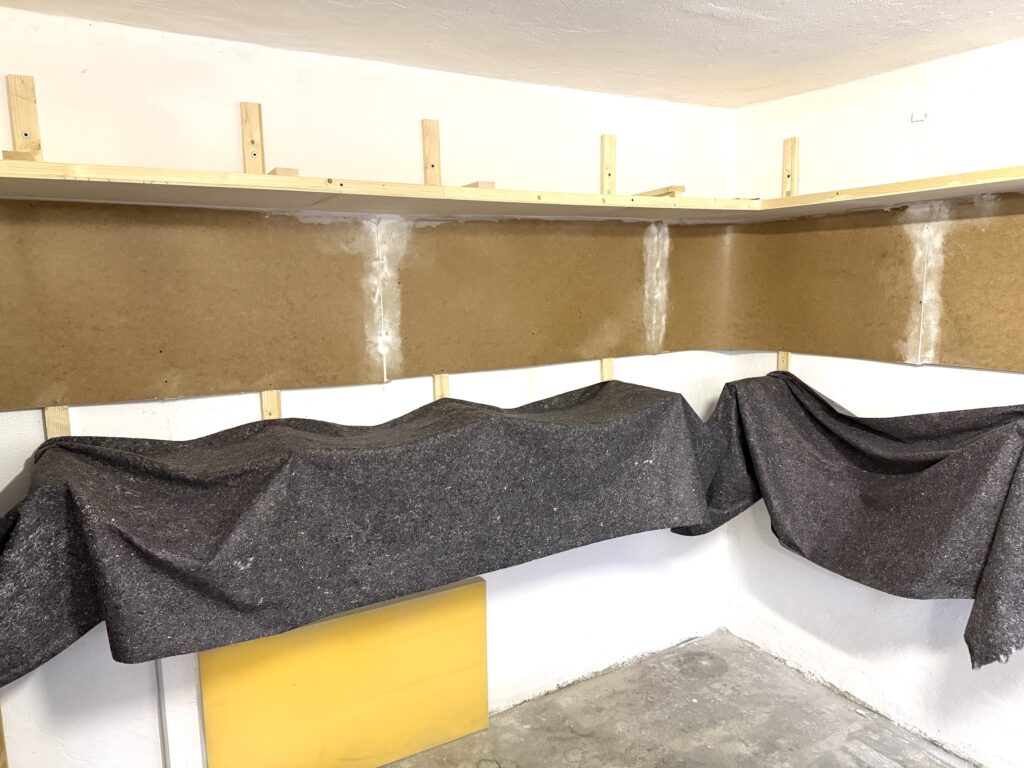
After sanding the backdrop panel joints, the backdrop is ready for a coat of paint.
First coat!
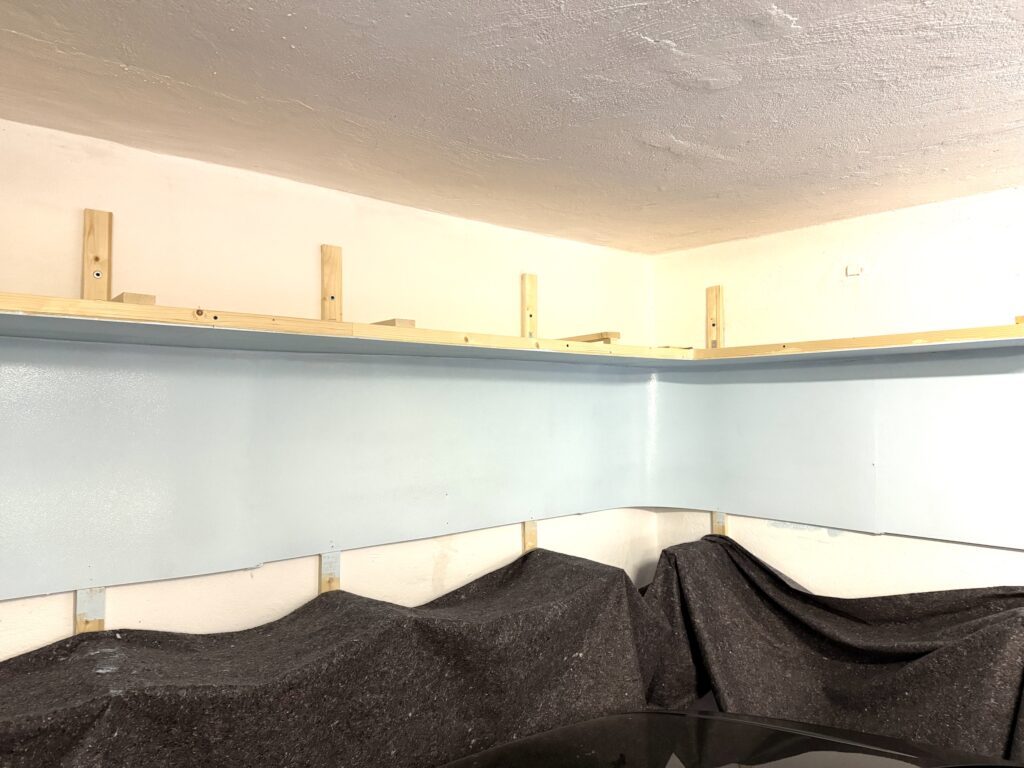
After the first coat of paint, I let it dry for about 24 hours before applying the second coat. I then waited another 24 hours before adding a third coat. Here is the backdrop after the paint has dried.
By using subtle colors and smooth transitions, the backdrop serves as a supporting element – complementing the scene rather than competing with it. In the end, the goal is not to create a detailed painting but to establish a convincing setting where the trains remain the focal point.
For added depth, distant mountains can be painted onto the backdrop, especially those characteristic of the San Fernando Valley, California. Soft, hazy outlines in muted earth tones can suggest the presence of the Santa Susana or Verdugo Mountains without overwhelming the scene.
Subtle atmospheric perspective – lighter tones and reduced detail – helps create a sense of distance. With careful shading and color transitions, the backdrop seamlessly integrates with the modeled environment, enhancing realism without distraction.
Step-by-step guide on upgrading from Rapido to Micro-Trains couplers an older Atlas EMD GP40-2 locomotive.
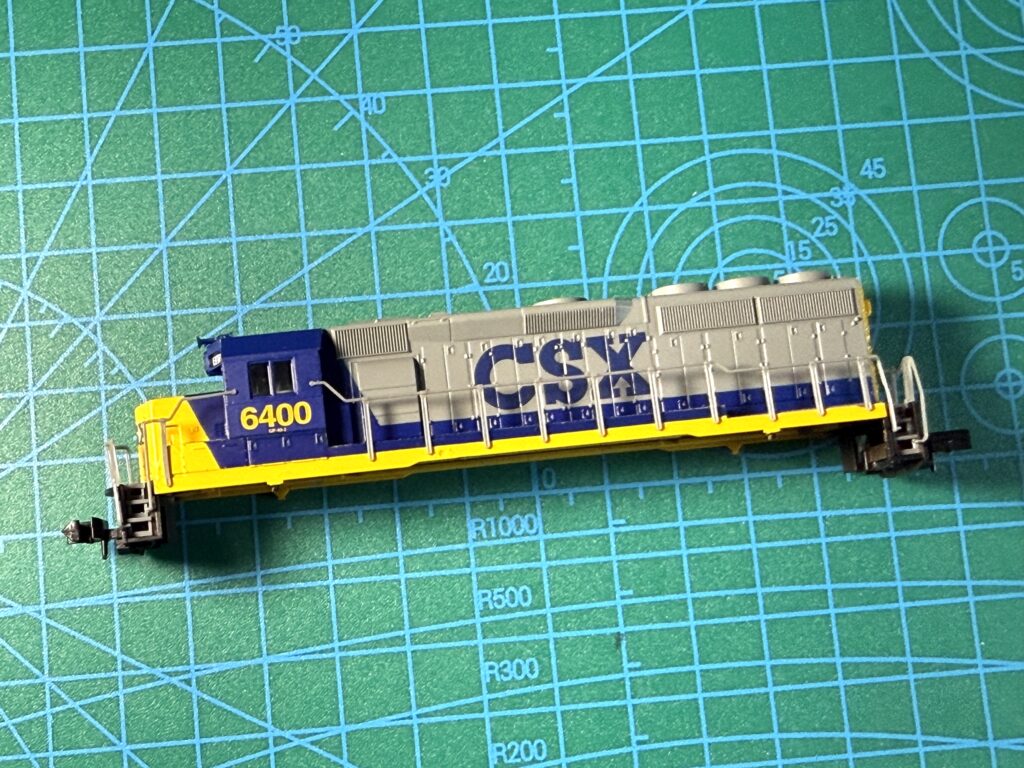
I recently purchased a pair of older Atlas CSX GP40-2 locomotives at a good price on eBay. My goal is to upgrade these locomotives by replacing the factory Rapido couplers with Micro-Trains 1015 couplers, installing a DCC decoder, and repainting and re-lettering them for the Southern Pacific.
Removing the Old Rapido Coupler
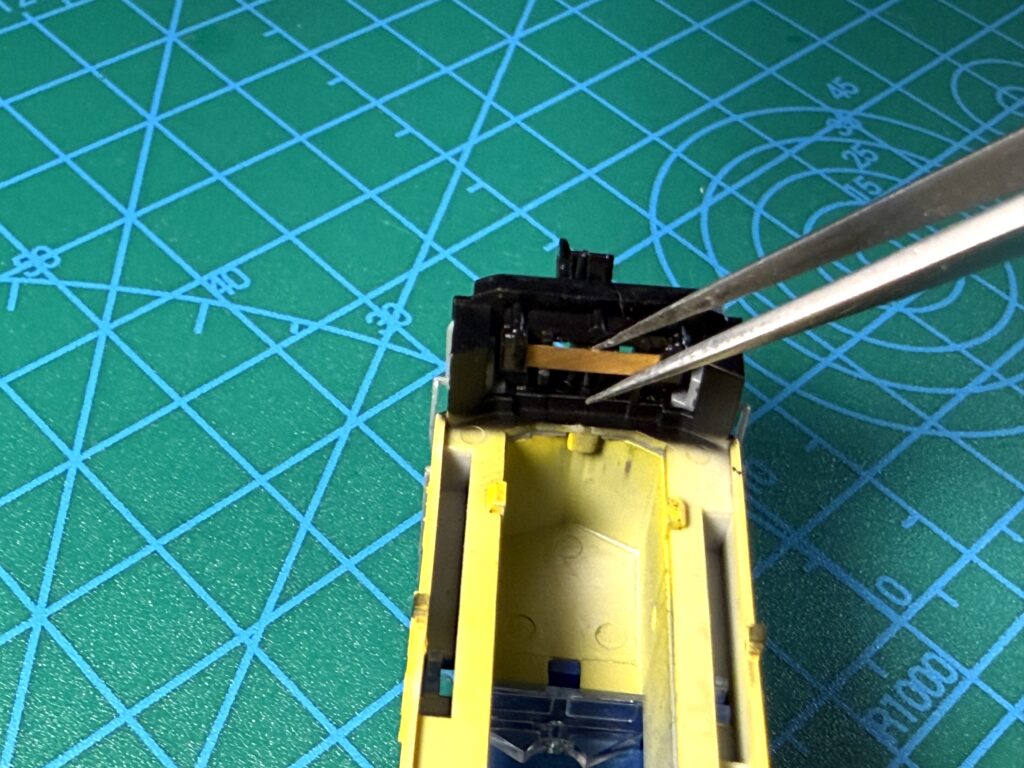
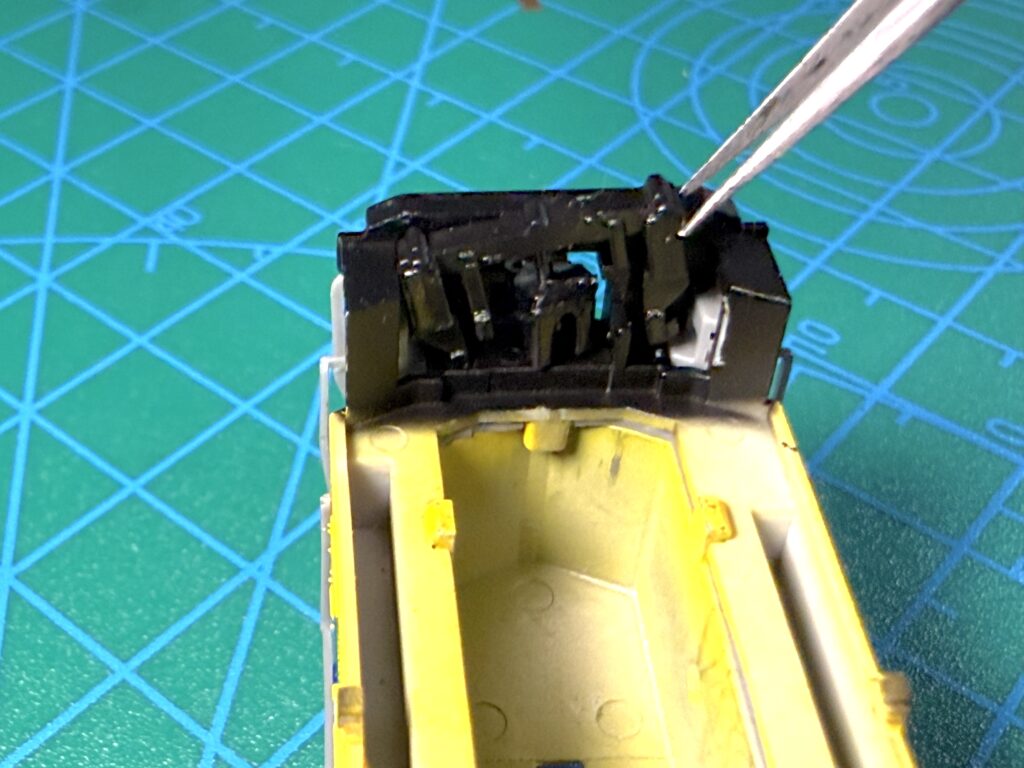
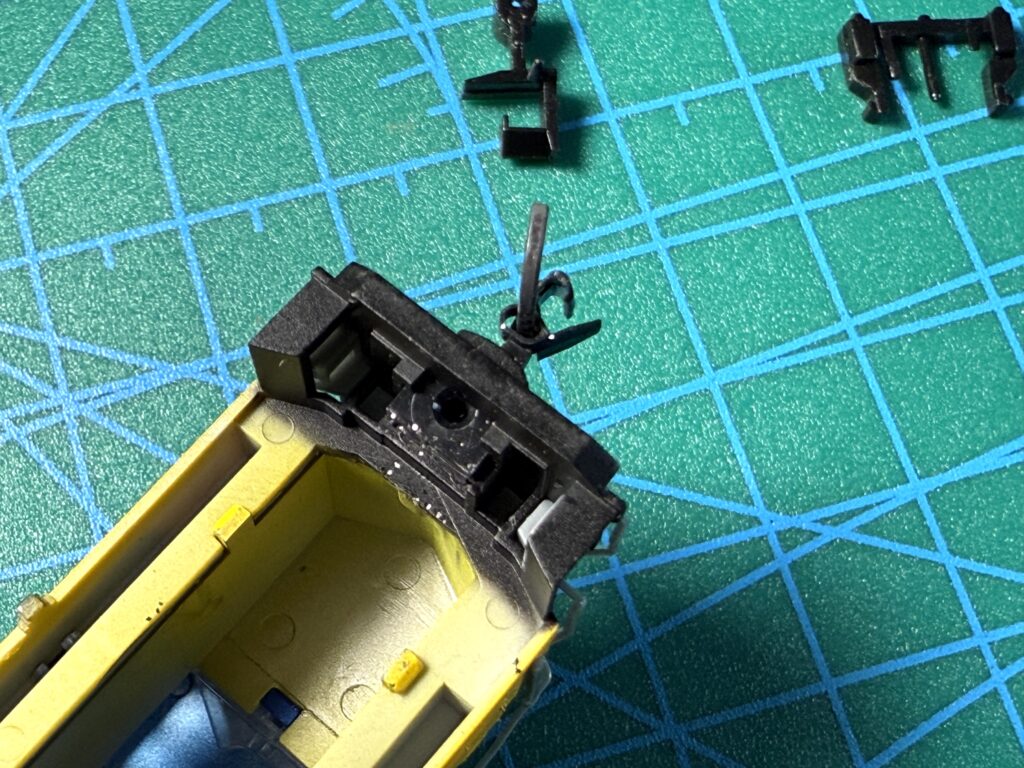
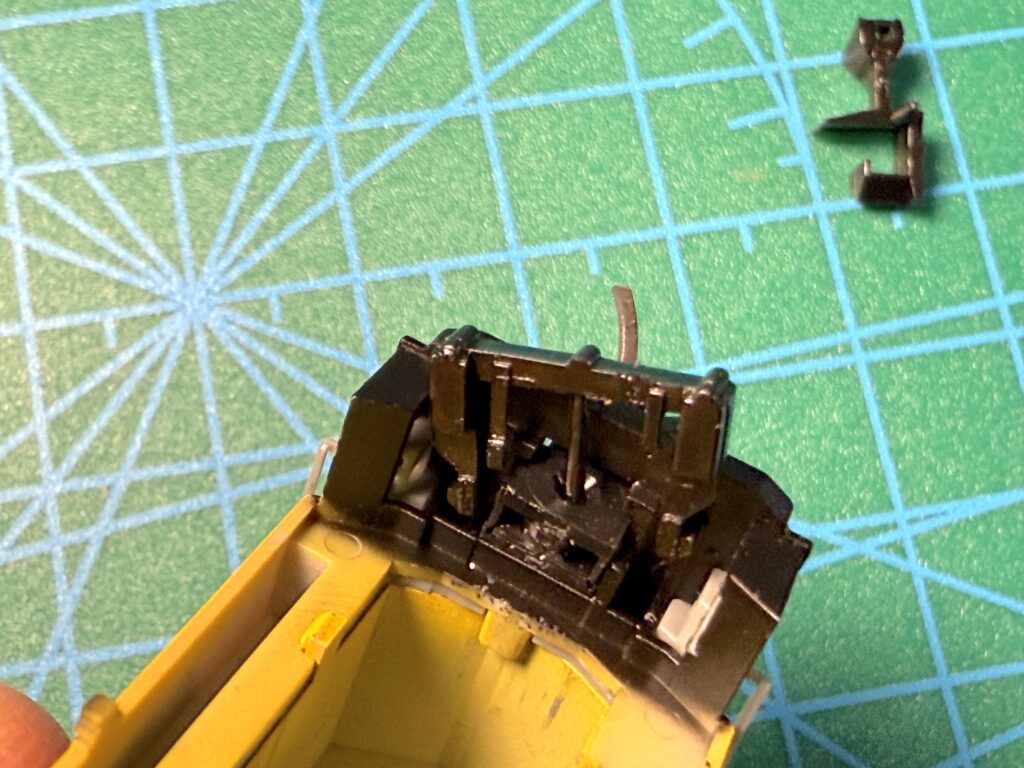
Use tweezers to carefully remove the metal spring holding the Rapido coupler in place.
Gently detach the coupler retainer using tweezers or the non-cutting edge of a hobby knife.
Installing the new Micro-Trains Coupler
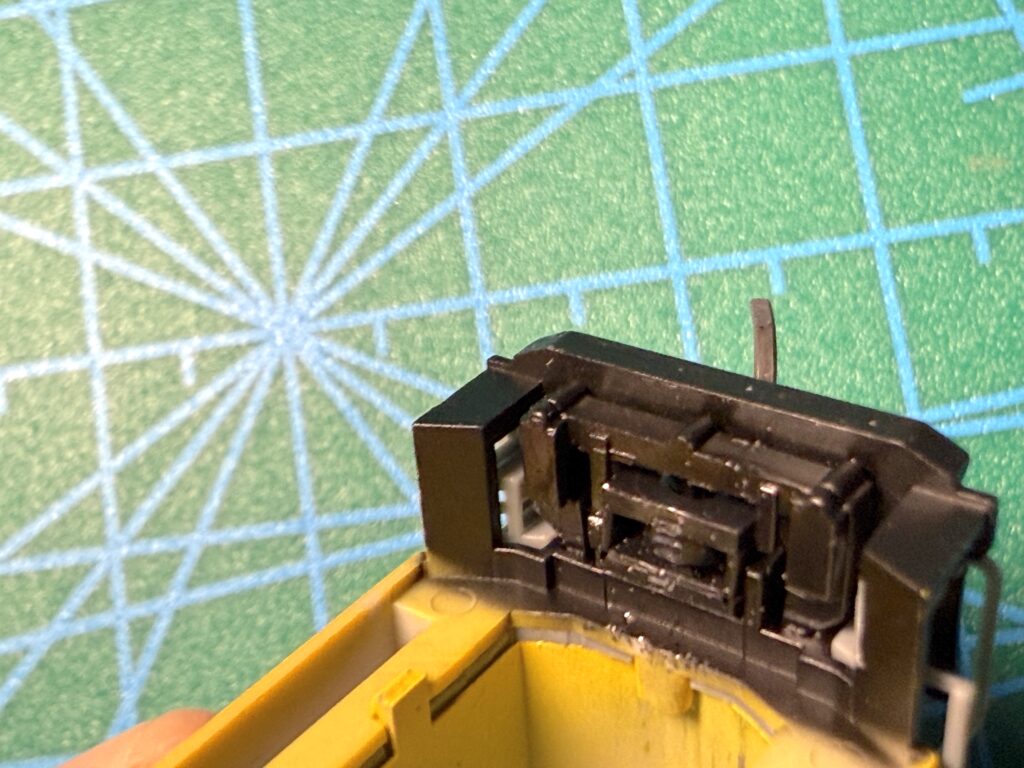
Remove the Rapido coupler entirely. Insert a pre-assembled Micro-Trains 1015 coupler into the coupler box.
Fit the original retainer back into place and securely push it into position.
Checking Coupler Height After Upgrading from Rapido to Micro-Trains
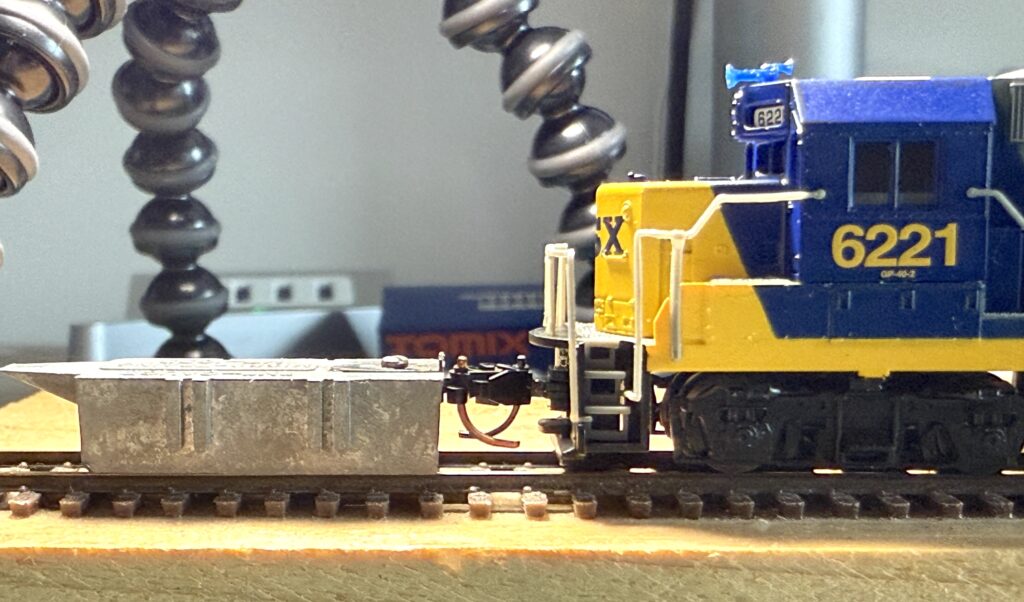
Verify that both the front and rear couplers align correctly by using a Micro-Trains coupler height gauge.
By upgrading from Rapido to Micro-Trains couplers, you will enhance the performance and appearance of your locomotives, ensuring compatibility with modern rolling stock while maintaining a realistic look.
Rapido couplers, once a standard on many older N scale locomotives and rolling stock, are functional but lack the realism and operational reliability desired for modern model railroad layouts. They feature a bulky design that doesn’t closely mimic the appearance of real knuckle couplers, making them less appealing for hobbyists focused on realism.
Micro-Trains couplers, on the other hand, are widely recognized for their realistic knuckle-style design and superior performance. They provide smoother and more reliable coupling and uncoupling, which is crucial for layouts emphasizing realistic operation, such as switching industries or forming trains in a yard. Additionally, Micro-Trains couplers work seamlessly with uncoupling magnets, enabling hands-free operation, which enhances both playability and immersion.
For those looking to upgrade their layouts, converting from Rapido to Micro-Trains couplers is a worthwhile investment. It not only improves the overall aesthetic of the trains but also ensures smoother operations, reducing derailments and coupling issues that can disrupt realistic operating sessions.
Valance construction: building a valance for a clean, museum-quality layout lighting
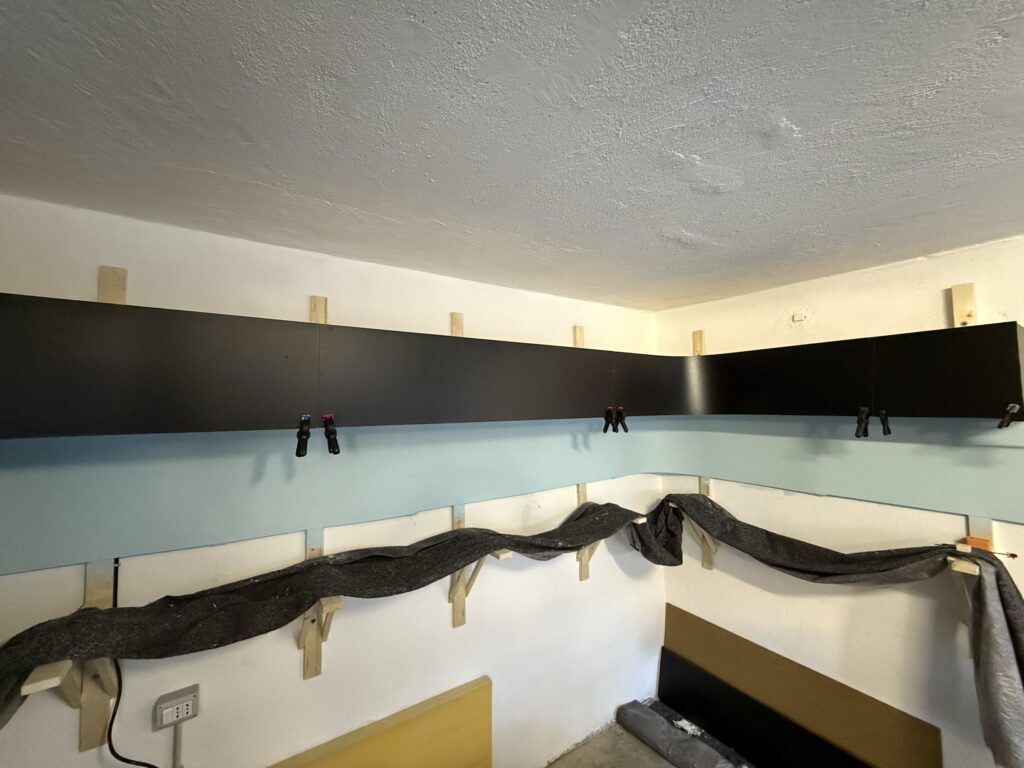
I purchased more lumber and assembled the basic valance and lighting support. I also added vertical wood strips to secure the Masonite sheets for the backdrop.
Shopping cart loaded with lumber, valance construction begins!Using Titebond wood glue to assemble the valance support.
Titebond wood glue is a strong, reliable adhesive commonly used in woodworking and model railroad benchwork construction. It provides a durable bond, dries quickly, and remains flexible enough to withstand slight movements. Ideal for benchwork, it ensures a secure and long-lasting hold. Plus, it’s easy to apply and cleans up with water before drying.
Valance support installed. I need to install LED lighting and backdrop panels
Conclusion
A well-designed valance not only hides your lighting but also enhances the realism and presentation of your model railroad layout. By carefully planning and constructing a valance, you can achieve a museum-quality look while improving layout lighting for optimal visibility and atmosphere. Whether you’re using LED strips or other lighting solutions, a valance helps control glare and directs light precisely where it’s needed.
Building a model railroad valance is a rewarding project that adds a polished, professional touch to your display. With the right materials and techniques, you can create a seamless integration between lighting and scenery, elevating the overall aesthetic. Follow these steps to craft a valance that enhances your layout’s realism and visual appeal.
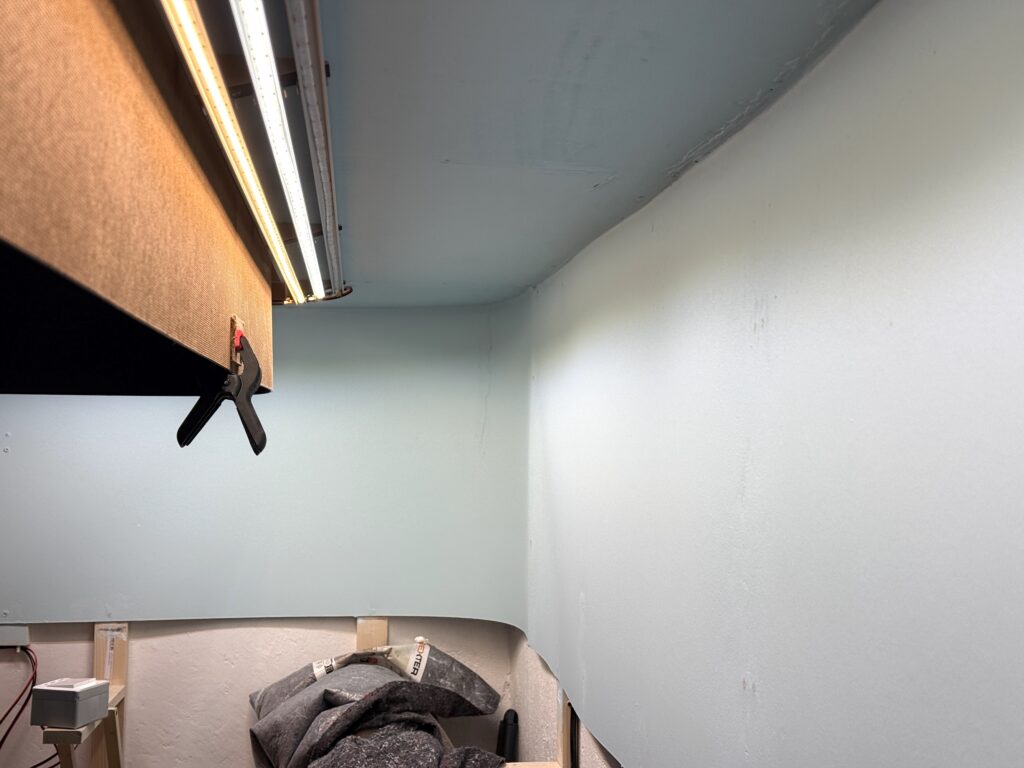
Every model railroad layout needs proper lighting and COB LED strips are relatively inexpensive. They can be easily hidden behind the valance to illuminate the whole layout with no dark spots.
I purchased a 200W dimmable power supply, two dimmers, and two COB LED strips (one 2700K and one 4000K). The plan is to wire the strips so they can be controlled and dimmed separately, allowing for the creation of the exact color temperature or varying light intensity to simulate early morning or late evening scenes.
Here is the test wiring and light effect. The dimmers are controlled using standard 230V buttons.
COD LED strips are certainly more expensive than traditional LED strips, but provide a consistent and continuous light with no dark spots. The strips can be cut and are quite flexible. A perfect solution for layout lighting is using LED strips.
New blue layout lighting LED strip for night scenes!
Adding blue LED strips to the layout creates a subtle nighttime effect, simulating moonlight and low-light conditions for evening scenes. This blue lighting enhances the realism during nighttime operations, adding atmosphere.
By using different color temperature LED strips, such as 2700K for warm daylight, 4000K for neutral daylight, and blue strips for nighttime, I can effectively recreate realistic sunrise, sunset, and day-to-night transitions, enhancing the visual depth and atmosphere of the layout.
COB LED strips are ideal for creating a uniform lighting effect, making them perfect for model railroads where every detail needs to be visible without shadows or uneven lighting.
With the ability to customize brightness and color temperature, these strips help replicate realistic lighting conditions, from bright midday sun to soft evening glow, enhancing the layout’s realism.
We use cookies to ensure that we give you the best experience on our website. If you continue to use this site we will assume that you are happy with it.
You can revoke your consent any time using the Revoke consent button.