Installing a Bridge over the Los Angeles River
Installing a bridge over the Los Angeles River was high on my list, since river bridges have always fascinated me in model railroad layouts. In addition, bridges are a great way to add vertical variation to an otherwise flat urban setting, especially on a layout like the Burbank Branch in N scale .
Cutting Benchwork
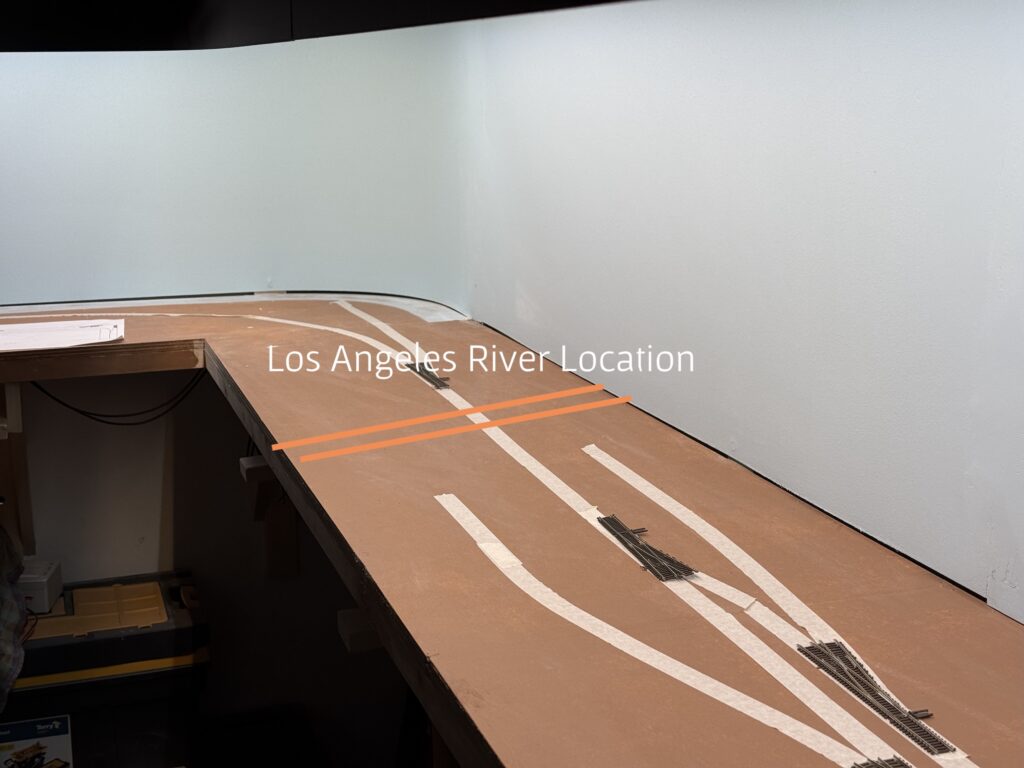
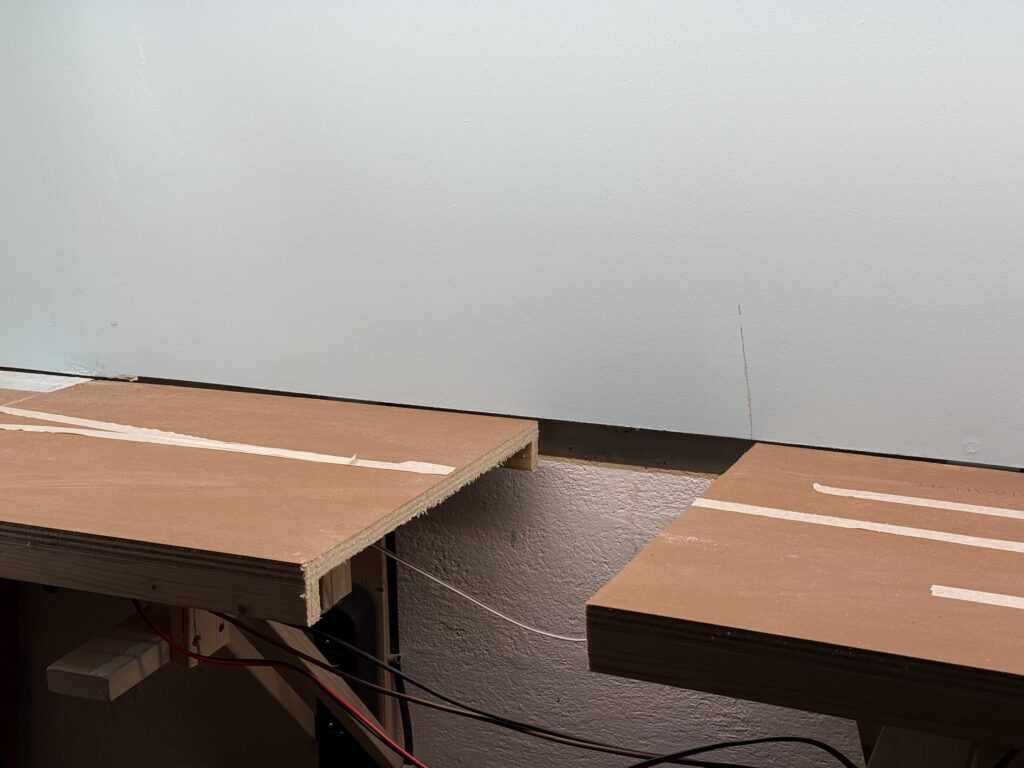
I started by measuring and cutting the plywood subroadbed support of my N scale layout.
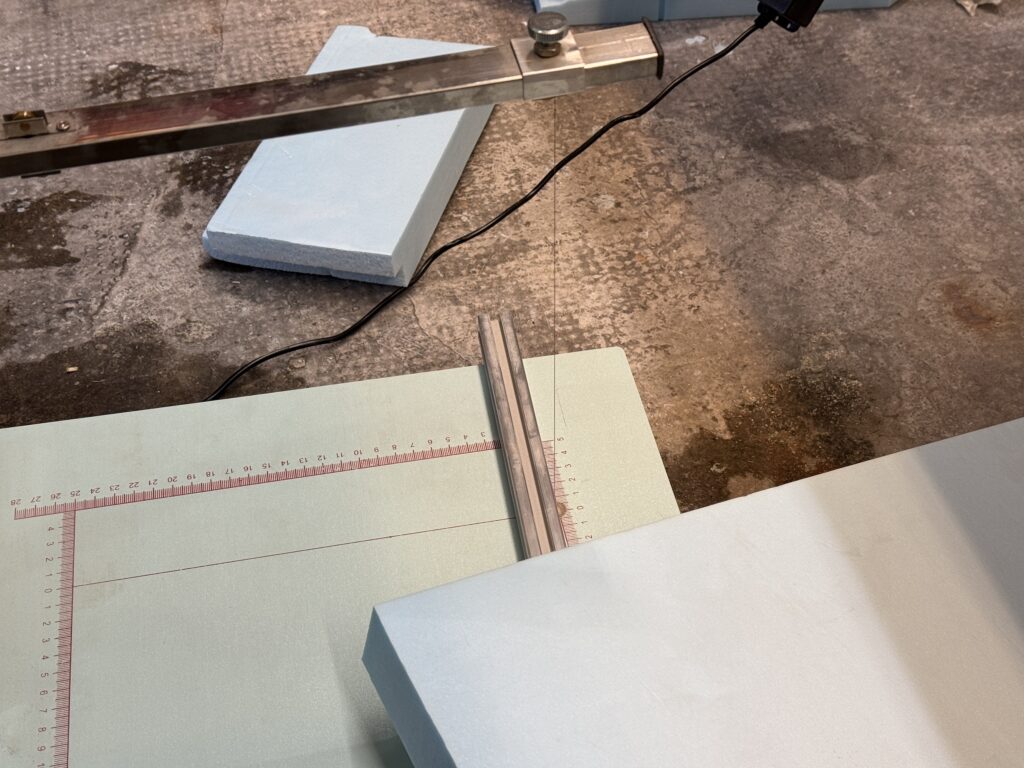
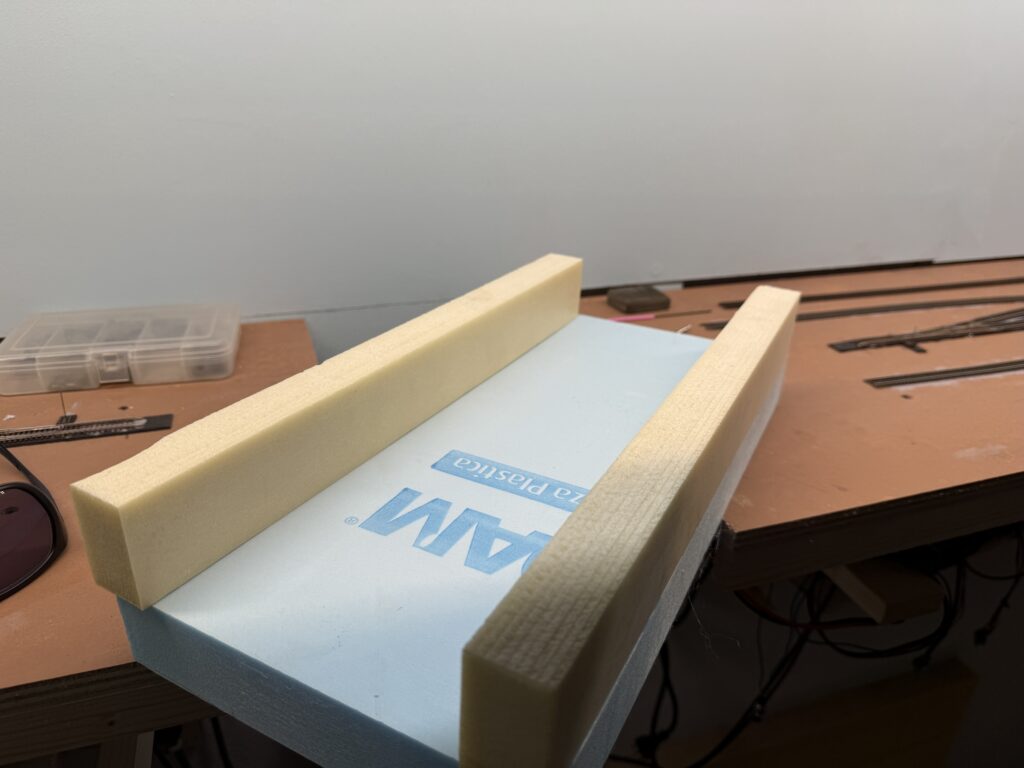
Then, I used styrofoam to shape the riverbed and the riverbanks, cutting it with a hot wire cutter.
I glued the riverbanks to the riverbed with acrylic glue.
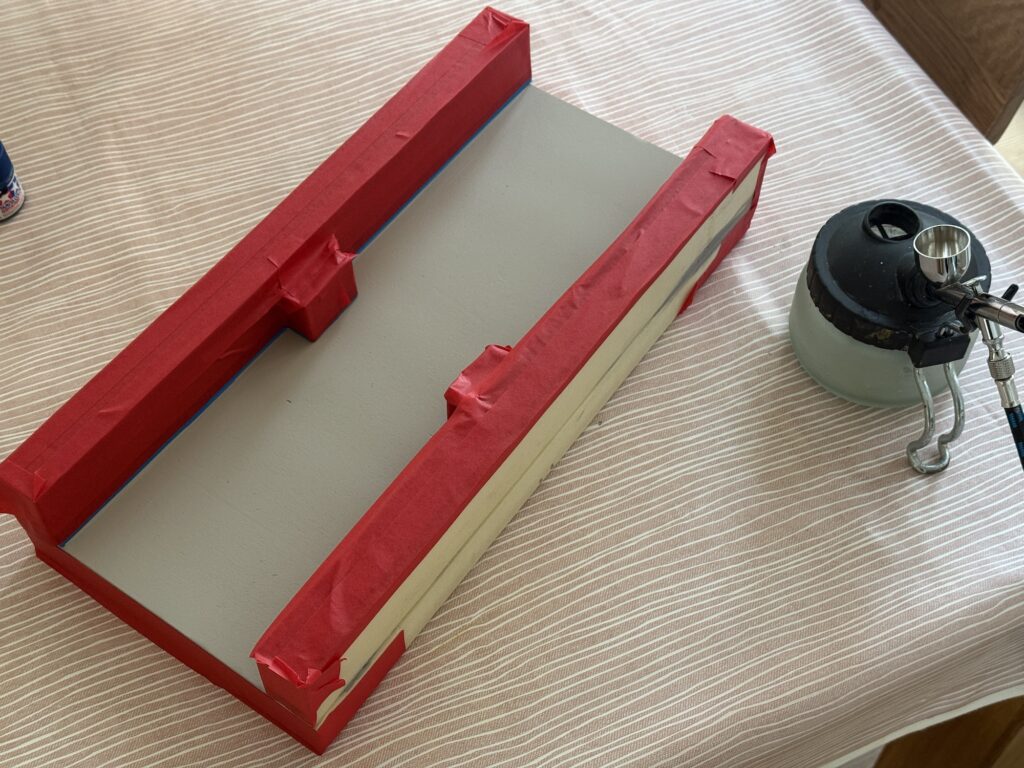
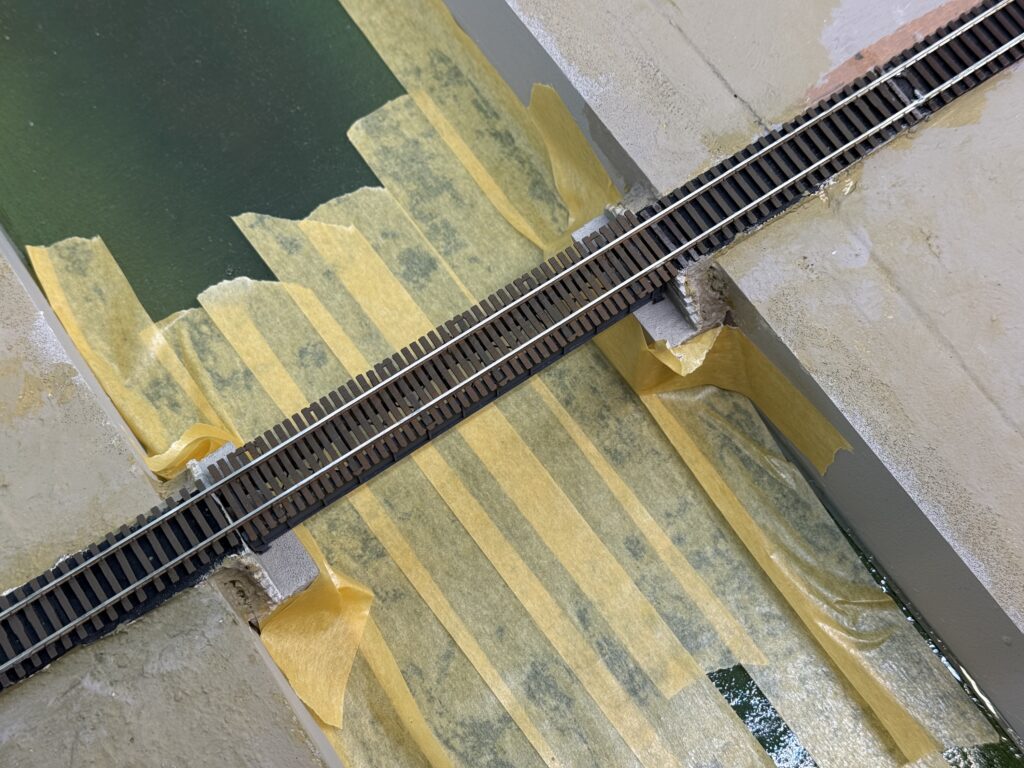
Next, I applied a few coats of ultra-flat gray spray paint to seal the foam and create a solid base for the final color, and masked the banks.
I started painting the riverbed with a coat of Tamiya XF-8, then I progressively added light layers of Vallejo Camouflage Medium Brown (71.038), and Vallejo Light Green Chromate (71.006) to get some variation close to the riverbanks.
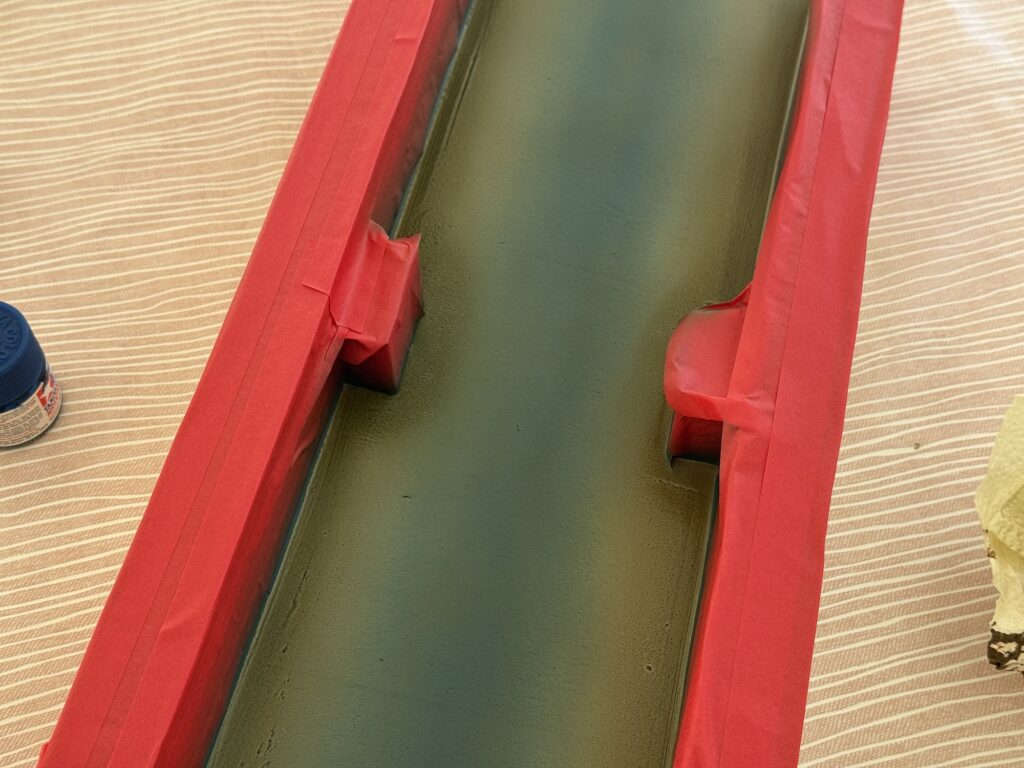
I painted the concrete riverbanks with a flat gray finish using an inexpensive spray can.
Expoxy Resin Water
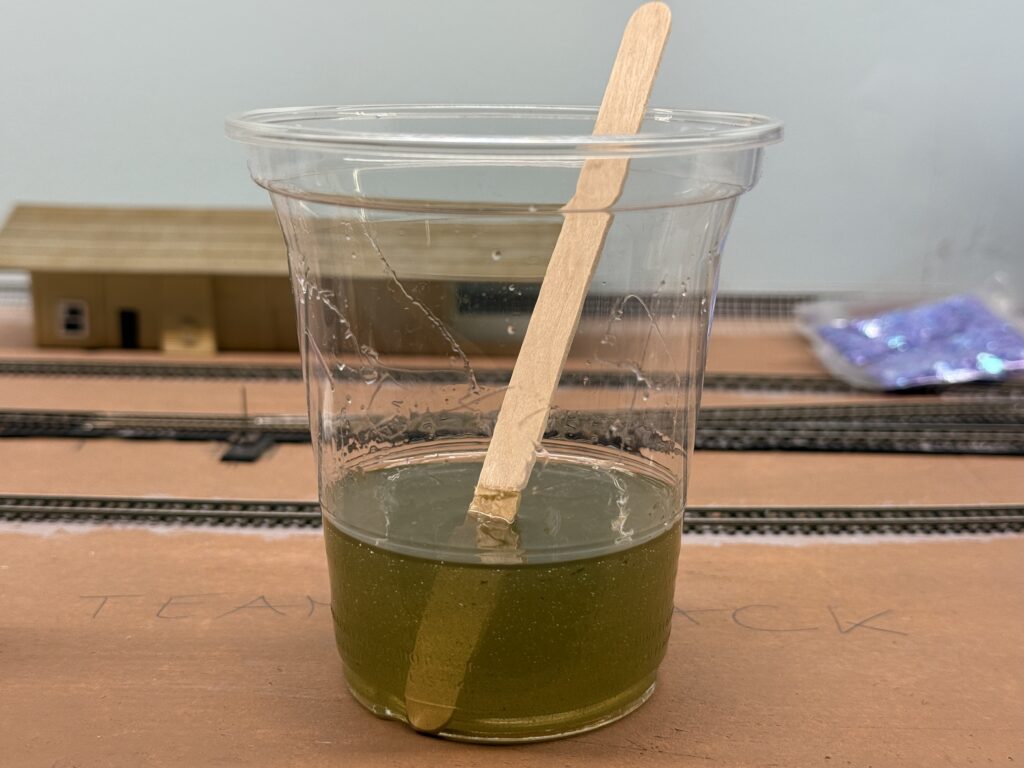
The riverbed and riverbanks are now painted. Therefore, they are ready for a layer of 2-part epoxy resin to achieve a realistic water effect.
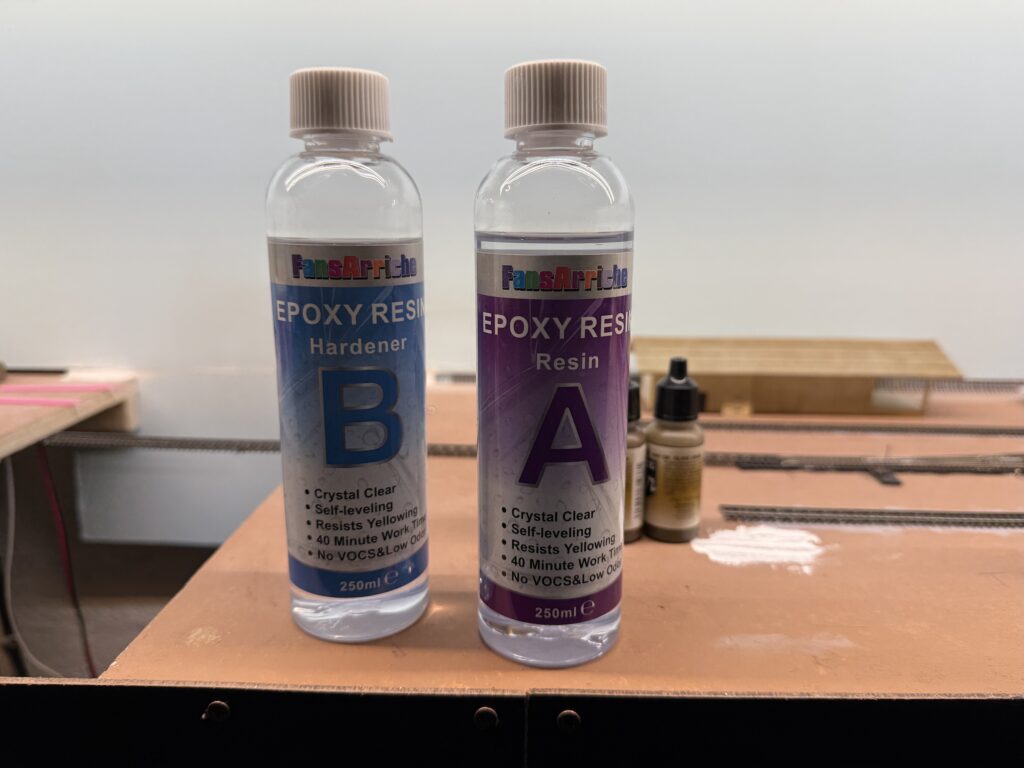
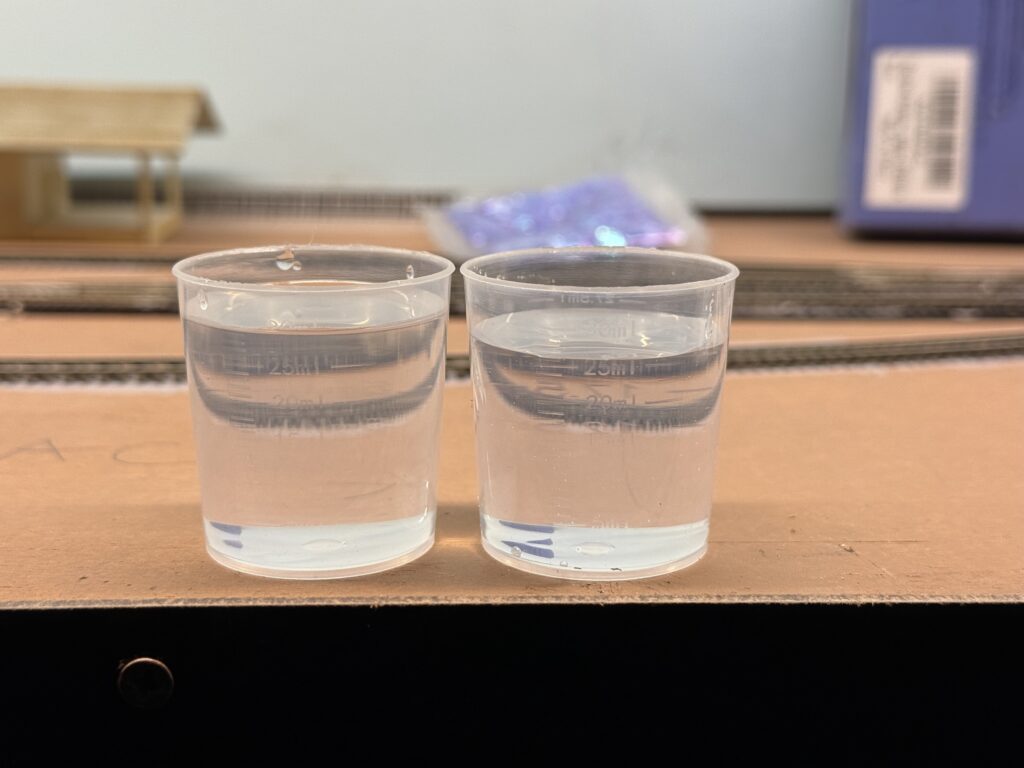
Always wear protective gloves when handling resin. After all, that material is incredibly sticky!

Additionally, I incorporated a few drops of Vallejo Dark Olive Drab (71.316). This gives the water a subtly greener, more natural appearance.
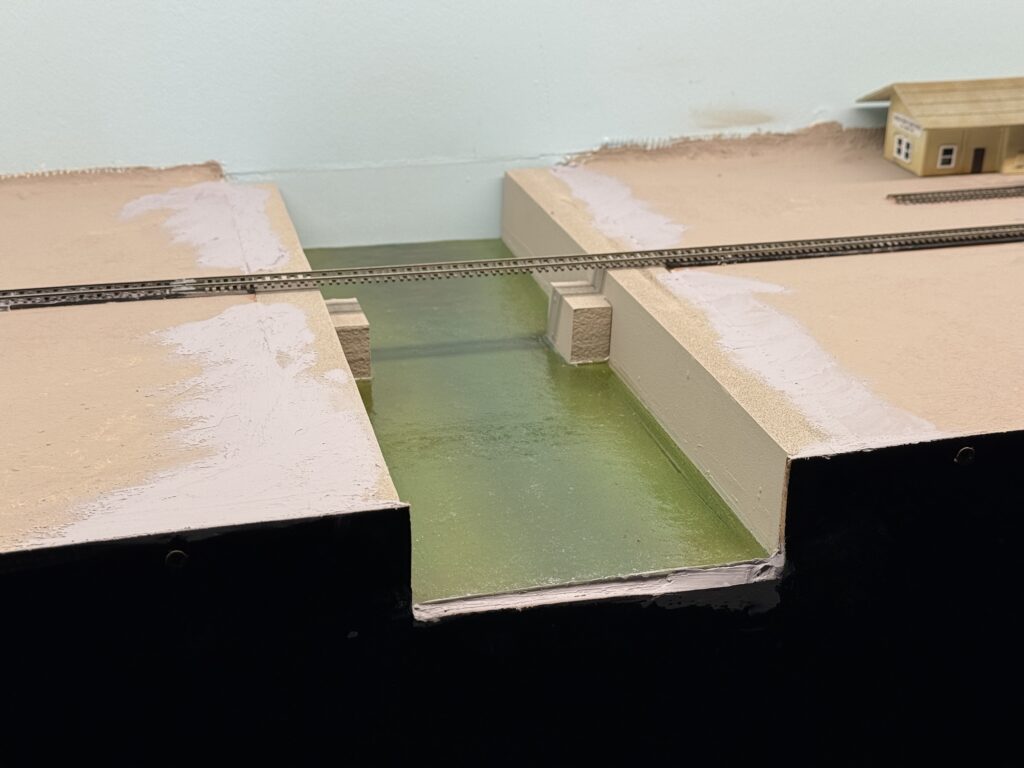
Once the resin had cured, I painted some subtle wave effect using Liquitex Gloss Medium. Then, I installed the riverbed in its final position on the layout. To ensure a perfect fit, I first test-fitted the riverbed and then marked the cutaway along the fascia with a pencil.
Subsequently, I cut the fascia accordingly with a saw. I then used a rasp and a file to fine-tune it.
Finally, I glued the riverbed to the benchwork. Following this, I applied a layer of putty to smooth out the joints, creating a seamless transition.
Installing a Bridge: Final Steps
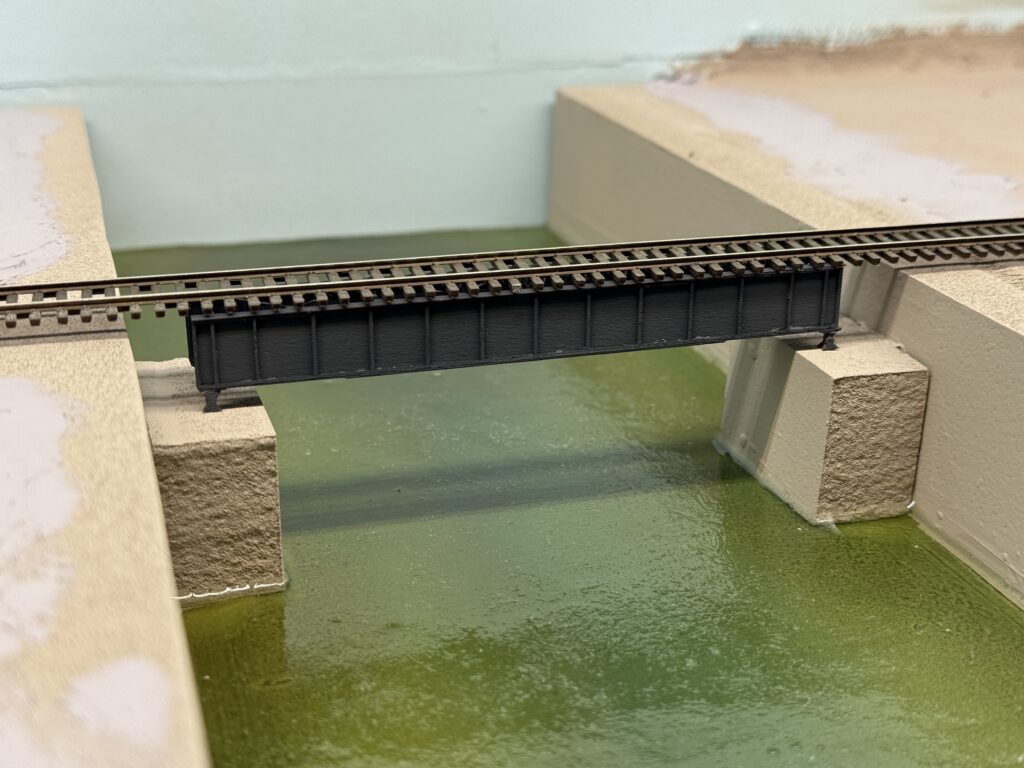
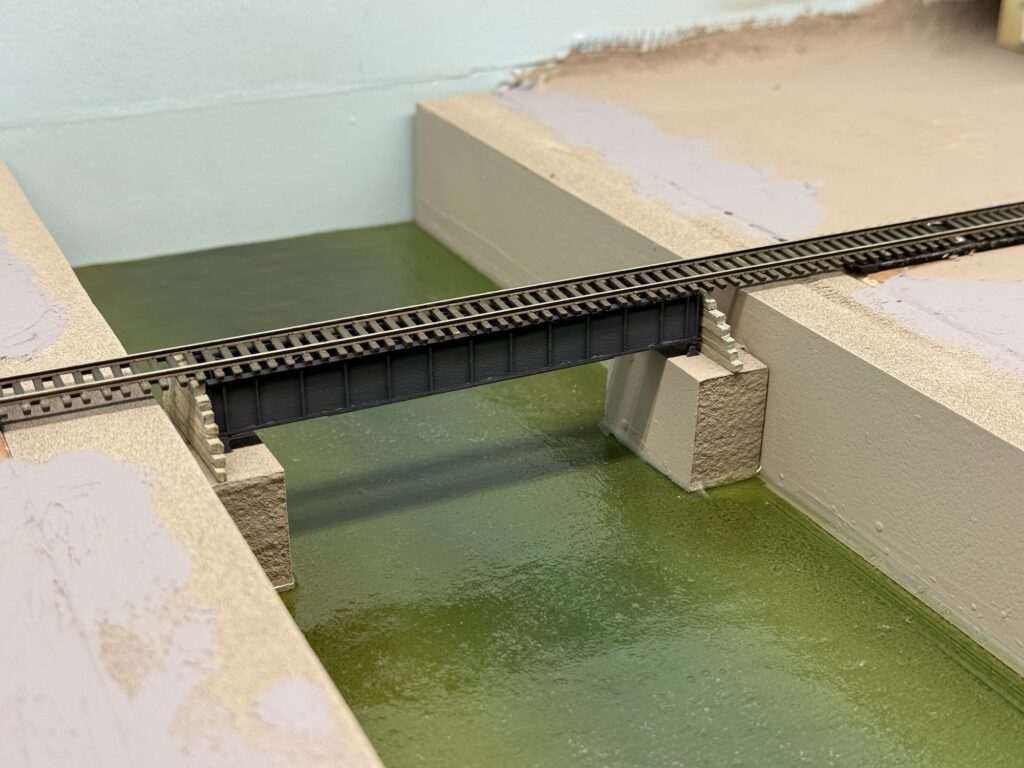
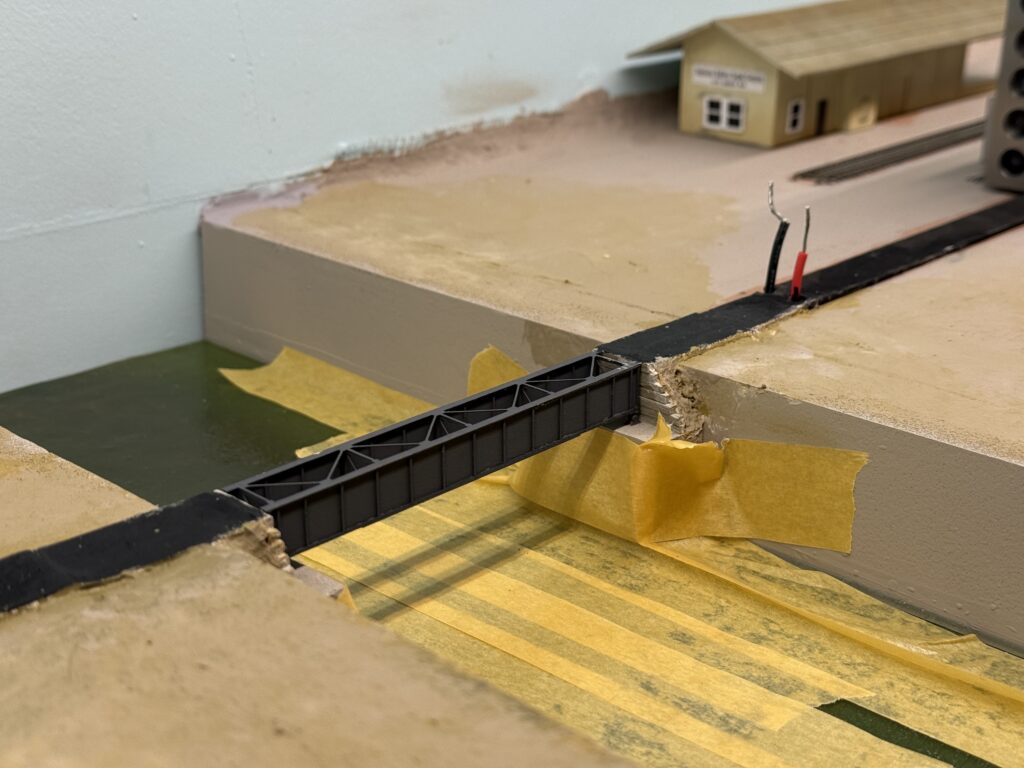
Then, I assembled an RSLaser 60-foot girder bridge kit and test fitted it in its final location.
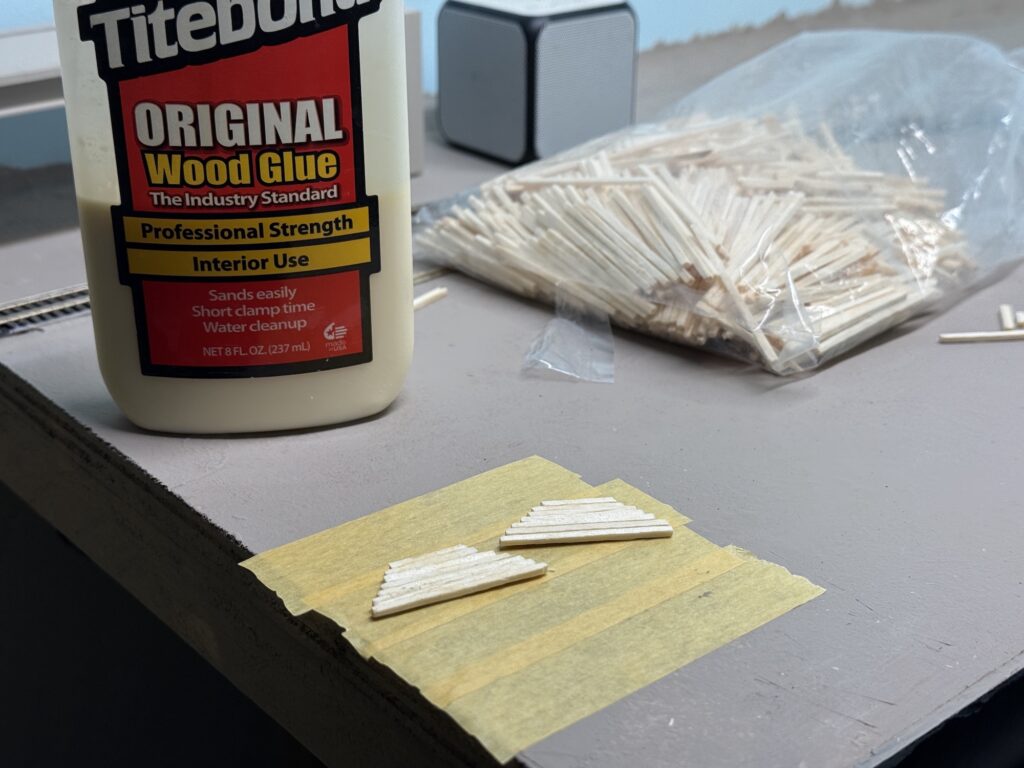
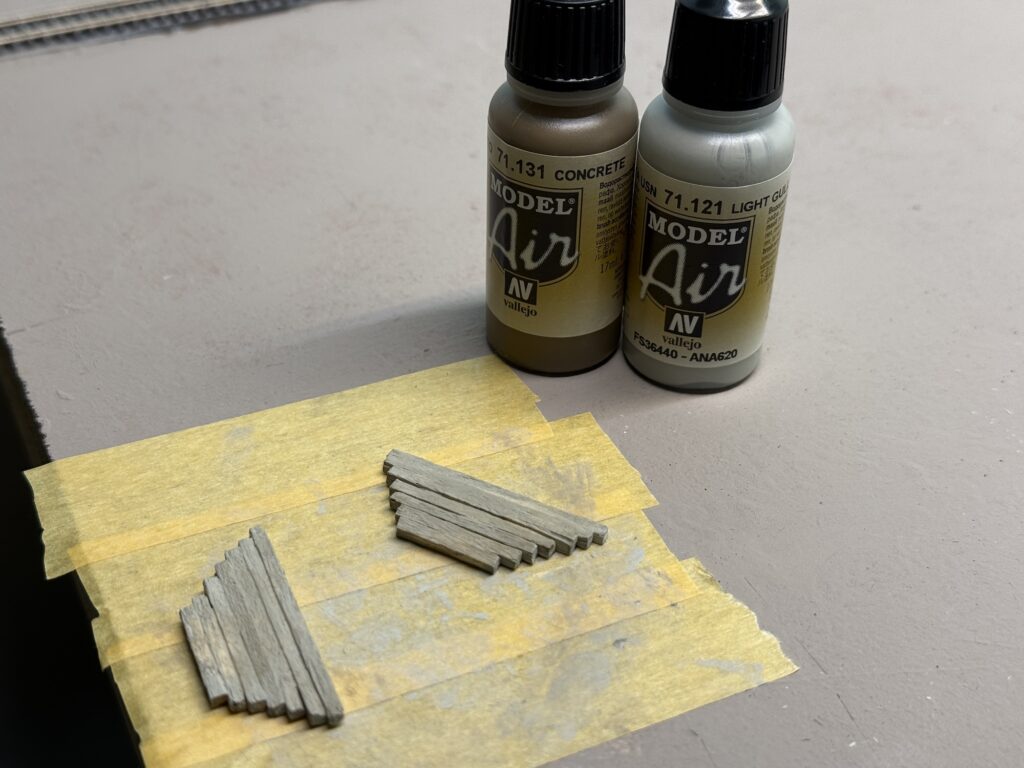
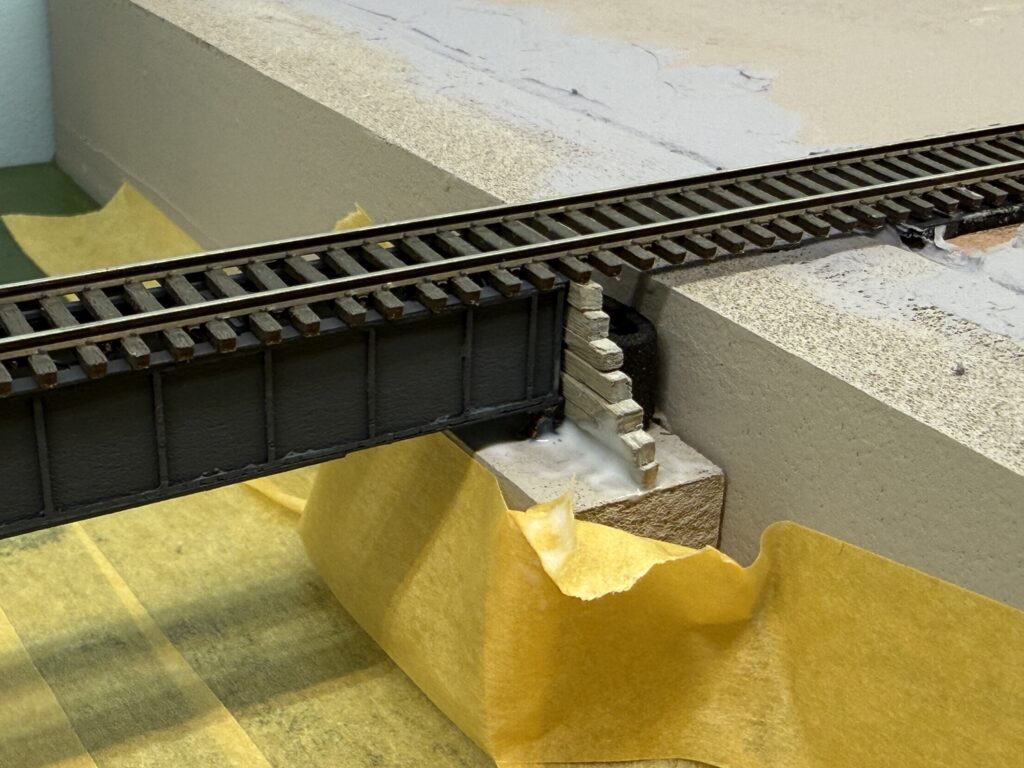
Afterwards, I scratchbuilt the retaining walls from tiny pieces of wood and painted them a warm gray tone using Vallejo Concrete and Vallejo Gull Gray. In the photo below, I’m test fitting them in place.
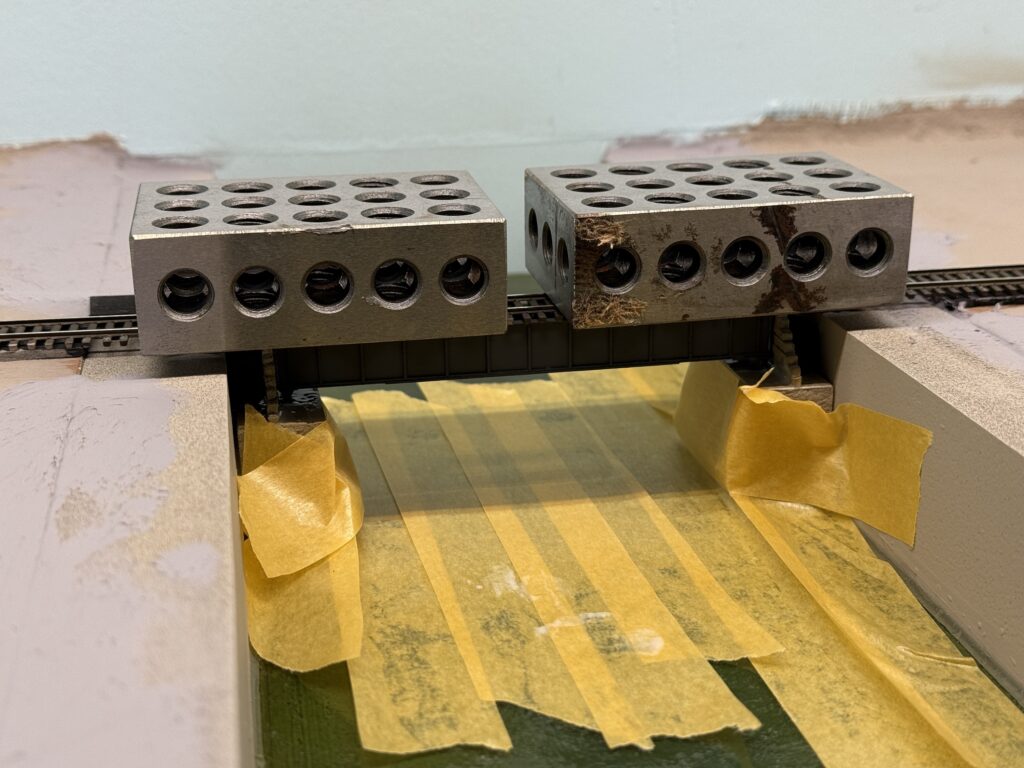
I glued the bridge to the abutments using Liquitex Matte Medium. Then, I secured the wooden retaining walls with more matte medium.
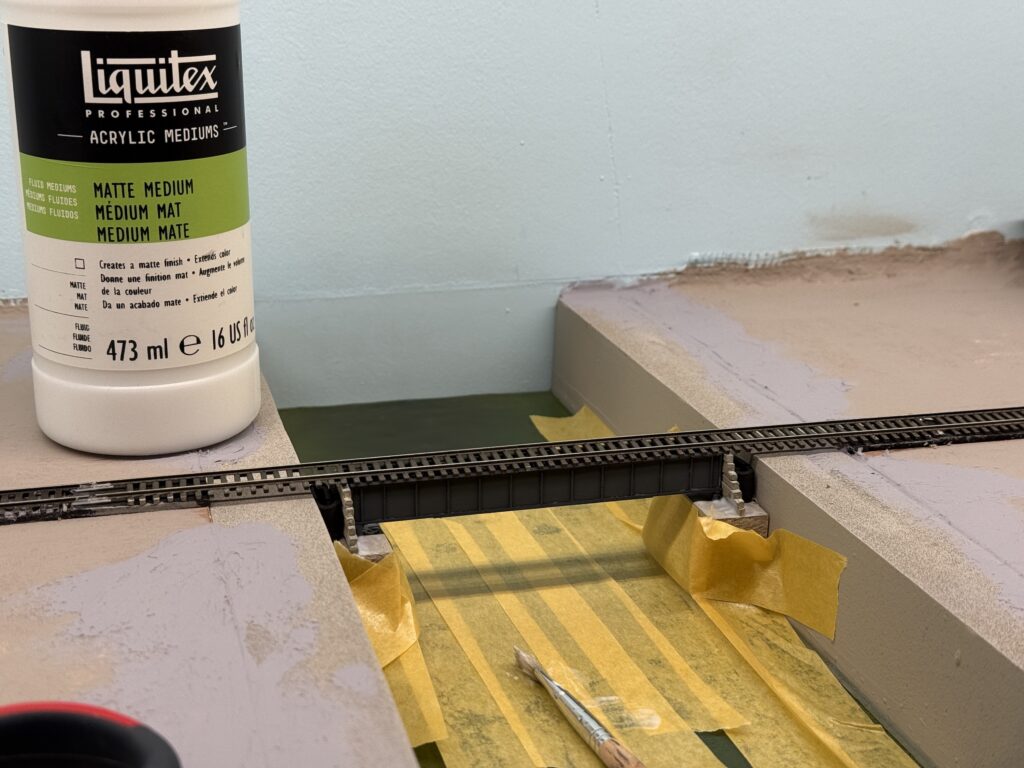
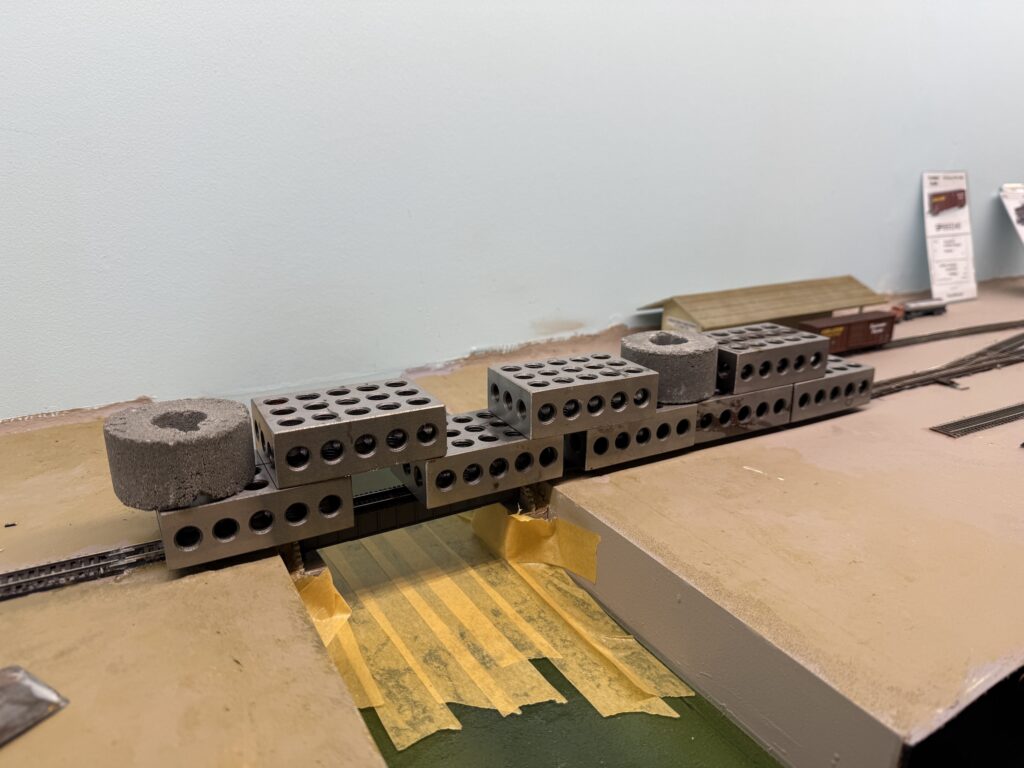
To keep everything aligned, I inserted a small piece of EVA foam to press the wall against the bridge. Afterwards, I placed a couple of metal weights on top of the bridge and let the glue dry.
I added some papier-mâché terrain behind the retaining walls and painted everything a tan color.
I prepared the bridge track with the correct tie spacing and soldered the feeders. Then, I carefully measured the section to install it in place of the temporary flex track I had used before the bridge was ready.
Once the track was in place, I connected all the feeders to the main bus, cleaned the rails, and tested the track.
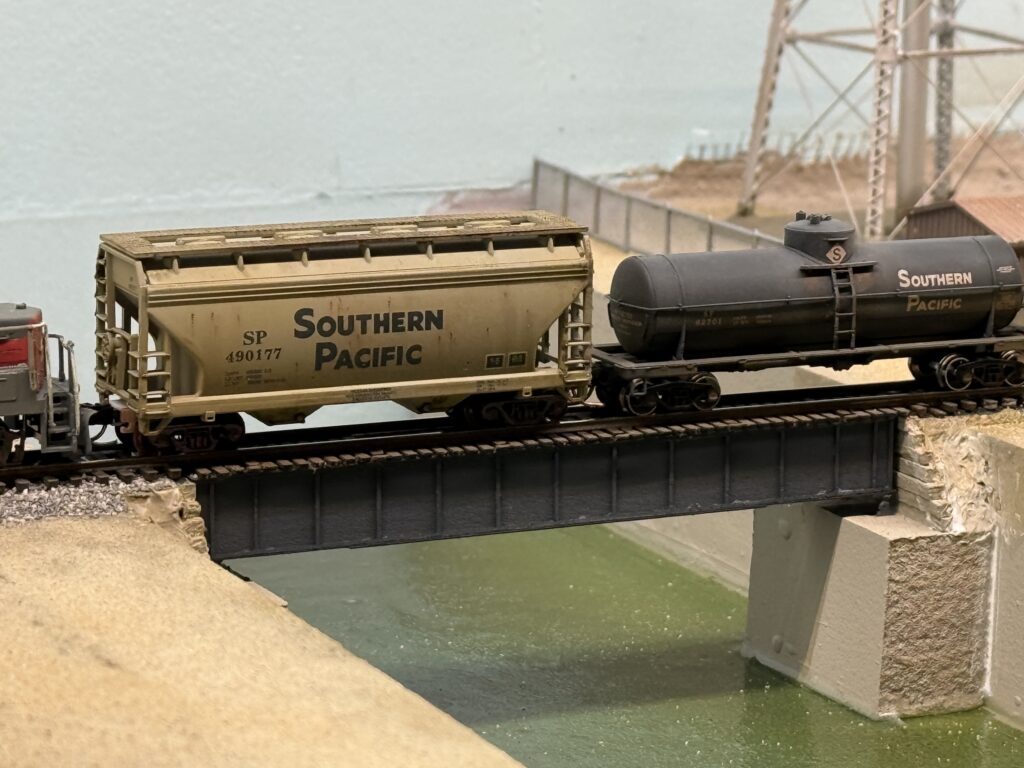
Here is the final result. It is still missing some terrain and vegetation around the edges, but overall the scene already feels much more complete.