Final steps with laying tracks on the SP Burbank Branch N scale layout
The final steps of laying tracks is one of my favorite aspect of the hobby. It’s when the layout starts to take shape, and the first test operations can take place. At this point all trackwork is done, but the staging and the LA River bridge.
I finished laying track for the spurs, here pictured are the Team Track and Hendrick’s Builders Supply.

Then, I laid the curve on the west end of the layout – near the Oroweat Bakery and Terry Lumber spurs. First I test-fit the curve.

Then I laid EVA foam roadbed.
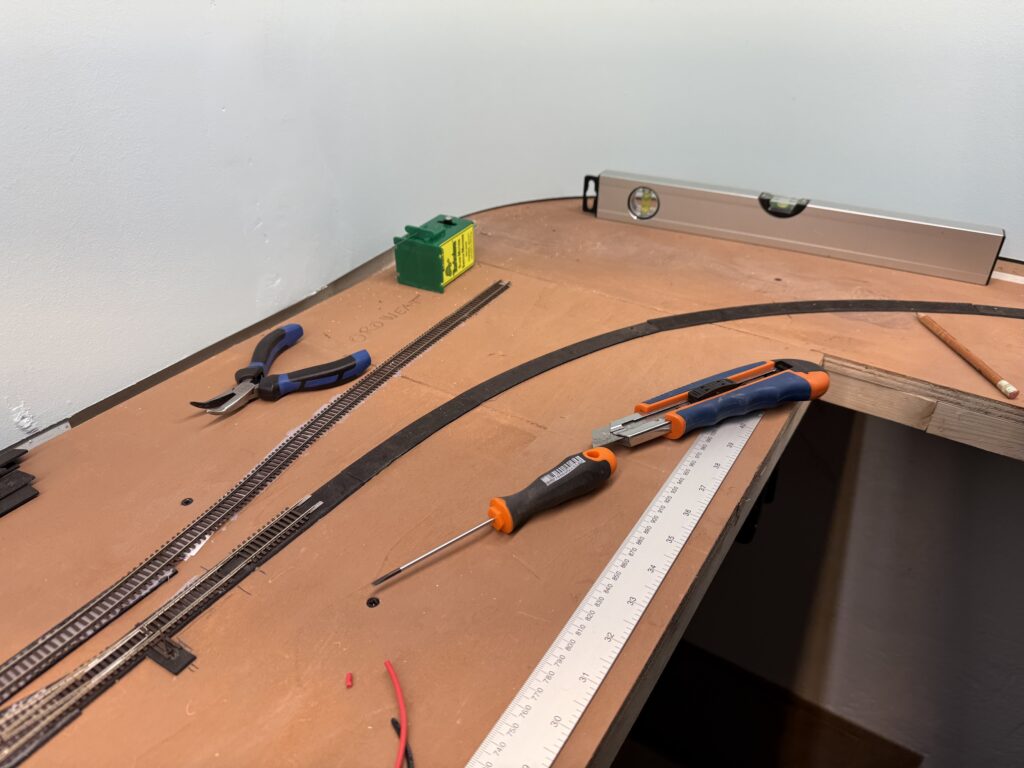
Then I laid track and connected the feeders, soldered under the rails.
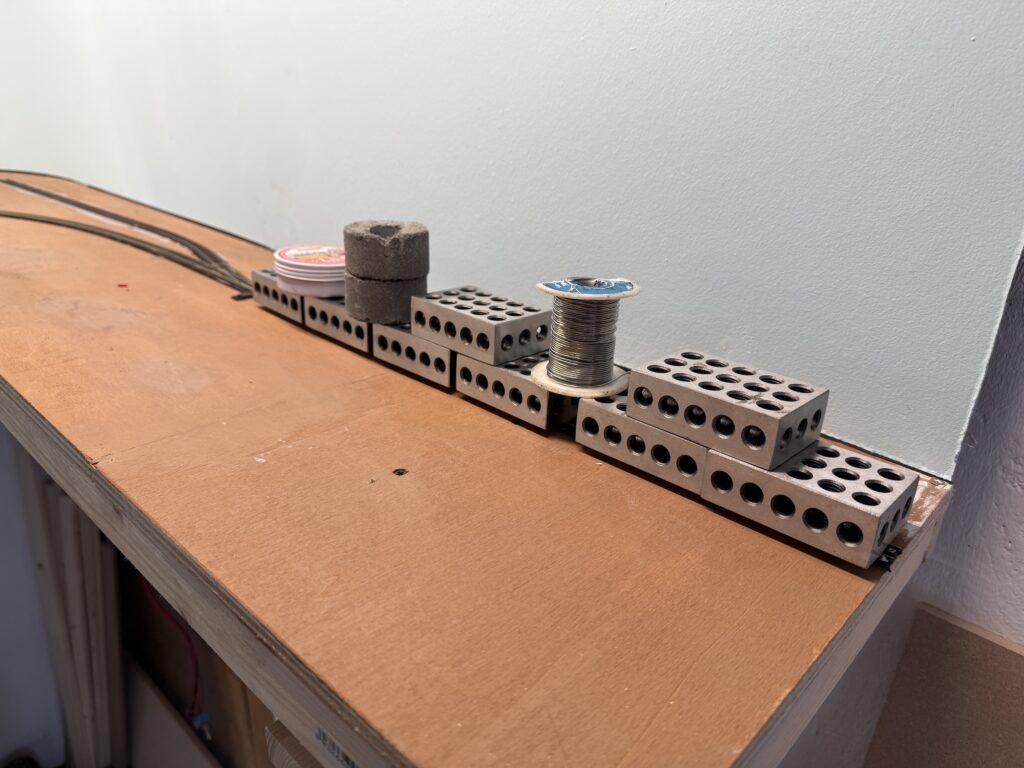
I used metal weights to hold the track firmly in place while the glue dried.
Staging
While the removable (foldable) staging isn’t ready yet, I started figuring out the mechanical connection. I screwed two brass screws into the roadbed and plywood subroadbed, then soldered the rails right on top of them.
This should keep the track from shifting and create a solid connection between the layout and the foldable staging yard.

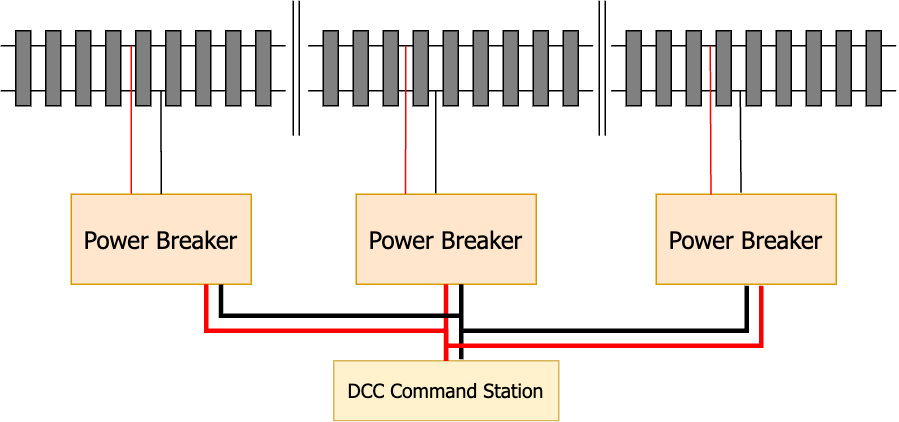
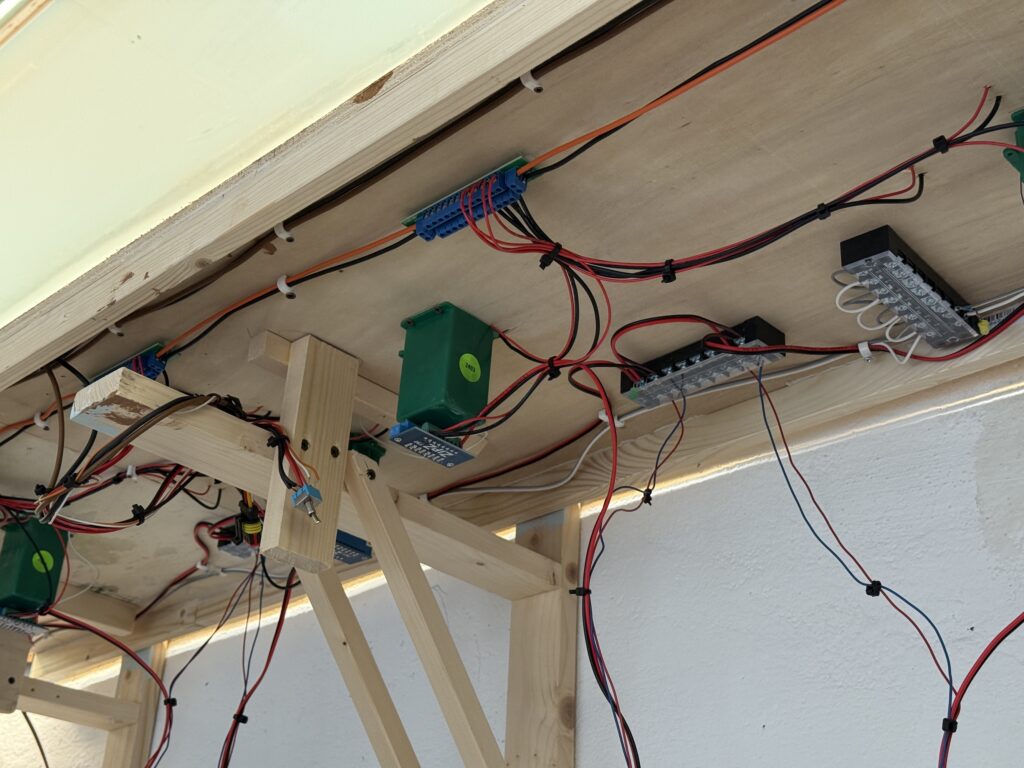
Power Breakers
Each section of flextrack and each turnout have their own feeders. I also divided the layout into three separate DCC districts, each managed by an NCE EB-1 Electronic Breaker.
Should a short circuit occur in one power district, its dedicated power breaker would cut power to that district, while the other two would remain operational
Wiring
Keeping wiring tidy and well-organized is crucial for troubleshooting. I’ve connected LEDs to each power line – for the Tortoise switch machines and the layout lights – by screwing them onto the terminal connectors. This allows me to instantly see if a section loses power.

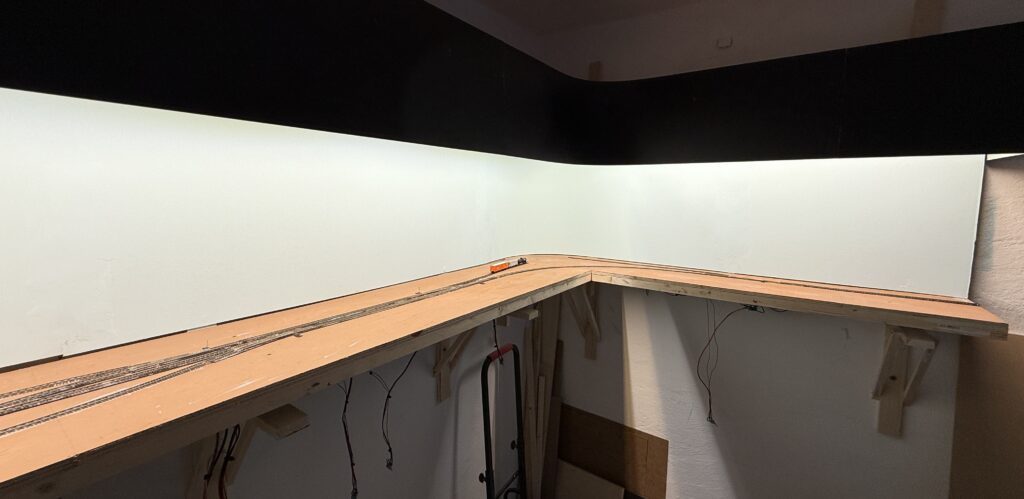
Laying Tracks Final Steps
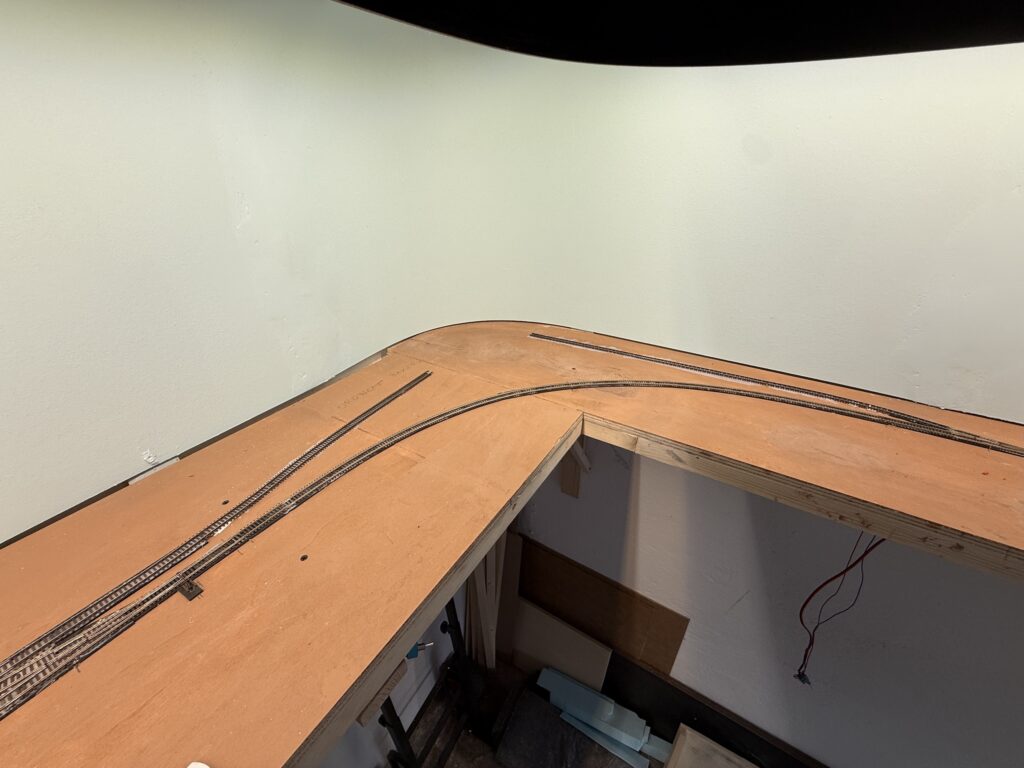
Here’s a panoramic view of my N scale switching layout with the track laid so far. Next step is to install the LA River section with its bridge and connect the missing piece of flextrack.


West-end of the layout.

East-end of the layout.
After that, I’ll assemble and install the foldable staging yard.