Valance Construction
Valance construction: building a valance for a clean, museum-quality layout lighting
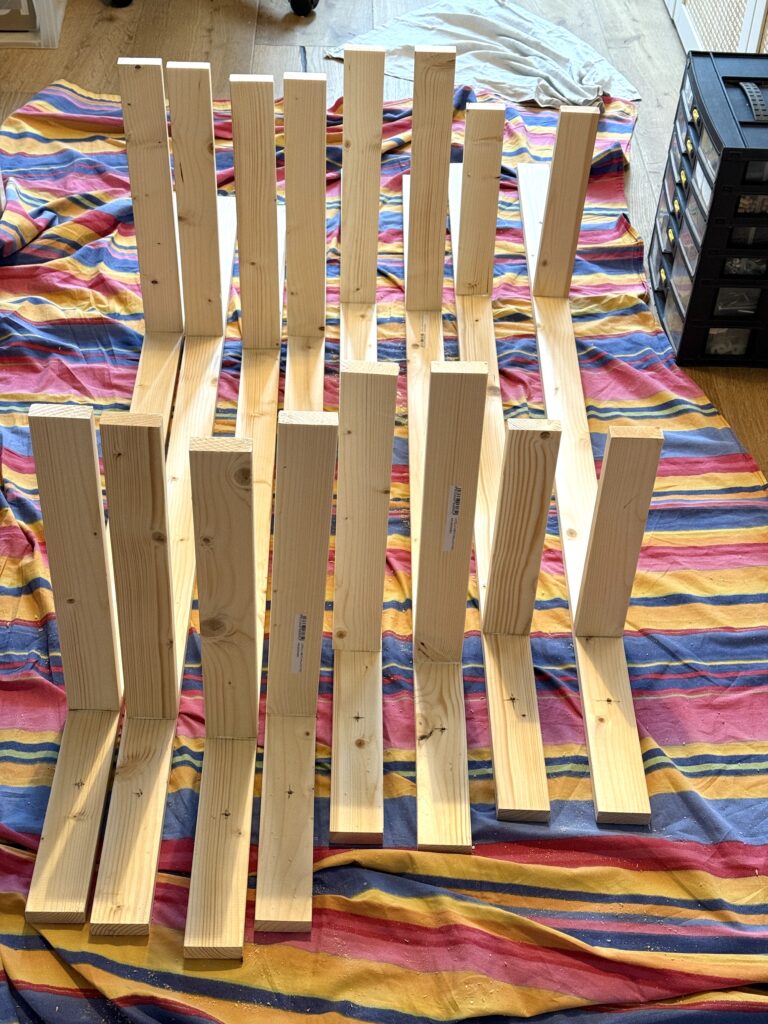
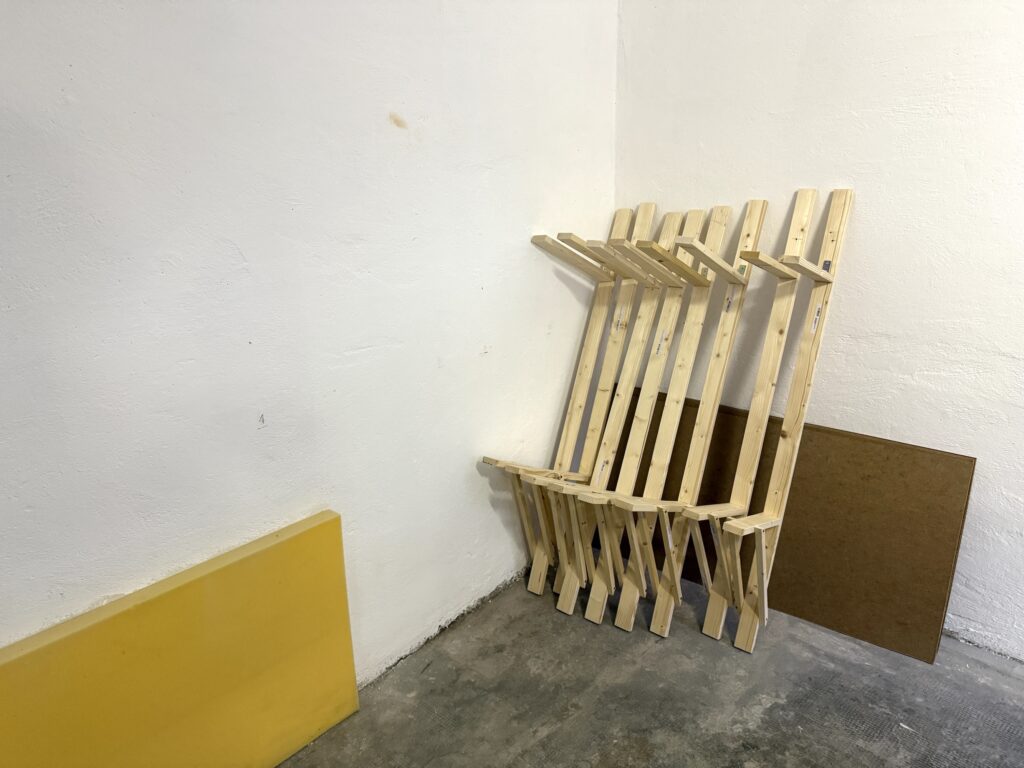
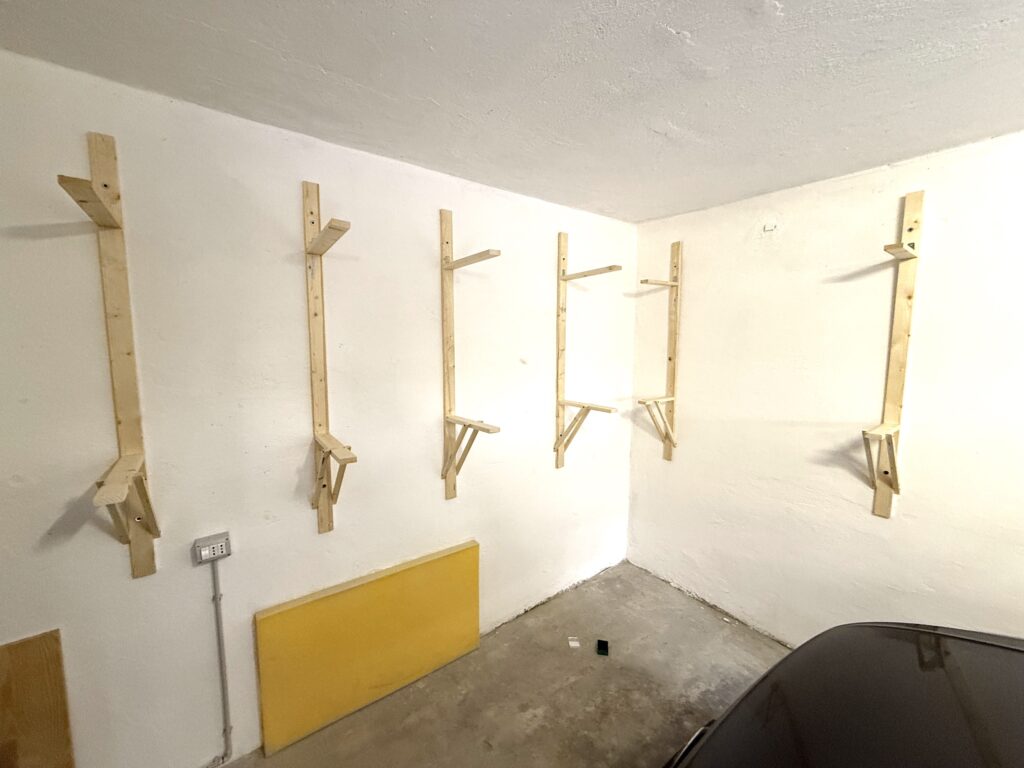
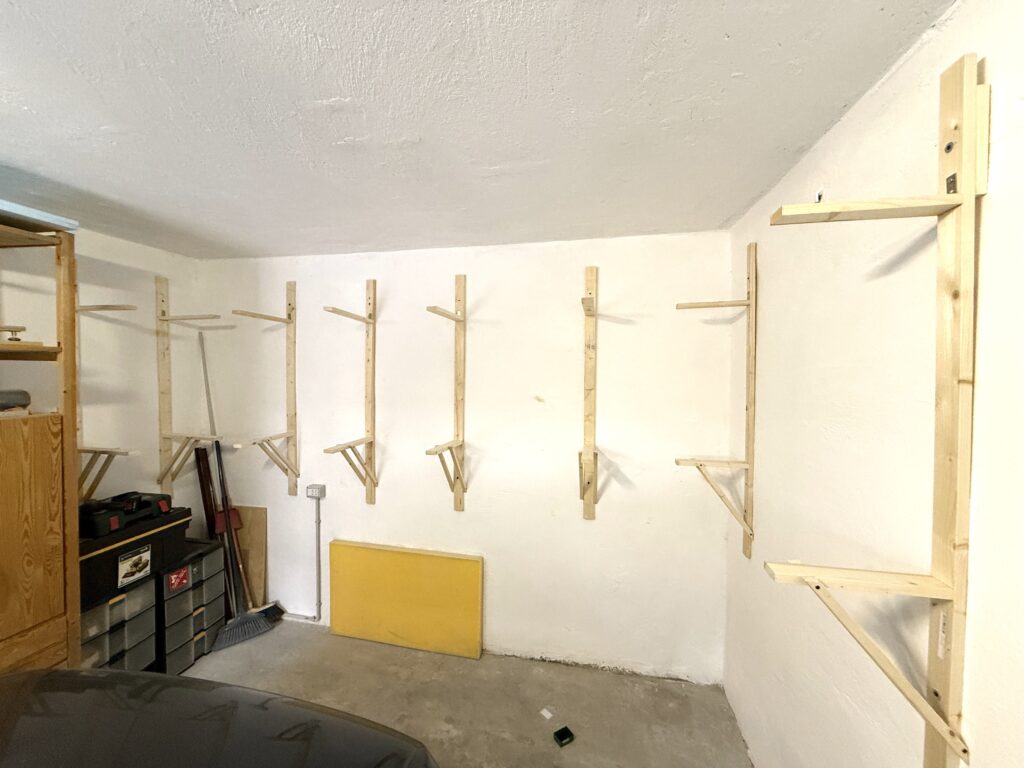
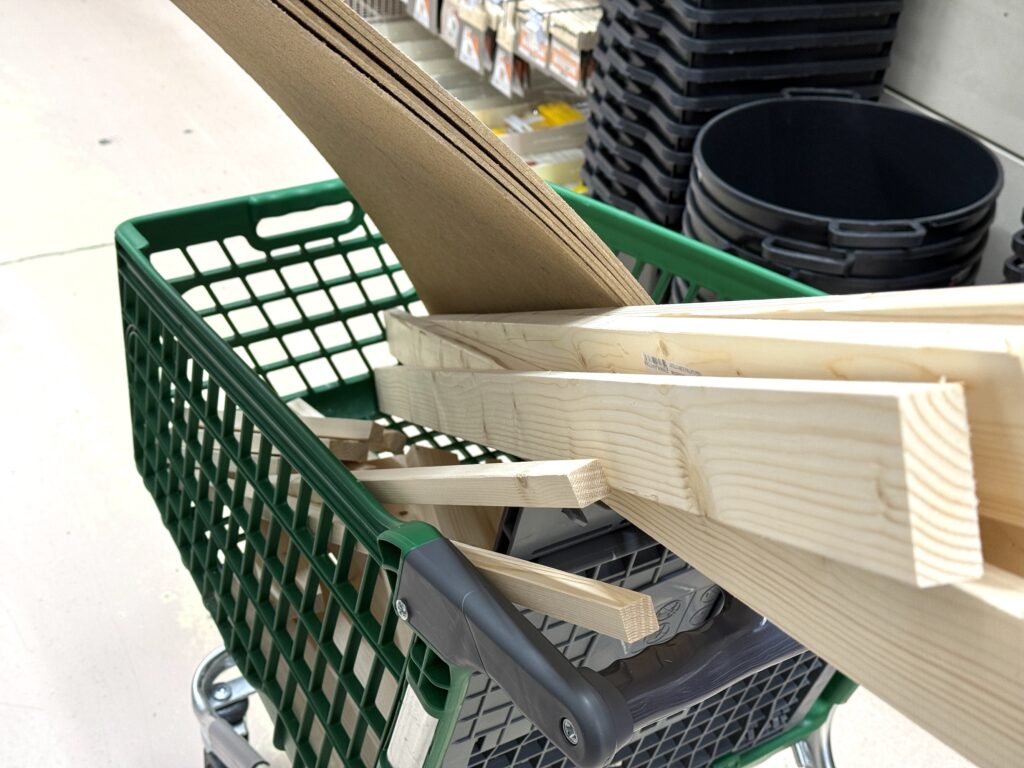
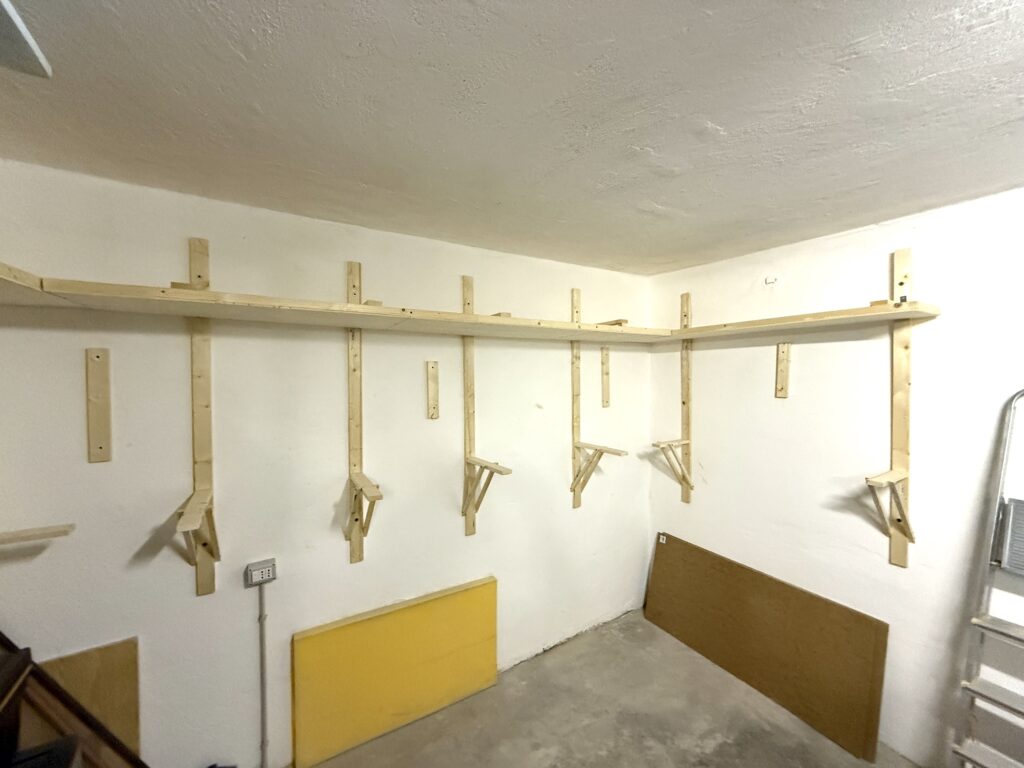
I purchased more lumber and assembled the basic valance and lighting support. I also added vertical wood strips to secure the Masonite sheets for the backdrop.
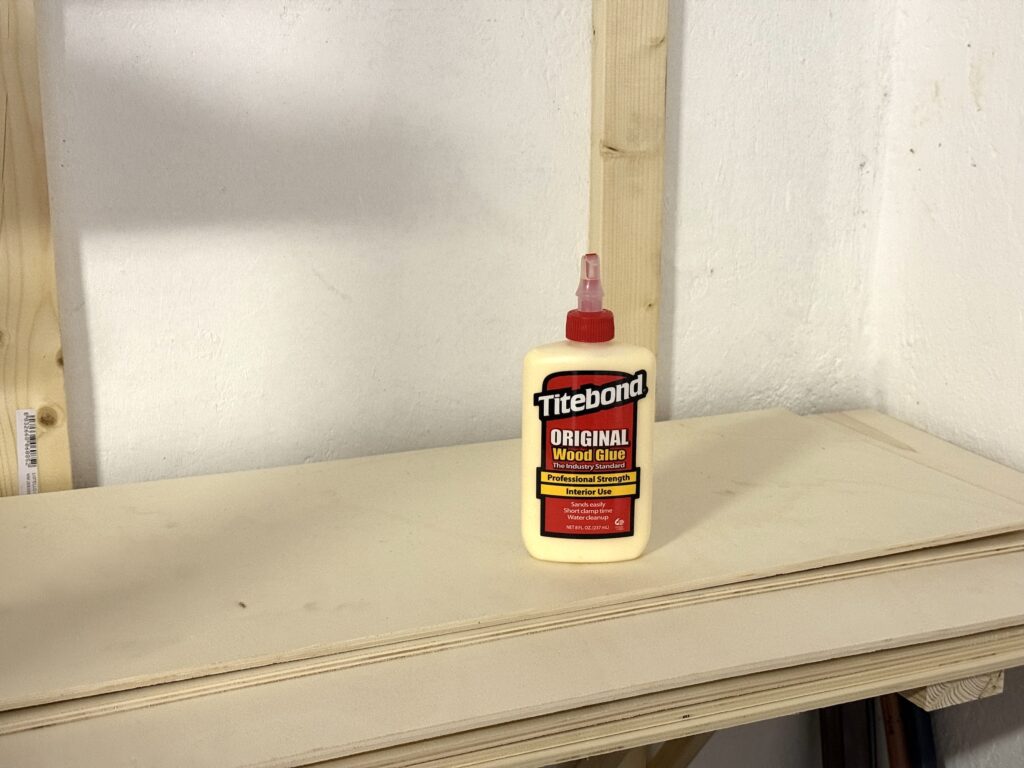
Titebond wood glue is a strong, reliable adhesive commonly used in woodworking and model railroad benchwork construction. It provides a durable bond, dries quickly, and remains flexible enough to withstand slight movements. Ideal for benchwork, it ensures a secure and long-lasting hold. Plus, it’s easy to apply and cleans up with water before drying.
Conclusion
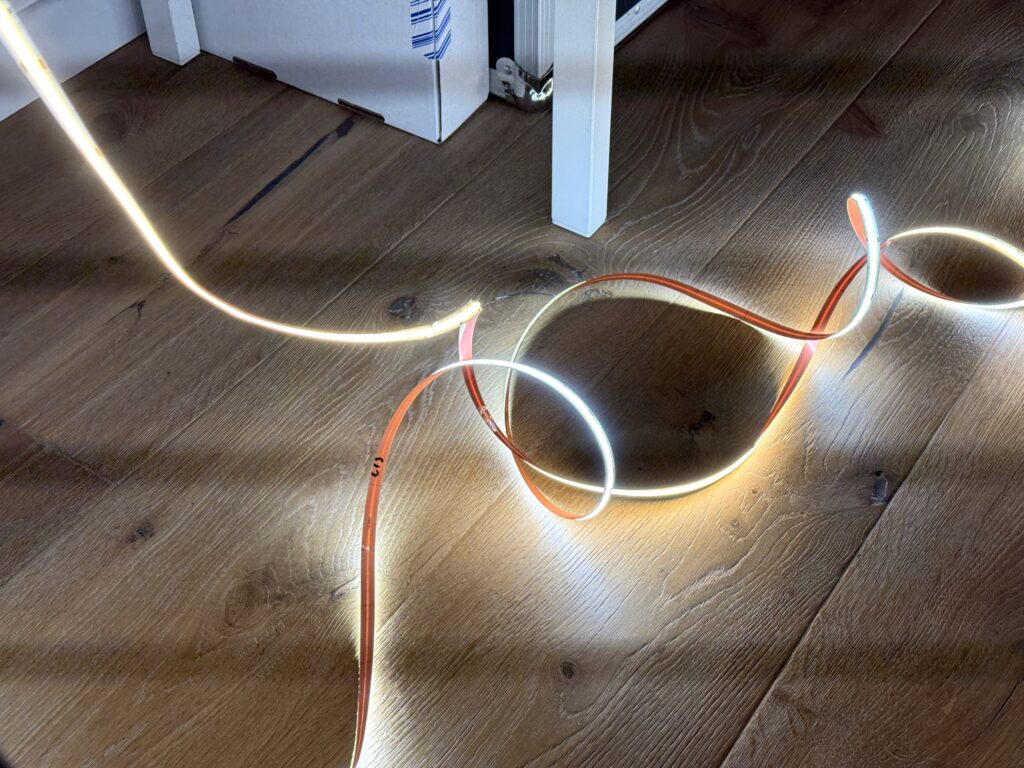
A well-designed valance not only hides your lighting but also enhances the realism and presentation of your model railroad layout. By carefully planning and constructing a valance, you can achieve a museum-quality look while improving layout lighting for optimal visibility and atmosphere. Whether you’re using LED strips or other lighting solutions, a valance helps control glare and directs light precisely where it’s needed.
Building a model railroad valance is a rewarding project that adds a polished, professional touch to your display. With the right materials and techniques, you can create a seamless integration between lighting and scenery, elevating the overall aesthetic. Follow these steps to craft a valance that enhances your layout’s realism and visual appeal.