Follow along the process of repainting and weathering a covered hopper in N scale.
I purchased an Atlas CSX ACF 2-bay covered hopper car on eBay at a good price. The car type suits my era and prototype, but the road name (CSX) is too modern for the 1970s. A covered hopper painted and lettered for the Southern Pacific will be a much better match, to use on my N scale layout.
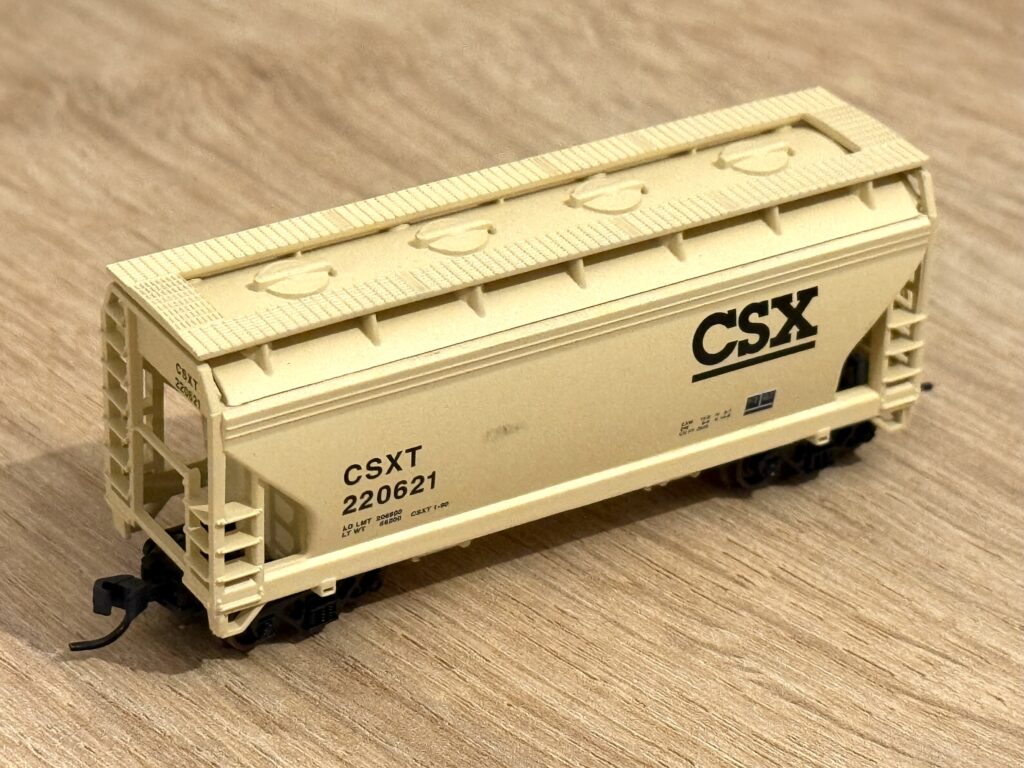
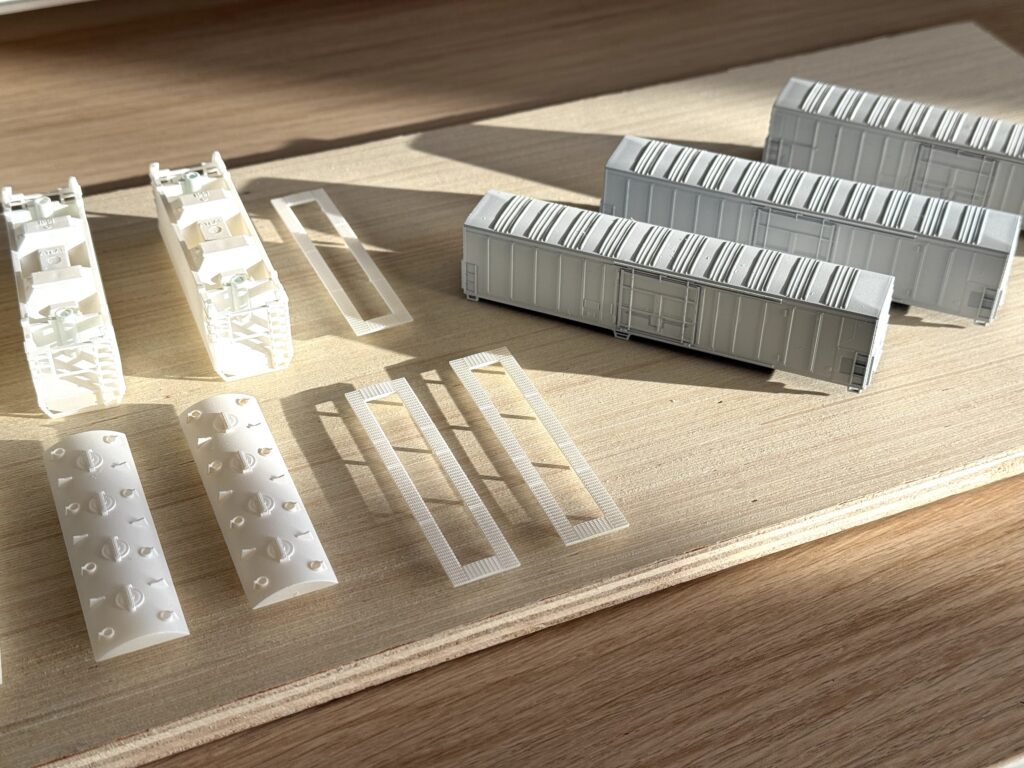
I also replaced the trucks with Micro-Trains trucks with couplers.
Paint stripping
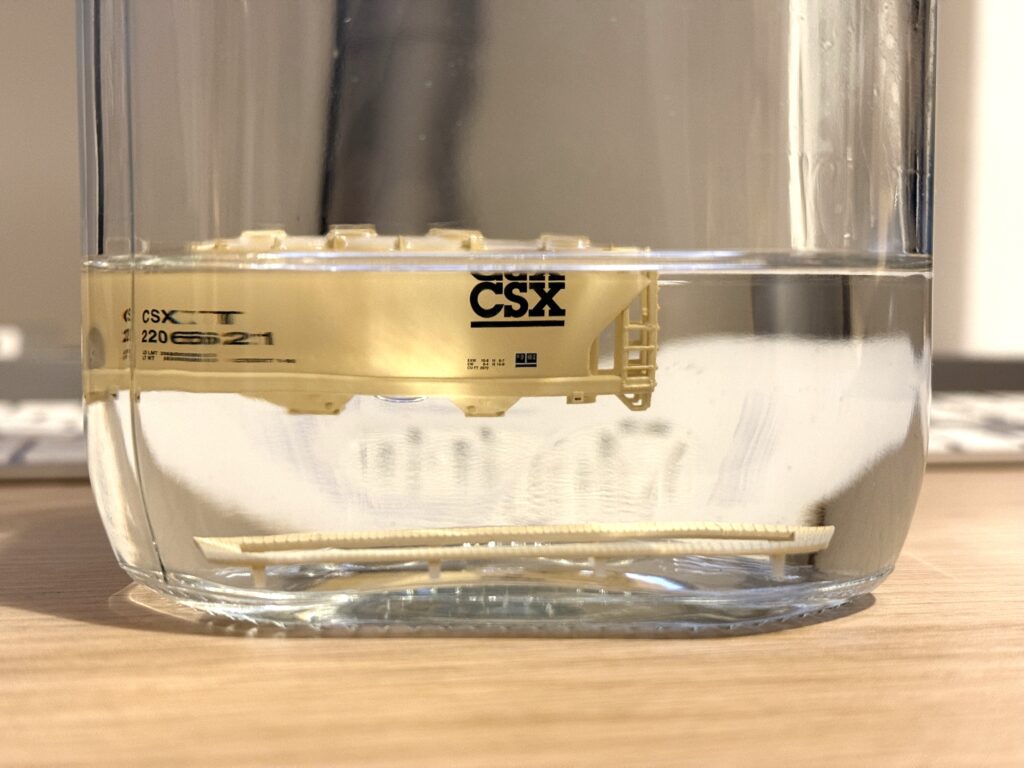
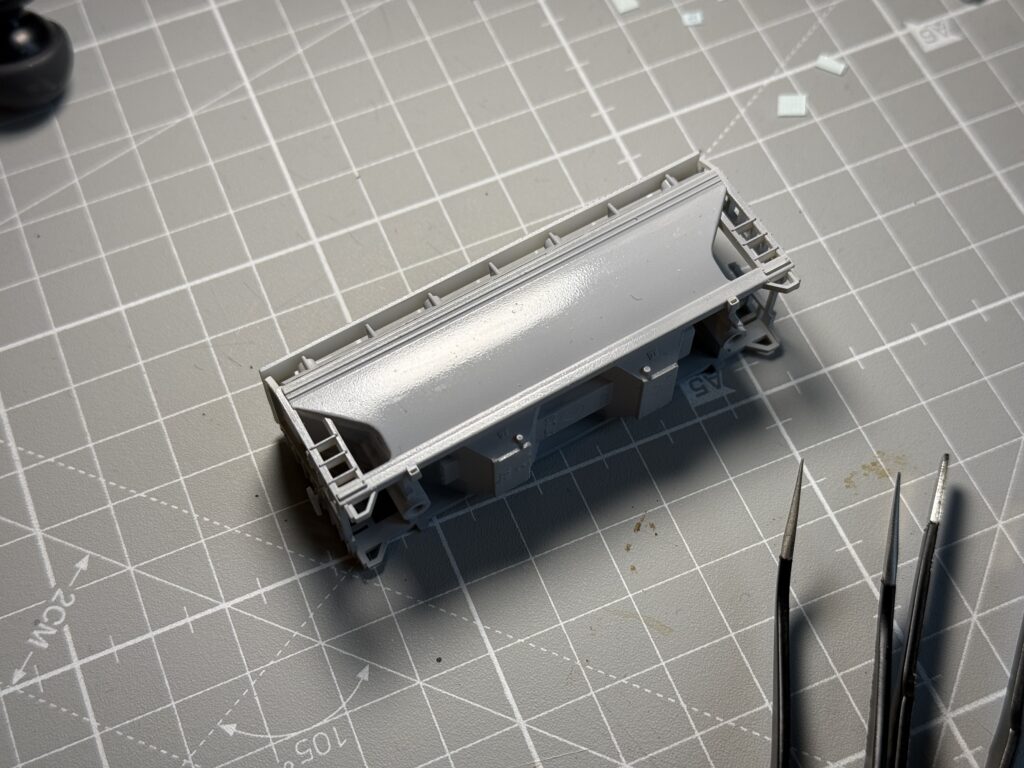
The first step is to strip the paint from the car. Before soaking it in 99% isopropyl alcohol for about 24 hours, I disassembled the trucks and removed the roof walkways for better results. I used a glass jar with a rubber-sealed lid.
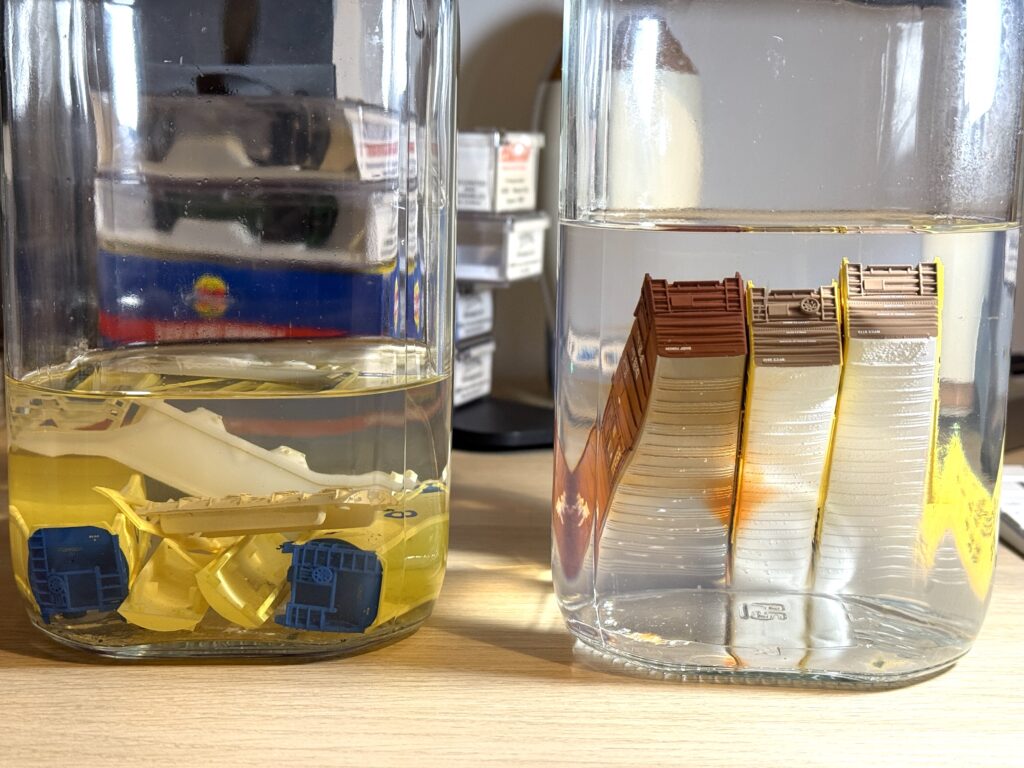
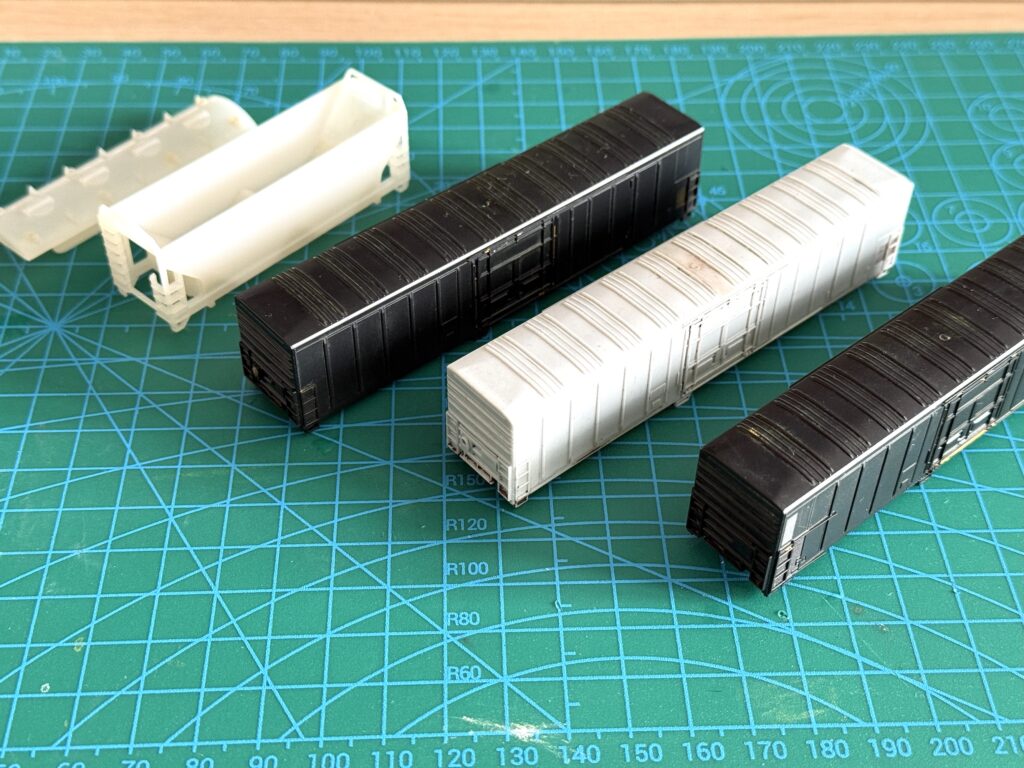
To streamline the repainting process, I soaked multiple car shells in alcohol to work on them simultaneously. As shown below, there are three ACF 2-bay covered hoppers to be repainted and lettered for SP, along with three 57′ mechanical reefers destined for Southern Pacific Fruit Express.
Removing the paint
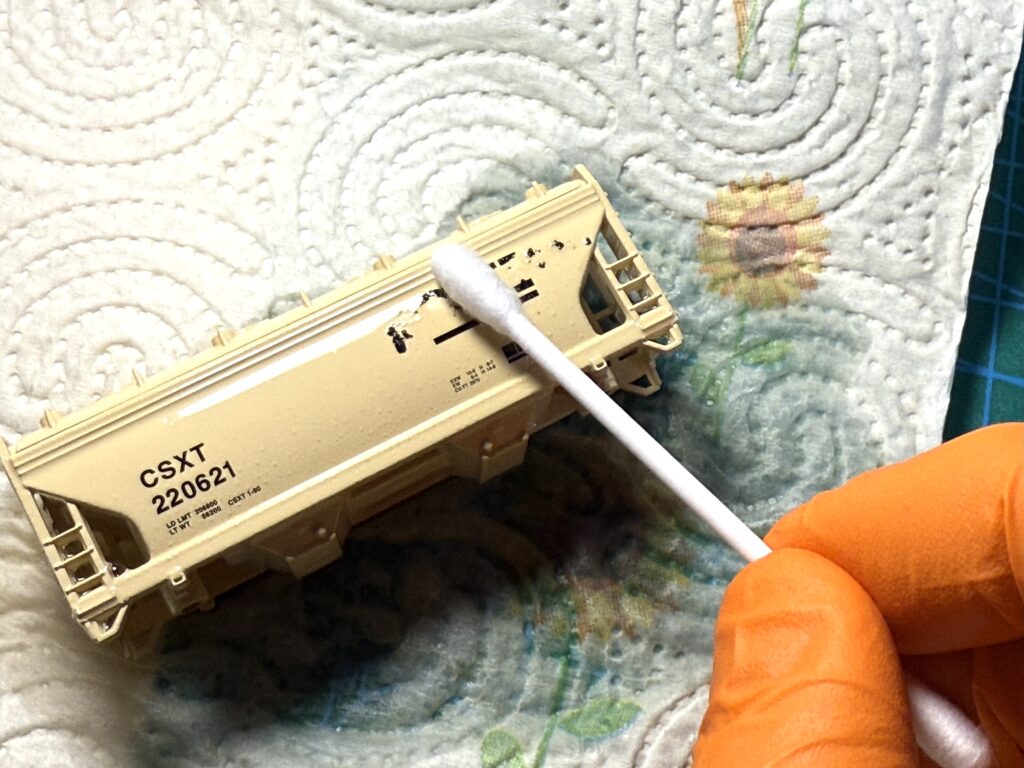
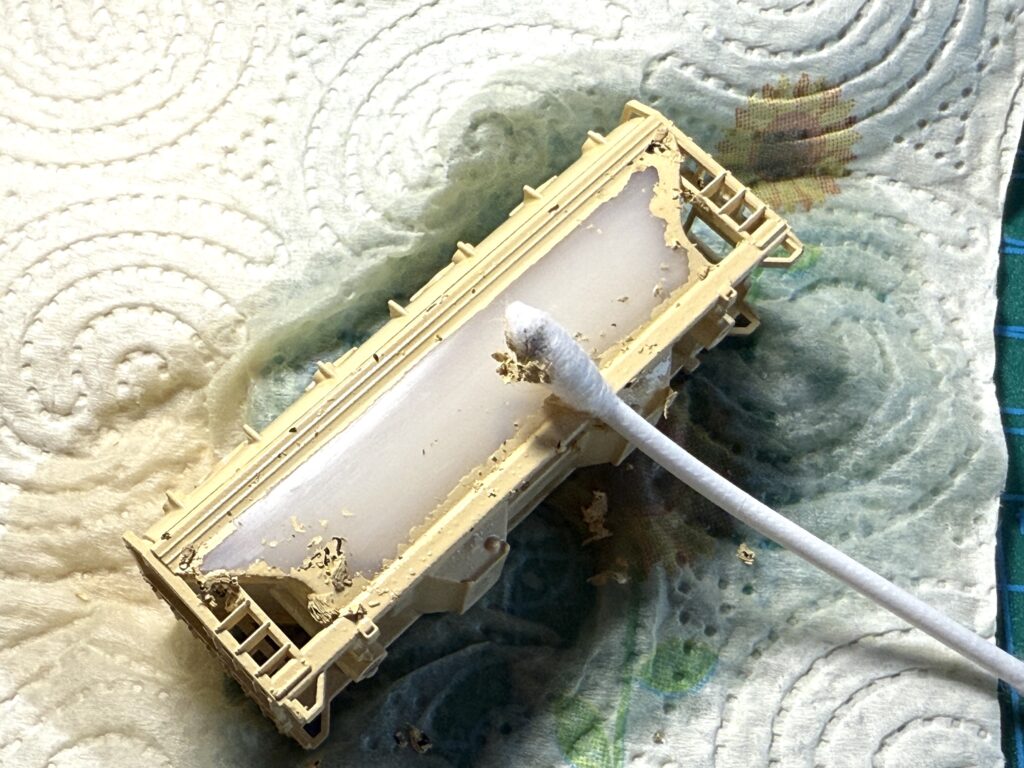
After soaking the car, I carefully removed all the paint using a cotton swab and more isopropyl alcohol.
Repainting and weathering a covered hopper: preparation
Paint stripping doesn’t need to be flawless, but it’s important to remove as much paint as possible, especially from the recessed areas of the shell. The ladders on the covered hoppers proved challenging, but with patience, I managed to get the job done.
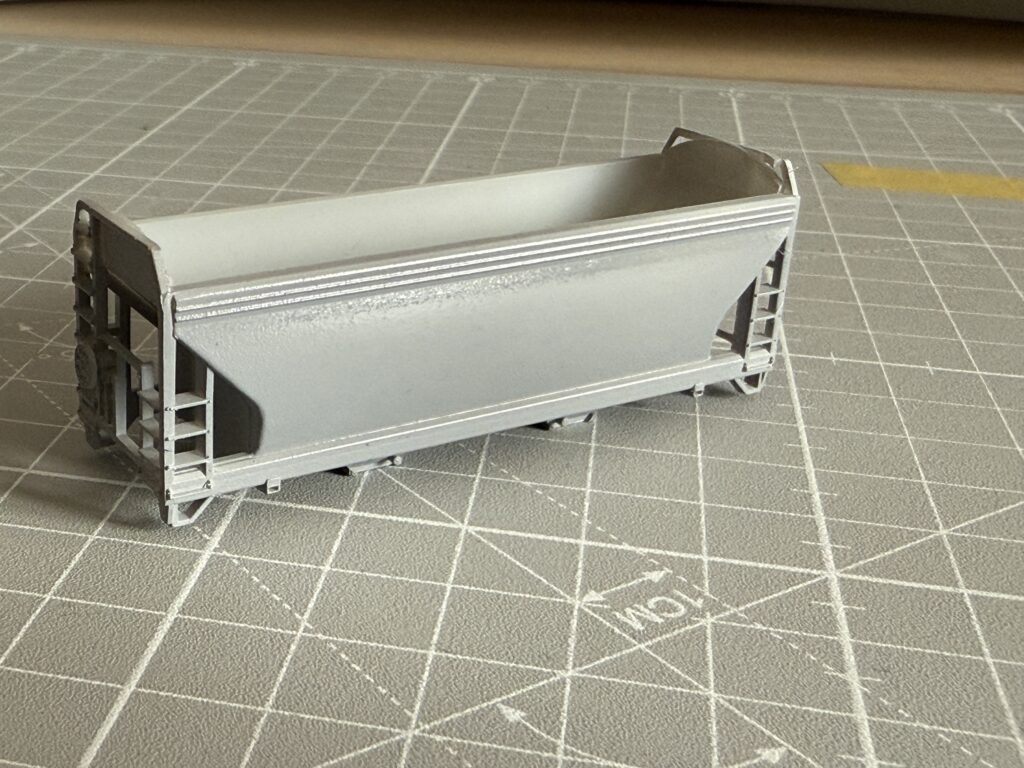
Once completely dry, I sprayed a coat of Vallejo acrylic White Primer using an airbrush. From my experience, Vallejo primers clog the airbrush, even with added thinner. However, adding too much thinner compromises the primer’s coverage on the plastic.
I had to clean the airbrush a couple of times while painting the six cars’ shells to get a smooth result. Next time I’ll try with a few drops of the Vallejo Flow Improver.
Repainting and weathering a covered hopper with the proper color
After the primer has dried, I mixed 2 parts Vallejo Dark Grey Blue (71.054) and 8 part Vallejo White (71.001) acrylic paints and painted the car using an airbrush.
Gloss clear paint coat and waterslide decals
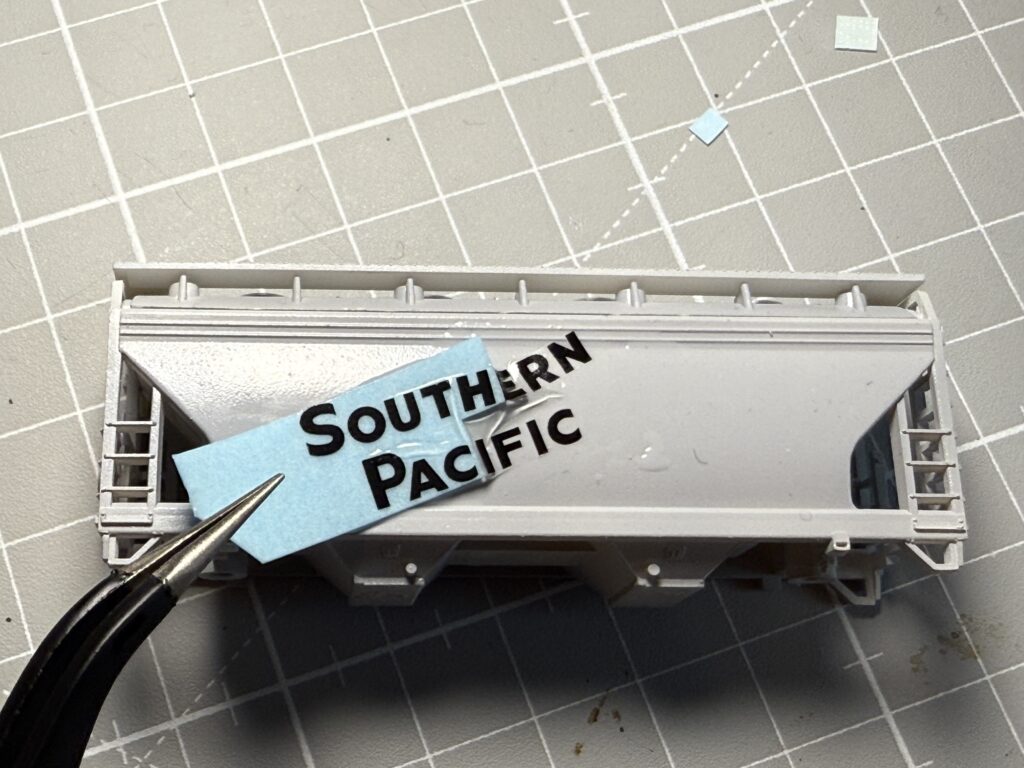
Applying waterslide decals starts with a coat of gloss clear paint.
This ensures the decals adhere smoothly to the surface, reducing the risk of air bubbles or silvering. To apply the decals, first cut them out carefully, staying close to the printed edges for a clean finish.
Soak the decals in warm water for 10–15 seconds, just enough to loosen them from the backing paper without over-soaking. Gently slide the decal onto the car, positioning it with a soft brush or tweezers. For tricky areas, use a decal-setting solution to help the decal conform to surface details like rivets or panel lines. I typically use Microscale Micro Set, while Microscale Micro Sol is invaluable for applying decals to irregular surfaces, creating a seamless painted-on appearance.
Once positioned, lightly dab with a cotton swab to remove excess water and make sure the decal sits flush. Allow the decals to dry completely before applying a final coat of clear matte to seal and protect them.
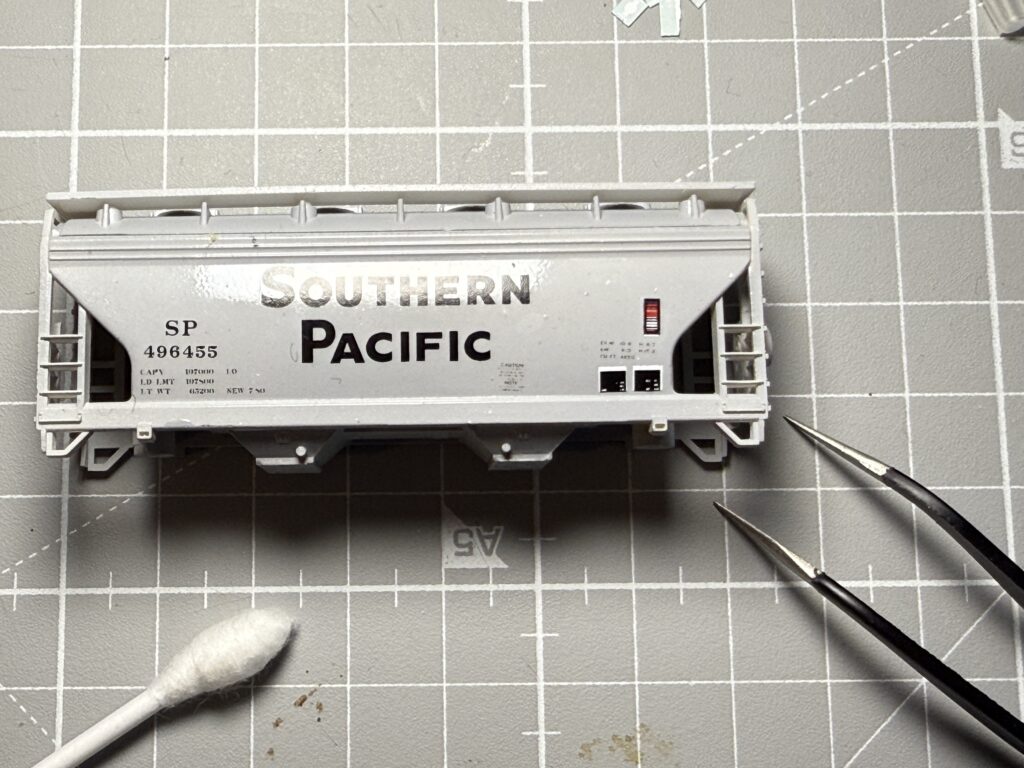
Once the decals dried, I sealed them with Tamiya XF-86 Flat Clear.
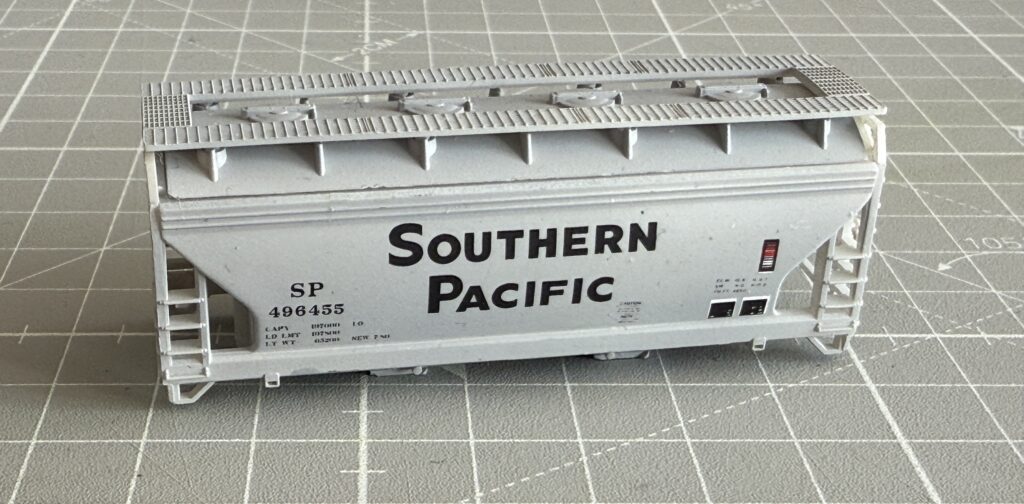
Weathering
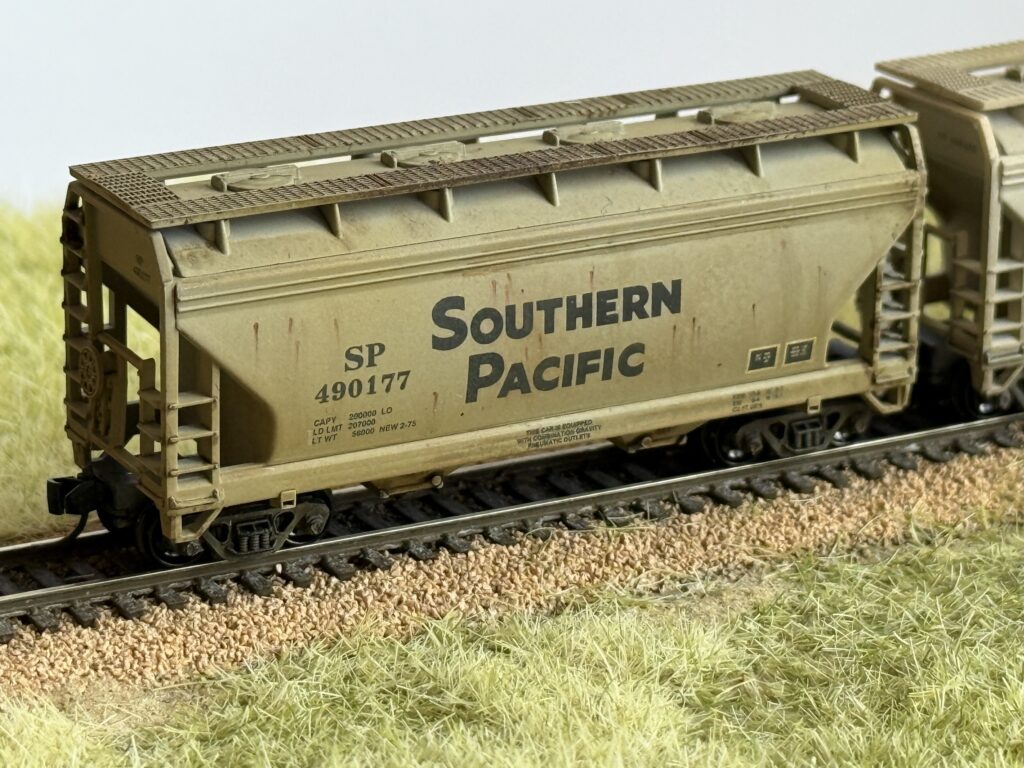
I used a combination of techniques to weather the covered hoppers. The first light layer of grey / tan has been applied with an airbrush.
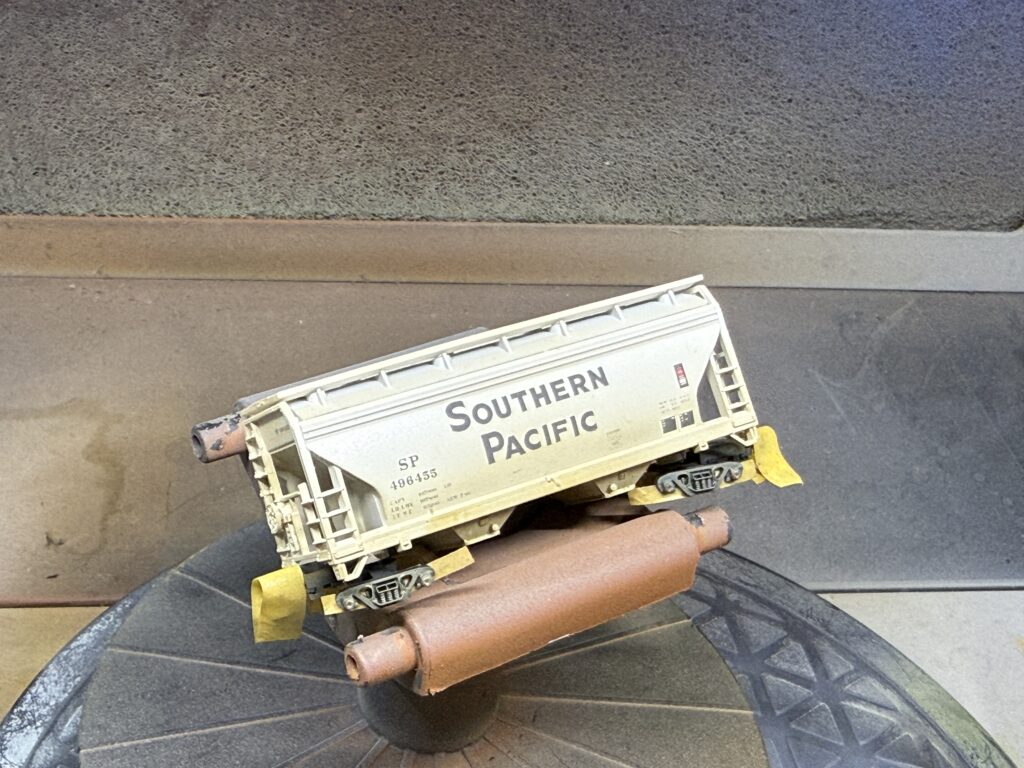

I removed the wheels and masked the Micro-Trains couplers and the inner panels of the trucks to protect the wheel pin areas.
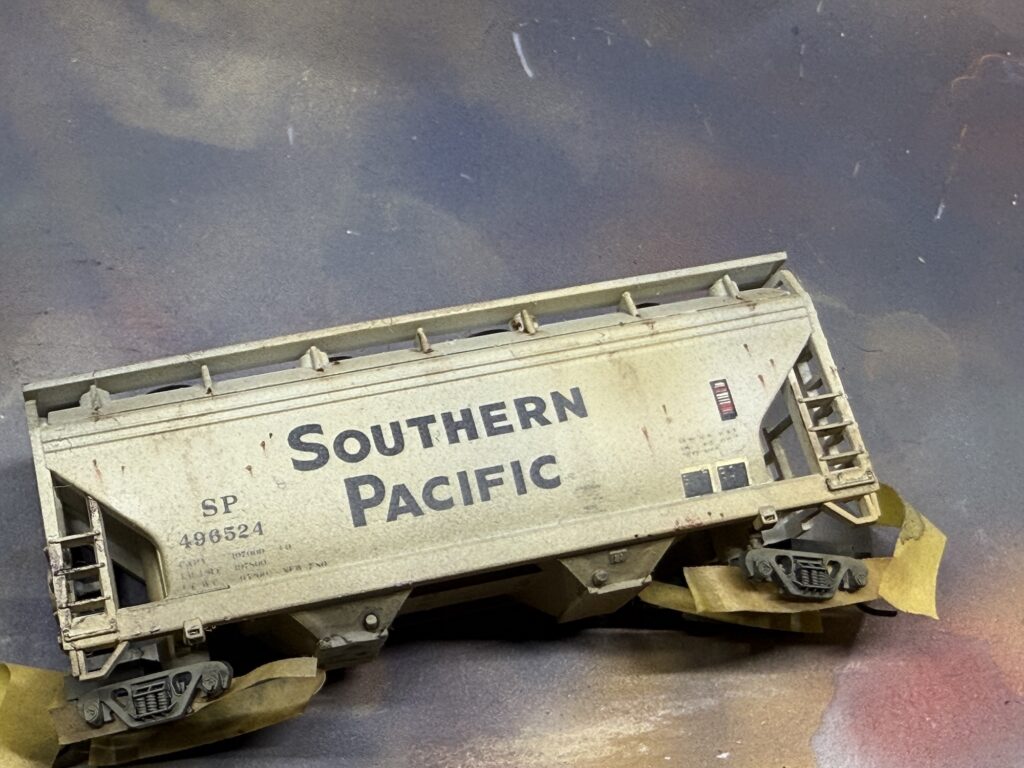
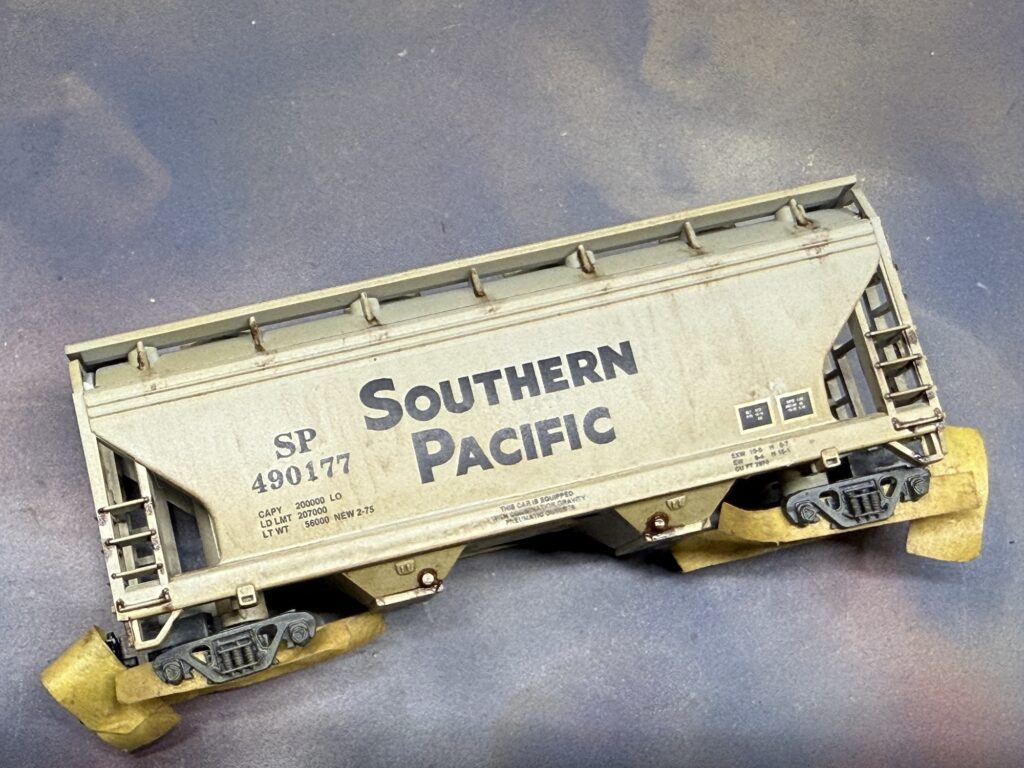
I used a fine brush and oil paints to add rust dots and streaks. Then I sealed the weathering with Tamiya XF-86 Flat Clear paint.


Karl A.
Nicely done Denny!