Adding a Fascia to the Layout
Adding a fascia to the layout for a neat look.
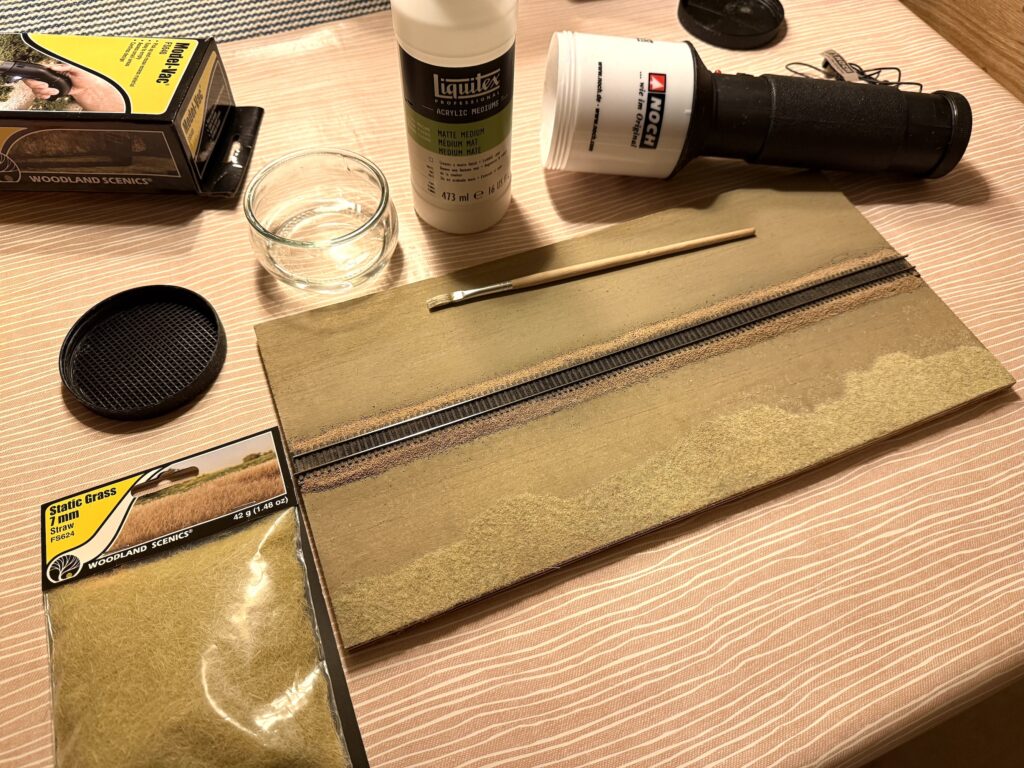
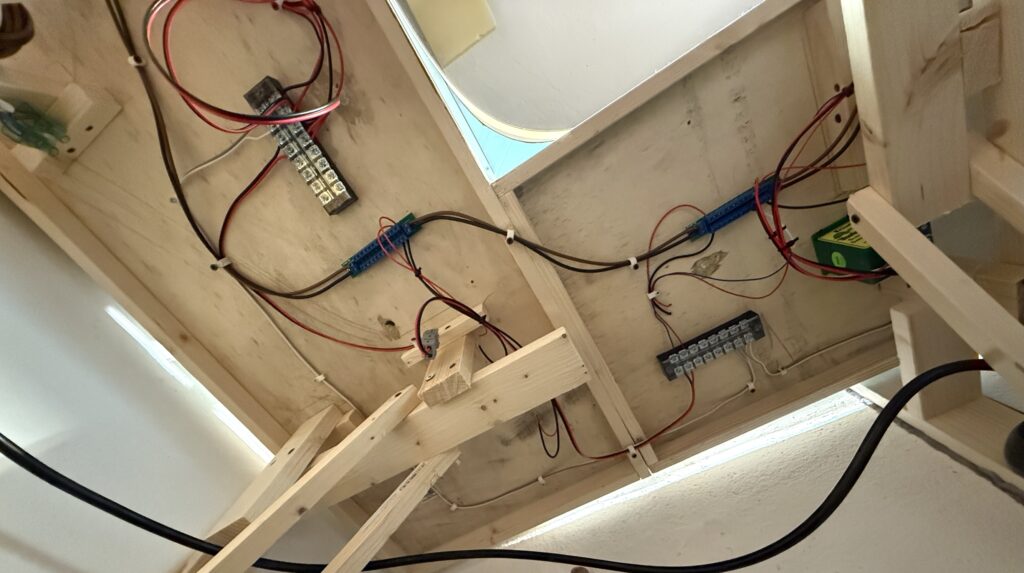
Adding a fascia gives the layout a clean, finished appearance. It also frames the scene and hides wiring underneath. The fascia also gives me a place to mount toggles and labels without cluttering the scene. I kept the design simple, just enough to tidy up without overcomplicating things.
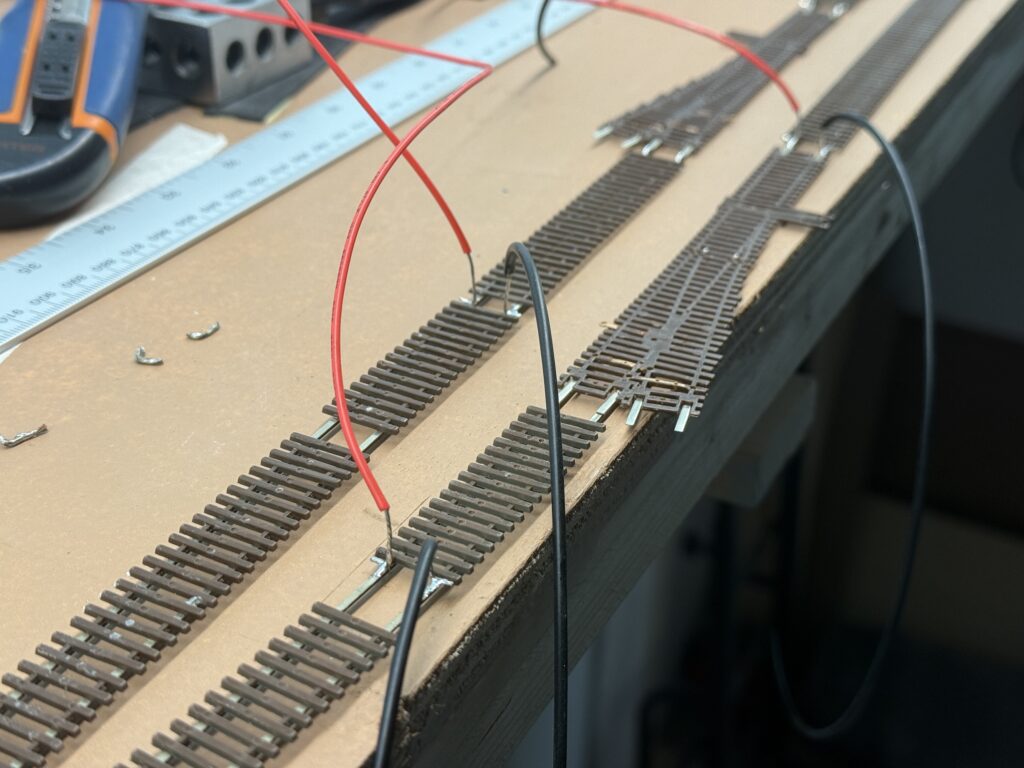
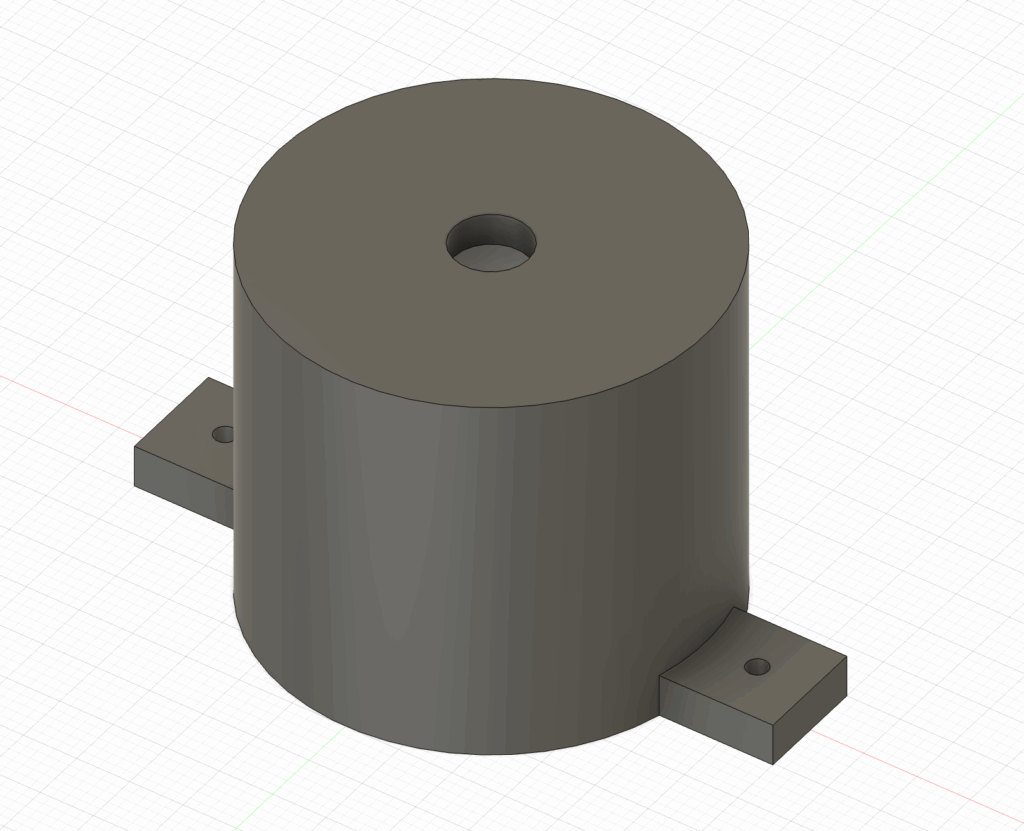
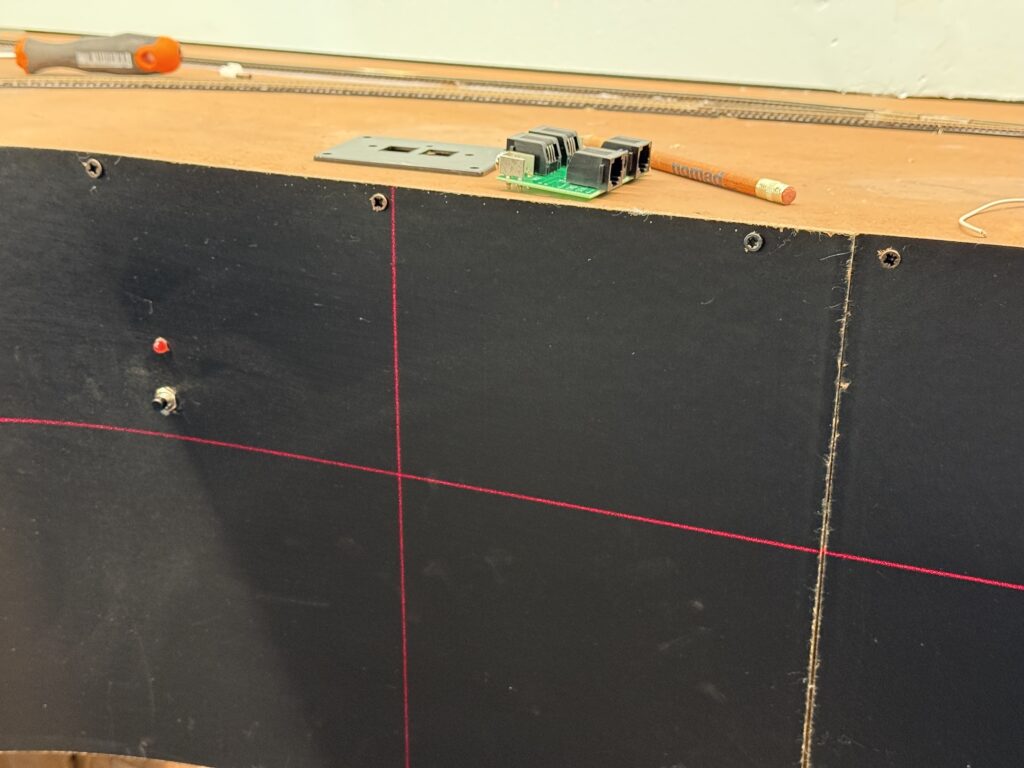
Toggle switches for turnouts are mounted near the turnout they control, making access easier and the track plan more intuitive. I designed a recessed mount for the toggle switch, which I plan to 3D print and install behind the fascia.
The recessed controls help keep the fascia flat and avoid accidental bump or damage during operating sessions.
I use Autodesk Fusion for 3D drawings. The personal edition is free for non-commercial use.
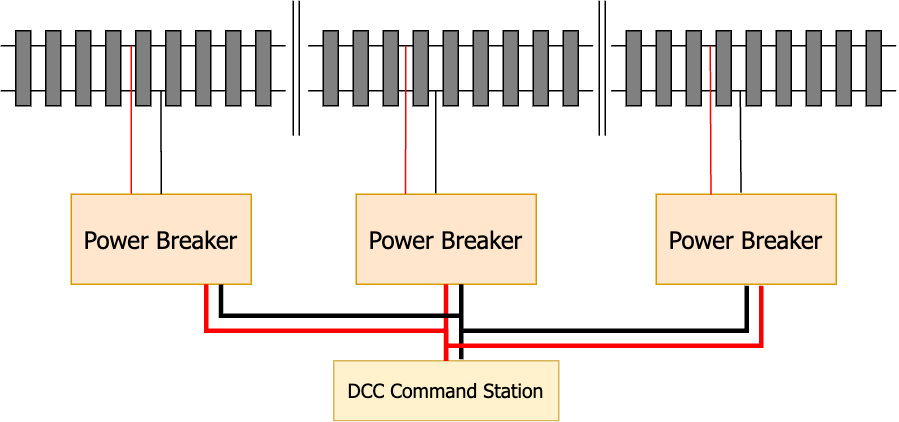
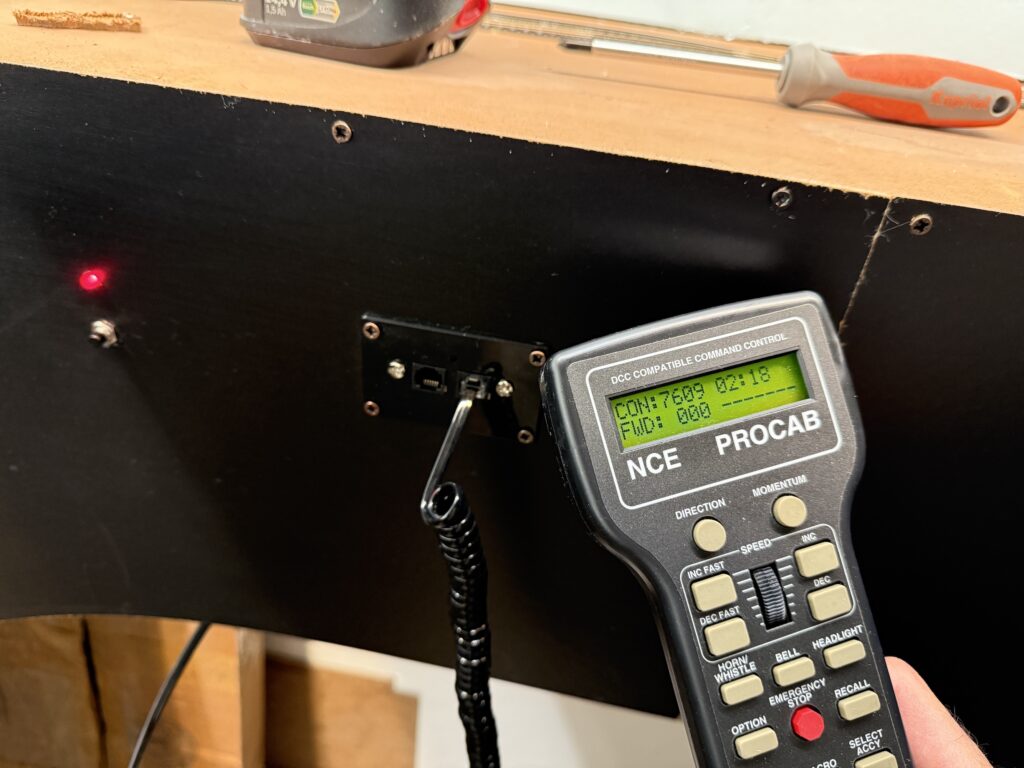
Power District Reset Button
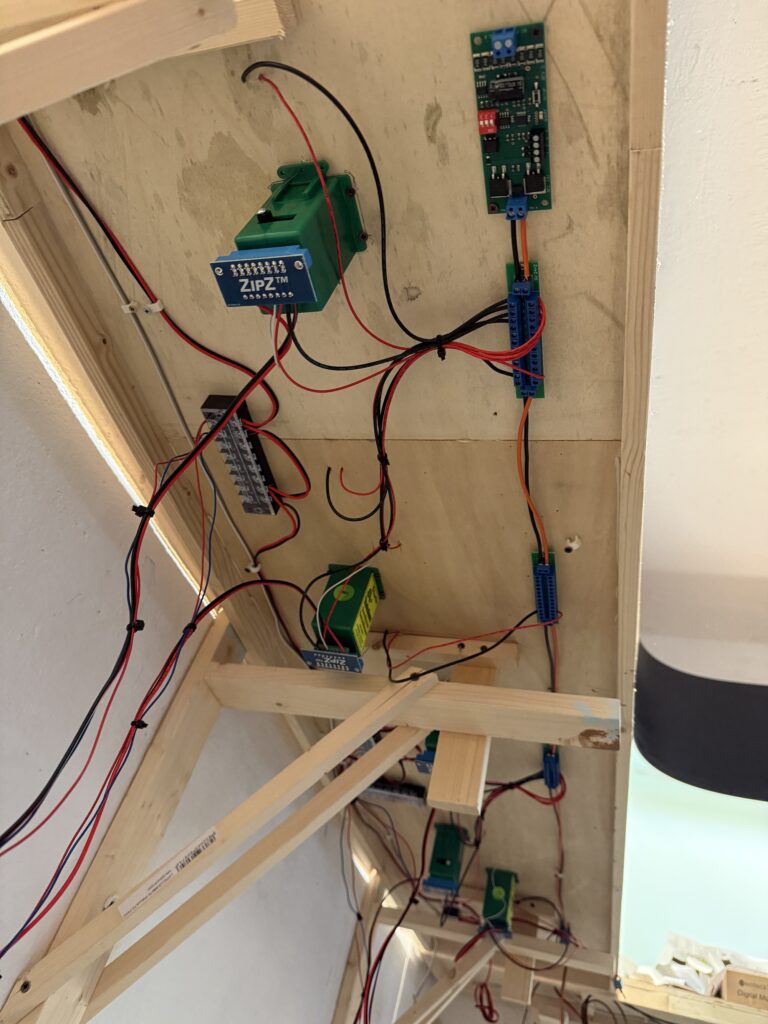
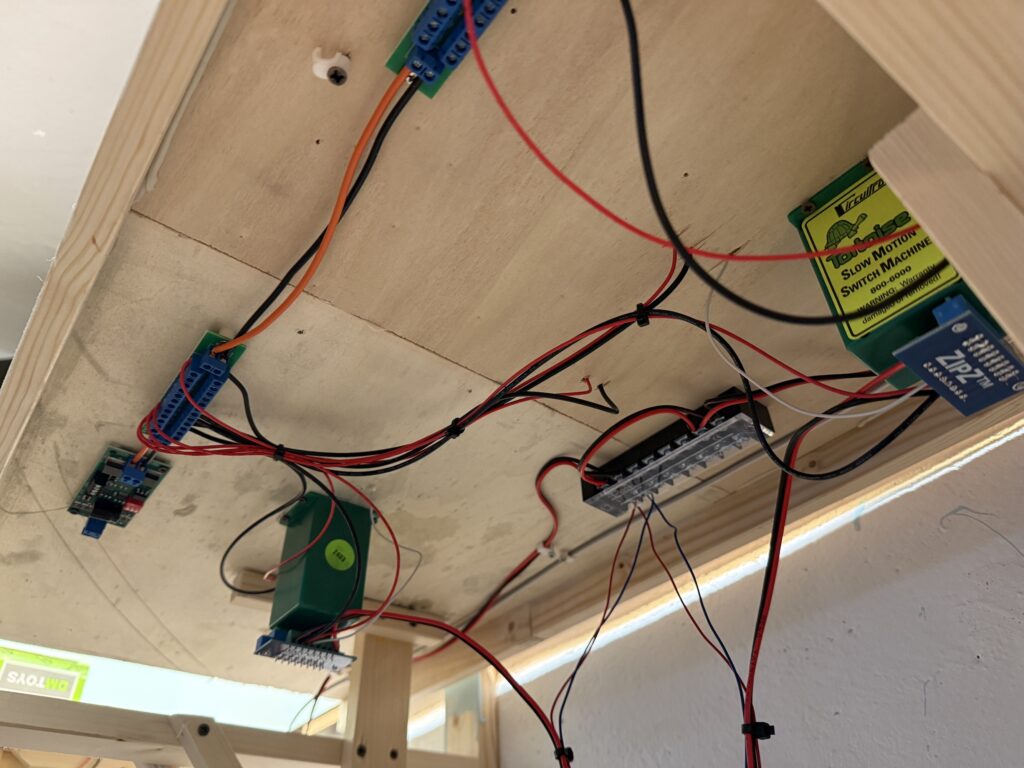
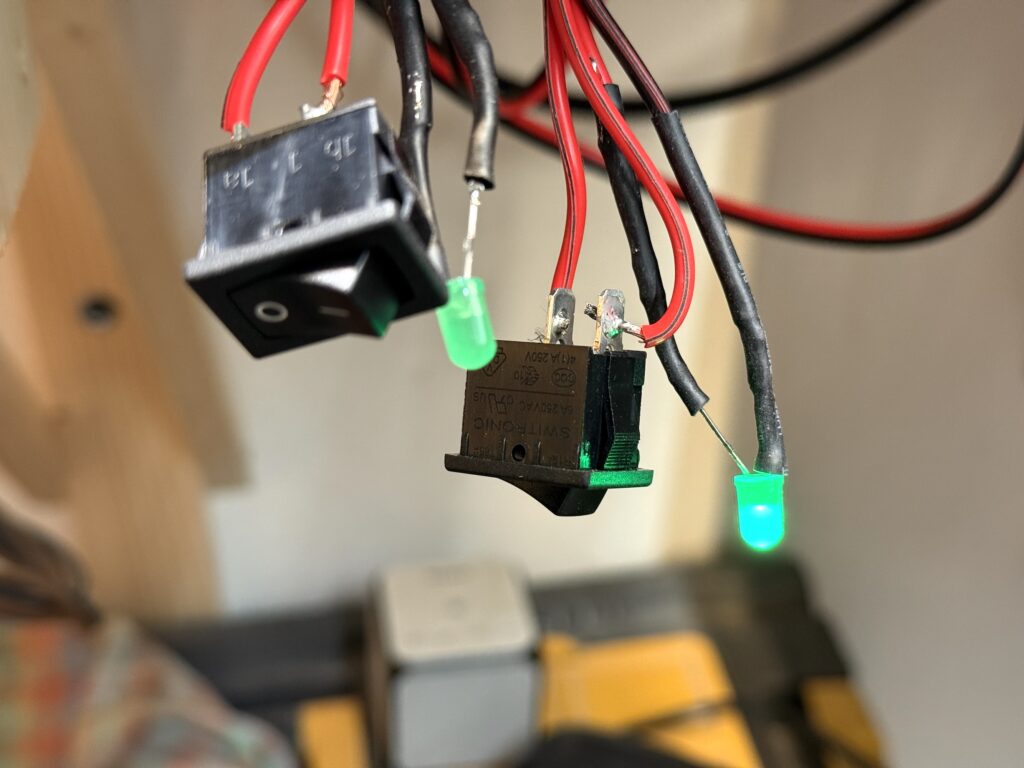
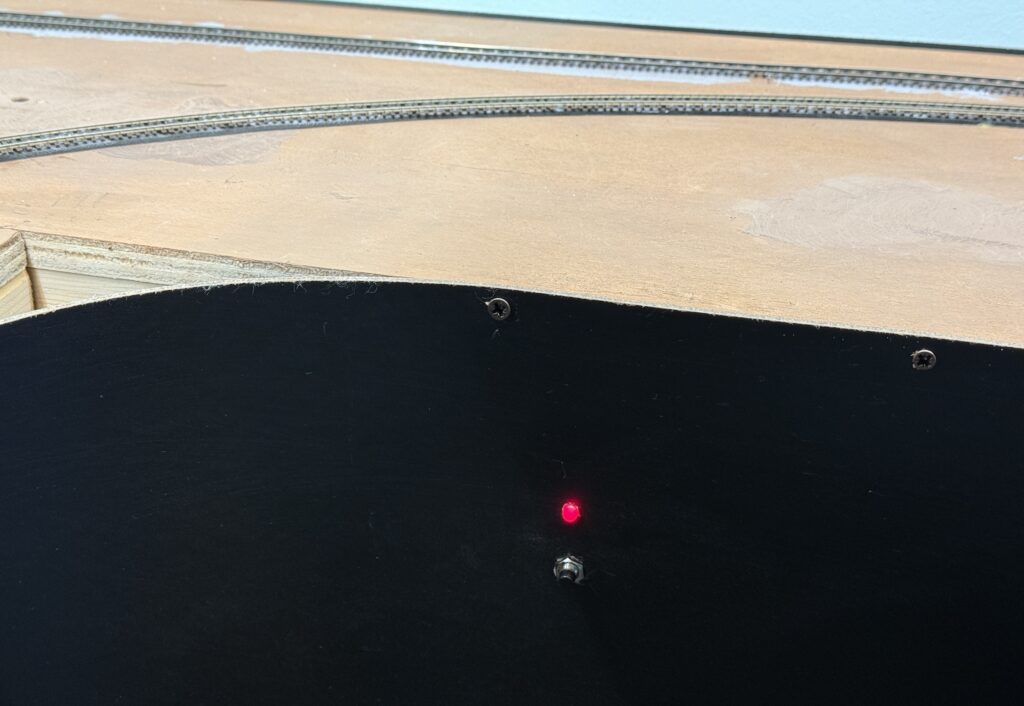
I also installed red LEDs – one for each DCC power district – along with a push-button to reset the power breakers after a short.
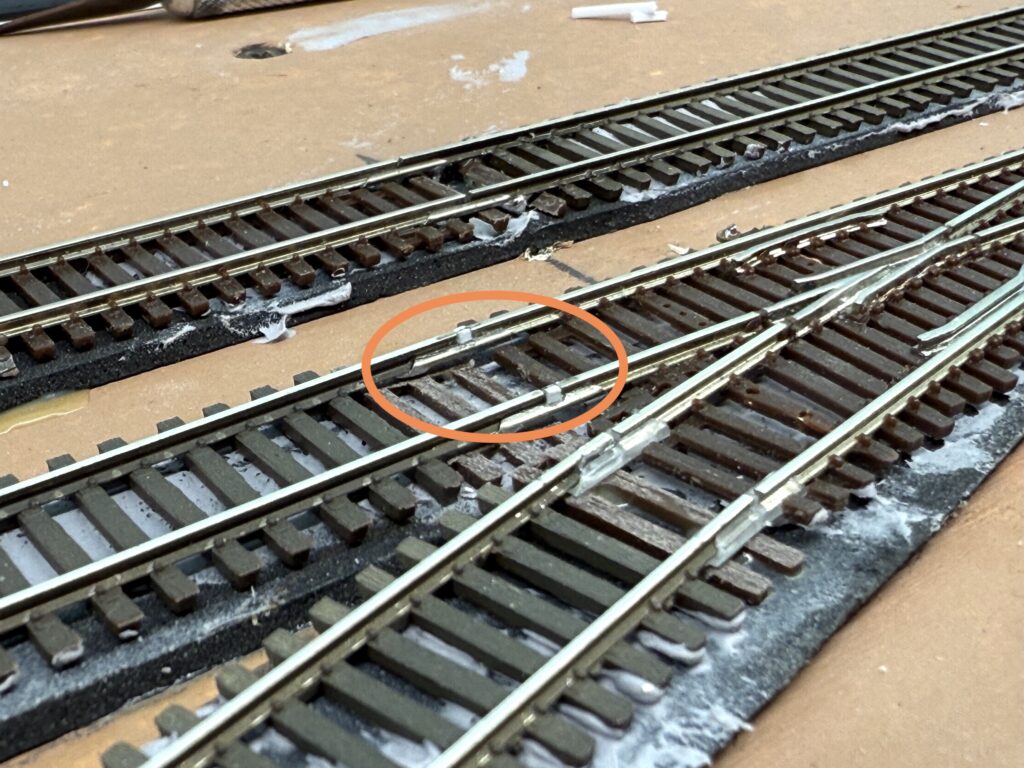
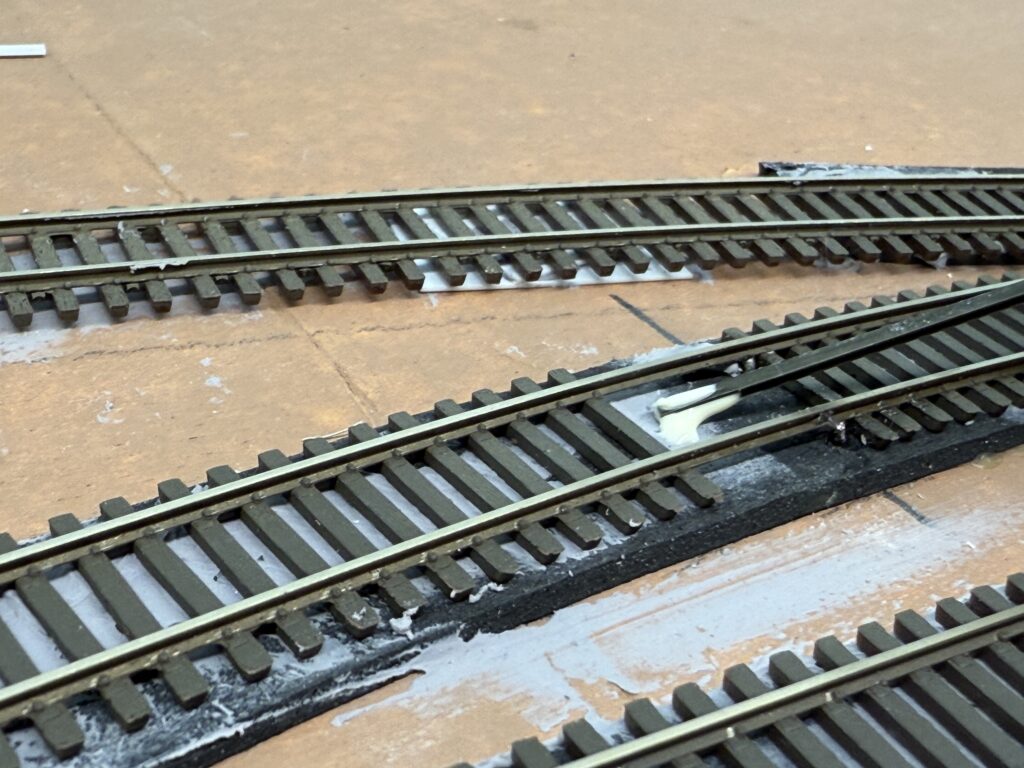
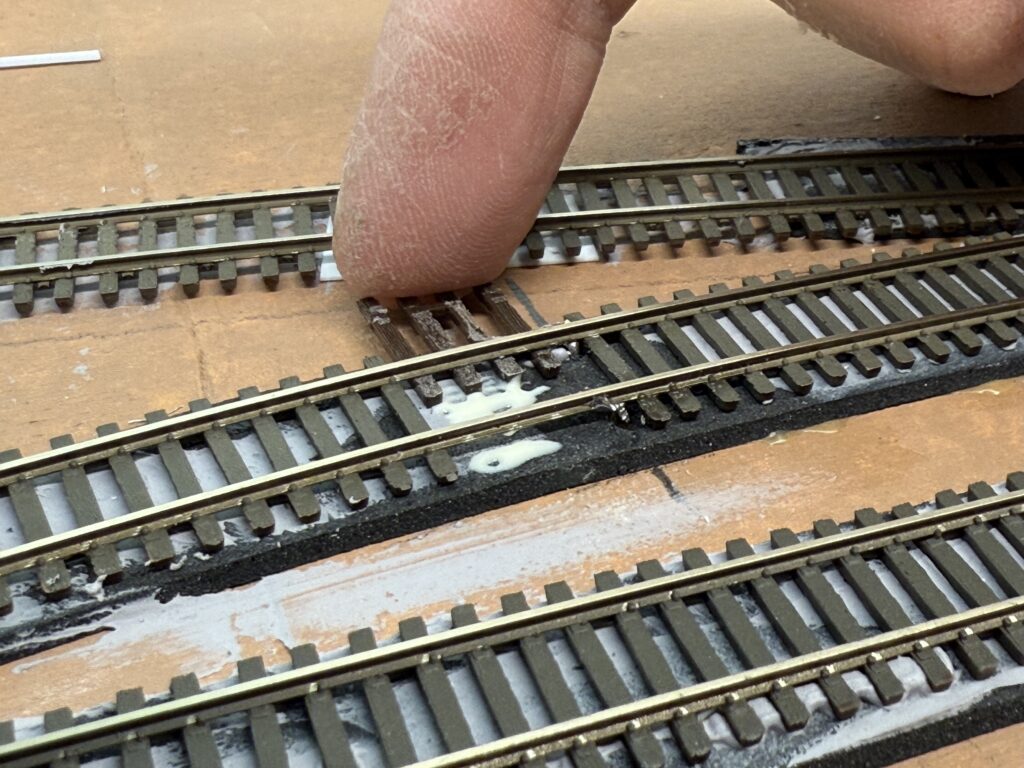
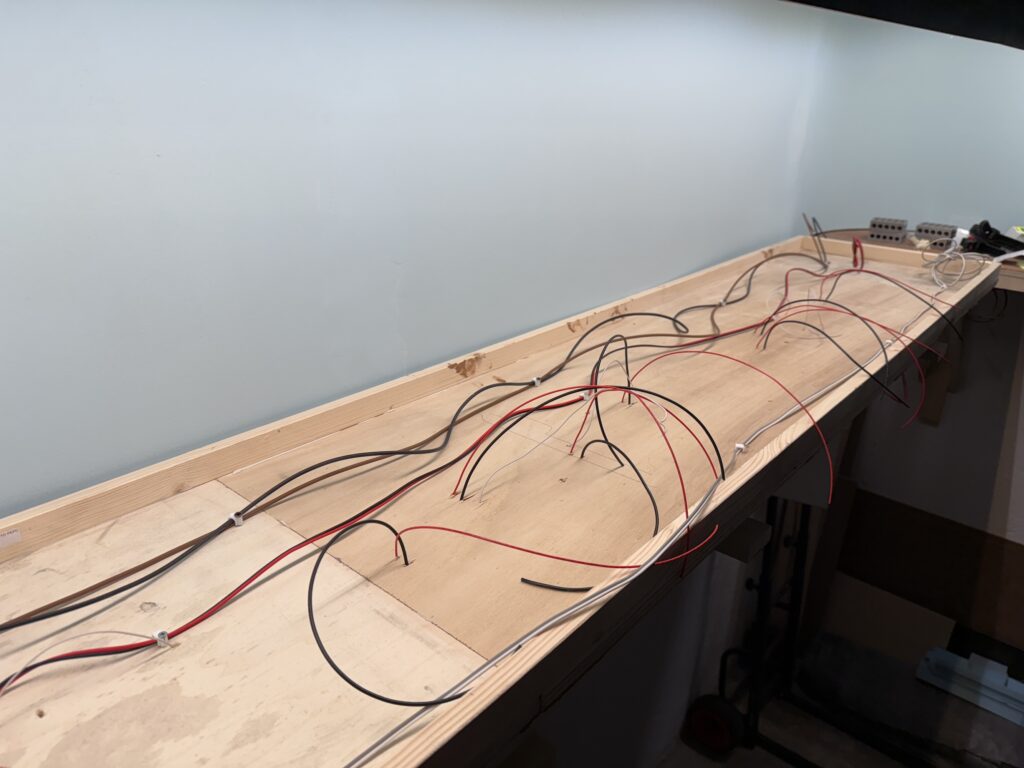
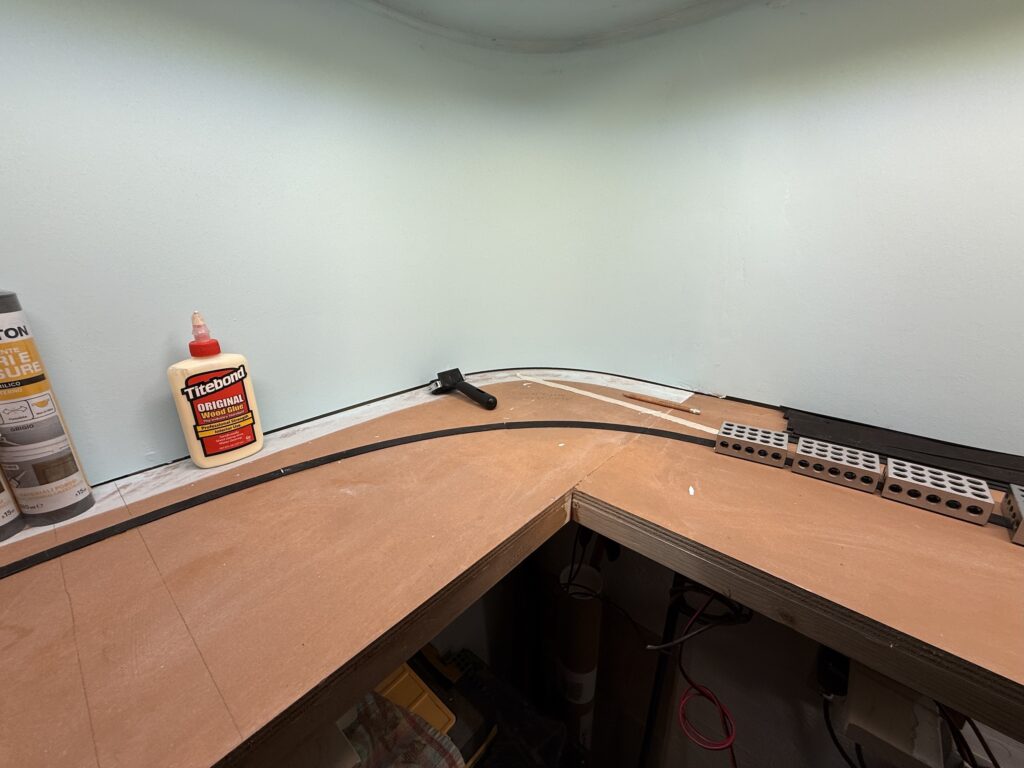
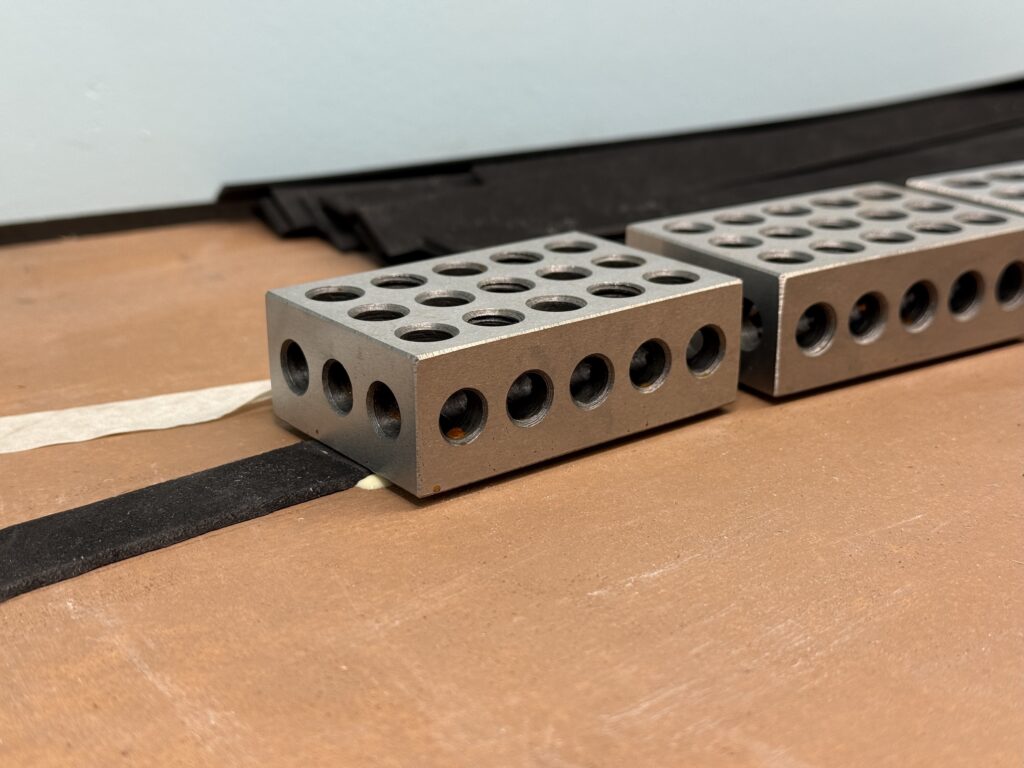
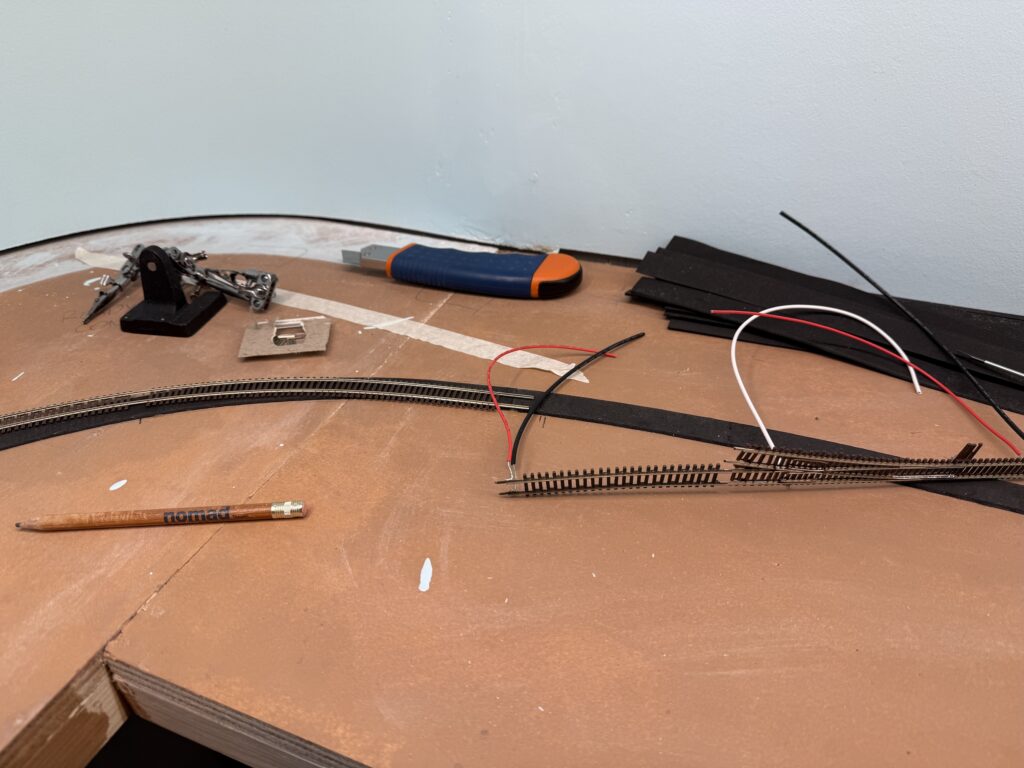
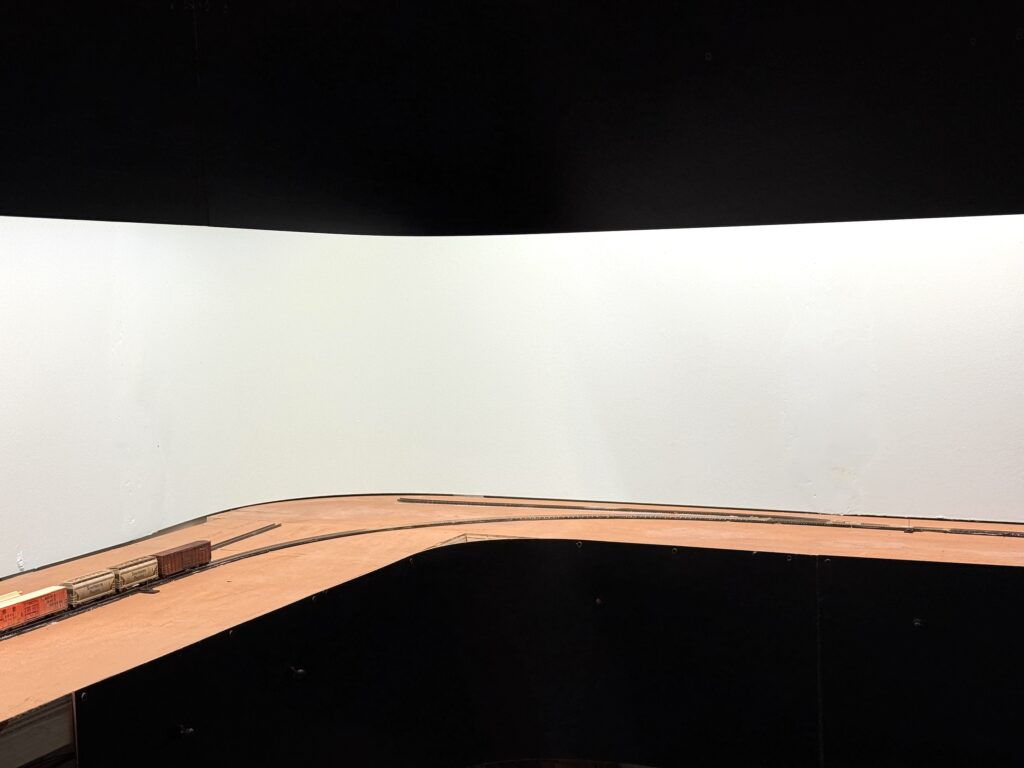
I’ll fill the gaps in the curved section of the fascia with precisely cut extruded foam board.
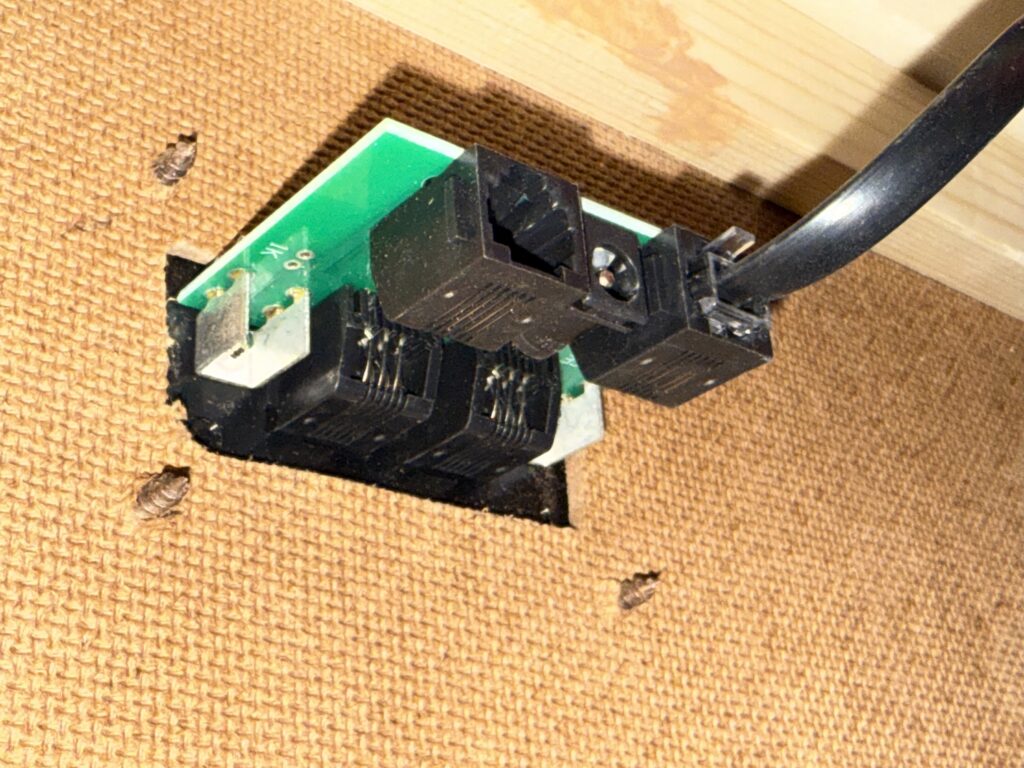
NCE UTP Panels
Next, I measured and cut an opening for the NCE UTP panels, where the throttles will connect. Then, I used a Dremel with the appropriate bit to make the cut cleanly.
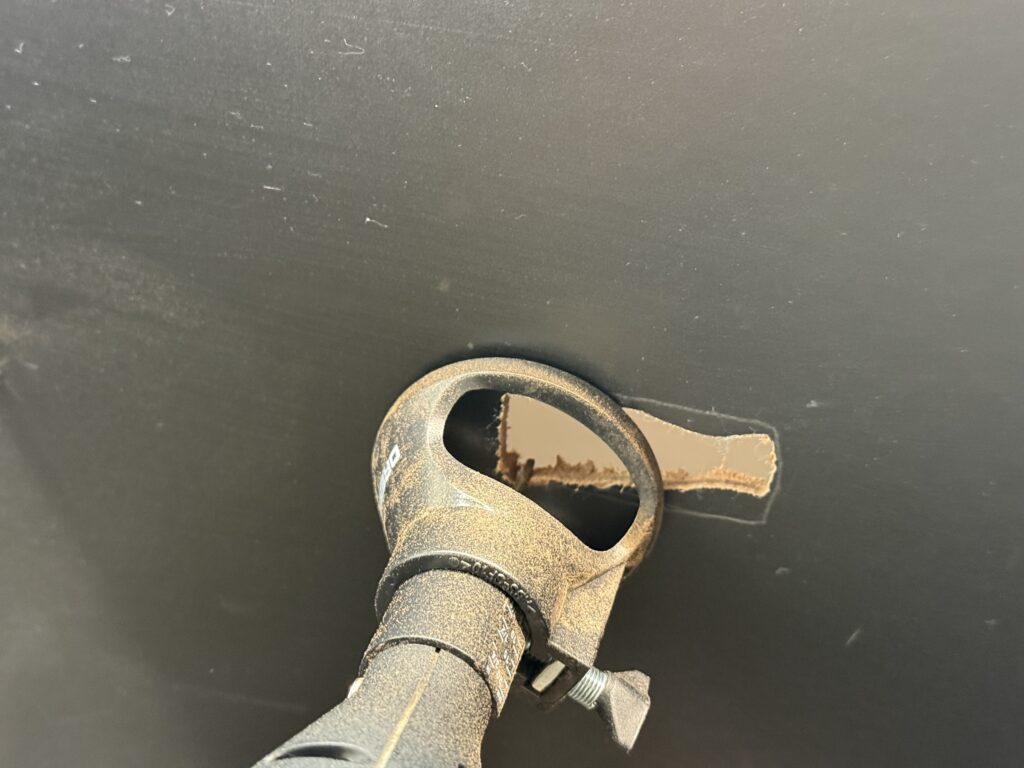
I refined the opening with a rasp. Then, I drilled four pilot holes for the NCE mounting plate.
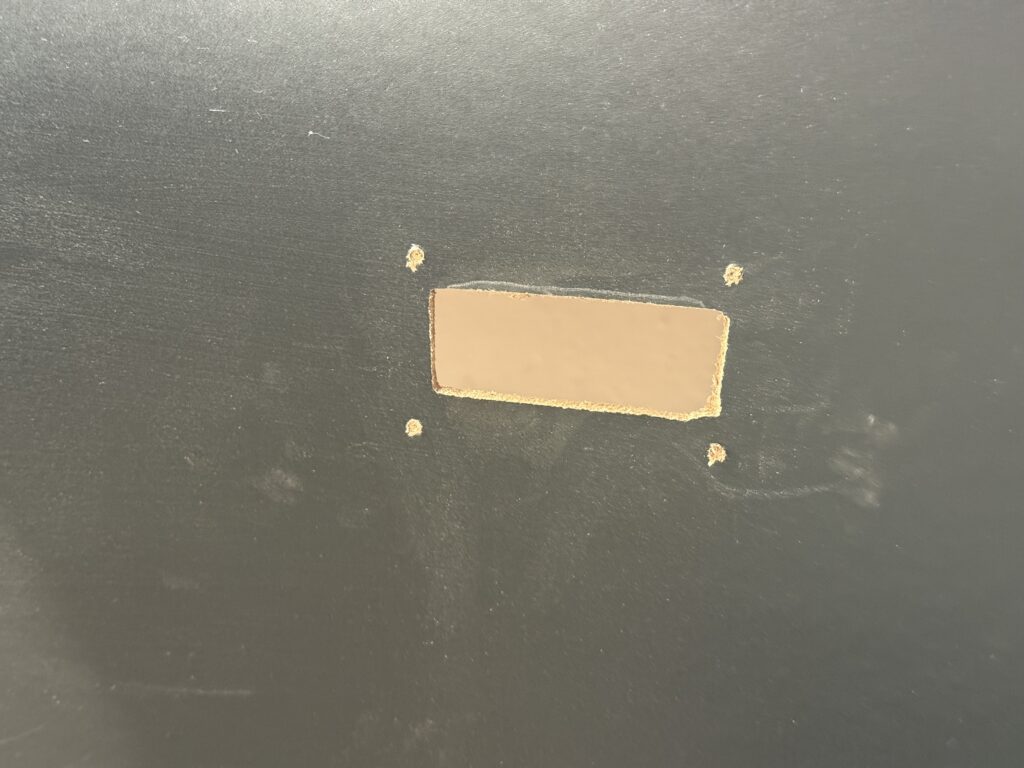
The image below shows the NCE UTP Panel installed from the inside of the fascia.
In the end, the fascia helps the layout feel finished, even while things are still in progress. It’s a small touch, but it goes a long way toward visual consistency and reliability.
The fascia adds both function and polish to the layout. Therefore, it hides clutter and supports controls. In addition, it frames the scene beautifully. I installed toggles and panels cleanly and efficiently. As a result, the layout looks more finished and cohesive, and overall operations feel easier and more enjoyable.