Laying tracks on my N scale layout
I started laying tracks across most of my N scale layout. When needed, I flipped the plywood base upside down to handle wiring and install the Tortoise switch machines more comfortably.
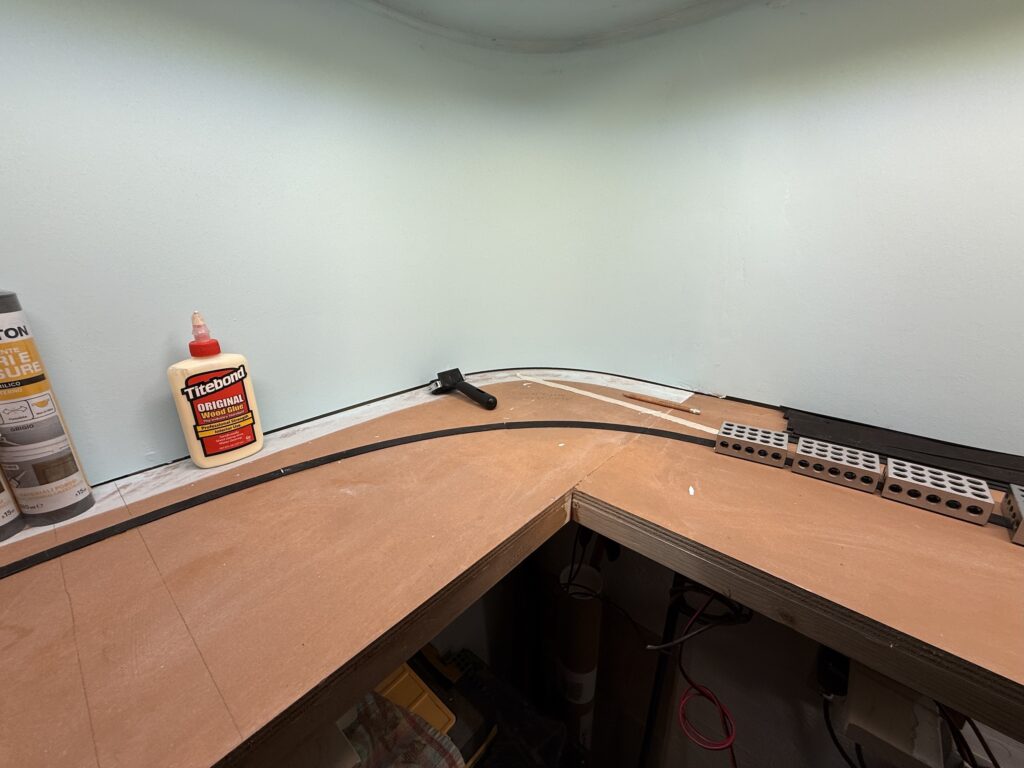
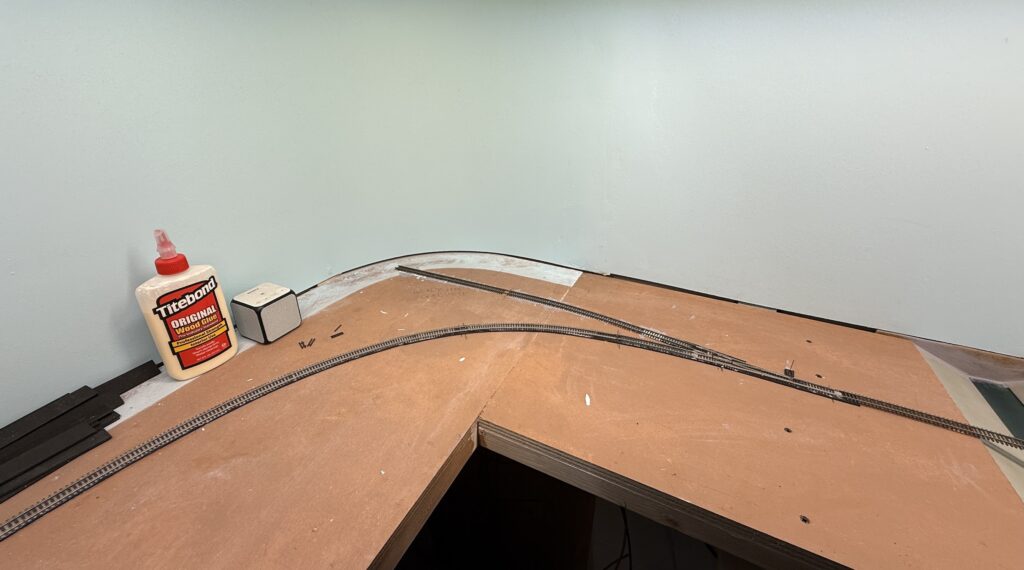
Roadbed
To start, I used 2mm EVA foam strips for the roadbed. I glued them down with Titebond Original Wood Glue. For simplicity and a prototypical look, I laid the roadbed only under the mainline. Sidings and spurs will go directly onto the plywood.
Laying Tracks and Wiring
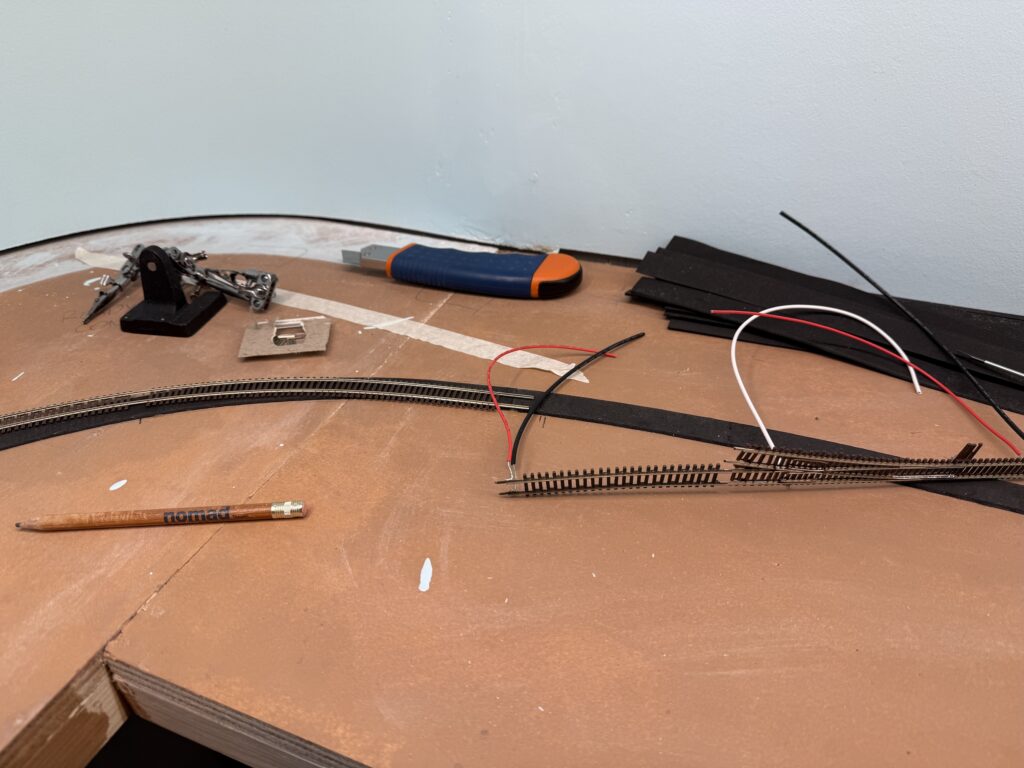
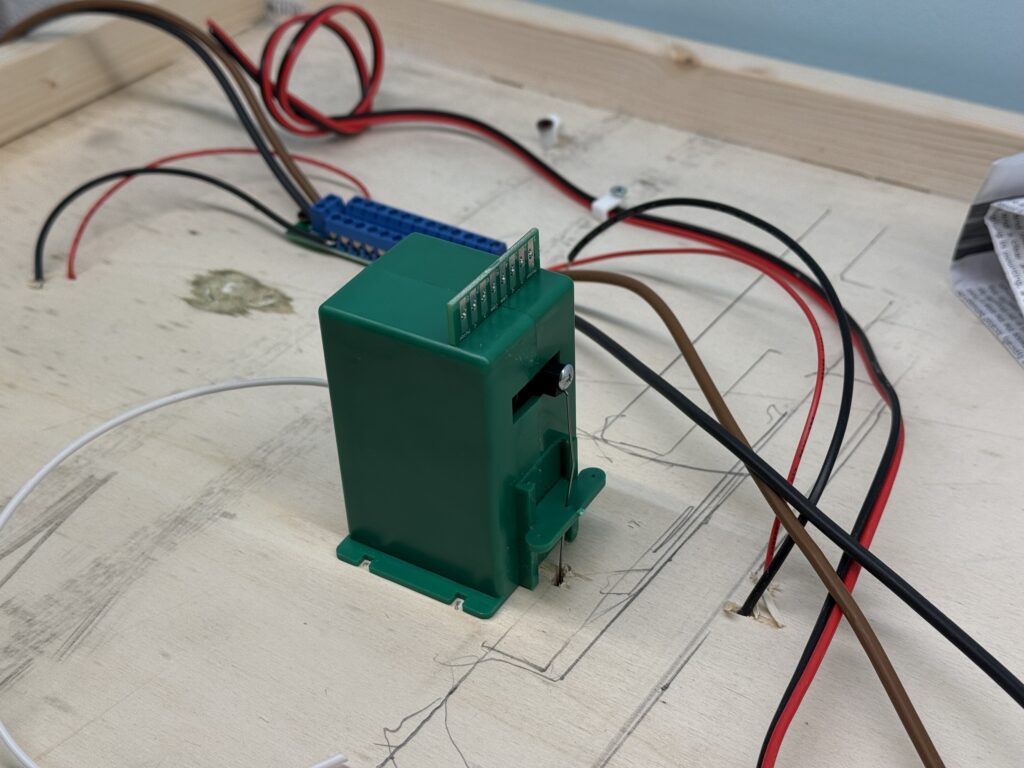
Next, I soldered 24AWG feeders to the underside of the rails. I drilled holes through the roadbed to connect the feeders to the DCC bus.
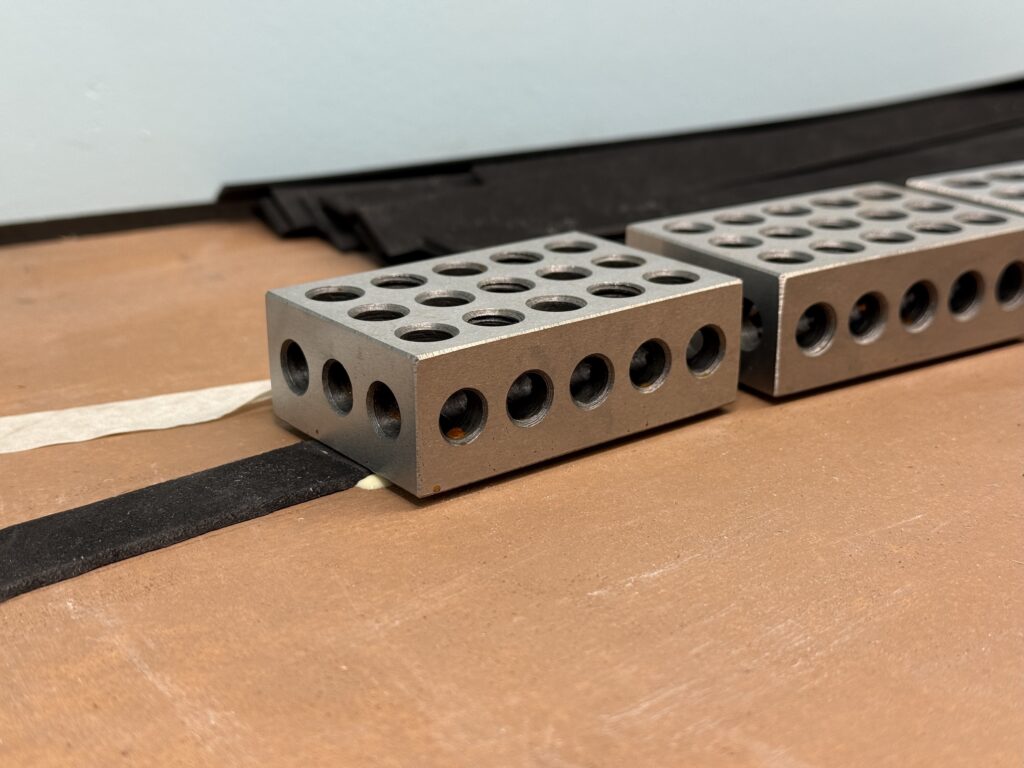
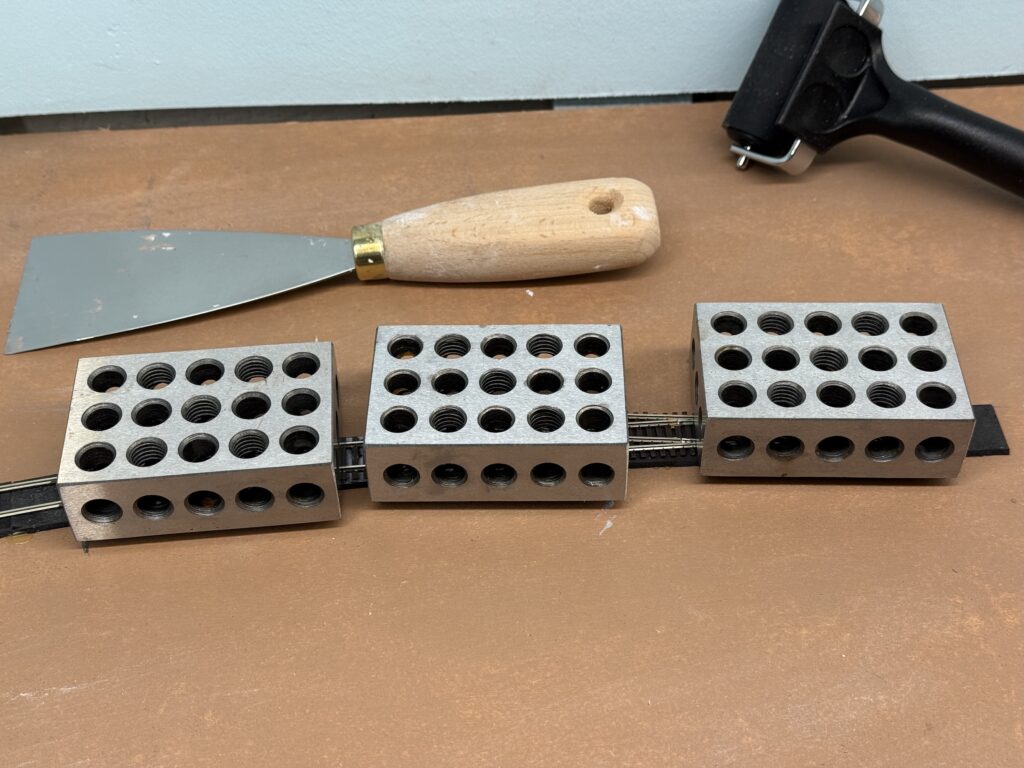
To secure the track, I applied a thin layer of acrylic caulk using a putty knife. I then placed metal blocks on top to hold the rails in position as the caulk dried.
Switch Machines
Once the track was down, I flipped the base again to install the Tortoise switch machines. I also connected the feeders and ran the DCC bus wires.
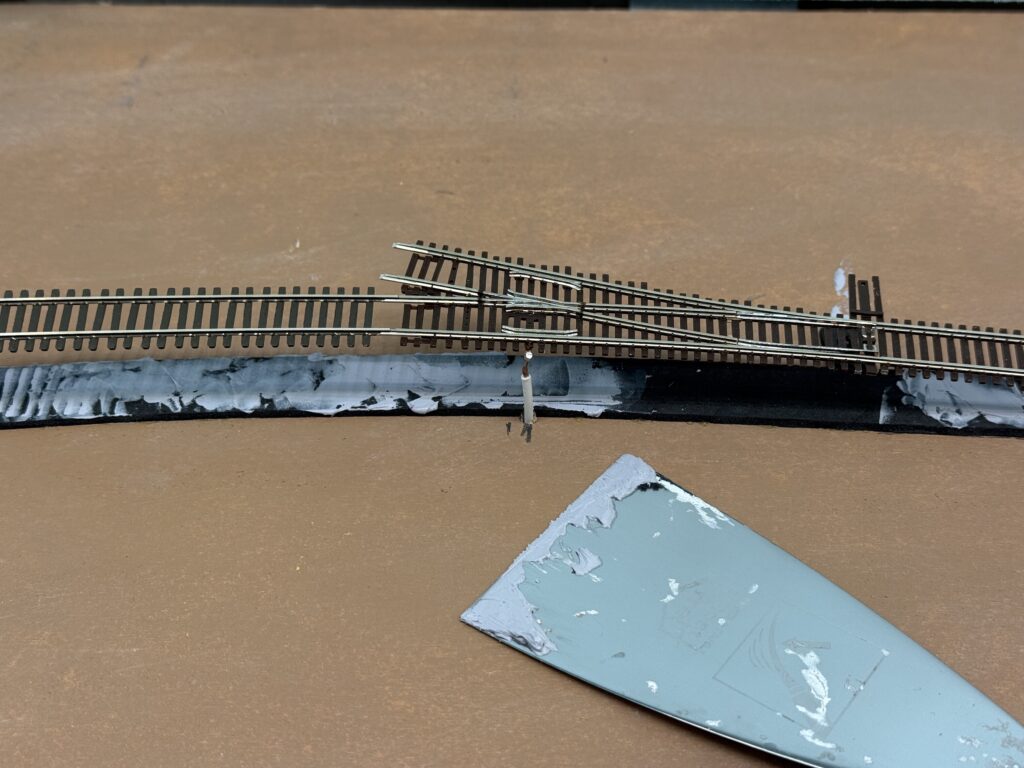
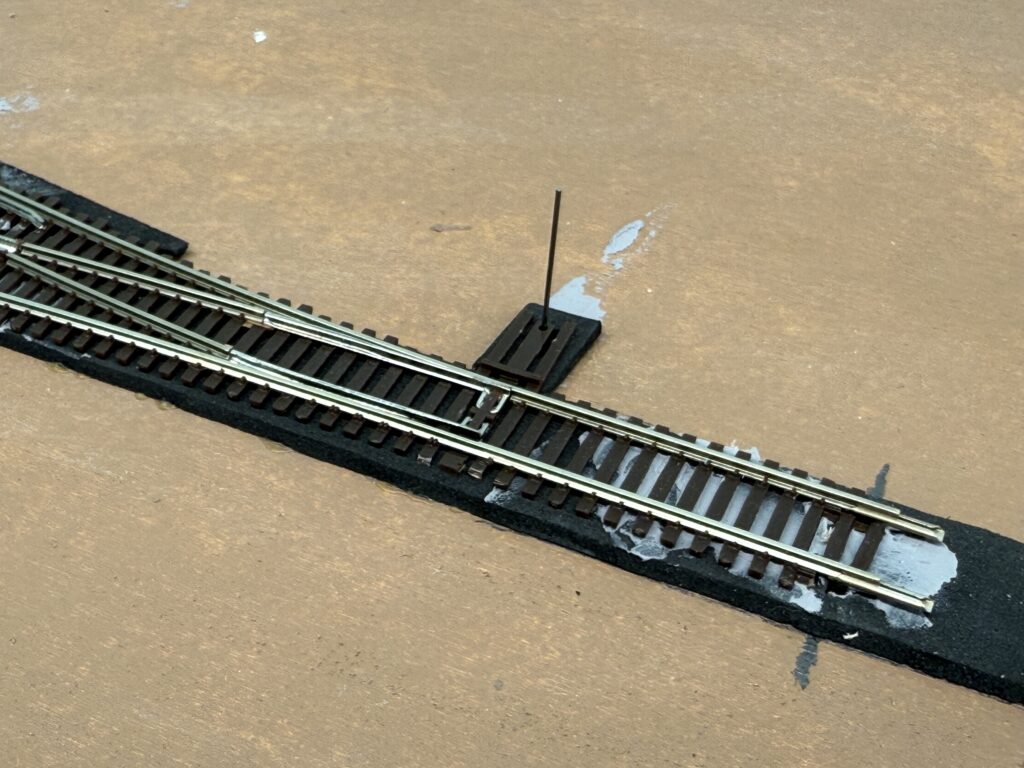
Afterward, I inserted the piano wire into the hole in the turnout’s throwbar.
I then screwed the switch machine to the plywood base and connected it using ZipZ solderless connectors.
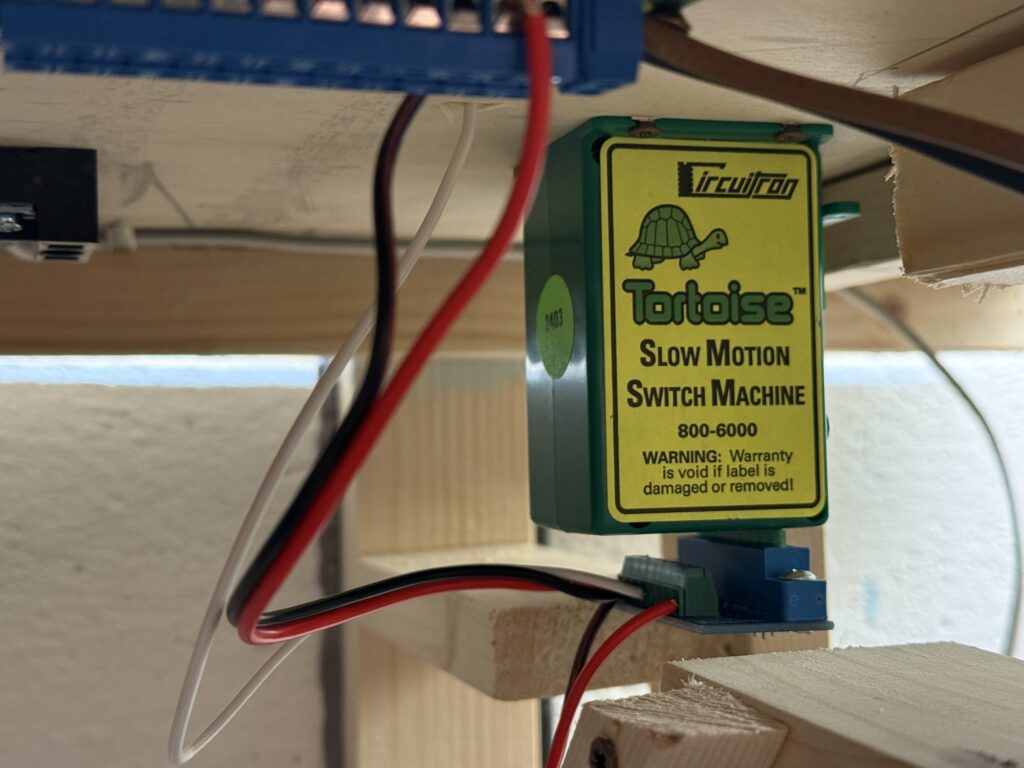
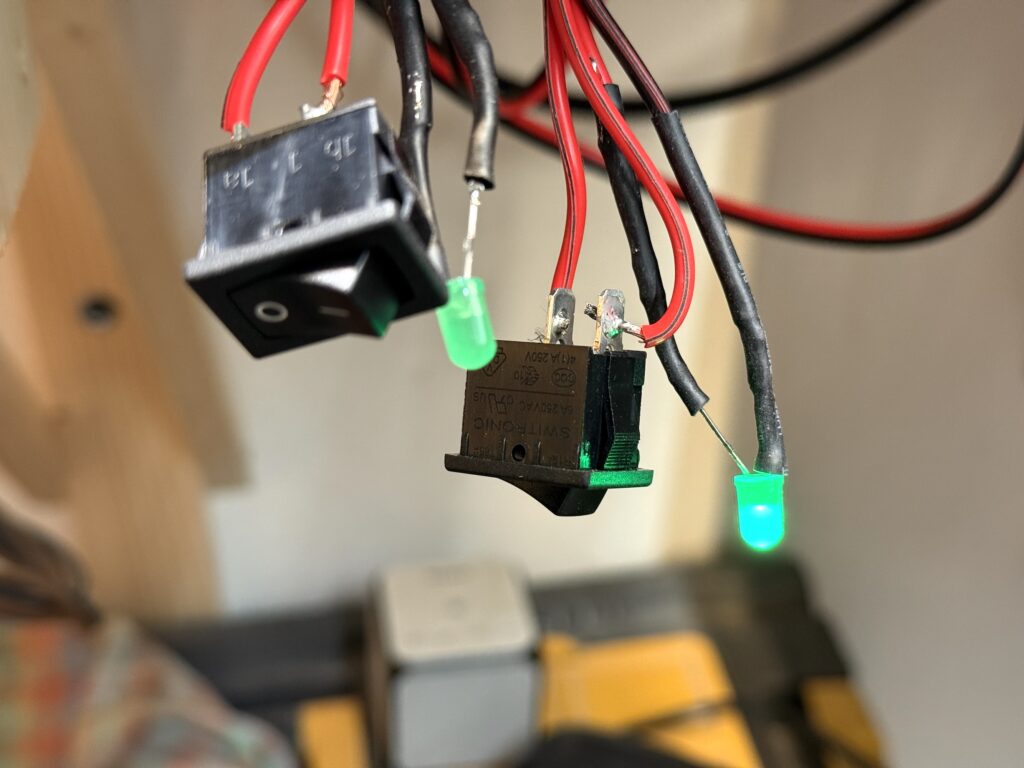
Each Tortoise is controlled by a DPDT toggle switch and powered by a 12V DC supply
Power Supply
I installed two 3A 12V DC power supplies under the layout – one for the switch machines, and the other for layout lighting. This includes LEDs in buildings, vehicles, and streetlights.
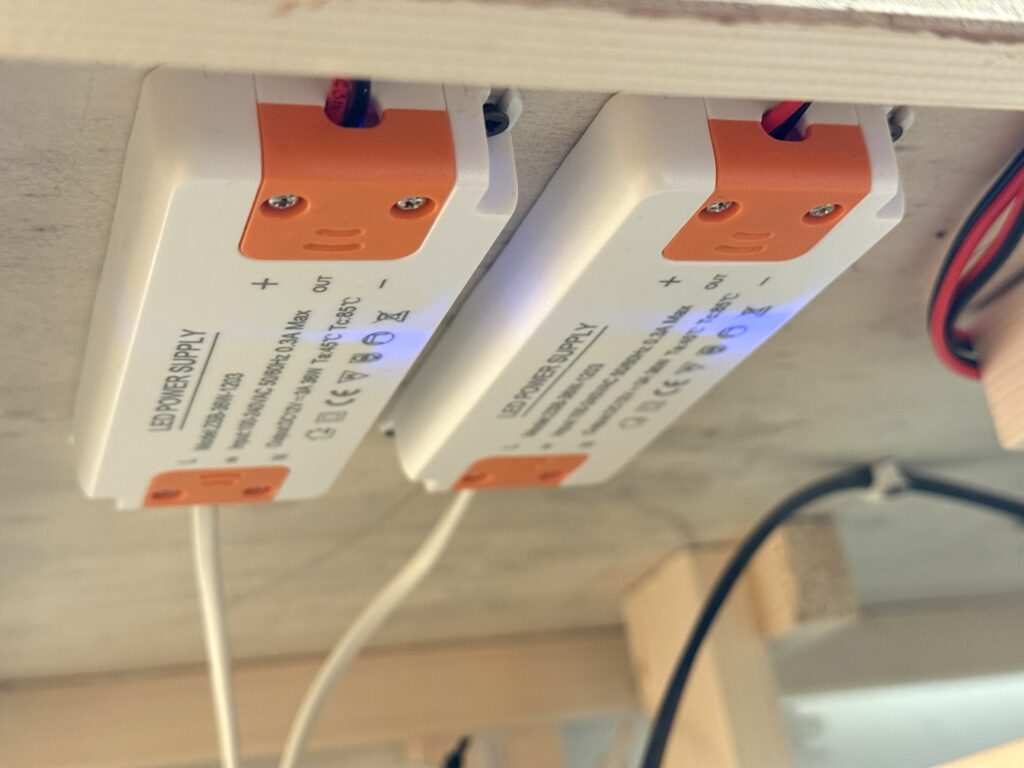
To monitor power delivery, I added a main switch to each 12V output. These switches illuminate an LED when active. I’ll mount both switches and LEDs on the fascia for easy access.
Trackwork Fine Tuning
The first section of tracks on my N scale layout is complete. Track has been laid, wiring is done and the first turnout is controlled by a properly installed Tortoise switch machine.
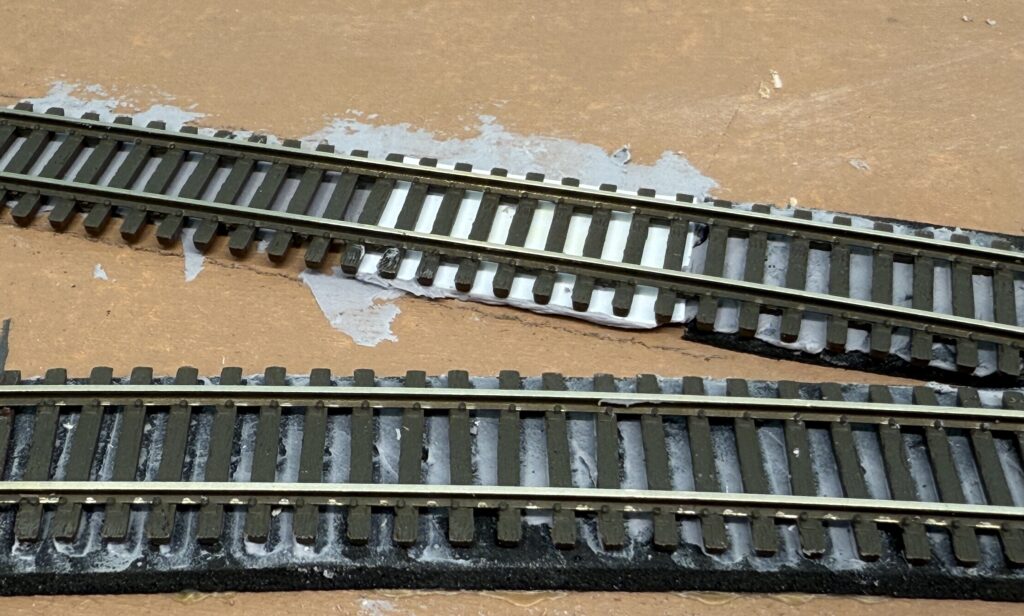
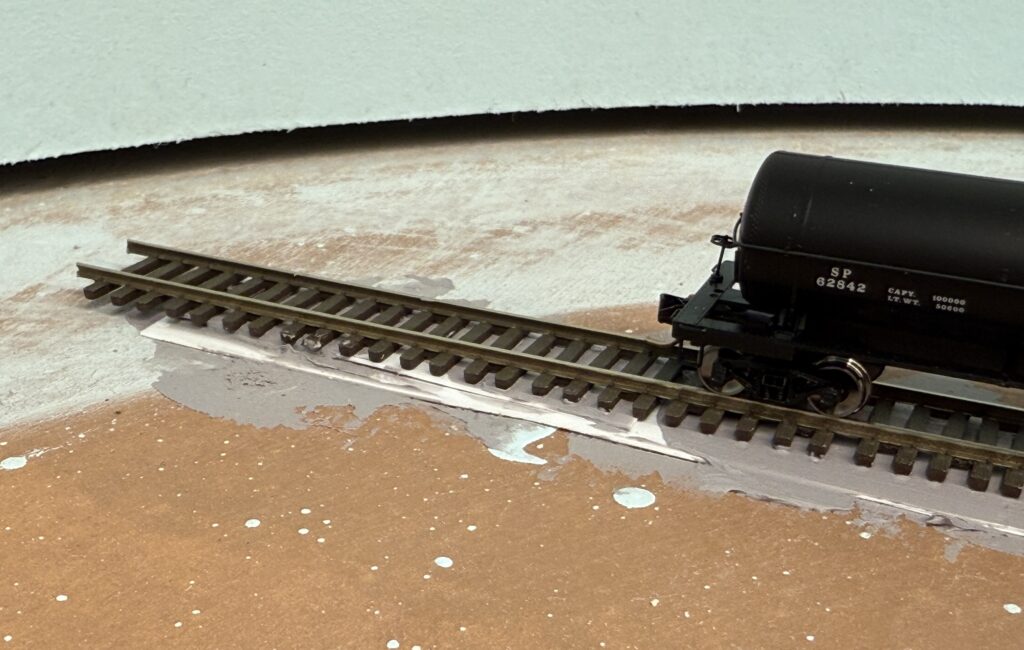
Here is the Conrock and Skyline ready-mix concrete spur.
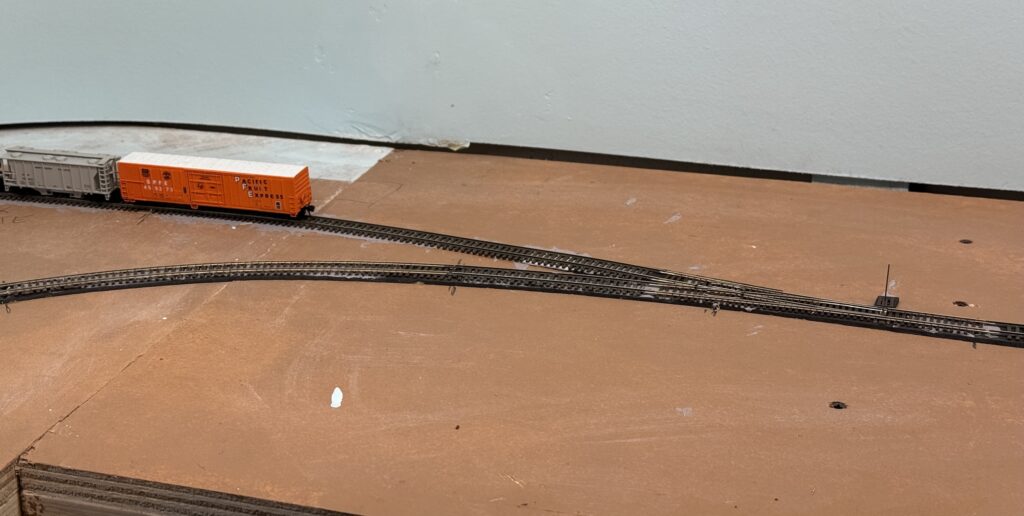
I used thin pieces of styrene to shim tracks. One for the transition in track height from mainline (photo below, bottom) to the Conrock spur (photo below, top), and another one at the end of the same spur to keep the track level.
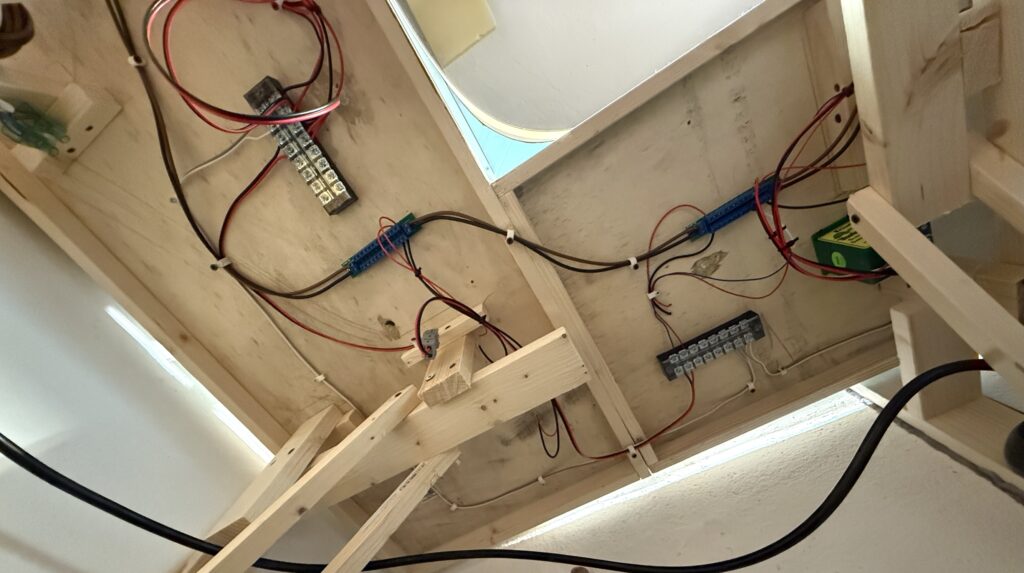
Wiring should be neat and well-organized to make troubleshooting easier if problems occur. Here is how I managed wiring on the Burbank Branch in N scale.
The trackwork phase marks a major milestone in building the layout, which is now coming together with solid progress.
Careful planning now will ensure smoother operations and fewer issues later and sets the foundation for future scenery and detailing.