Plywood Subroadbed
Building a plywood subroadbed using 15mm-thick plywood
For a switching layout, using a plywood subroadbed is an easy and relatively quick way to establish a solid foundation for the trackwork.
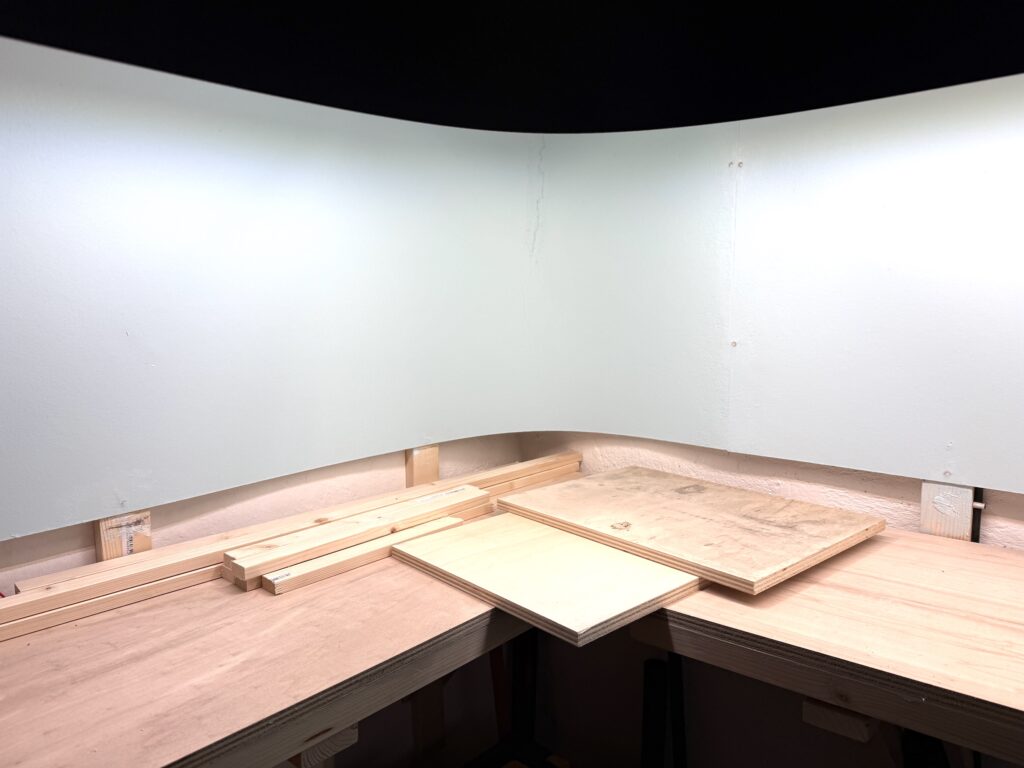
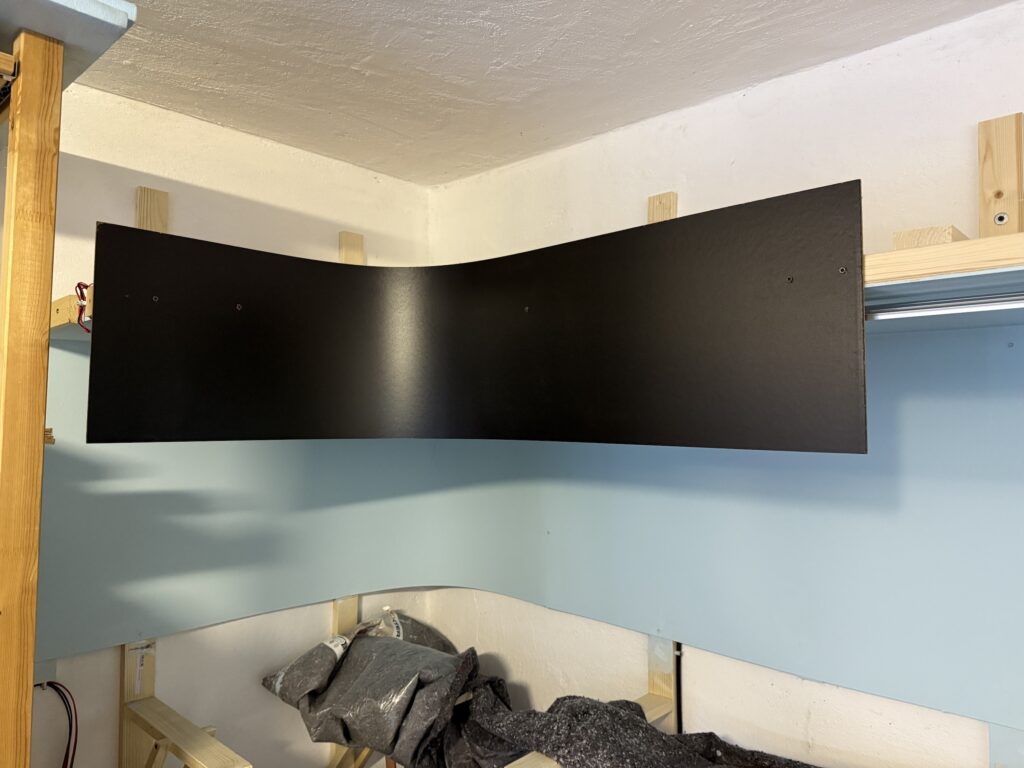
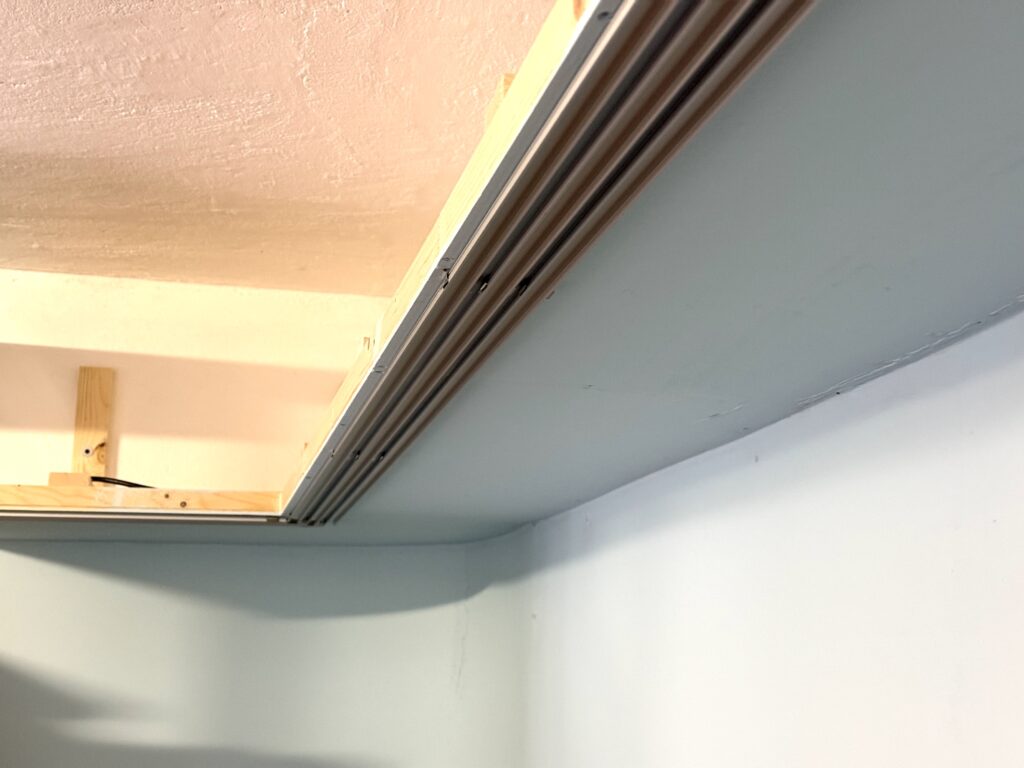
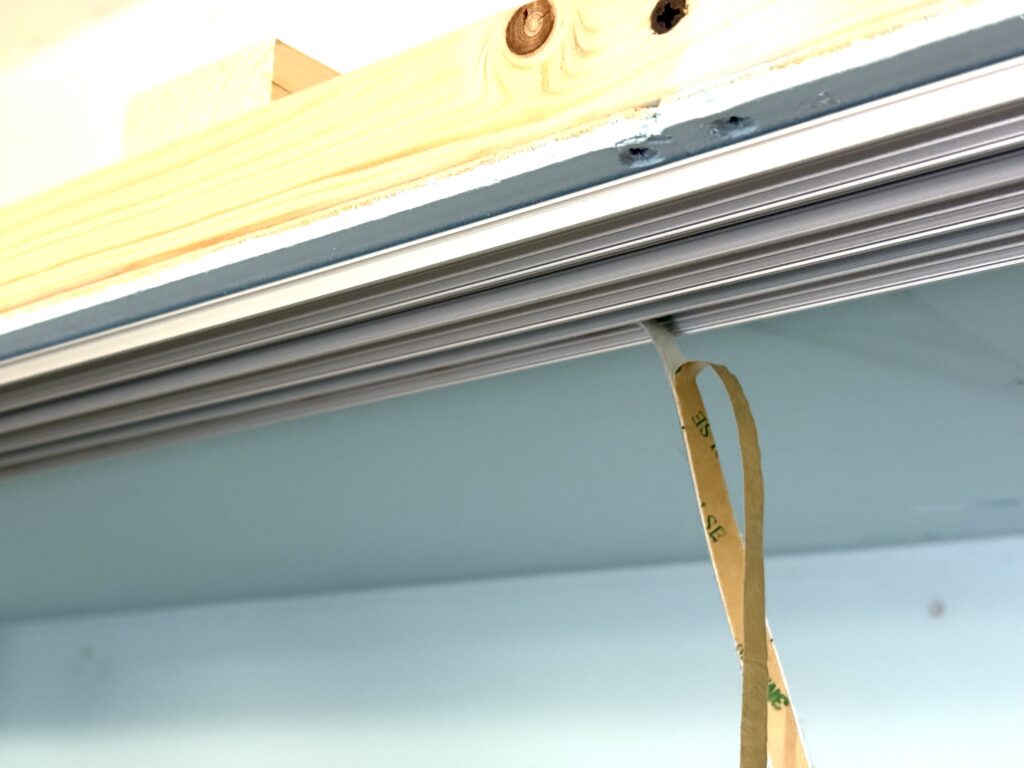
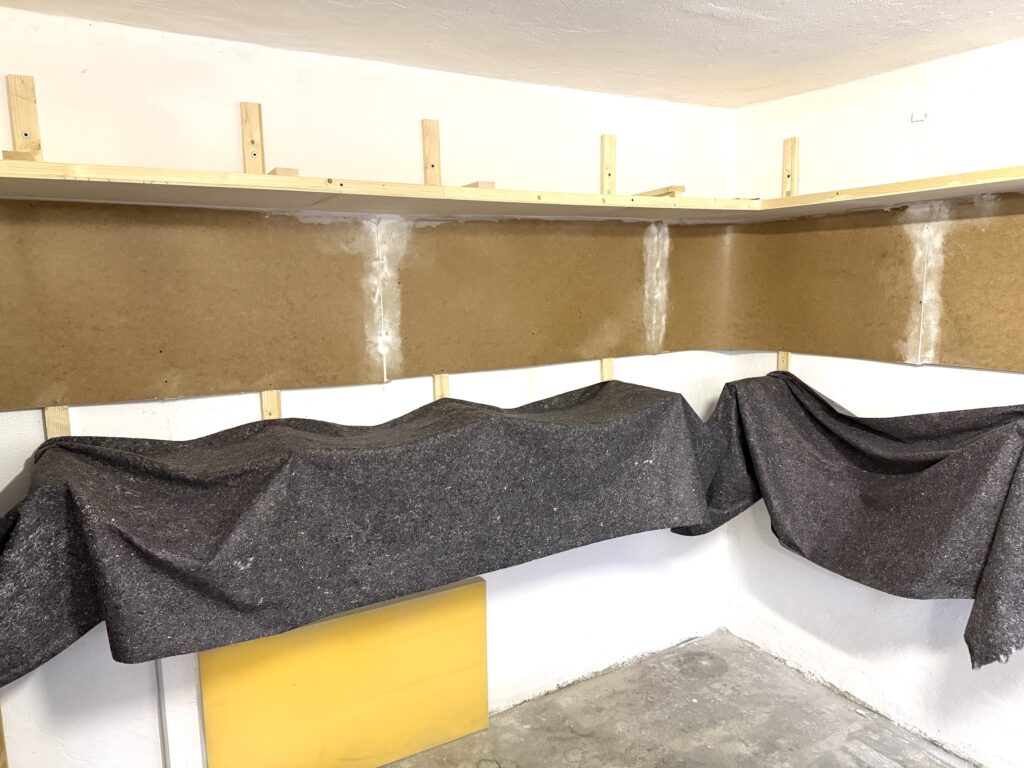
I had the plywood cut to size for each of the three main sections of the layout (see track plan). Then, I reinforced the plywood base by gluing and screwing down 20mm x 35mm lumber.
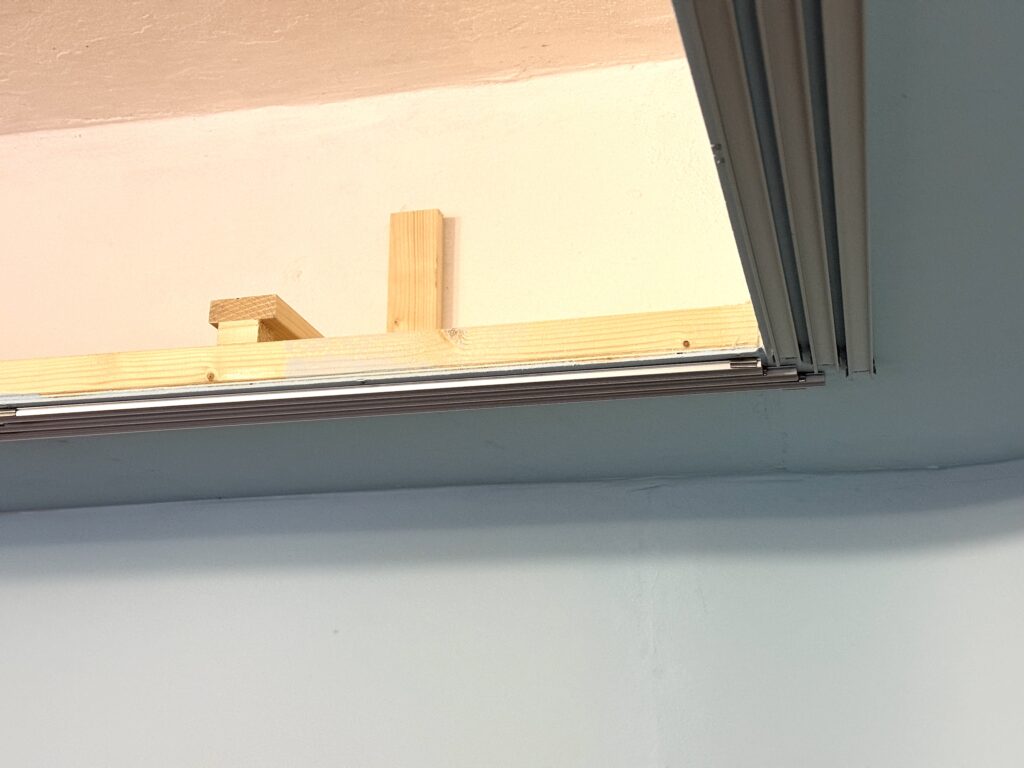
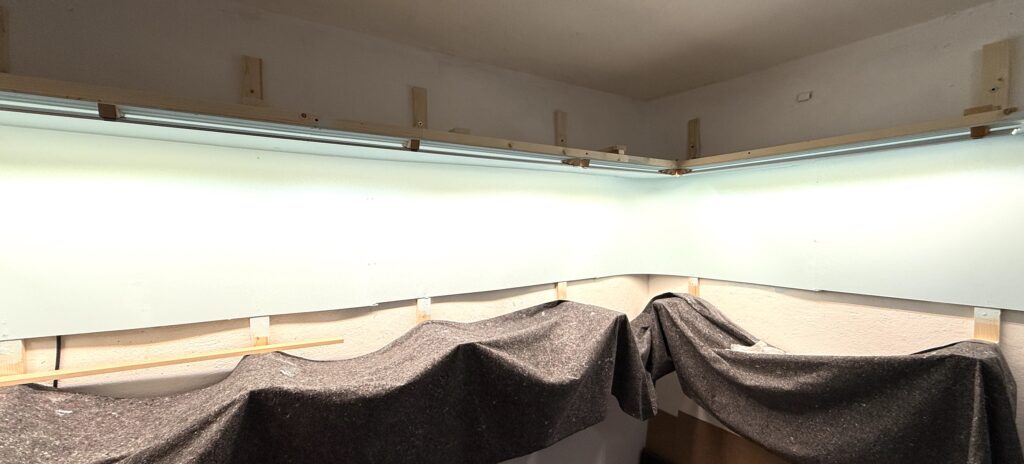
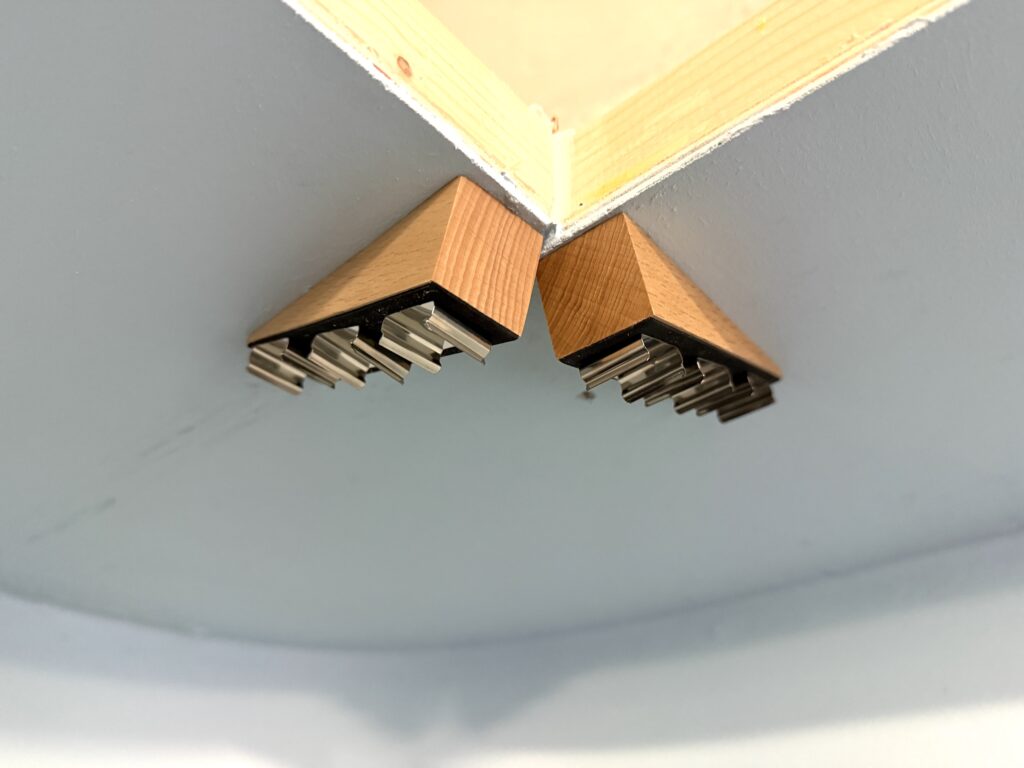
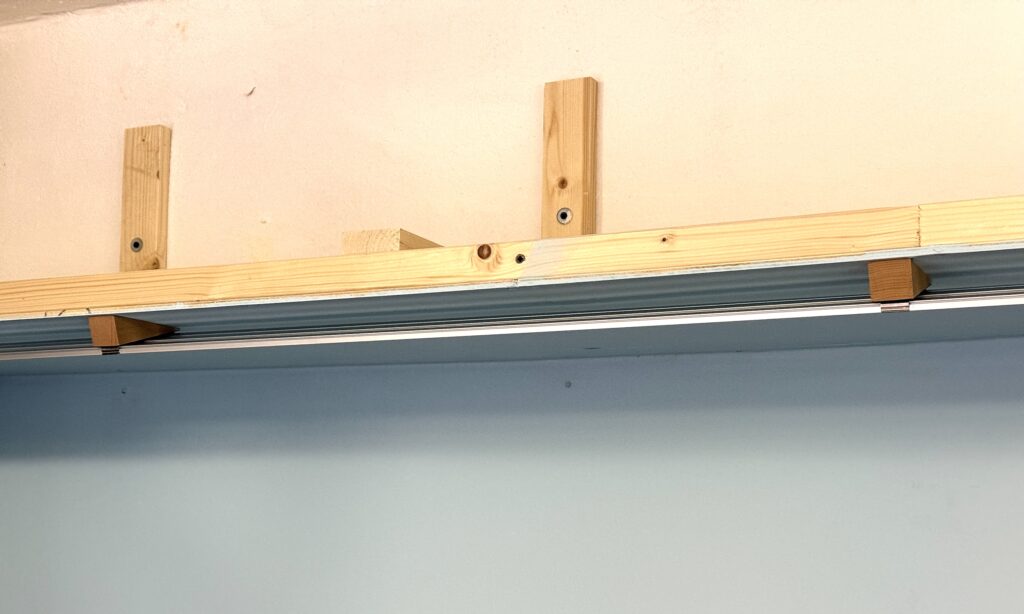
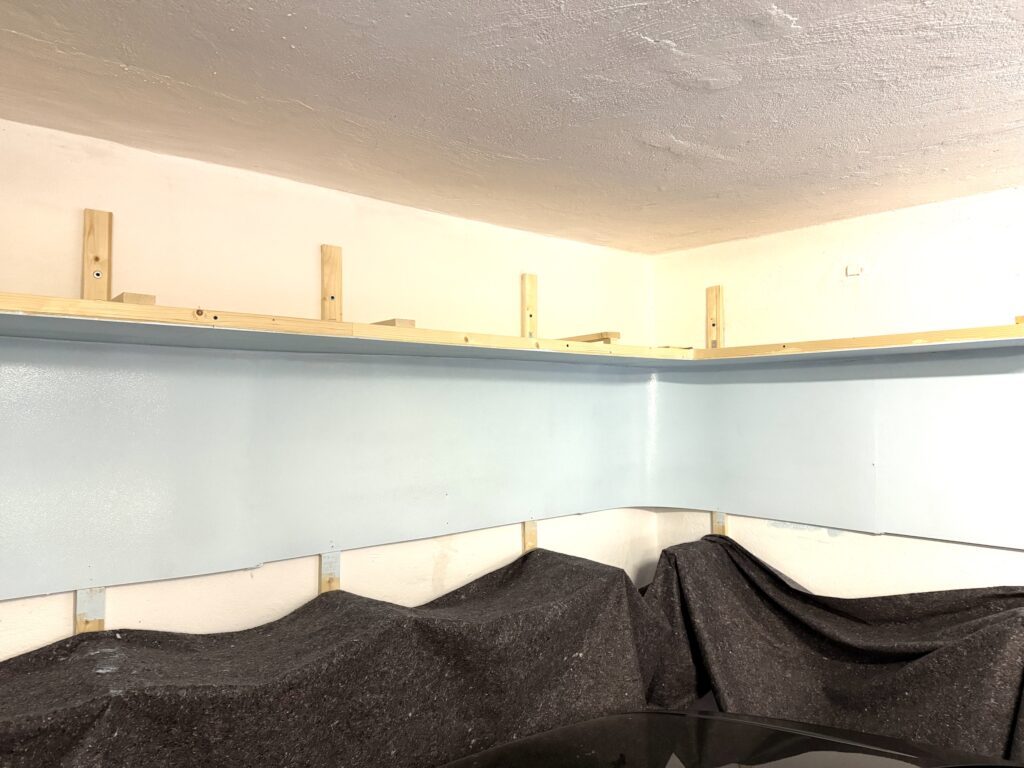
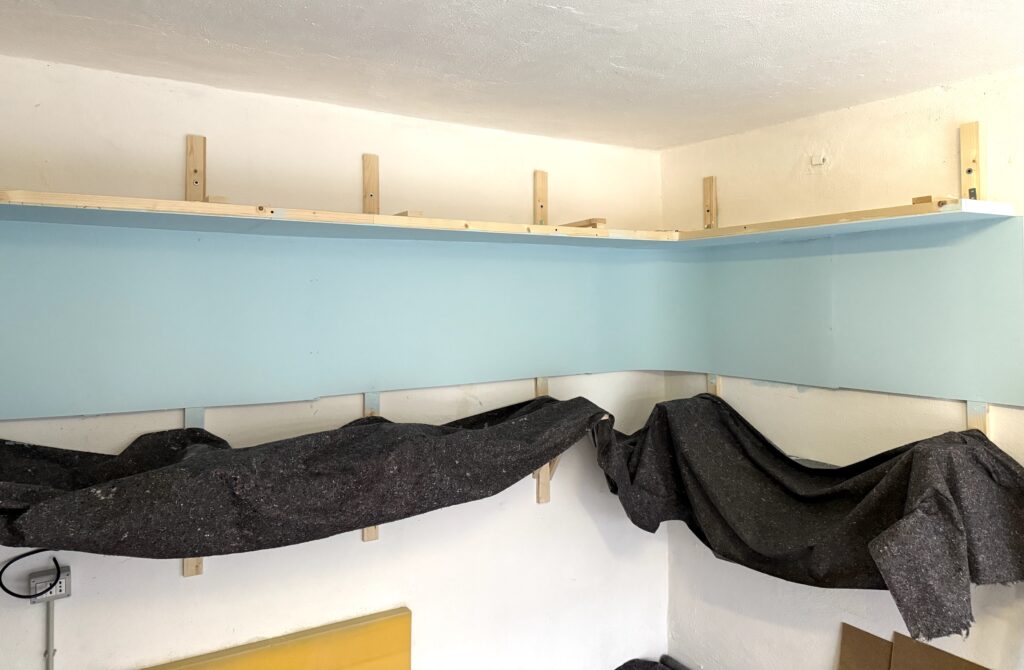
I then prepared risers to hold the plywood base at the proper height (140cm – about 55″). However, I haven’t attached the base to the risers yet.
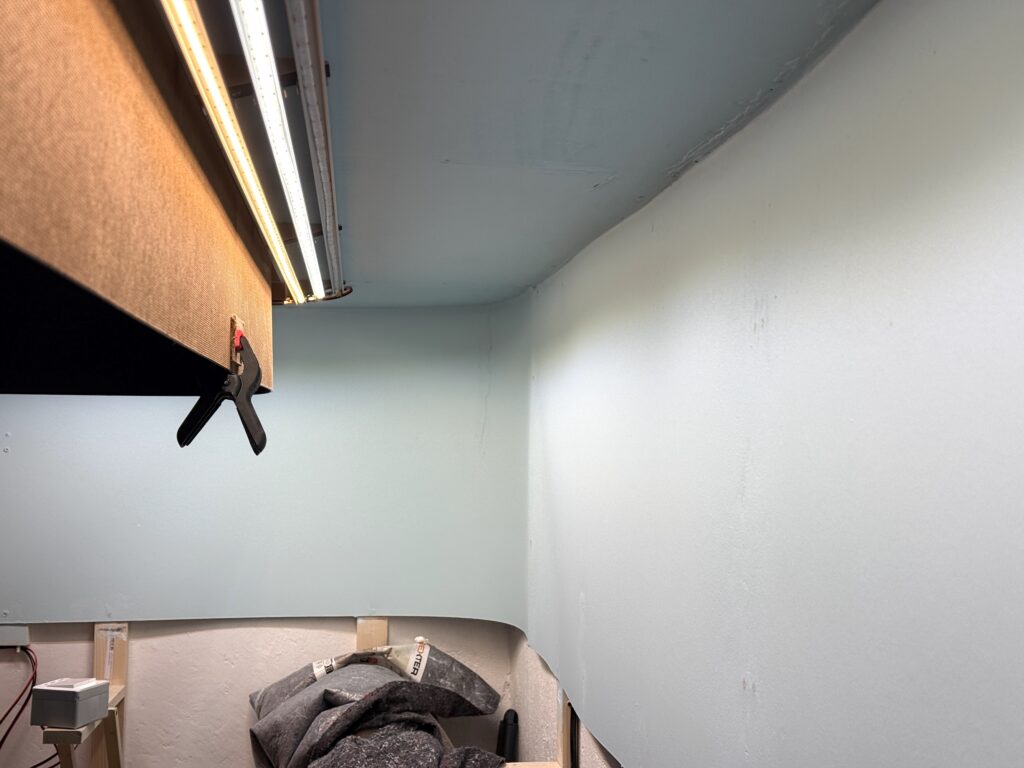
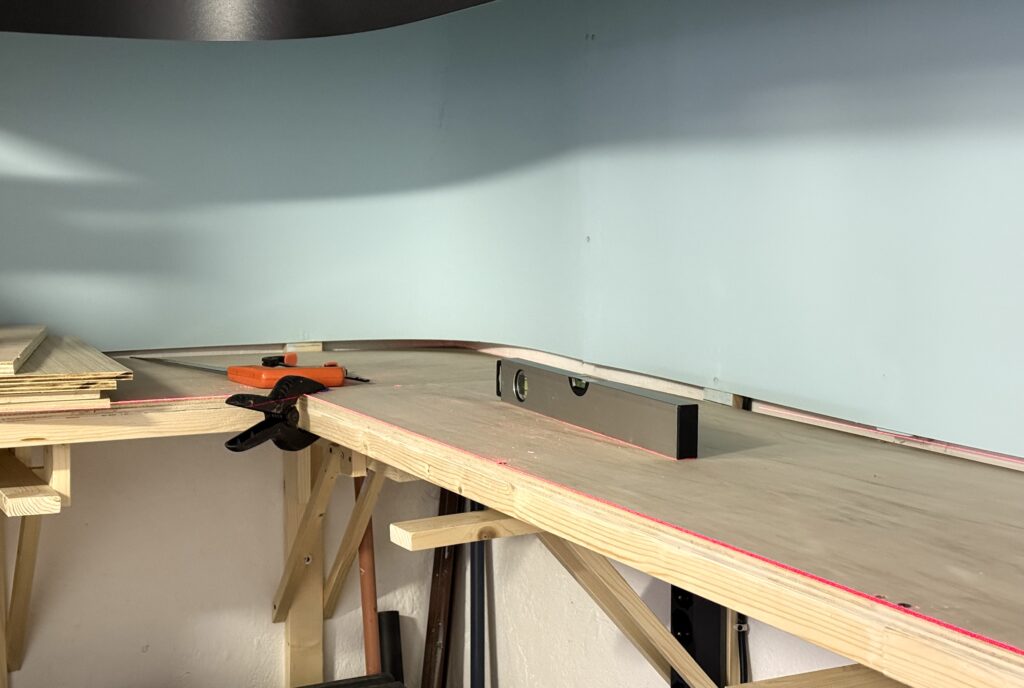
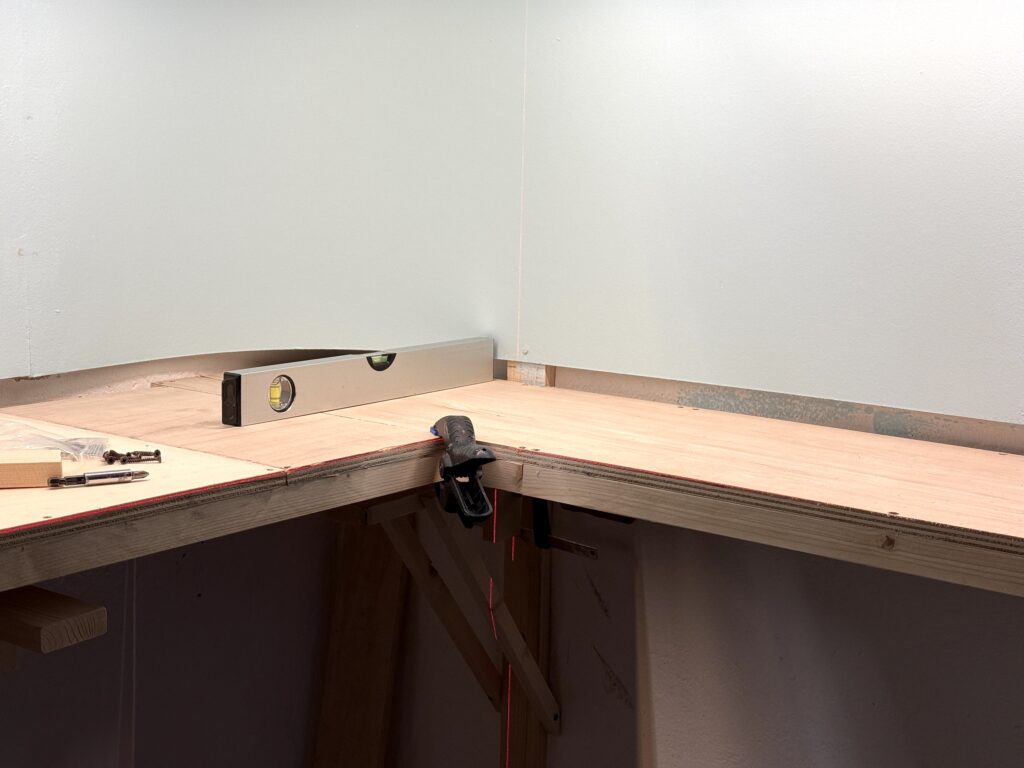
I used a laser level I bought on Amazon to install the risers at the correct height. First, I clamped the risers to the benchwork, then I double-checked that the plywood base was level with the laser line. Once everything was aligned, I drilled pilot holes in the risers and screwed them down to the benchwork.
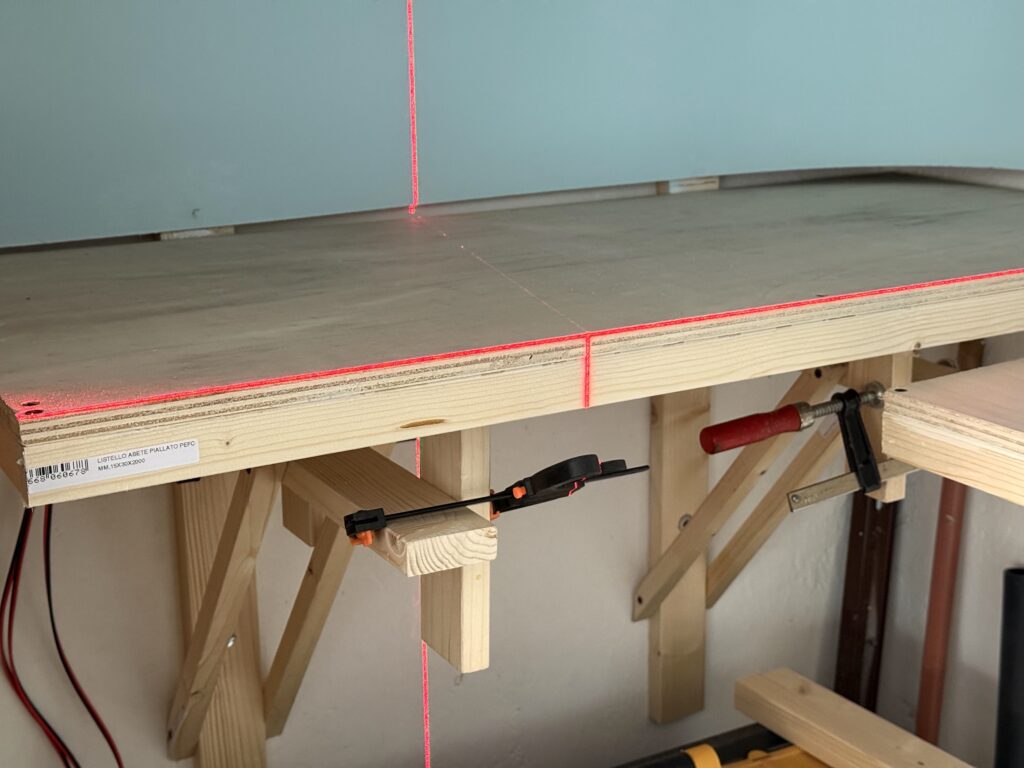
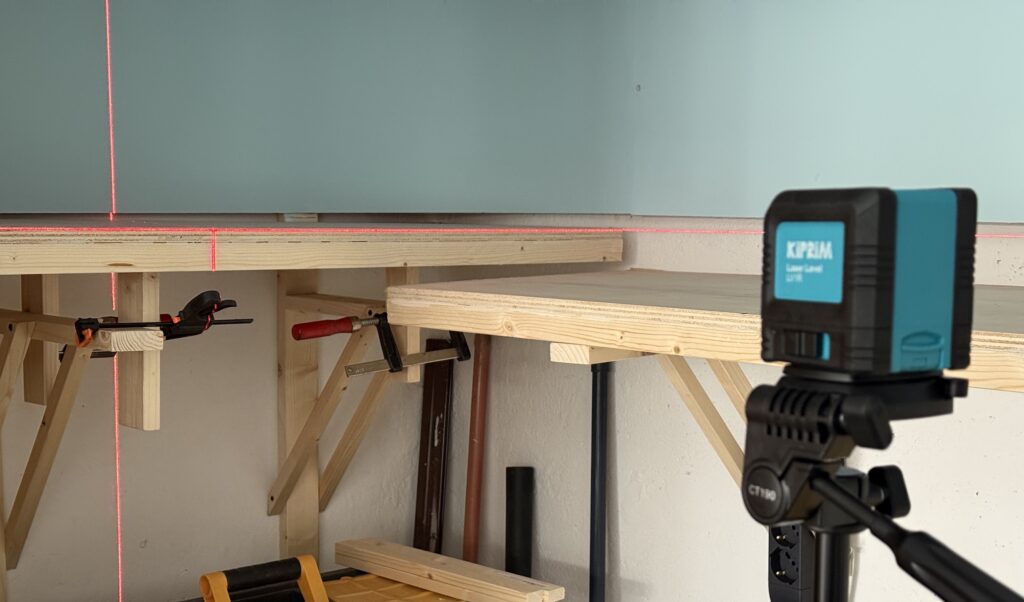

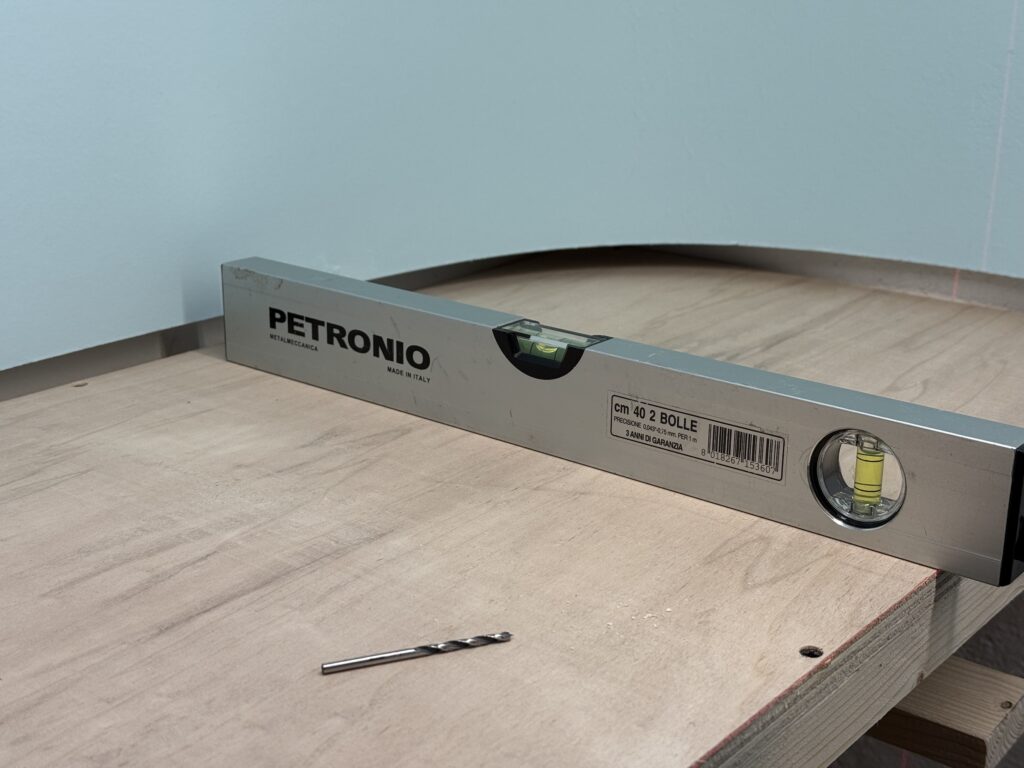
Using a laser level speeds up the entire construction process. I keep it on throughout the session for a constant visual reference. Then I double-checked with an old-school level 🙂 to ensure everything was at the correct height and perfectly level.

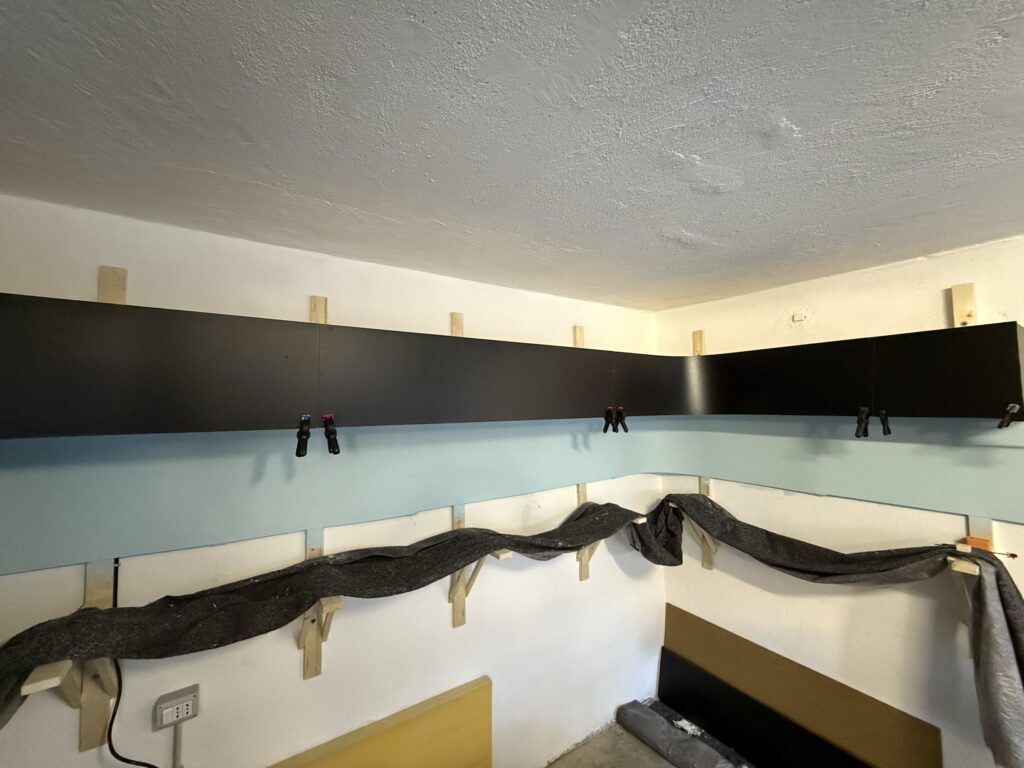
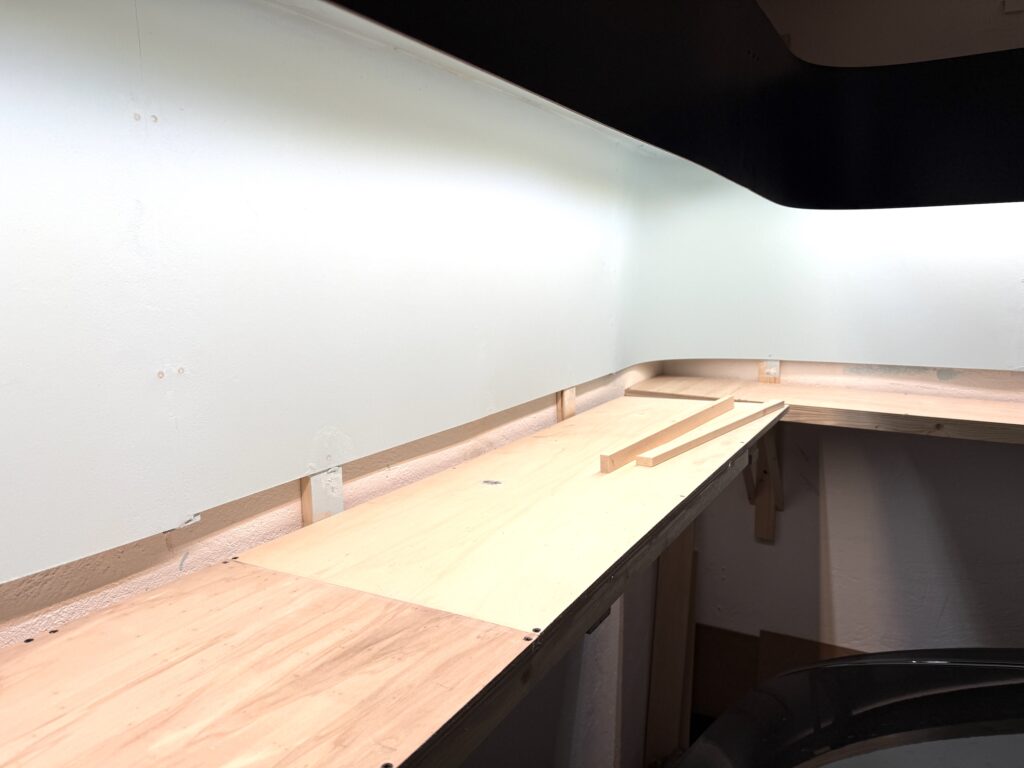
I proceeded with installing the risers for the three main subroadbed sections. The plywood base is just resting on the risers for now. The reason for that is I want to be able to flip the base to wire the tracks and Tortoise switch machines more comfortably.
A 15mm-thick plywood subroadbed provides a sturdy foundation, ensuring durability and stability for trackwork and scenery on my N scale layout.
Using pre-cut plywood sheets speeds up construction, reducing material waste and simplifying layout assembly. Reinforcing the plywood with lumber prevents warping and keeps the track level over time. Wiring and switch machine installation are more accessible by flipping the plywood base during construction.
This method is ideal for switching layouts, offering a reliable and efficient track-laying surface.